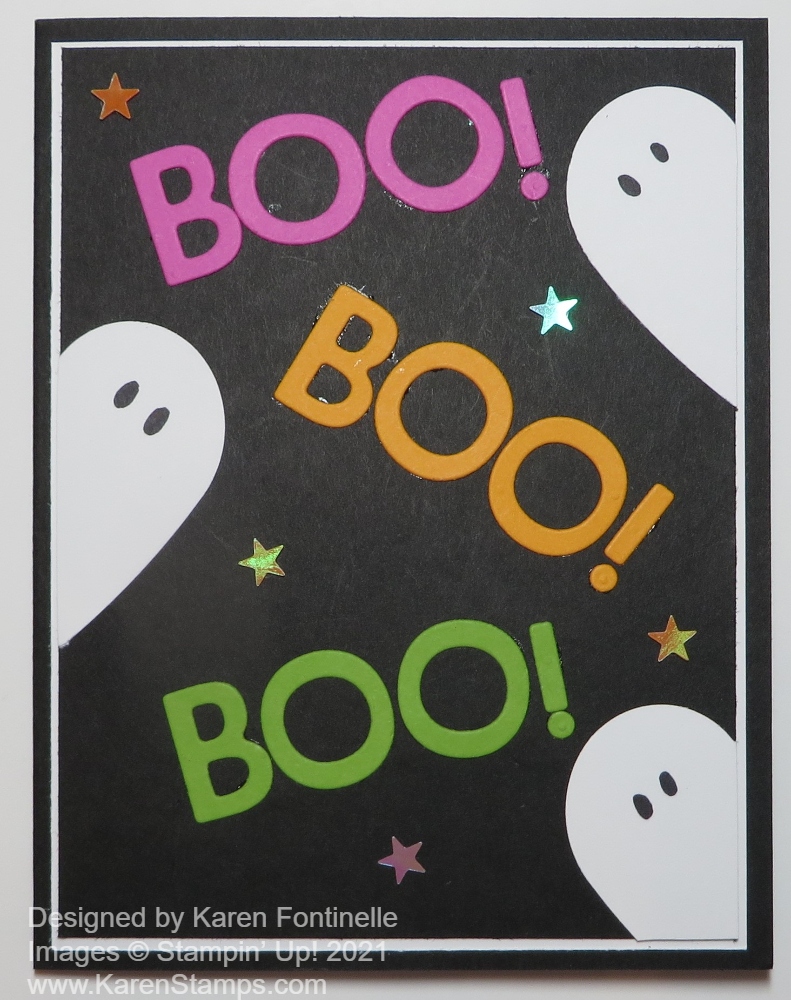
I can easily promise you I had no idea this Rainbow Glimmer Halloween Card would be what I would create. I don’t even remember what I thought I was going to make! I even had a Christmas stamp set out too! But I had seen a card made with strips of this beautiful Rainbow Glimmer Paper that was a birthday card and that’s where the original idea came from to use these strips. I thought they might be perfect for a Halloween card! Other than that, I had no ideas for exactly what to do with the card! Sometimes you just have to work with colors, die cuts, maybe walk away and come back, and eventually, something will come together for you.
The card has a Basic Black card base. The strips of Rainbow Glimmer Paper are cut 1″ x 4″ with just a tiny space in between each strip. You could also have them all touching with no space. I actually cut them not just in consecutive strips or the colors might be nearly the same, which is okay if that is what you want. So I had to cut into the areas of the paper that had the colors of strips that I wanted. It might kill you to cut into a lot of different parts of the paper rather than conserve it, but hey, it’s just paper and we can buy more! Use it!!
I wanted to use the Black Glitter Paper as the center with the Halloween characters adhered to it, but I played around with the background layer and different colors. I settled on the Pumpkin Pie cardstock die cut with the circle die in the Painted Labels Dies. This looked fine, but as I worked with it, I thought it needed another layer or “something”….a little more pizzazz. I cut out another circle from Highland Heather cardstock and that looked good but of course was mostly covered up by the Pumpkin Pie circle! I tried staggering it underneath and that was good but I felt it needed another one to balance it out. So I tried Crushed Curry and once I got the three circles placed just right I was satisfied!
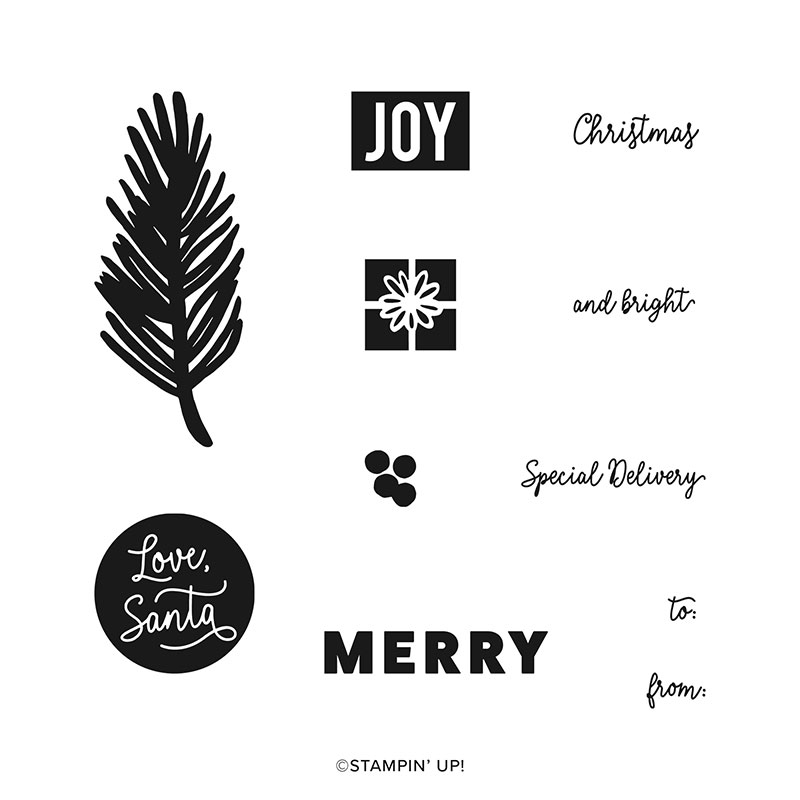
I cut out the ghosts, skeleton, black cat, and pumpkin from the Cute Halloween 6″ x 6″ Designer Series Paper. I love those little characters! I could have stamped them as well with the Cutest Halloween Stamp Set and used the coordinating punch, the Halloween Punch (which is currently unavailable as I write this).
The greeting is from the Cutest Halloween Stamp Set. I stamped it in Memento Ink and trimmed the ends with the Lovely Labels Pick a Punch. I was considering putting it down lower on the card, but then thought it might work better going across those circles. I liked that and then adhered the Halloween characters around where I liked them. And for a little more bling, I had to add some Cute Stars Adhesive Backed Sequins.
The card may be a little crazy, but it’s for Halloween so that’s good! If you don’t have the Rainbow Glimmer Paper, you can just use different colors of cardstock strips. Just play and you will come up with some great ideas. Use this Rainbow Glimmer Halloween Card for inspiration!