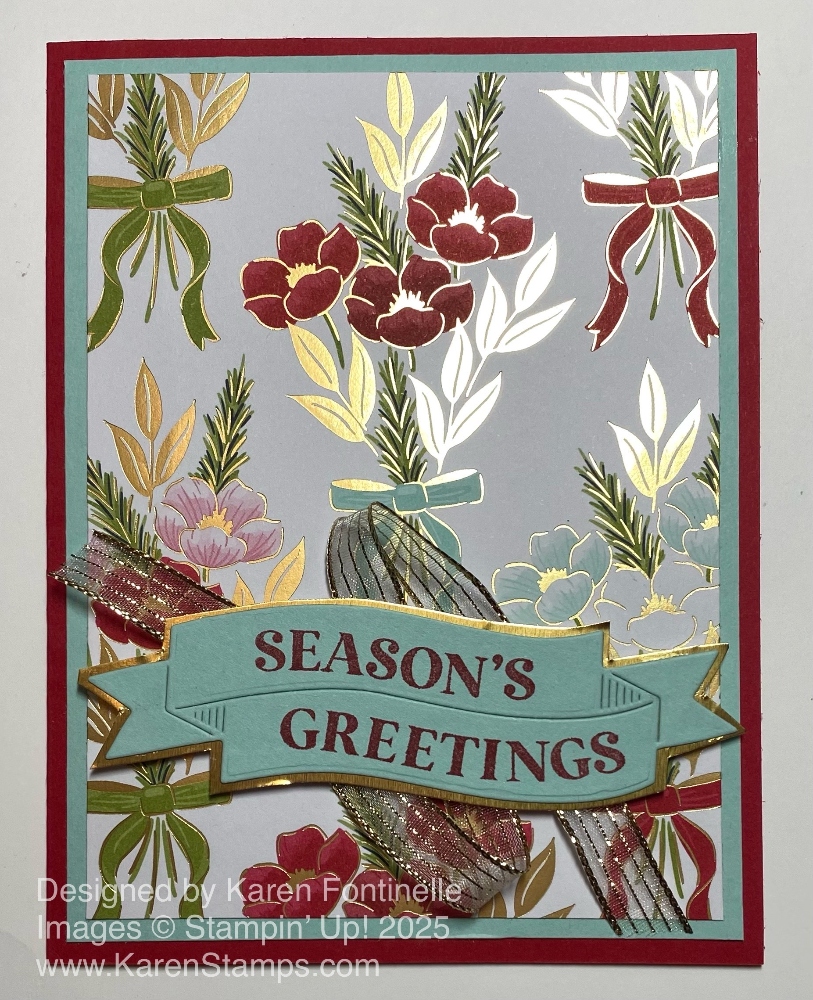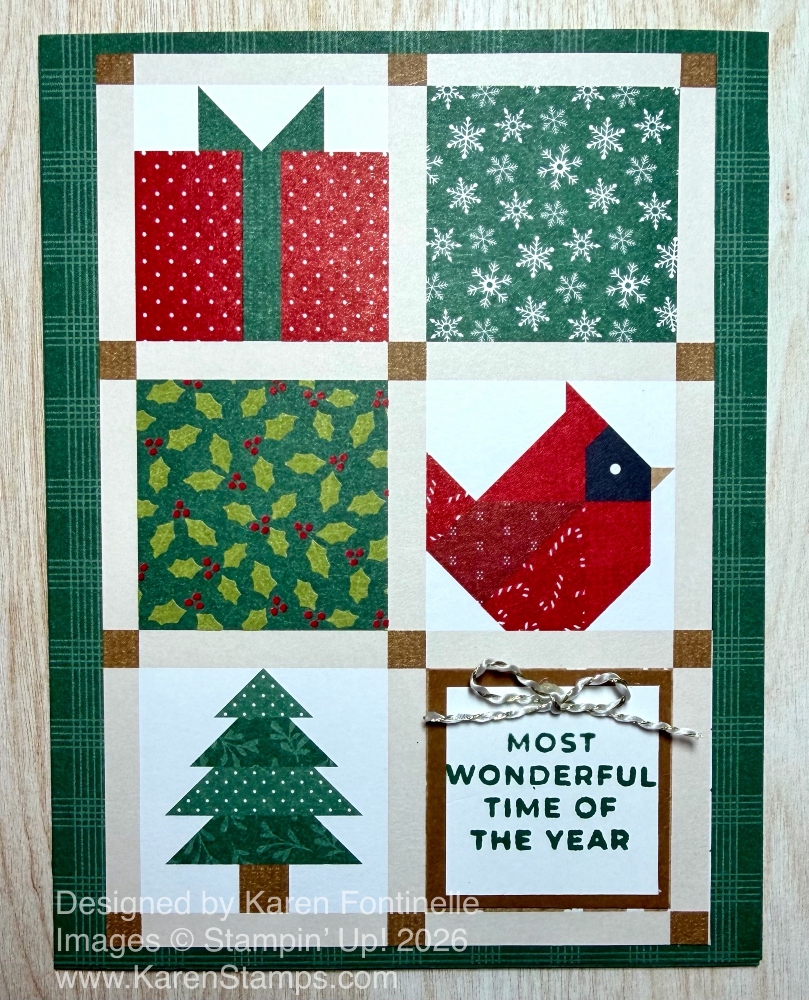
The other day I posted my first Halloween card because it was a new package of paper from the Stampin’ Up! Online Exclusives, and I wanted to try it out! Today I am posting my first Christmas card of the year, A Stitched Season Panel Christmas Card. If you are a stamper and quilter, you will probably want this Christmas paper! If you are a stamper or scrapbooker but not a quilter, but you like quilt patterns, you might like to live vicariously through this paper and maybe the dies, too!
You will find the A Stitched Season Suite Collection in the newest Online Exclusives, just released July 1st. The Christmas stocking dies in the Stitched Stocking Dies, I think, are adorable, but I limited my spending to just the designer paper and the ribbon! You can do a lot with any or all parts of this Suite.
This card is pretty easy. The sheet in the A Stitched Season Designer Series Paper caught my eye because it looked like I could cut a “panel” out of the paper to use on the front of my card with six images. It isn’t a perfect 4″ x 5 1/4″ piece. I very carefully tried to cut right along the borders of those squares on the top and sides. with the Paper Trimmer. Even though the margins top and bottom are a little narrower than on the sides, I think it still looks good on the card front.
The card base is Peaceful Pine. I used another paper in the package for the background behind the “quilt” panel. I made it the full size of the card front, 4 1/4″ x 5 1/2″ because there wasn’t enough space for margins. In the bottom right-hand square, which was a square with a Pecan Pie background and tiny white flowers, I added a greeting which fit perfectly, except I hated covering up the white flowers. The greeting is from the Pretty Poinsettia Stamp Set. It is stamped with Peaceful Pine ink on Basic White then layered on a piece of Pecan Pie cardstock. For a finishing touch, I made a very small bow with some gold and white baker’s twine that is now retired. Linen thread would work, also, or some other twine that you have.
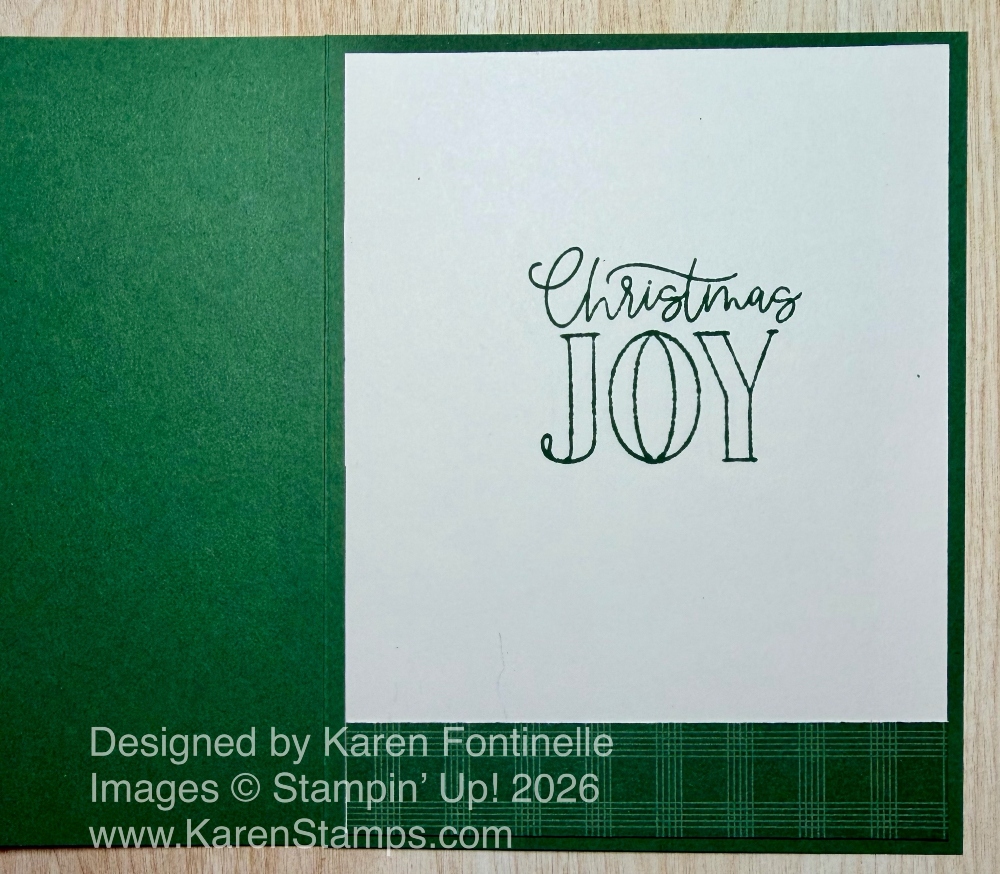
This is the inside of the card with a Basic White layer and a stamped greeting in Peaceful Pine ink. It is in the Pretty Poinsettia Stamp Set as well. I also added a narrow strip of the background paper from the front of the card.
You could make several cards if you cut the paper as I did, or you could cut the squares into different configurations. Make the six squares go horizontally or make them just 2 x 2 instead of filling the whole space on the card.