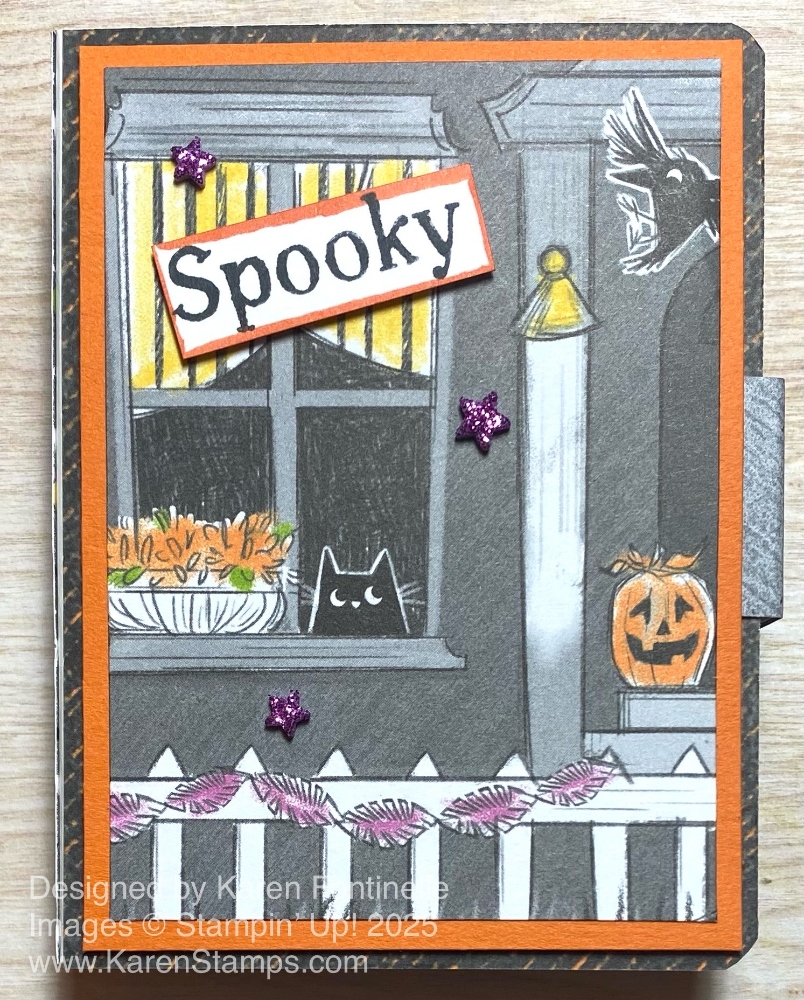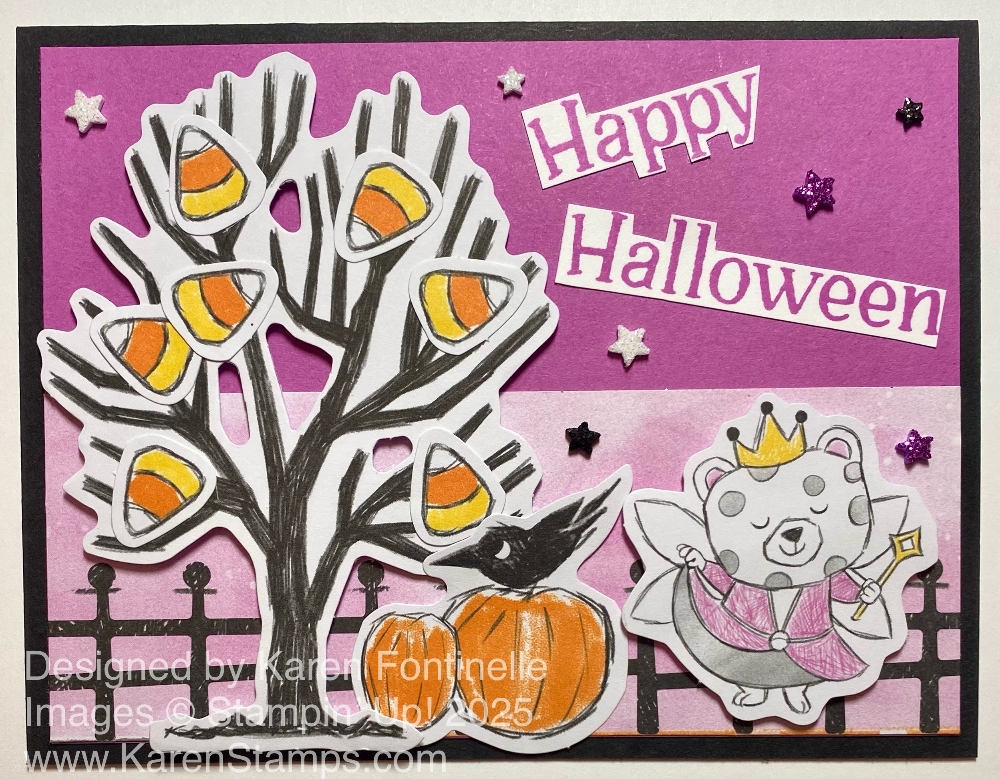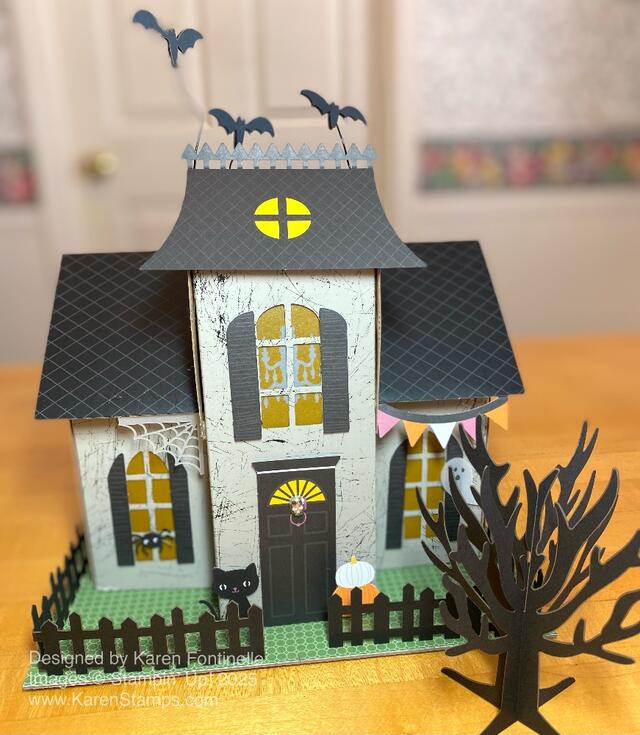
The 4th of July is over, so it’s time for Halloween!! Here is my first Halloween card of the year, the Frightfully Fun Ghosts Halloween Card! Is it too soon?! Besides my birthday, what other big holidays come between now and October 31? Just Labor Day, but we don’t make Labor Day cards and decorations! Just kidding, I’m not ready to go full in on Halloween YET, but it will be here before we know it.
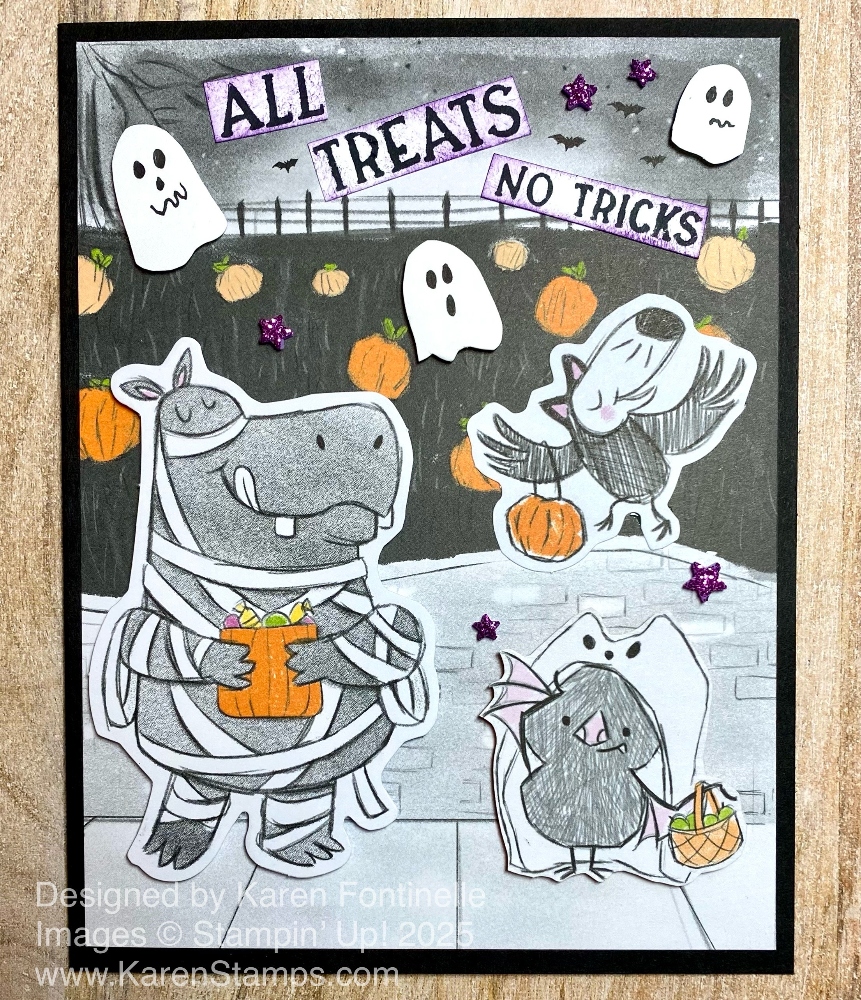
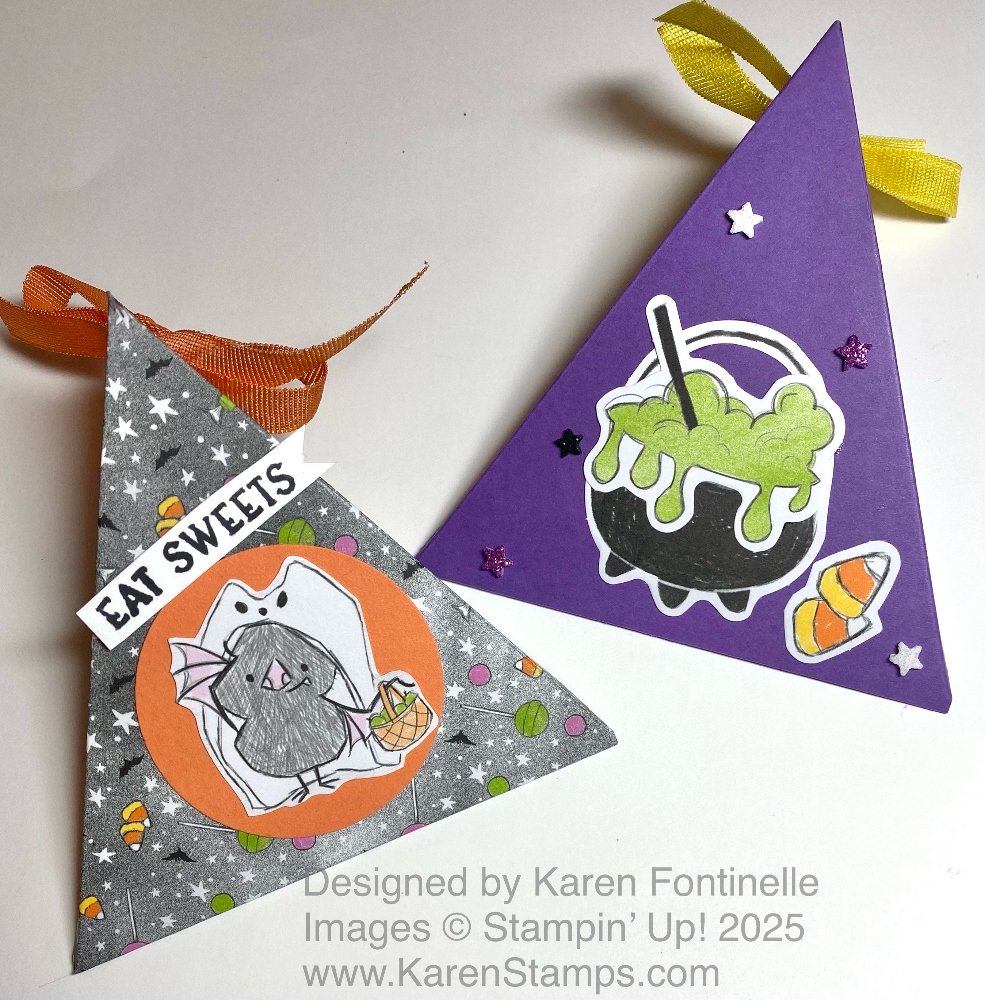
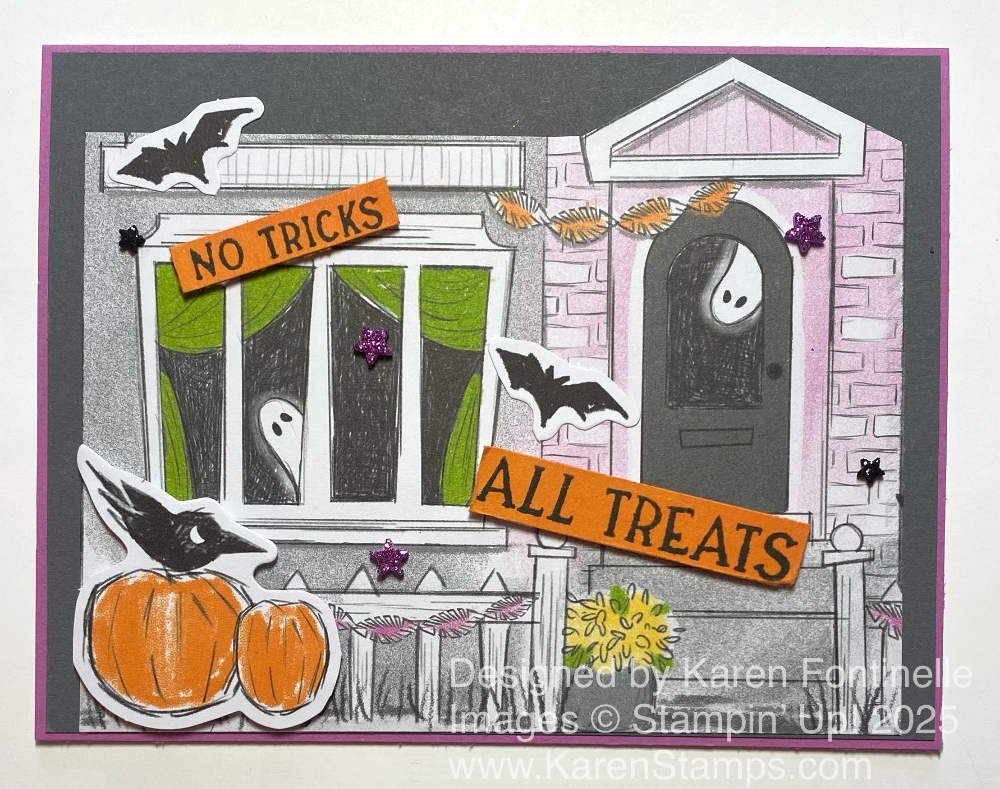
The real reason I made this Halloween card is that the paper and Bundle are the things I preordered from the new Online Exclusives that were just released by Stampin’ Up! on July 1st. I don’t remember what else I ordered that time, but I know I wasn’t ready for all the holiday things offered in the Online Exclusives. And I think I was too busy getting ready for a trip. I have more new Online Exclusives coming, but for now I’ve been looking at this Halloween paper, Frightfully Fun Designer Series Paper, on my table for a few weeks now without using it. It is part of the Frightfully Fun Suite Collection. I think I bought all the parts of the Suite except for the White Gable Boxes. There are also extra products, like the designer paper with stickers and the Frightfully Fun Times Two-Tone Cardstock, and more!
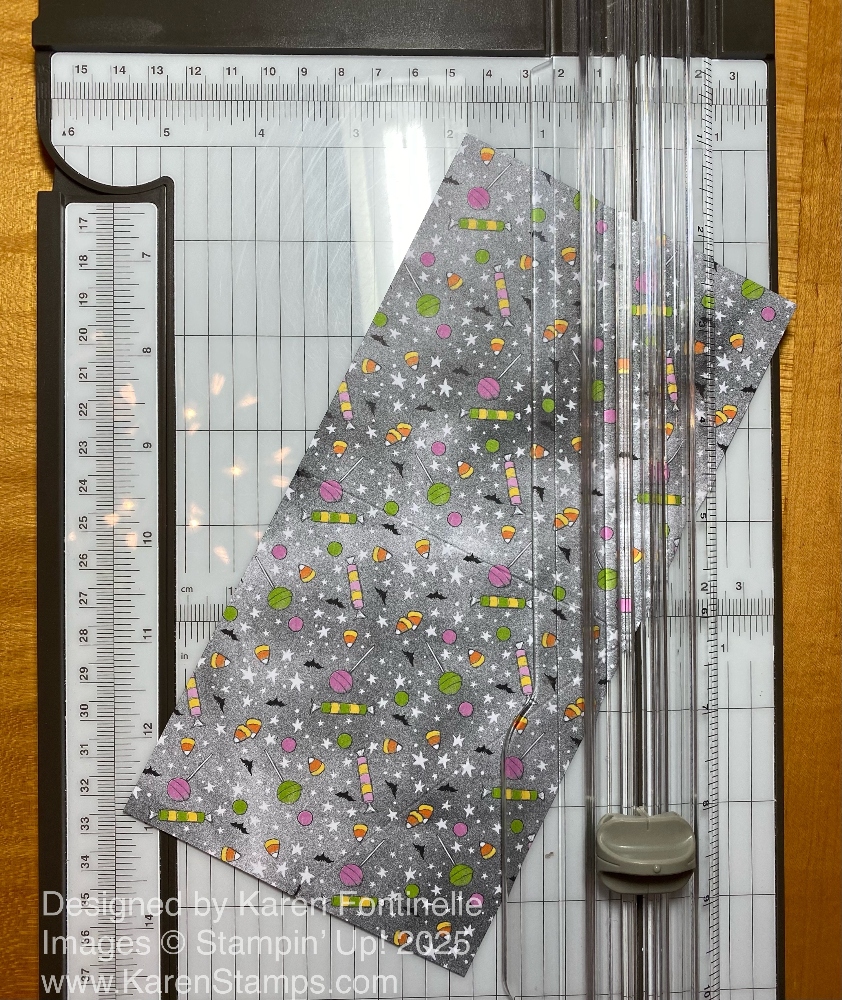
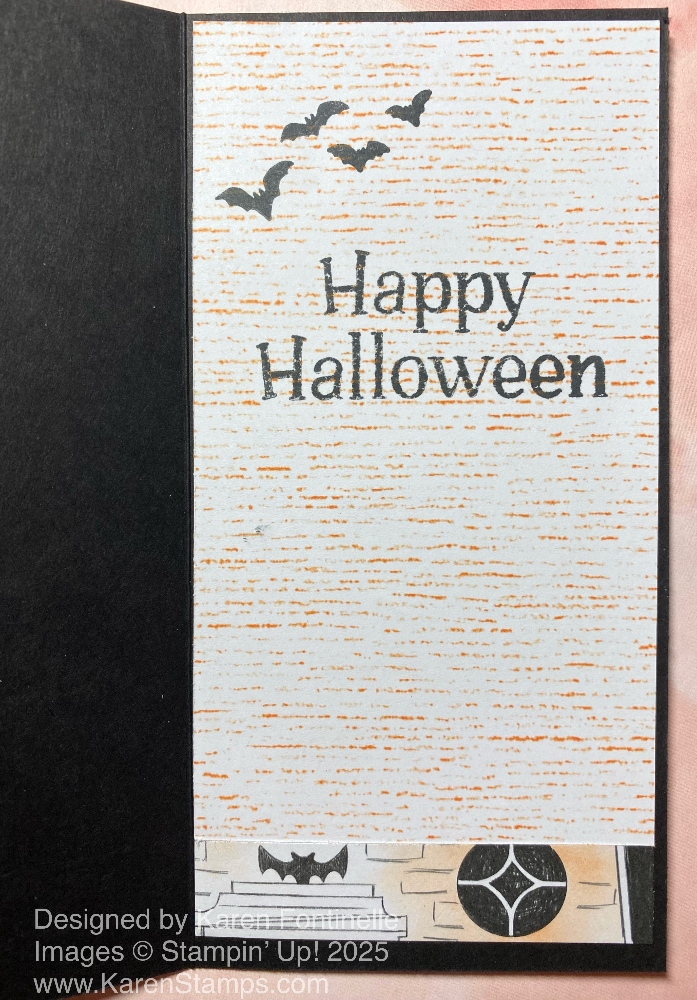
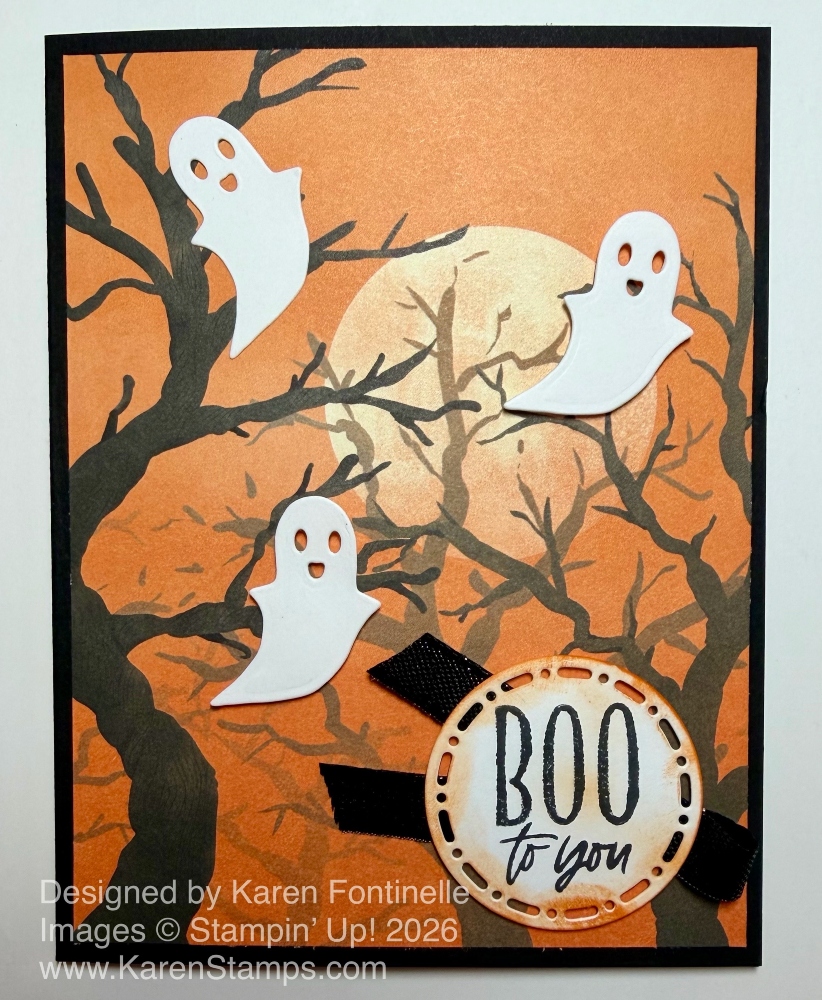
For an easy beginner Halloween project, I started with this card. The card base is Basic Black, and I’ll add a Basic White layer inside so I can stamp or write a message, and probably add a ghost or stamp something inside for a fun little surprise. The whole background is one of the “panels” of designer paper as we have had before. You can cut the paper into panels, 4″ wide, then cut each into 4″ x 5 1/4″ pieces to use. Or use the whole thing for a scrapbook page.
When I tried out the new Oh My Fright Dies, I thought the one ghost die looked like it would cut out one certain shape of ghost on the designer series paper. But when I tried it, I got a margin around the ghost! It didn’t fit the ghost exactly. Maybe in some circumstances the extra margin around the ghost would help it stand out, but for this card, I didn’t want it. You can see the photo below. I just trimmed off the excess and fussy-cut some of the other ghosts on the paper.
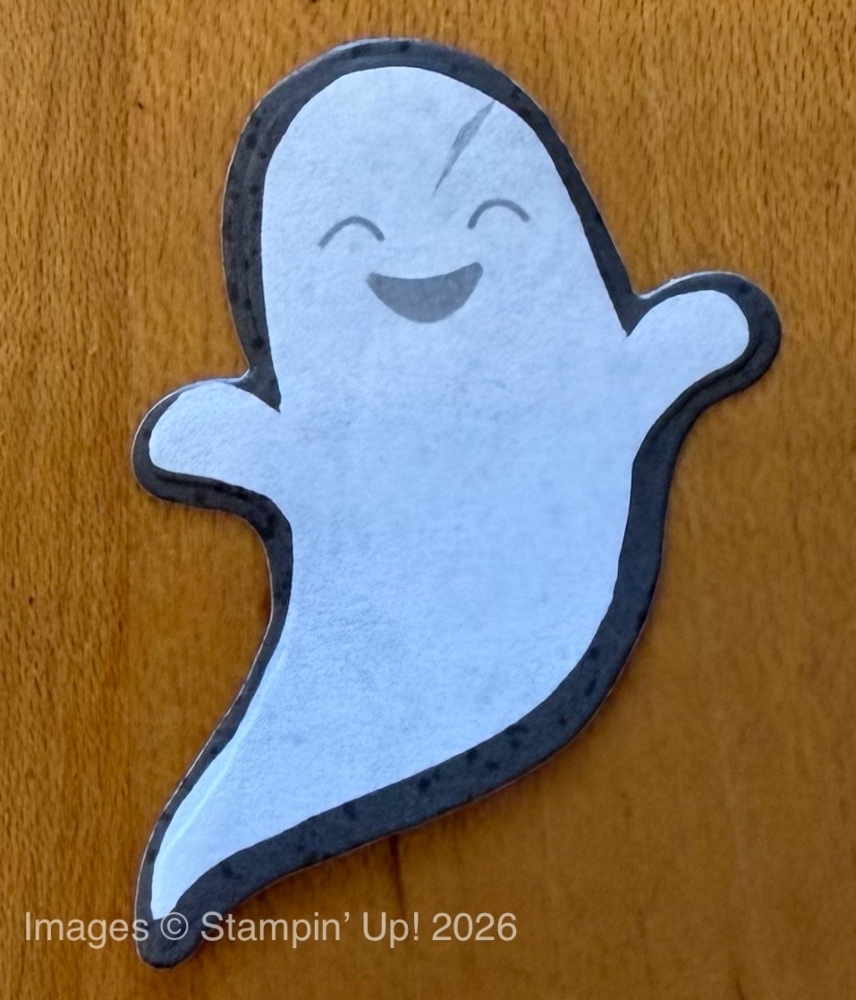
However, when I tried out the little ghost die in the set, it cut out these CUTE little ghosts with faces that I put on my card! I love these! So I used three of these little ghosts out of Basic White cardstock rather than the designer paper ghosts. Just so you know, the larger ghost die DOES cut out a stamped ghost in the Oh My Fright Stamp Set. You can get both the stamp set and dies in a Bundle and save 10%. The top ghost is glued down flat on the card, the other two ghosts are popped up with one Stampin’ Dimensional.
For the greeting, I stamped one in the Oh My Fright Stamp Set in Memento Ink on Basic White and diecut it with a circle in the Spotlight on Nature Dies. To make it a little less stark white, I used a small Blending Brush and Pumpkin Pie ink to just ink the edges a little bit and even the center of the greeting very lightly. You could use a sponge if you don’t have the Blending Brushes. Behind the greeting, I put a small piece of the Black 3/8″ Iridescent Ribbon and popped it up on Stampin’ Dimensionals.
This is really an easy card to duplicate, so if you are into Halloween, go ahead and get this paper or the entire Frightfully Fun Suite before anything sells out and so you can get an early start!