This Spooky Ghosts Halloween Card winds up the Halloween season here on my blog! Are you taking kids out for trick-or-treating tonight or are you staying home and handing out candy to the trick-or-treaters? I love being home and giving out candy, especially to the itty bitty trick-or-treaters. We used to have a LOT of kids come to our house after the little neighborhood carnival down the street years ago, but now we have half or less that we used to have as our neighborhood has gotten older.
This card has a Pumpkin Pie cardstock card base with a layer of the orange dotted patterned paper in the Halloween Spells Designer Series Paper. I cut a strip of the striped pattern in the package to make sort of a wall on the left side of the card. And at the bottom, I cut out some of the Potions & Spells books, also printed in the Halloween Spells DSP.
Then came my favorite part….making ghosts! I learned this from a Demonstrator group meeting I attended with my friend who would become my upline when I signed up. I thought it was so creative! Use a heart punch, heart die, or simply cut out a heart by hand. Then cut it in half! You have two ghosts! Of course, with the flat edge, you have to put them so they are peeking out from somewhere. I put some faces on mine with a Basic Black Stampin’ Write Marker. For the third ghost, I just cut off part of the bottom of the heart so it looks like just his head is poking out from behind the stack of books! The little sentiments are stickers from the Halloween Memories Scrapbooking Workshop Kit. They fit in there perfectly.
I’m sorry that Halloween will be over after today. I think the decorations I have for the house, cards, and Halloween things I can make are so much fun. The Halloween colors are great, too, to work with! But now it’s on to the next holiday!
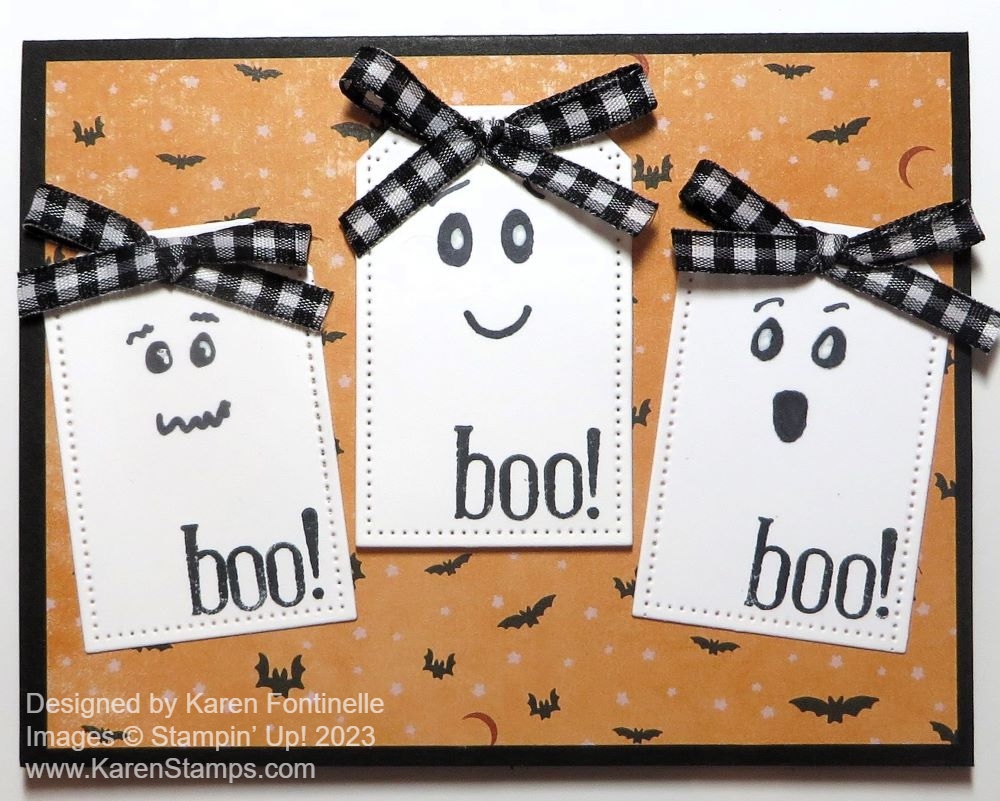
I got the idea for this Trio of Ghosts Halloween Card from something I saw online, probably on Pinterest. It was a group of little tags that looked like ghosts! That gave me the idea to make tags that looked like ghosts but put them on a card! Why not have fun making a Halloween card?!
This card base is Basic Black with a layer of the Them Bones Designer Series Paper. I chose the pattern with the tiny bats because they are flying with the ghosts! You could make similar ghosts in any number of ways depending on what you have on hand to use. For my ghosts, I used the Tailor Made Tags Dies but I made them shorter than the die. If the die is longer than you want, roll the die through as far as you want it, then take it out of the machine. Scoot the die up so it is where you want the bottom of the tag to be but align it with what is already diecut. You will be able to feel it when it fits perfectly. Just try it and you will figure it out!
I drew on faces with a Stampin’ Blends Black marker. If you have a small hole punch you could punch out the black eyes to adhere instead of drawing and add that little white highlight with a gel pen.
The “boo” is stamped with the Alphabest Stamp Set and Memento ink. You wouldn’t have to add that but I thought it was cute! The center ghost is popped up with Stampin’ Dimensionals.
At the top of each ghost, I tied a little bow with the Black & White 1/4″ Gingham Ribbon and adhered it with a Mini Glue Dot. Each bow covers up the little tag hole but you could also tie ribbon through the hole instead of a bow.
If you had “googlie eyes” you could adhere those on the ghosts instead of drawing on the eyes.
There you have another idea for a Halloween card! We are almost out of time!
I was so thrilled with this Halloween Ghosts Boo Card after I made it! It’s all because of a creative idea I learned right before I signed up to be a Demonstrator. It was such an incredible idea I could hardly stand it! And I’ve been copying that idea ever since!
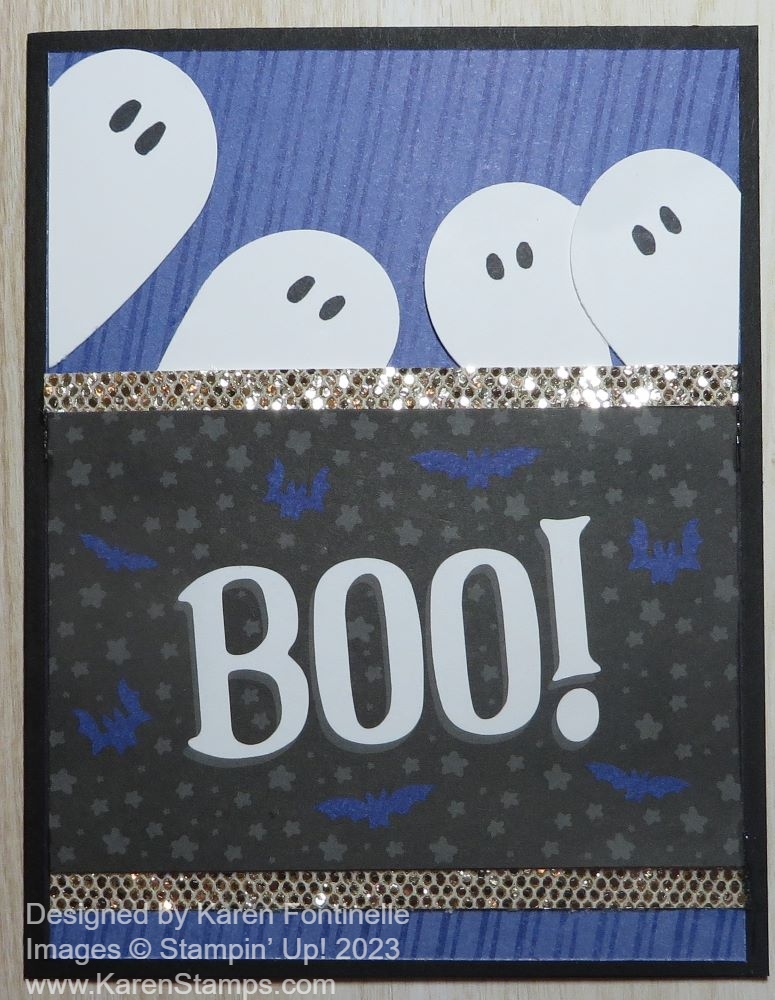
This Them Bones Designer Series Paper for Halloween has two sheets of this paper that have multiple panels on it that you can cut apart. One of them has the word “Boo” on the panel and that is what I used on this card. The background paper is also in the package, with a slight diagonal stripe. Behind the Boo panel, at the top and bottom, I added narrow pieces of the More Dazzle Specialty Paper. They are about 1/2″ wide. The card base is Basic Black.
This is how I made the ghosts, the focal part of the card. I punched out two hearts. That’s it! And then you cut the heart in half right up the middle. Then place the ghosts at an angle (or in this case, tucked under the Boo panel). Draw on some eyes, maybe a mouth if you want. So simple and isn’t it so creative?! I used a retired heart punch to make the ghosts. You probably have one or some heart dies, and if you don’t have one of those you can just cut out hearts like you did when you were a kid.
That’s how easy it is to make this card. If you don’t have the Boo panel to use, just adhere any paper you like and add a greeting from another stamp set or spell out Boo with an alphabet set you may have.
In case you haven’t heard, the Stampin’ Up! Holiday Mini Catalog went live yesterday so you can start your holiday stamping shopping spree!
It’s time to make some fun Halloween cards like this Halloween Ghosts Boo Card! While I can’t believe it is October already, the time is here to enjoy the preparations for all the upcoming holidays, including fall and Halloween! Several houses have their Halloween decorations up already which I enjoy going for our walks around the neighborhood every day. I love the fun part of Halloween and hope to get more Halloween cards and treats made soon! Remember, if you are mailing Halloween cards to anyone, better send them extra early since the mail has been “slowed”.
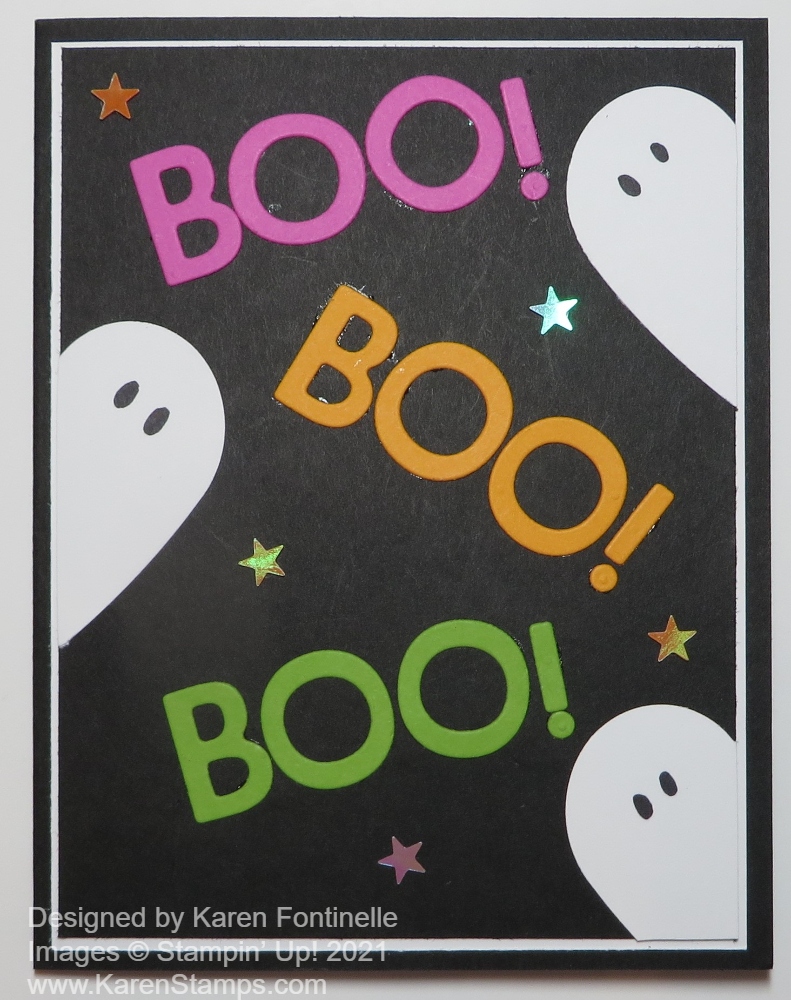
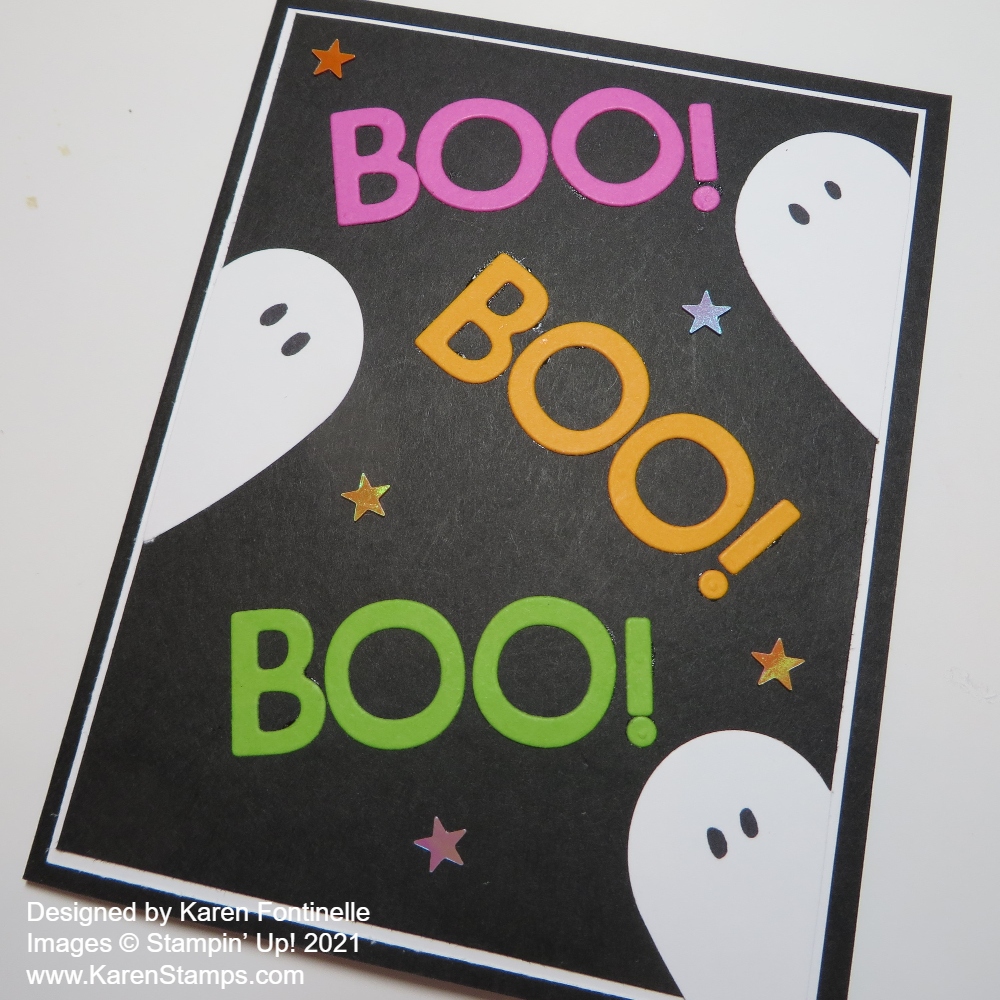
This card has a Basic Black base with a layer of Basic White with just a thin margin. The front of the card is Basic Black so that my colorful words and ghosts would stand out. I’m not sure where I got the inspiration for this card, maybe from myself when I made THIS CARD. I loved how the “BOO” turned out on that card and maybe that’s what made me think of the idea for this card!
The words are spelled out with the cute letters die cut with the Playful Alphabet Dies. This is a die set I haven’t used very much but I should! It’s really very useful and different to use on cards and projects. The font of the letters is just fun, I think. I used some bright colors to stand out against the black, like Granny Apple Green, Mango Melody, and Magenta Madness. There are other colors you can use that work just as well. Just experiment and see which colors you like the best! There is an exclamation point in that die set as well and I think it goes well with these words.
The ghosts have a little story, which you may have heard before and will likely hear again! Just before I signed up to be a Demonstrator, I was visiting my friend in St. Louis and went with her to her team meeting. There were lots of displays of cards, of course, and one had ghosts like on this card. Do you know how I made them? They are hearts cut in half! I used the plain heart punch in the Heart Punch Pack but you could use any punches or heart dies that you have. Then just cut the heart in half from the bottom point up! When I saw that at this meeting, I was completely taken by that creative idea! Then you can adhere them to the sides of the card as if they are peeking in! I just drew on the black eyes with a black marker. You could punch tiny circles or use googlie eyes! So fun!
As a finishing touch, I added some Cute Stars Adhesive-Backed Sequins. I wish they were in more colors, but these worked okay. I love it when these embellishments come with adhesive on the back rather than using a tiny drop of glue!
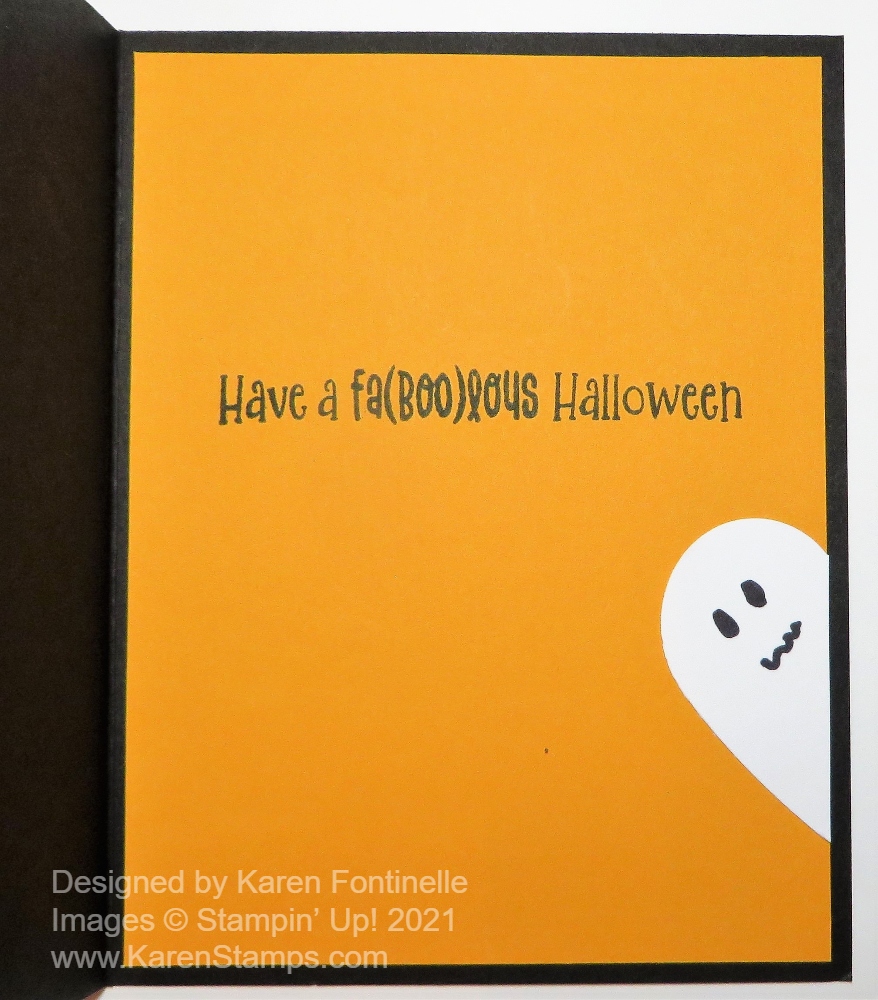
Since the card base is Basic Black, unless you are going to use white embossing for a message inside or a white gel pen, you need to add a layer of a light color, usually Basic White, to the inside of the card. This time I thought I would use a different color since it’s a Halloween card after all. I used the same Mango Melody I used for one of the words. The greeting is stamped from the Cutest Halloween Stamp Set. And since I had an extra half of a heart, I made a ghost peeking around the corner on the inside of the card as well!
This is one of those cards I REALLY enjoyed making and REALLY like how it turned out if I do say so myself! LOL! Actually, you could make this as just a card front and maybe put it in a little frame and use it for a home decoration! Those tiered trays are all the rage on Instagram with people putting an abundance of small decorations on them for each holiday! You could make your own decoration with a card like this! I might try that myself now that I thought of it!
This is the best time of year with fall weather, fall decorations, and anticipation of all the upcoming holidays! Get your supplies out and start stamping! If you need some supplies, just go shopping at my Stampin’ Up! Online Store HERE! And TOMORROW, October 6, new items will be added to the Stampin’ Up! Clearance Rack!! The early bird gets the worm!
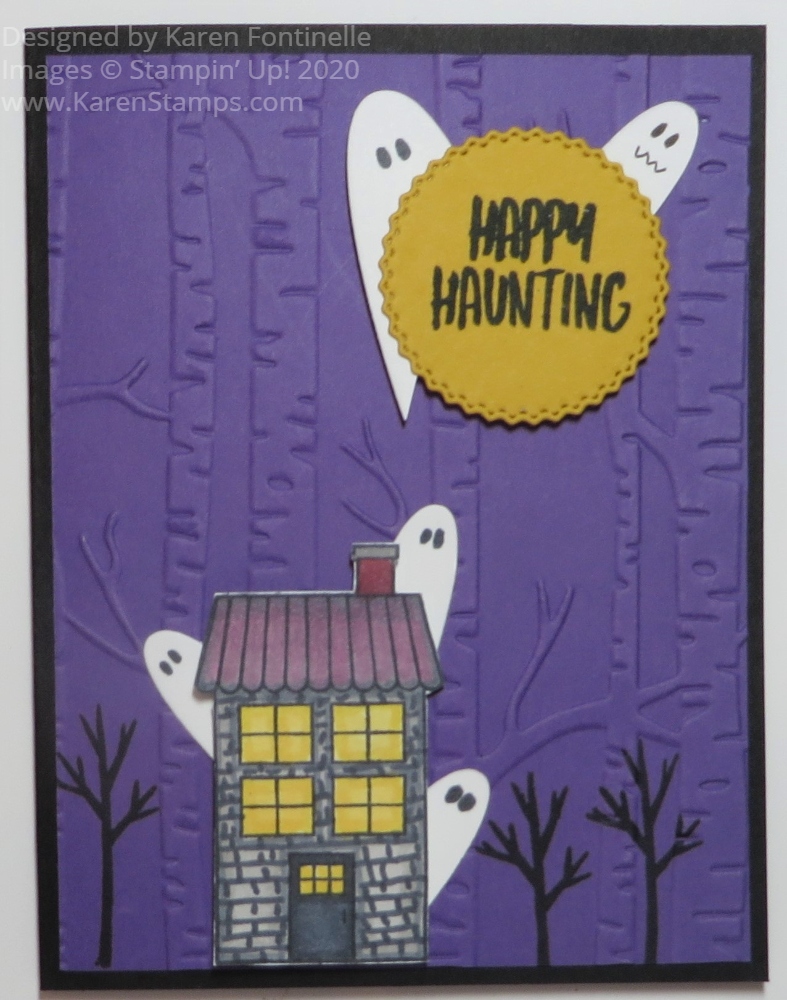
This Coming Home Haunted House Halloween Card was so fun to create! I didn’t know what it was going to be until I made it! I had seen the idea online of making Halloween houses out of what we are mostly using as Christmas houses and I thought that was so clever that I had to use that idea.
To get this card started I stamped one house in the Coming Home Stamp Set on Whisper White and then colored it in with various colors of Stampin’ Blends markers. You can use whatever colors you like. I wanted my house to look haunted so I chose some light and dark gray colors for the house with a couple different yellows for the windows. I wanted to roof to look a little spooky so I used a purple on it along with grays and black. The chimney is part Cherry Cobbler. Then to make it look even more run-down, I drew lines with the pointy end of the Basic Black Blends marker to resemble shingles or bricks on the house. That’s not what the stamp looks like.
The card base is Basic Black with a layer of Gorgeous Grape. As I looked through my embossing folders, I found this Woodland Embossing Folder and used that. Originally I thought just any kind of small background folder for some texture would be fine, but when I found this one with the trees, thought it was perfect for Halloween spookiness.
After I had stamped the haunted house, I cut it out with Paper Snips and originally thought I would adhere it to a die-cut circle or rectangle to be the focal point of the card, but then I decided I could just place it at the bottom of the card and it could look like it was out in the woods. I also carefully stamped some trees in Memento Black in the Coming Home Stamp Set in between the embossed trees. I got lucky that I didn’t mess up the embossing!
The greeting is from the Banner Year Stamp Set. I have gotten a lot of use out of this stamp set even though it is one you might overlook. I like the variety of greetings and small images. I stamped it on Crushed Curry Cardstock and then used a die-cut in the Tasteful Labels Dies. I love the look of that circle die with the fancy edge. I popped that up with Stampin’ Dimensionals® and placed some ghosts behind it.
To make all my ghosts, I die cut the smallest plain hearts in the Be Mine Stitched Dies and cut them in half. You can read about why I make ghosts like that HERE in this recent post. The haunted house had to have some ghosts, too! I colored on some eyes on the ghosts with a marker.
And that’s it for my Coming Home Haunted House Halloween Card which was so fun to make! Halloween is Saturday so time is running out to enjoy creating for this fun holiday!
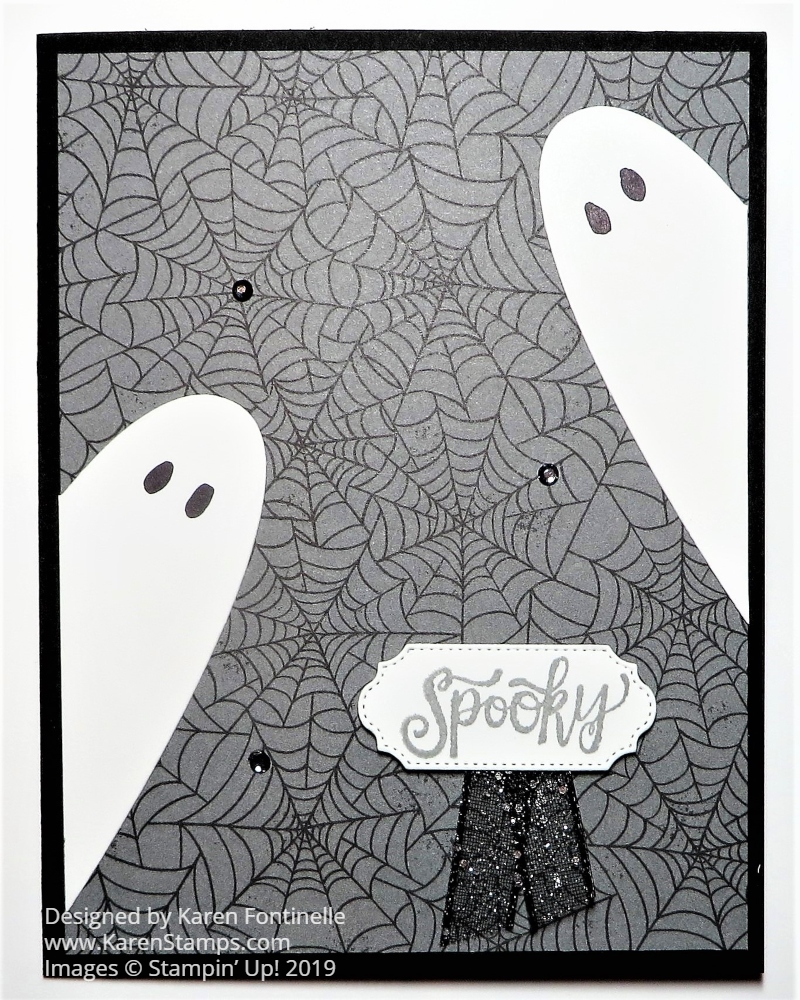
I made this Quick and Easy Ghost Card For Halloween almost in seconds! Well, a little die-cutting was involved so maybe it was a few minutes but it was very fast. And I like the card so much I plan to make more to send out!
The way I made these ghosts is a creative idea that I saw when I was first introduced to Stampin’ Up! and helped propel me to sign up as a Demonstrator. I found out that “rubber stamping” was WAY more than a stamp and ink and I was blown away by the creativity I saw with stamping and Stampin’ Up! at a little event I went to with my friend and future upline. When we started doing some stamping at this gathering, I actually had to ask what I was supposed to do with this stamp and ink pad! When I saw a ghost card similar to this one on a display board, I was hooked!
Here’s the big secret of how to make ghosts that are hanging out and peering around corners…..cut out a heart and then cut it in half! You have a ghost! You could cut out a heart by hand because, after all, a ghost doesn’t have to be made perfectly. But I used the Stitched Be Mine Dies to cut out a heart. I used one die that was large but not with the stitching. Then I simply cut the heart in half lengthwise. The eyes are just colored in by hand but you could use some kind of punch. Isn’t that clever to use a heart shape to make a ghost??! I love it!
For a little more bling on the card, I colored some Rhinestones with the Black Stampin’ Blend marker and then added three to the card. I like that touch.
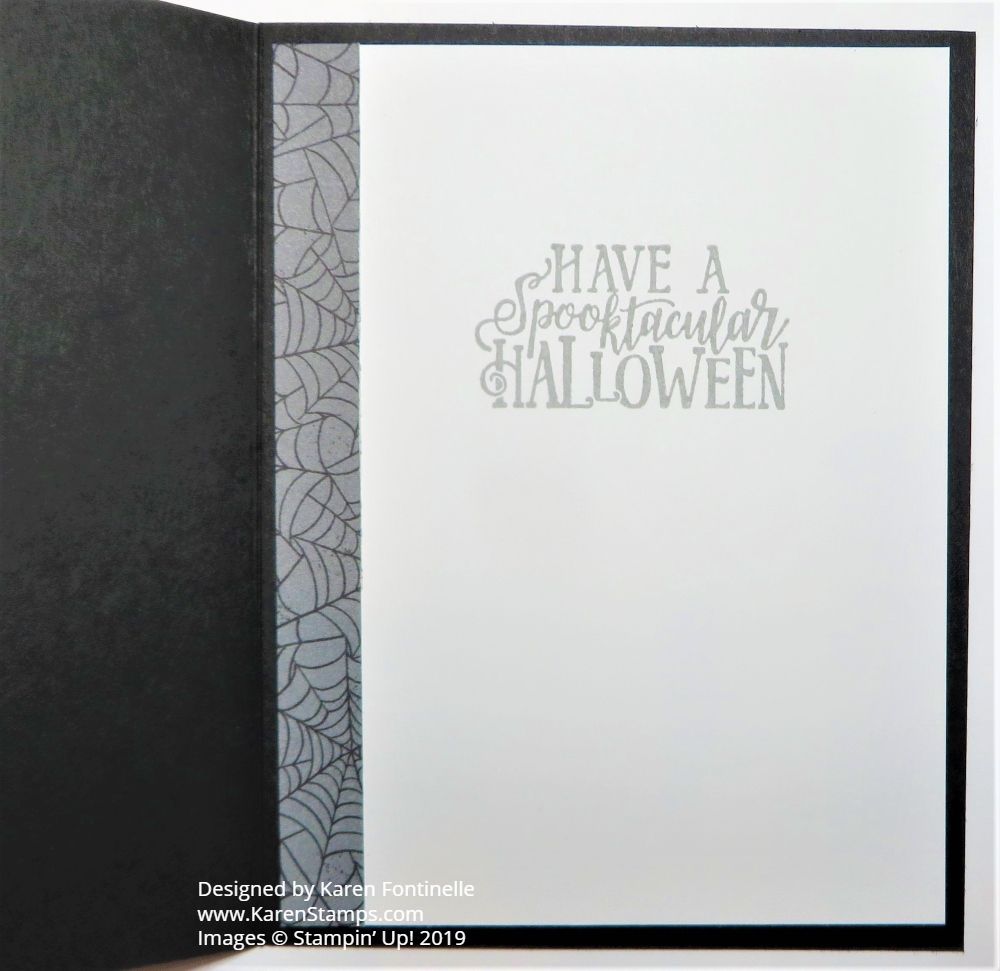
Since the inside of the card is black, unless you emboss a greeting in white on the inside, you won’t be able to write a message or note. Just add a layer of Whisper White inside and stamp a greeting. I used another greeting in the Spooktacular Bash Stamp Set and stamped it in Smoky Slate Ink. I also added a strip of the spider web designer paper inside.
That’s how easy this card is to make and it’s fun to make ghosts out of hearts! Here is another card I made with ghosts and glimmer stars. Get out your Halloween or other designer paper and make some ghosts cut from hearts! Decorate your Halloween card with ghosts and scary greetings and other things and see what you come up with, maybe something like my Quick and Easy Ghost Card For Halloween.