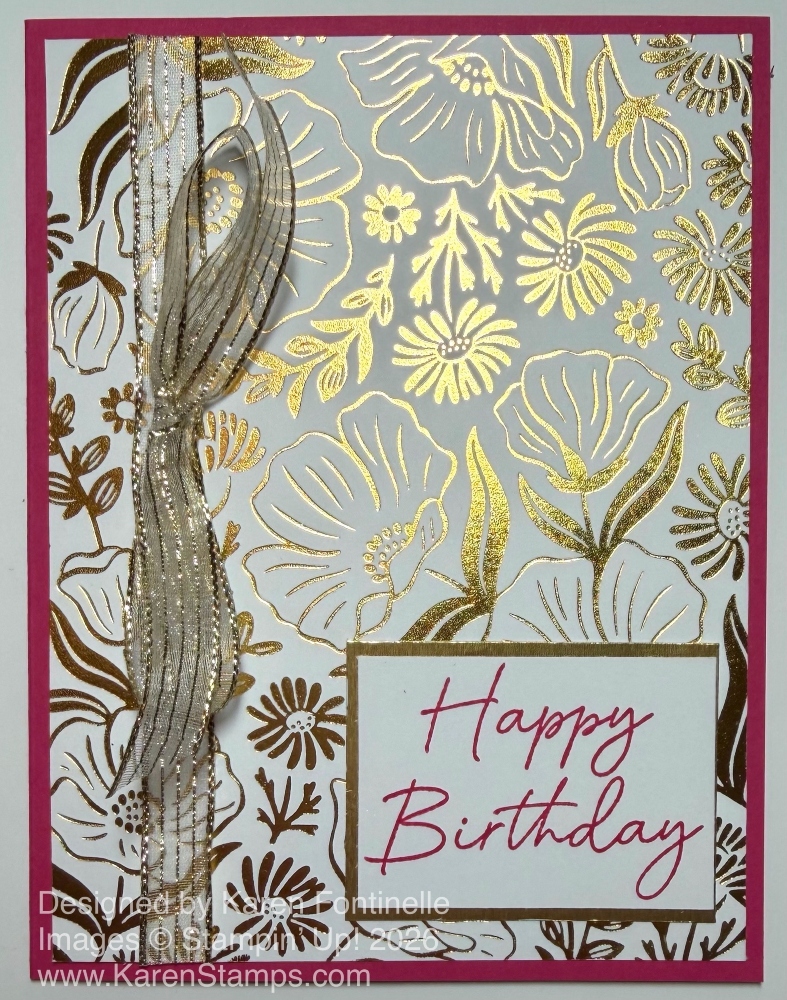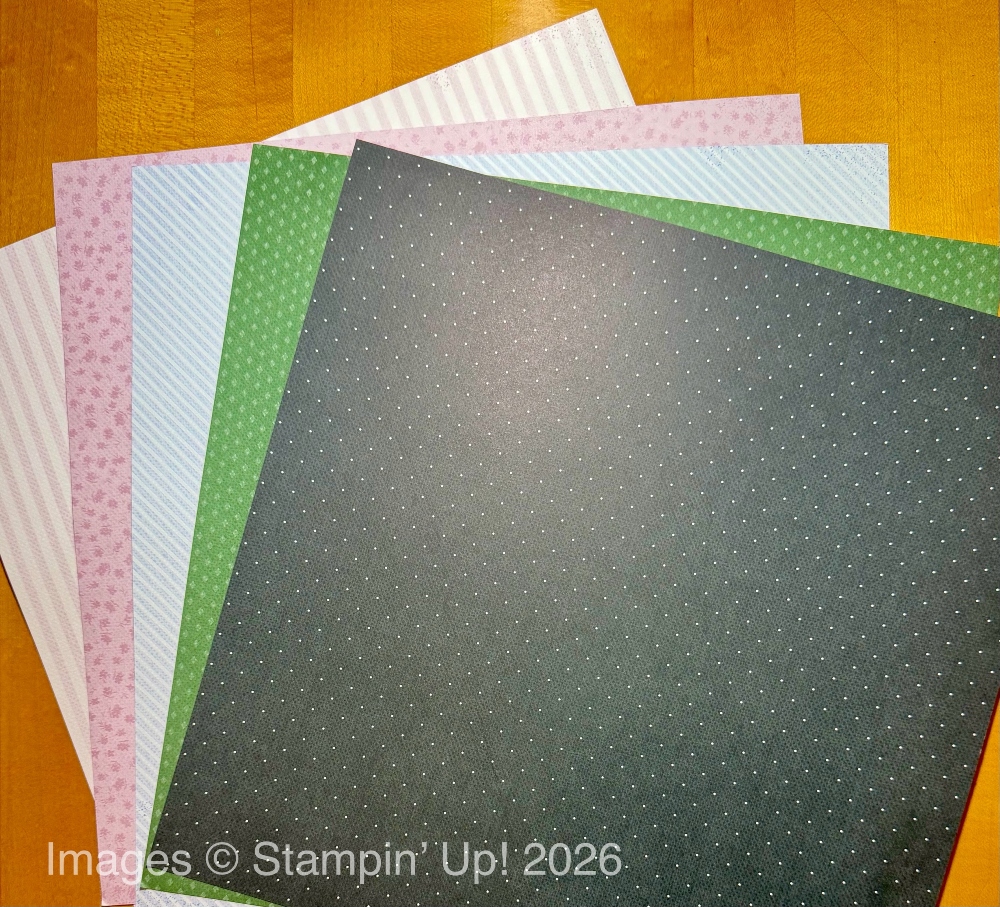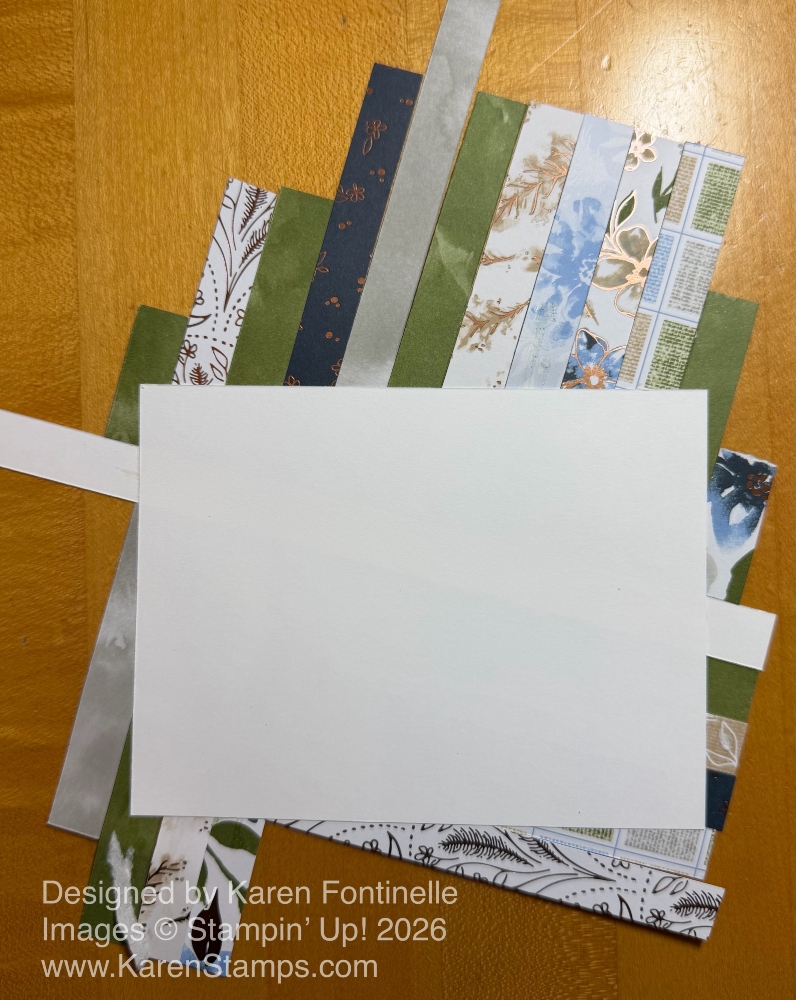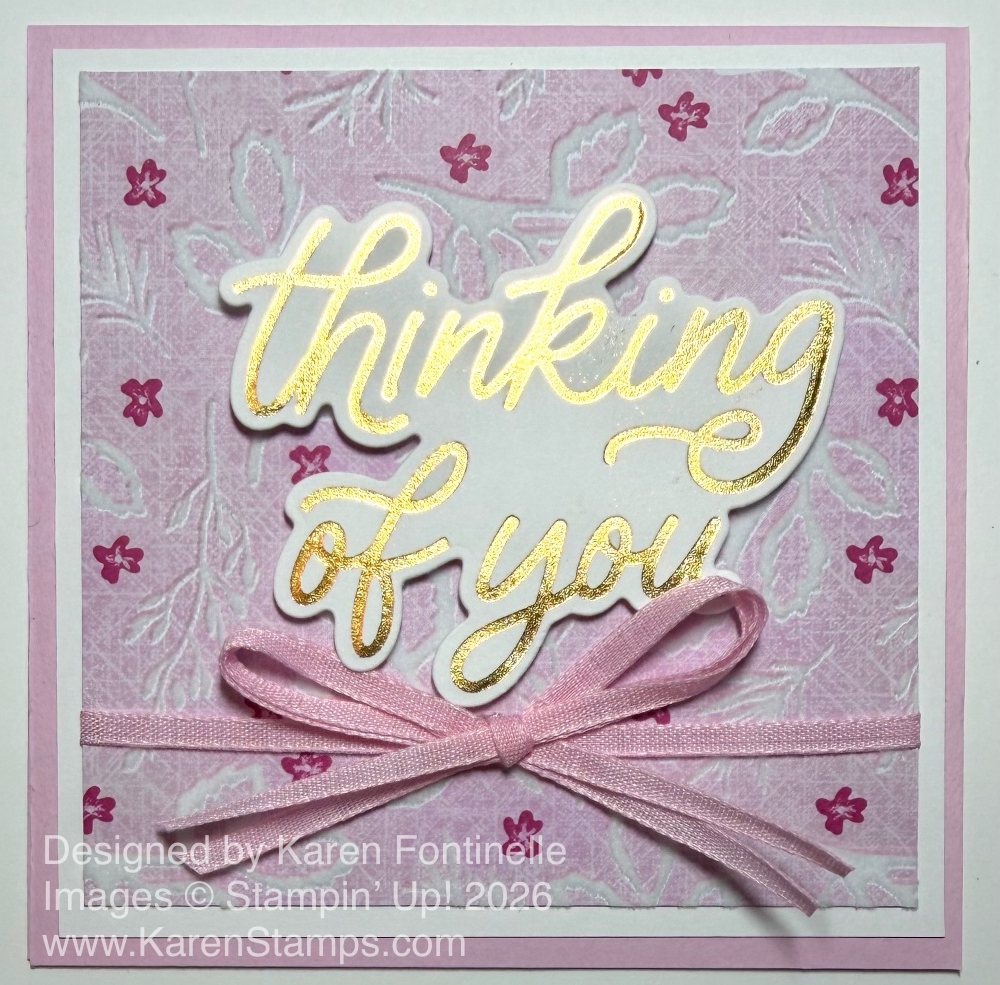
This Velvet Meadow Thinking of You Square Card was super quick and easy to make, except for tying the bow! I didn’t even have a design idea for a card, but I happened to grab this package of Velvet Meadow Specialty Designer Series Paper with the soft flocking on the sheet. I found this square scrap of paper which gave me the idea to make a square card for something different. The new hot-foiled greeting fit perfectly on the square card, which saved a lot of time.
The card base is Bubble Bath cardstock, which coordinates with the paper. I decided to add an extra layer of Basic White under the designer paper to help it stand out a little with the white flocking. The card base is 8 1/2″ x 4 1/4″. Score at 4 1/4″ and you have a square card. You can put the fold at the top (which I did) or on the side. The Basic White layer is 4″ x 4,” with the designer paper layer then being 3 3/4″ x 3 3/4″.
Before I adhered the layers together, I wrapped a piece of Bubble Bath 1/8″ Faux Linen Ribbon around the designer paper layer. The bow is two pieces of ribbon tied together and adhered to the center of the ribbon with a Mini Glue Dot.
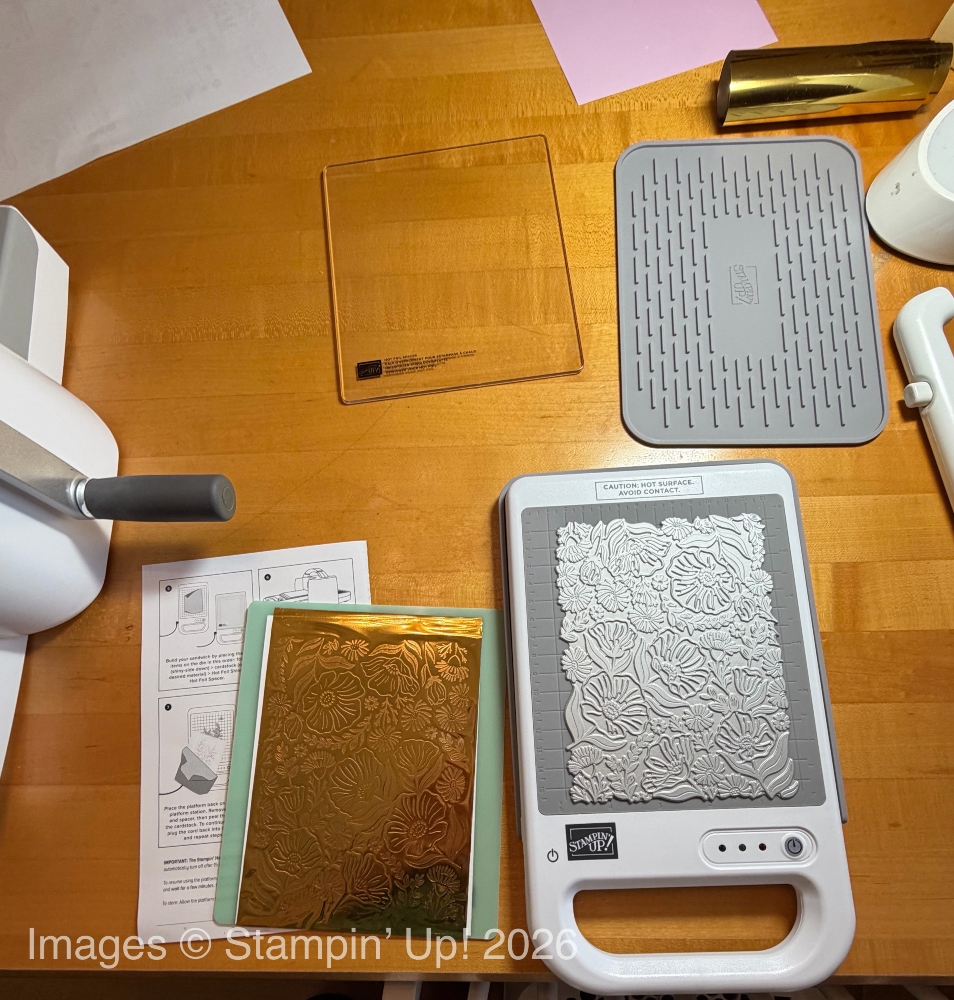
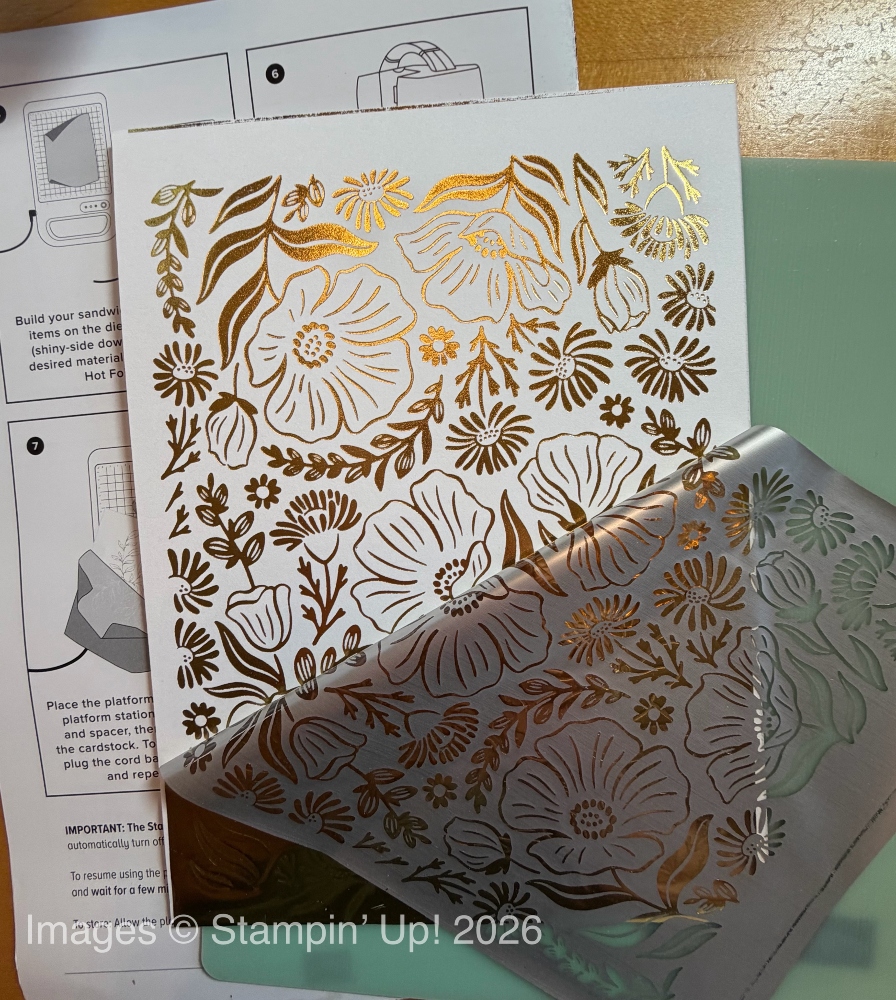
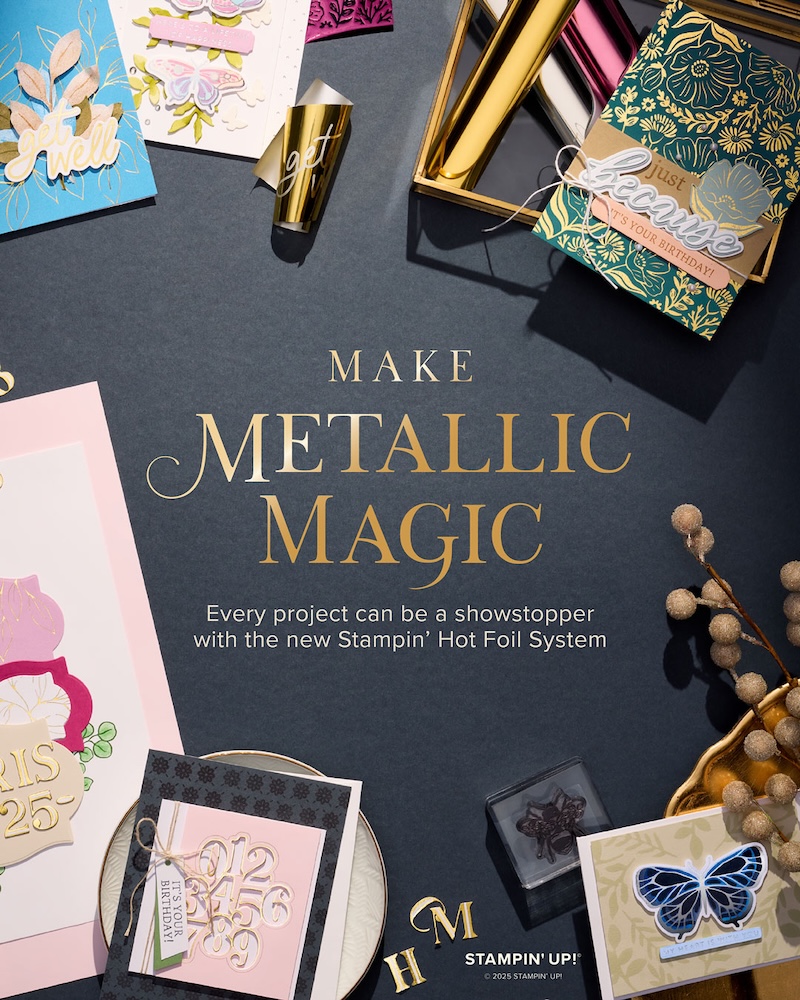
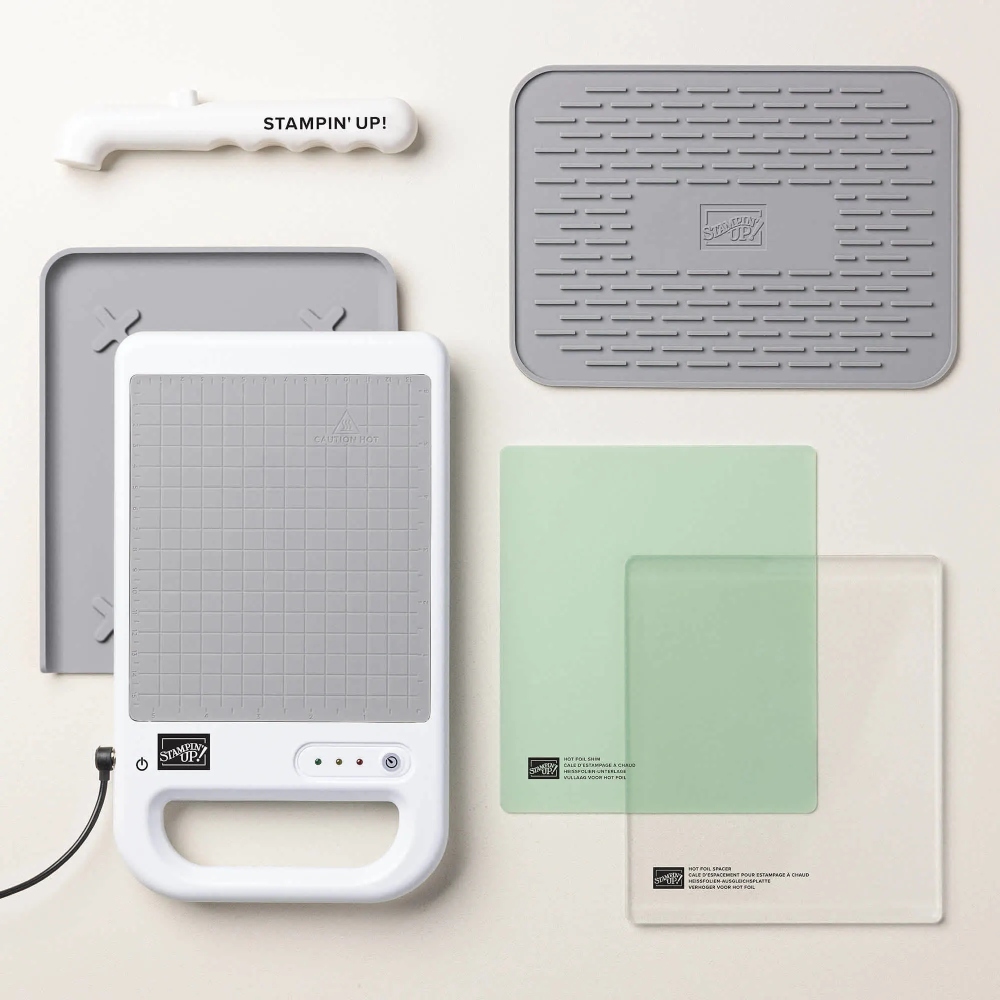
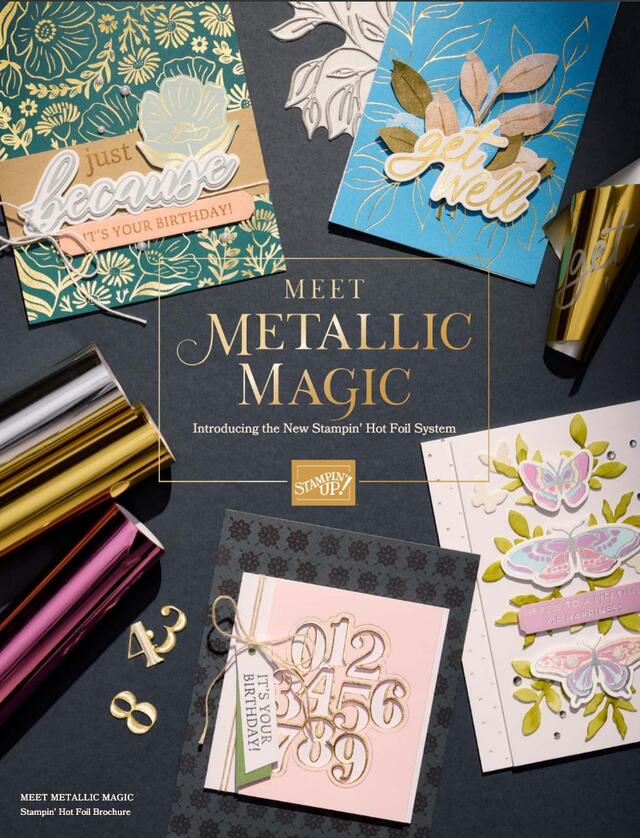
For the greeting (which almost looks like professionally printed emphemera!), I used the Classic Greetings Hot Foil Dies. I hot foiled these greetings (several of them at one time) on my first session with the new Stampin’ Hot Foil System. After you do the hot foil, you can use the regular cutting dies in the set and your Stampin’ Cut & Emboss Machine to cut apart each greeting so they are ready to use. I think it would be a good idea to make several of each greeting in the set in both gold and silver and keep them in a container so you can use them quickly and easily. The greeting is popped up on Stampin’ Dimensionals.
I think this card with the special Velvet Meadow paper and the gold hot-foiled greeting in such a lovely font really looks lovely, if I do say so myself!
As I am writing this post, the Velvet Meadow DSP is “currently unavailable” but will likely be back in stock the week of August 3, along with the Classic Greetings Hot Foil Dies. Fill out the notification in the Online Store by each product so you will be notified right away if you would like to purchase either or both of them. This system works well, but sometimes you have to move quickly so the product doesn’t sell out as soon as it comes back in stock! Sometimes it comes in earlier than expected, too.