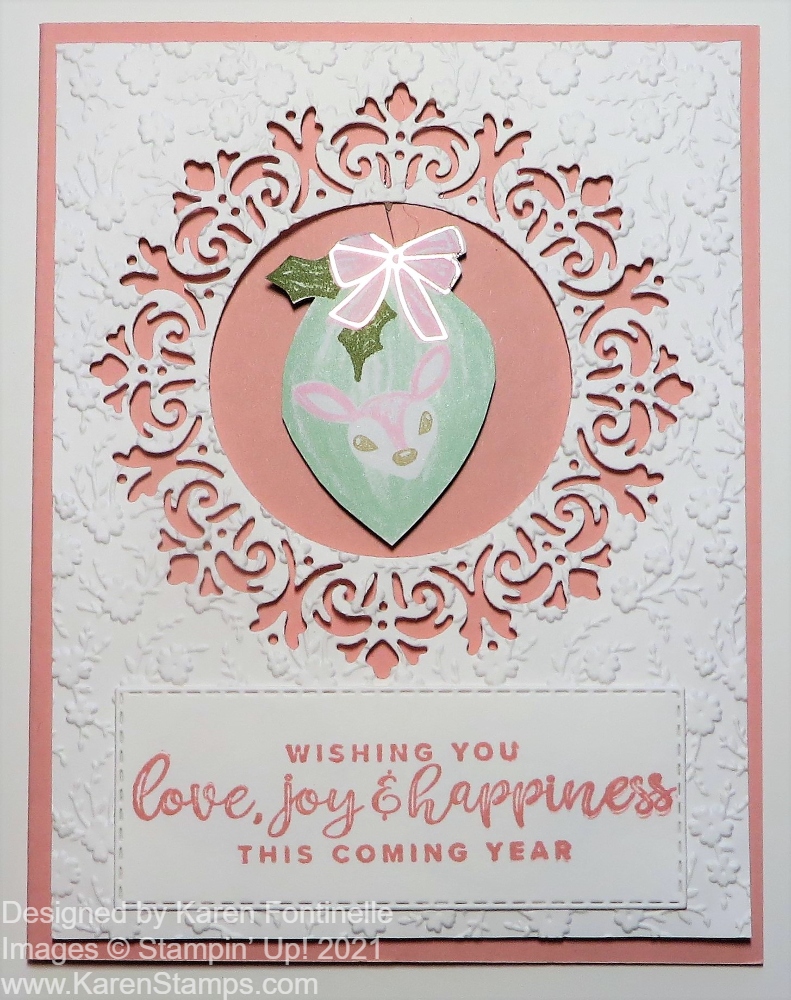
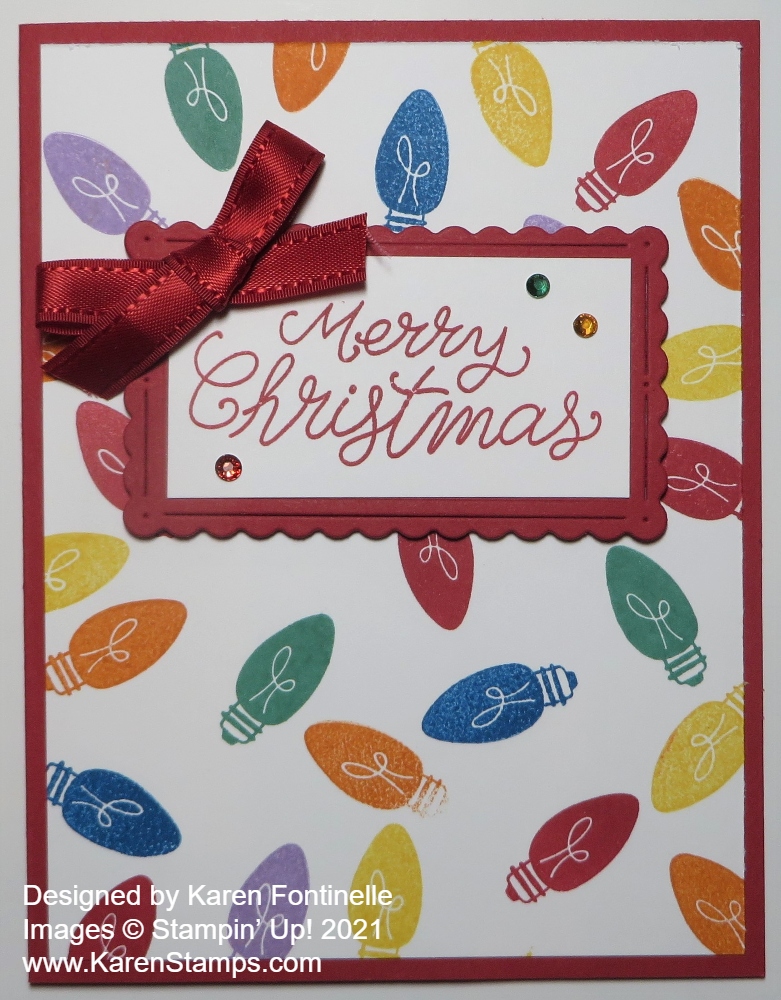
This weekend we Stampin’ Up! Demonstrators got to enjoy attending the OnStage Stampin’ Up! event….virtually! If we wanted to, we could preorder a few products so we could stamp along during the event presentations. This Blessings of Home Birthday Card uses some of those new products that will be coming in January in the January-June 2022 Mini Catalog! We got to view the new catalog plus the Sale-A-Bration Brochure also coming in January 2022! If you would like to be a Demonstrator and get in on some of this fun, consider joining now during the special Starter Kit offer during November!
This card uses the new Blessings of Home Stamp Set along with the new Heart & Home Designer Series Paper. I started with a card base of Cinnamon Cider and layered that with a piece of Pale Papaya cardstock. I chose this pattern with the foliage and bumblebees on it and layered that on the Pale Papaya.
The flower bouquet is stamped in Cinnamon Cider ink on Basic White cardstock. I wanted to make it kind of a monochromatic card although it’s not really that. It kind of has the look, though! I only stamped the flowers, I didn’t try to color anything in. This stamp set has a lot of details already designed into the stamp. I die cut the flowers with the die in the Flowers of Home Dies.
The greeting is stamped in Cinnamon Cider Ink on really a scrap of Pale Papaya that happened to be laying there! This sentiment is also in the Blessings of Home Stamp Set. I flagged the ends using the Tailored Tag Punch. This punch is so useful for punching into those ends of cardstock to cut out that little notch to make it look like a banner or flag!
The flower die-cut piece is popped up on Stampin’ Dimensionals onto a Pale Papaya scalloped rectangle in the Scalloped Contours Dies. The birthday greeting is laid across the stem with a Dimensional on each end of the strip so that it fits over the popped up flower.
For some bling, I added three of the new Classic Matte Dots in white. Then I remembered the Bumblebee Trinkets that we already have and just had to add one bumblebee to the card! If I hadn’t already popped up the flower, I could have adhered the bumblebee right on the flower bouquet instead of off to the side, but if you get too many layers popped up the embellishments might not make it through the mail! I think the Bumblebee Trinkets will be really cute with this paper!
That’s it! Pretty easy card to make and certainly lots of fun ahead with this new paper and stamping with the new floral stamps! We have to get through the holidays first, but once January hits, you know we will be ready for some fresh new products!
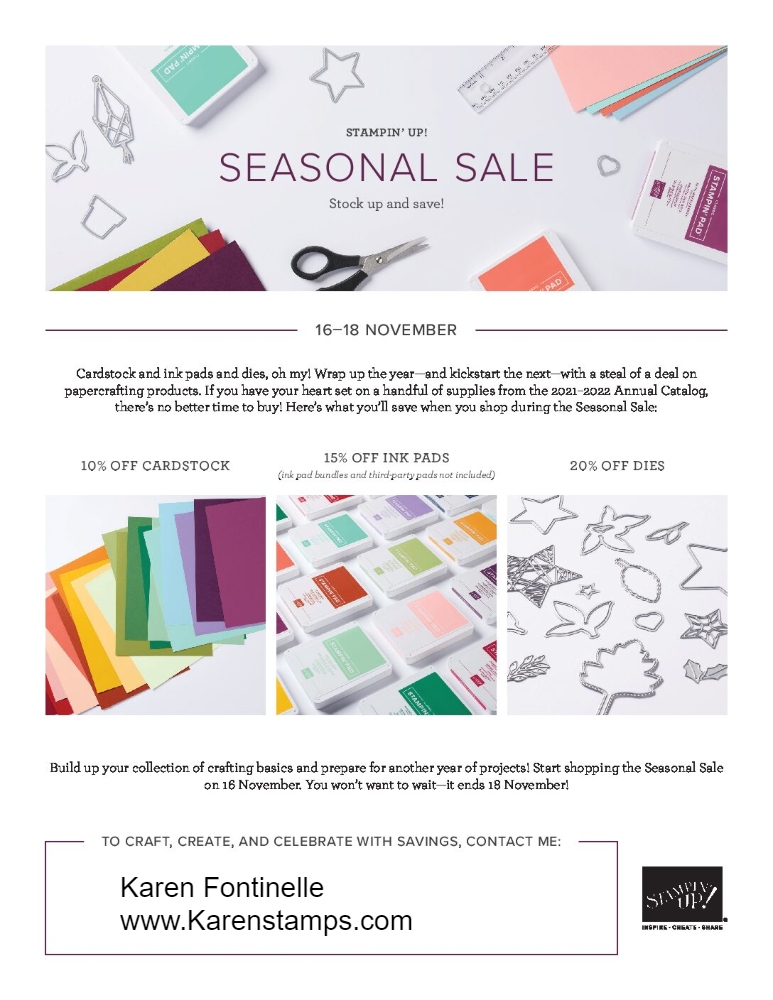
Don’t forget the Seasonal Sale starting Tuesday, Nov. 16 for three days only, through Thursday, Nov. 18!
Don’t miss it!