Tag Archives: Cutest Halloween Stamp Set

Triangle Halloween Treat Box WIth Ghosts

Triangle Halloween Treat Box Front

This may look slightly fancy, but it is really an easy treat box to make! This one was especially easy since it was white cardstock and I just stamped ghosts and spiders on it!

You can vary the size once you know how to make this box, but these are the measurements of the sample I made. I used a piece of Basic White Cardstock that is 4″ x 8″. Actually, there is no reason you couldn’t make it 4 1/4″ x 8 1/2″ so you don’t have to cut off a 1/2″ strip! But you’ll see after you make it.

Score the strip of paper in the center at 4″. Then on each end, make a pencil mark in the center at 2″. This part may seem tricky, but it really is not. Place the paper on your Paper Trimmer so you can score at a diagonal from that 2″ center mark down to the center scoreline.   Just angle the paper on your Stampin’ Trimmer so that both the center score line and the center point on the end are on the track on the Trimmer and then score. See the diagram below.

Triangle Box Drawing

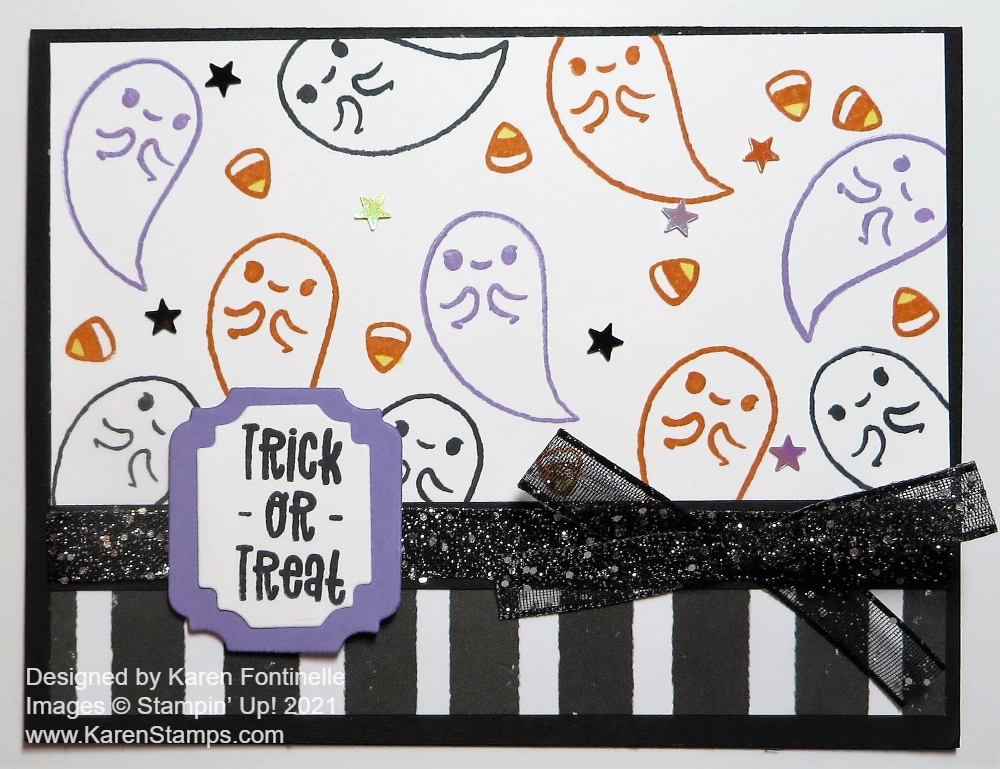
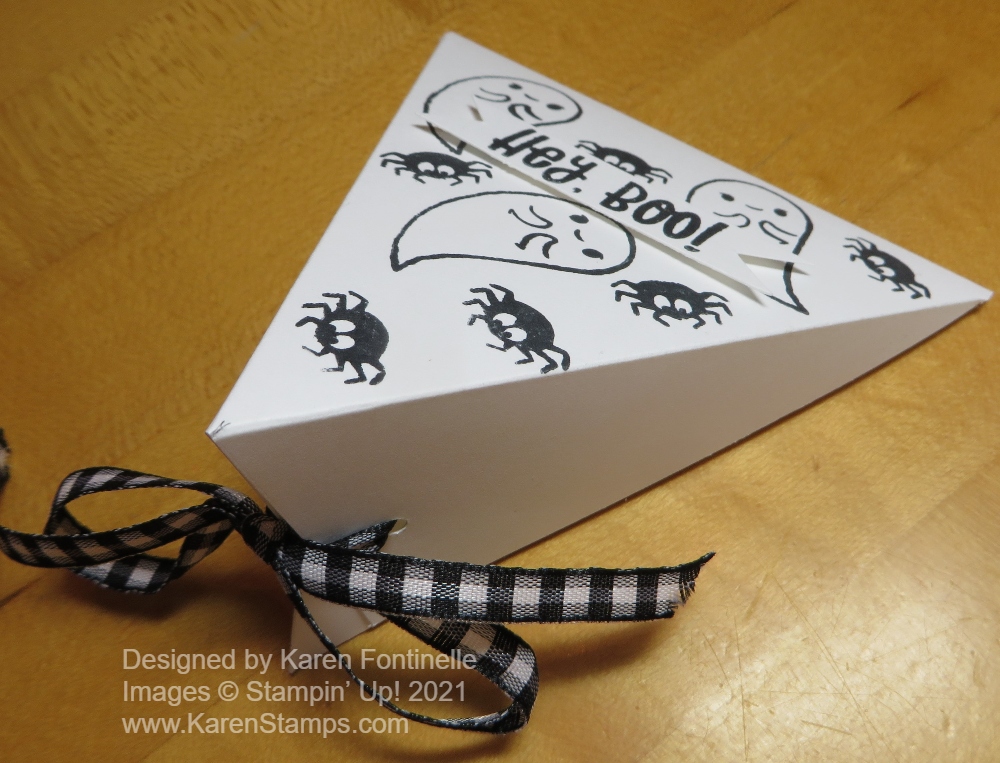
Crease all the score lines and see how your box will go together. Determine which area will be the top of the box and then you can stamp on it or decorate. I used the Cutest Halloween Stamp Set to stamp several ghosts and spiders. The greeting is stamped on a strip of Basic White and then I just flagged the ends with my scissors and adhered it with Mini Stampin’ Dimensionals.

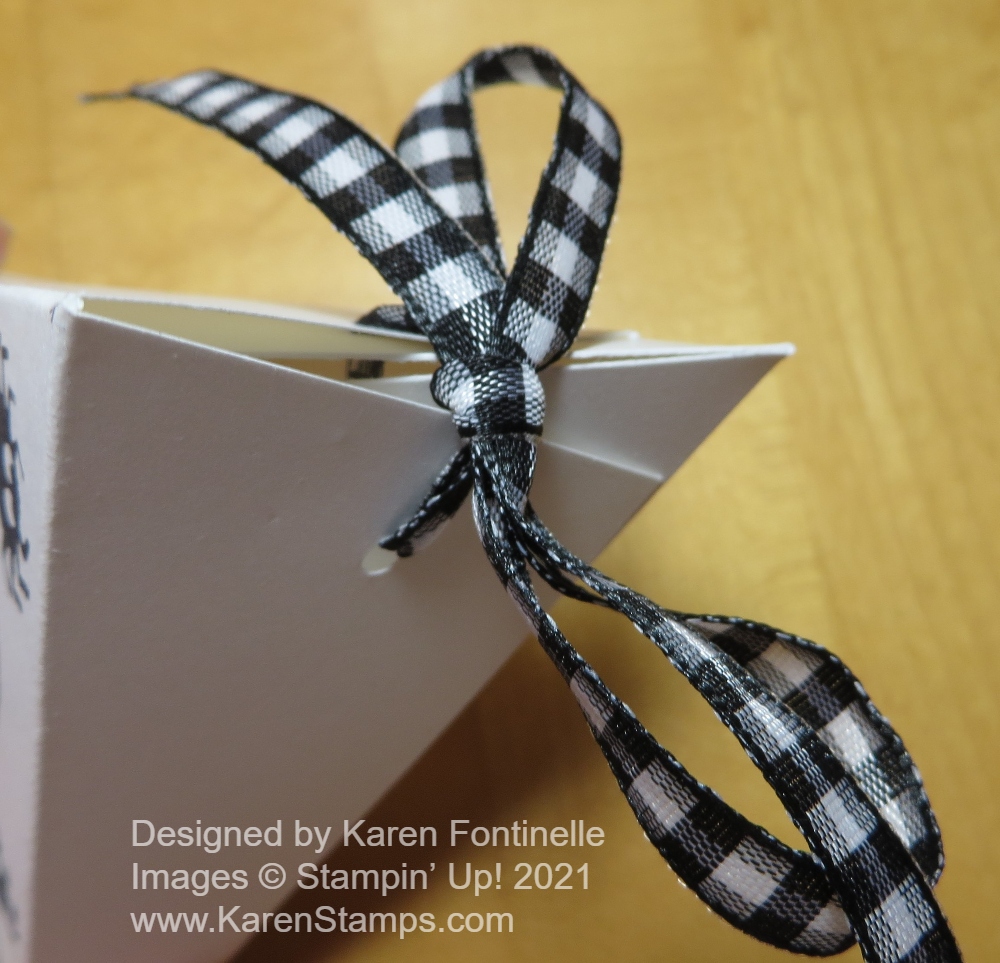
With whatever hole punch you have (or a sharp object!) punch holes in the pointy end so that you can insert ribbon and tie it shut. Be sure to put your candy or gift inside first! I used the Black & White 1/4″ Gingham Ribbon.

Triangle Halloween Treat Box Tied

You can make these triangle boxes smaller or larger. Here is one I made three years ago! I think they are fun to make because they are really so easy and so versatile. You can make them for any occasion!

Triangle Halloween Treat Box WIth Ghosts

Even if you don’t have much time, you can make these pretty easily and quickly! Try one so you will have it in your repertoire!

HAPPY HALLOWEEN!

Cutest Ghosts Halloween Trick-or-Treat Card

Cutest Ghosts Halloween Trick-or-Treat Card

The ghosts are really flocking around to get ready for Halloween on this Cutest Ghosts Halloween Trick-or-Treat Card! They look pretty friendly to me, though! I just love this stamp set, especially the cute little ghosts and the stamped eyes and arms! It’s really fun to play with making Halloween cards and projects.

I’ve done some random stamping before using only the black Memento ink, but on this card, I thought I would try using different colors. These cute ghosts and other Halloween images are in the Cutest Halloween Stamp Set. I still used Memento black ink, but I also used Pumpkin Pie and Highland Heather. I just stamped on Basic White, a smaller piece 5 1/4″ x 3″. At the bottom of the card front is a black and white striped pattern in the Cute Halloween 6″ x 6″ Designer Series Paper cut at about 5 1/4″ x 1 1/2″. I overlapped the stamped ghost piece over the striped piece. To cover the seam and help the ribbon show up better, I cut a Basic Black cardstock strip 1/2″ x 5 1/4″. Using my Grid Paper (which I can’t stamp without!), I lined up the papers so the two papers together would only measure 4 1/4″ and adhered those together carefully. Then I adhered the black strip over the seam. And then I added the Black 3/8″ Glittered Organdy Ribbon. Love this ribbon! It’s so pretty! I might not have added the bow, but as it happened, I had it tied already from another occasion when I didn’t use it and it just happened to be with the spool of ribbon. So I went ahead and used it! I adhered the bow with two Mini Glue Dots.

The greeting is a stamp in the Cutest Halloween Stamp Set. I stamped it on Basic White and die cut with a small die in the Ornate Frames Dies. The Highland Heather layer is a great matching layering die in the set. It’s always nice when there are dies you can layer in the same set!

For a little bling, I added the colored stars in the Cute Stars Adhesive-Backed Sequins. Almost forgot, I had also stamped the individual candy corn stamp in between the ghosts! I colored in the bottom tip with a Daffodil Delight Stampin’ Blend Marker. Maybe it should have been the top portion! Isn’t that a controversy about which end is which color on candy corn?? Anyway, that little candy corn was a fun thing to fill in the space in between the ghosts.

Here is another card where I stamped the ghosts only in black ink. I love this card, too, though!

Halloween is in less than a week! If you are mailing cards, get them in the mail today or tomorrow for sure! If you need other Halloween ideas, select the Halloween category on my blog in the right sidebar under Categories.

SHOP STAMPIN’ UP! ONLINE HERE!

Rainbow Glimmer Halloween Card

Rainbow Glimmer Halloween Card

I can easily promise you I had no idea this Rainbow Glimmer Halloween Card would be what I would create. I don’t even remember what I thought I was going to make! I even had a Christmas stamp set out too! But I had seen a card made with strips of this beautiful Rainbow Glimmer Paper that was a birthday card and that’s where the original idea came from to use these strips. I thought they might be perfect for a Halloween card! Other than that, I had no ideas for exactly what to do with the card! Sometimes you just have to work with colors, die cuts, maybe walk away and come back, and eventually, something will come together for you.

The card has a Basic Black card base. The strips of Rainbow Glimmer Paper are cut 1″ x 4″ with just a tiny space in between each strip. You could also have them all touching with no space. I actually cut them not just in consecutive strips or the colors might be nearly the same, which is okay if that is what you want. So I had to cut into the areas of the paper that had the colors of strips that I wanted. It might kill you to cut into a lot of different parts of the paper rather than conserve it, but hey, it’s just paper and we can buy more! Use it!!

I wanted to use the Black Glitter Paper as the center with the Halloween characters adhered to it, but I played around with the background layer and different colors. I settled on the Pumpkin Pie cardstock die cut with the circle die in the Painted Labels Dies. This looked fine, but as I worked with it, I thought it needed another layer or “something”….a little more pizzazz. I cut out another circle from Highland Heather cardstock and that looked good but of course was mostly covered up by the Pumpkin Pie circle! I tried staggering it underneath and that was good but I felt it needed another one to balance it out. So I tried Crushed Curry and once I got the three circles placed just right I was satisfied!

I cut out the ghosts, skeleton, black cat, and pumpkin from the Cute Halloween 6″ x 6″ Designer Series Paper. I love those little characters! I could have stamped them as well with the Cutest Halloween Stamp Set and used the coordinating punch, the Halloween Punch (which is currently unavailable as I write this).

The greeting is from the Cutest Halloween Stamp Set. I stamped it in Memento Ink and trimmed the ends with the Lovely Labels Pick a Punch. I was considering putting it down lower on the card, but then thought it might work better going across those circles. I liked that and then adhered the Halloween characters around where I liked them. And for a little more bling, I had to add some Cute Stars Adhesive Backed Sequins.

The card may be a little crazy, but it’s for Halloween so that’s good! If you don’t have the Rainbow Glimmer Paper, you can just use different colors of cardstock strips. Just play and you will come up with some great ideas. Use this Rainbow Glimmer Halloween Card for inspiration!

SHOP STAMPIN’ UP! ONLINE HERE!

Halloween Bouquet Jar

Halloween Bouquet Jar

While I was trying to tidy up the last of the Halloween decorations, I saw this bag of these little tiny pumpkins. I usually use them in a large tray with a candle in the center or some such way. But today when saw these little pumpkins, I got this idea!

Just recently I had purchased this Witch Hat Bouquet from @birdsnestboards on Instagram. I had it stuck in a small little vase for the time being but it didn’t seem quite right. When I got the idea to use these little pumpkins in a glass vase to hold the bouquet, I looked around for the right size vase. I found this jar in my stash and it seemed to work justs fine. I put a few pumpkins in the bottom, added the Witch Hat Bouquet, and filled in some more pumpkins to fill the jar.

To decorate the jar I just tied a Black Glittered Organdy Ribbon around the top. You can use a little Mini Glue Dot to hold it in place if you need to. To wrap around the jar, I cut two 1″ x 6″ strips of Cute Halloween 6″ x 6″ Designer Series Paper. If you kind of hold them around and see how much overlap you have, adhere two of the ends together to make one long strip. Then put some adhesive on the other end, wrap it around the jar and adhere. If you put one of the adhered ends in the center of the front of the jar, it will get covered up with the decoration and the other adhered ends will be in the back so nothing will show.

I stamped “Boo” from just part of the stamp in the Cutest Halloween Stamp Set. I chose Polished Pink Ink for the word to match the bright pink felt balls in the bouquet. Then I diecut that and layered on Black Glitter Paper and on the pink.

That’s as easy as that was for a quick vase to hold my cute Witch Hat Bouquet! Here’s a glass votive holder I just decorated the other day for Halloween. You can have so much fun decorating little home decor items like this!

SHOP STAMPIN’ UP! ONLINE HERE!

Cutest Halloween Ghosts Card

Cutest Halloween Ghosts Card

This Cutest Halloween Ghosts Card is one that I like to make with some basic stamping, a bit of designer paper, and some ribbon for embellishment. Sometimes we make such fancy cards that we miss out on just stamping randomly to design a card. To celebrate October 1st, I thought a Halloween card was in order! I can’t believe it is October! What happened to August and September? I feel like September just started.

The card base is, of course, Pumpkin Pie Cardstock with a layer of Basic Black. I knew I would use Basic White Cardstock for the card front on which to stamp ghosts, but I also added a striped piece of the Cute Halloween 6″ x 6″ Designer Series Paper, which has the cutest Halloween papers in it!

Before I assembled the card, I stamped some ghosts on the Basic White Cardstock. The ghosts are in the Cutest Halloween Stamp Set. They are stamped with Memento Ink. There is the ghost outline stamp and then a little face and arms. To make some of the ghosts look different, I stamped two eyes with one little round stamp in the set on three of the ghosts! You could just draw in some dots for eyes or draw another kind of face if you wanted.

Luckily, there was just the right space and the right place to stamp the “Hey, Boo!” greeting, also in the Cutest Halloween Stamp Set. Otherwise, I would have made a little label to stamp it on and place possibly covering up part of a ghost or making it more like a tag up by the bow. I wrapped some Black 3/8″ Glittered Organdy Ribbon around the strip of designer paper and then tied a separate bow, which I then adhered with two Mini Glue Dots.

Here’s another Halloween card with randomly stamped ghosts on the front that I made four years ago!

You could even modify this idea to make an invitation to a Halloween party! Or decorate a little bag for a gift or party favor with these cute stamped ghosts!

It’s time to start making some Halloween cards to send for fun! Tomorrow the post office is supposed to slow down the mail (what??!) so make your cards soon and mail them extra early! With a little bit of luck, maybe they will arrive by Halloween! You’ll have fun making a Cutest Halloween Ghosts Card like this one!

SHOP STAMPIN’ UP!

Cute Halloween Trick or Treat Ghosts Card

Cute Halloween Trick or Treat Ghosts Card

I just had to make another fun Halloween card, this Cute Halloween Trick or Treat Ghosts Card. I started by picking out the designer paper and played around from there! I have a trick for how I made one ghost go in a different direction from the one stamp!

This card base is Old Olive Cardstock with a layer of basic black. I chose the designer paper with the little houses and tiny moons and ghosts! This is the Cute Halloween 6″ x 6″ Designer Series Paper. So many cute patterns to choose from! I decided to make the designer paper narrower than the card front and have the ghosts floating along the edge. Then I decided to cut a decorative edge with a scallop die in the Penned Flowers Dies. Next, I selected another designer paper, the one with black dots, to go along the edge, after considering several options. This card opens from the top but it would be the same if it opened from the side.

The greeting is stamped from the Cutest Halloween Stamp Set on Basic White and then die cut with a die that fits inside the Basic Black die-cut, both of which are in the Ornate Frames Dies. I popped up the greeting on Stampin’ Dimensionals® and added two Elegant Faceted Gems.

For the ghosts, I stamped two ghost shapes in the Cutest Halloween Stamp Set on Basic White and then turned over the cardstock and stamped one ghost on the back where it didn’t overlap the ghosts stamped on the front. I also added the faces and little arms just on the ones on the front of the cardstock! So cute!! I cute out the ghosts by hand with my Paper Snips. Now you can purchase the Halloween Punch and get both the stamp set and punch in the Cutest Halloween Bundle and save 10%. So I cut out the two ghosts on the front of the white cardstock who were both facing the same direction. I cut them out with a bit of the black ink outline showing as it would if I had used the punch. Then I turned the paper over and cut out the ghost outline. But here’s the trick… after cutting out the ghost shape, I turned it over so it would be facing the opposite direction from the other two ghosts and stamped the face on it. Now, this ghost doesn’t have the black ink outline on it since I am using the unstamped side. But if you want that black ink outline, just take a black marker and run it around the ghost along the edge to get some black marking along the outline. Or, maybe it doesn’t really matter to you and you can skip that step! Out of the three ghosts, I wanted one facing the other direction.

I originally planned to adhere the ghosts right along the edge of the green designer paper, but in the end, I liked the placement you see better. I also turned the Ornate Frame die in portrait position and stamped the greeting in that direction which I think fits better than landscape position. Either way would be fine, though! Just play and see what looks good to your eye! Here is another Halloween card using the Cute Halloween DSP except with the sheet with ghosts! Order the Cute Halloween Paper on your next order so you have plenty of time to create “cute” Halloween cards and projects to send out, like this Cute Halloween Trick or Treat Ghosts Card.