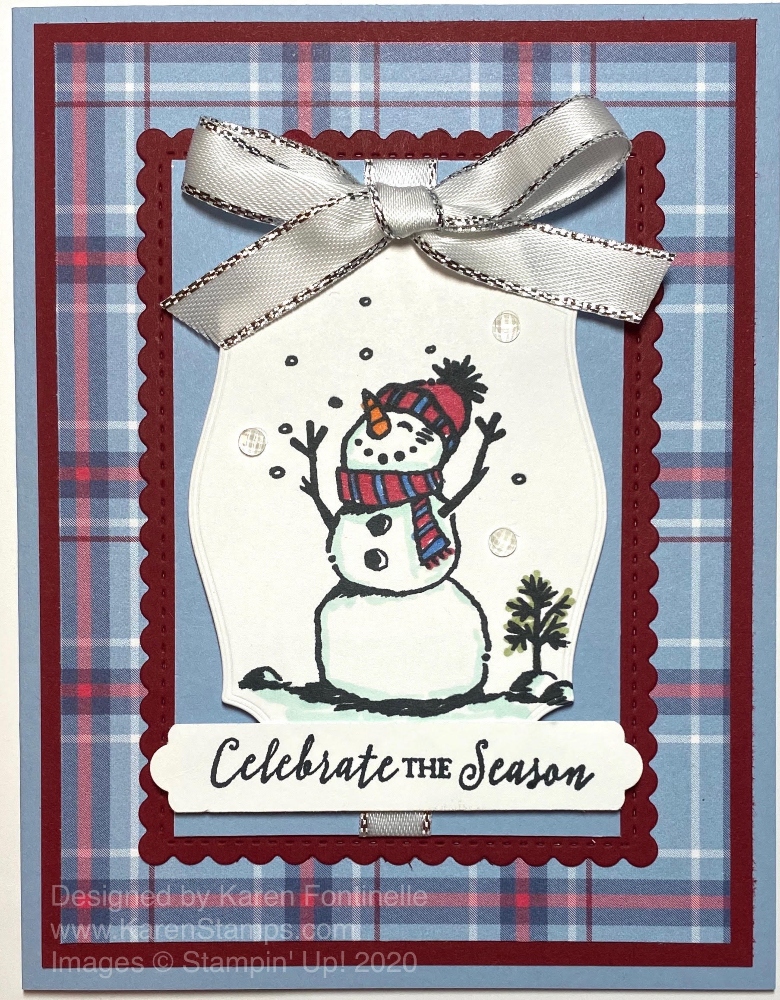
I had almost forgotten that this snowman stamp set from last year was still current this year, so when I came across the Snowman Season Stamp Set I knew I had to make this Snowman Season in Plaid Tidings Christmas Card.
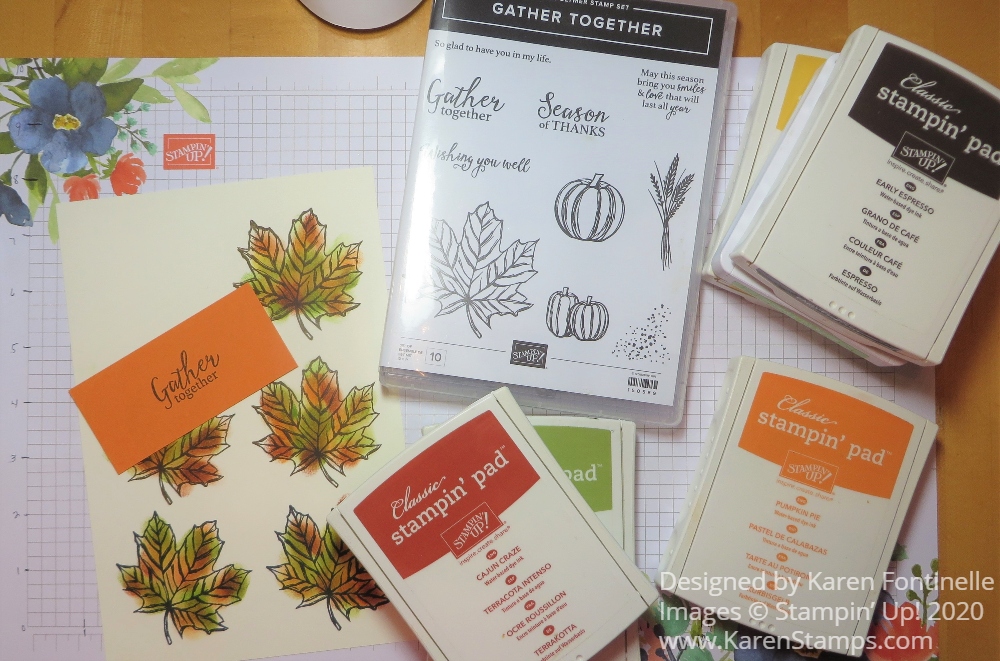
You will find this Snowman Season Stamp Set in the Stampin’ Up! Annual Catalog. It was a favorite stamp set from last year – the cute snowmen and also the Snowman Builder Punch. You can’t but feel happy when you stamp with these snowmen in this set!
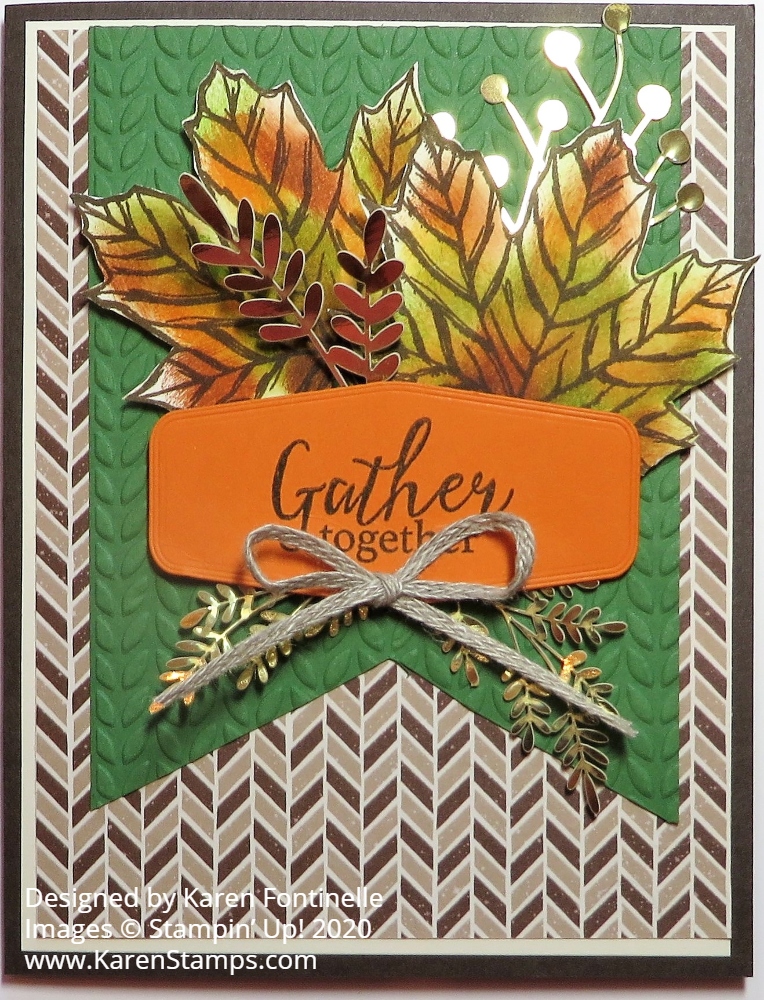
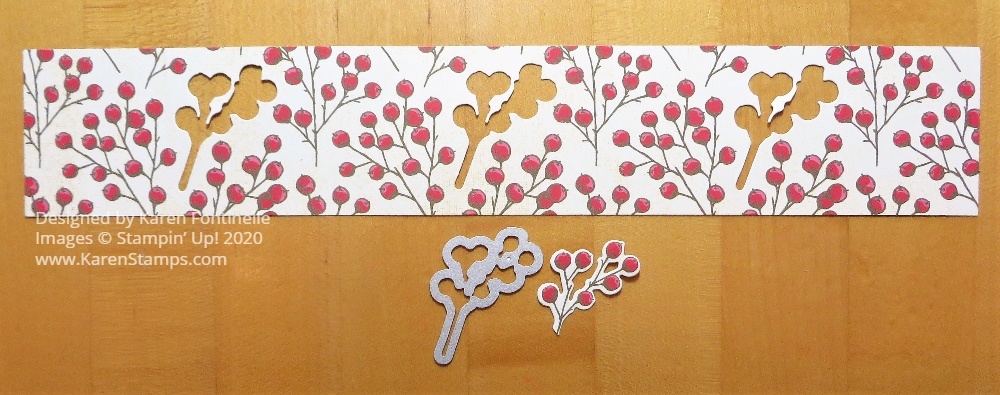
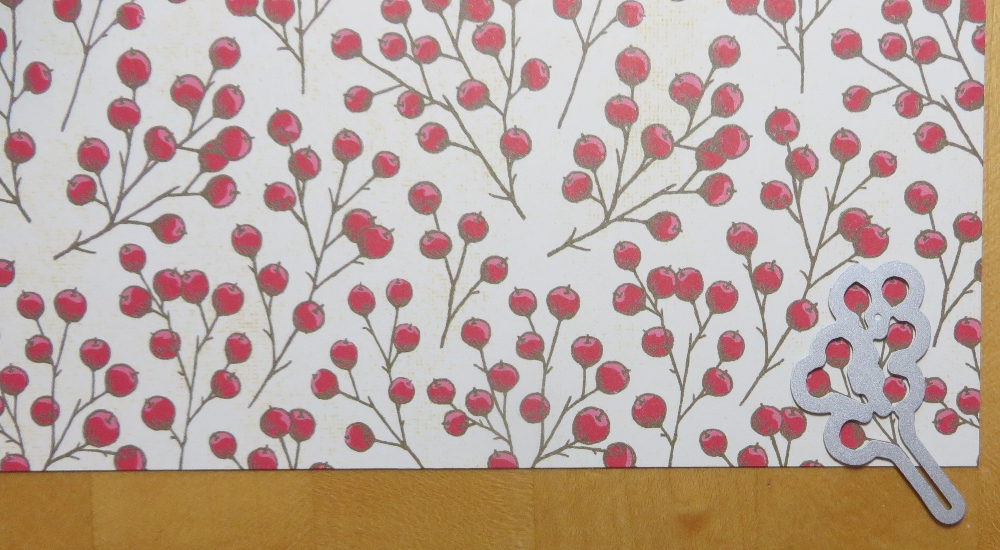
First I chose the plaid pattern I liked in the Plaid Tidings 6″ x 6″ Designer Series Paper. Then I chose the Seaside Spray Cardstock with a layer of Cherry Cobbler.
The snowman is stamped on a Tasteful Labels Die in Memento Ink. I colored with Stampin’ Blends but you could also use other coloring methods, like maybe Watercolor Pencils. I die-cut a stitched scalloped rectangle in the Stitched So Sweetly Dies out of Cherry Cobbler, but it seemed like too big an area behind the snowman. I decided to add a rectangle of Seaside Spray that would fit inside the stitched die and that solved the problem.
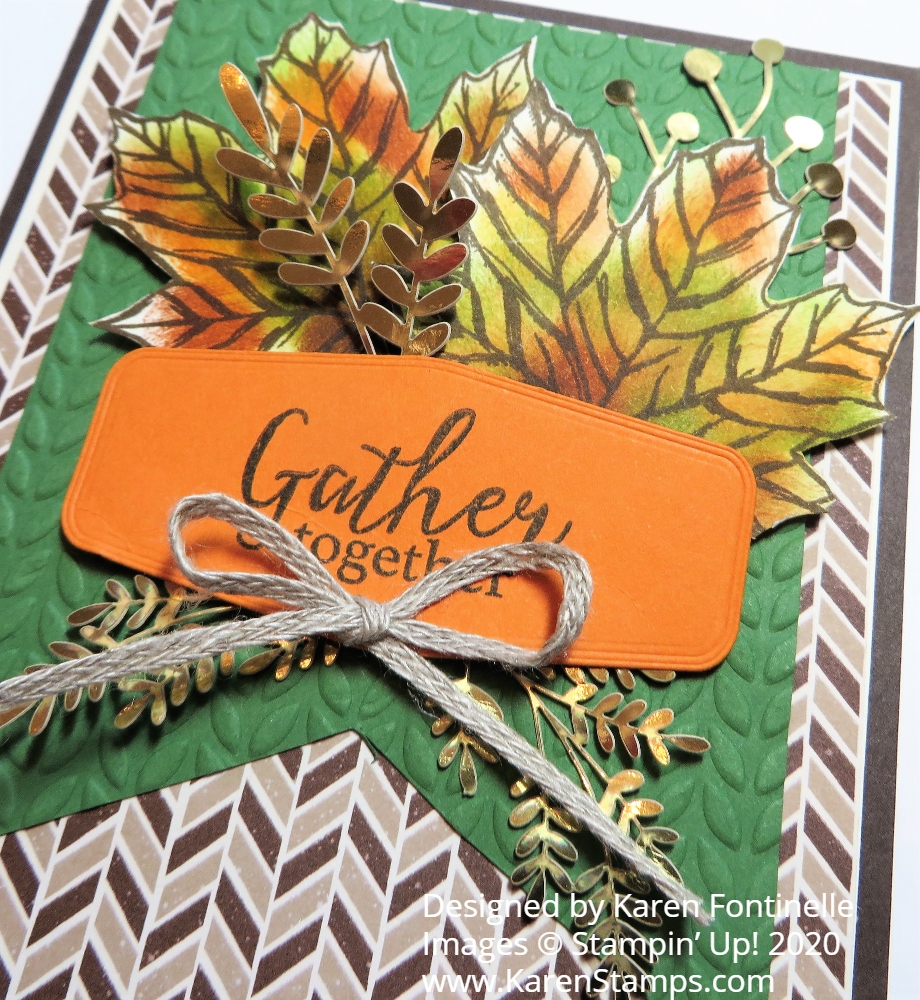
Before adhering the snowman pieces, I adhered a piece of Silver 3/8″ Metallic-Edge Ribbon from top to bottom of the Seaside Spray layer. Then the snowman die piece was popped up on Stampin’ Dimensionals®. I tied a separate bow and adhered it to the top with Mini Glue Dots.
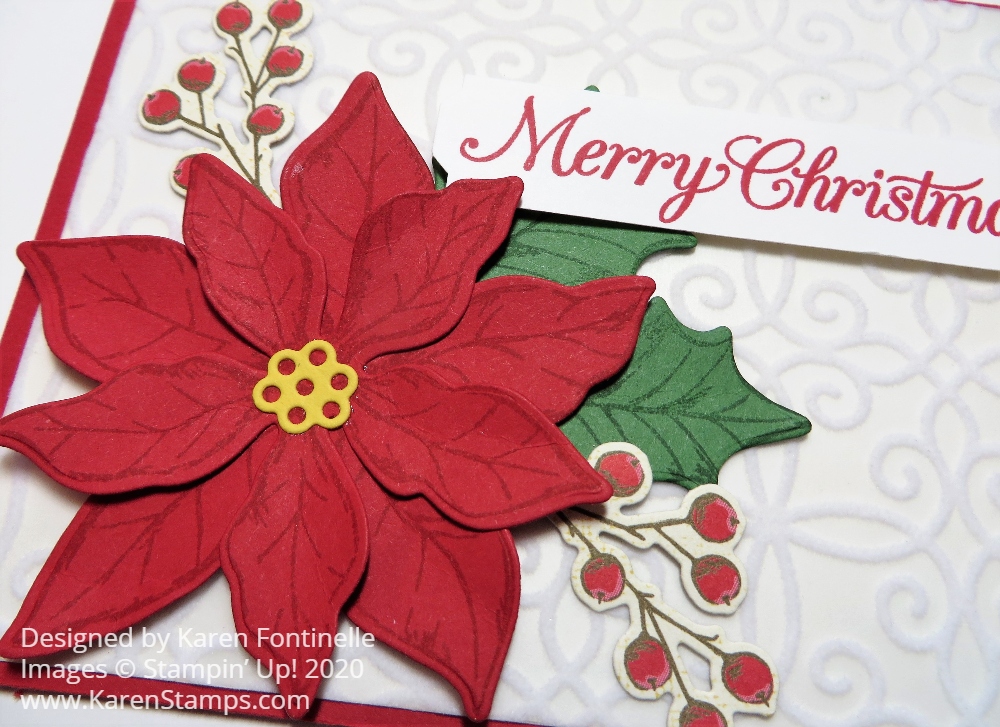
The greetings in the Snowman Season Stamp Set were a little too big, so I used one from the Itty Bitty Christmas Stamp Set. I simply stamped it on a narrow scrap of Whisper White and used the new Lovely Labels Pick a Punch to punch each end of the greeting. It is popped up with Dimensionals on each end so that it is the same level as the snowman piece. For a little bling, I could have used Snowflake Sequins around the snowman, but instead, I used the Elegant Faceted Gems in three spots to resemble snowflakes.
It was fun to find this stamp set from the Holiday Catalog last year and make something updated with it this year! Here is a link to a card I made last year with the set and the Snowman Builder Punch. Choose stamp sets and papers that bring you joy for making your holiday and Christmas cards so it will be a fun endeavor! This Snowman Season in Plaid Tidings Christmas Card will make you happy all day long while you make multiples, perhaps, of this card!
SHOP STAMPIN’ UP! ONLINE HERE!
Remember to use your Bonus Coupons during August if you earned some in July!