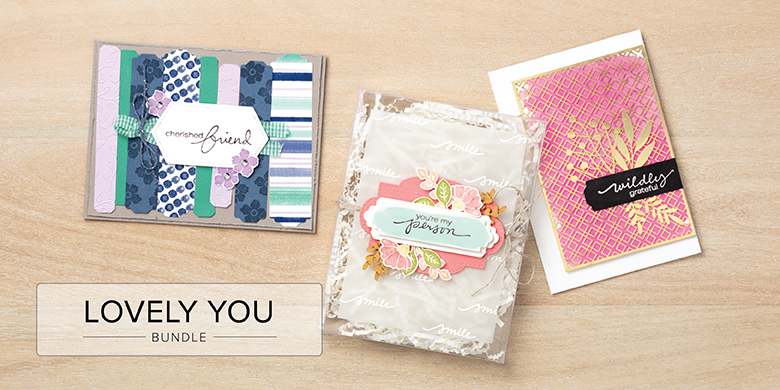
The separate pieces of this Lovely You Bundle are not retiring but don’t miss getting the Bundle and saving 10% while you can! I think this is one of those stamp sets that we kind of take for granted – nothing flashy about it but it has some good, basic stamps in it and lovely greetings that you can use in many ways. You can often do more with the smaller stamp images than the big dramatic ones. Of course we love them all!
Right now you can purchase the stamp set and coordinating punch for the greetings together in the Lovely You Bundle at a discount of 10%. From May 4th on you will be able to purchase the Lovely You Stamp Set and the Lovely Labels Pick a Punch separately in the new Stampin’ Up! Annual Catalog but they will have to be purchased separately at full price.
The greetings can be used on many cards in their lovely font and the small images can be used on simple card designs, stamped randomly as a background on a card (which I think is really fun to do!) or just added to fill in some space when you need just a little something. I have used the punch many times for greetings when I wanted not a plain edge but a little bit of a design. The punch can handle different widths of cardstock giving you a little variation.
Here’s a card I made almost a year ago. I love stamping a background like this! You can see even small images can be used in many ways!
Be sure to check your stash and see if you “need” the Lovely You Bundle before the Bundle itself retires on May 3. Might as well save 10% on the price of both the stamp set and the punch if you can!
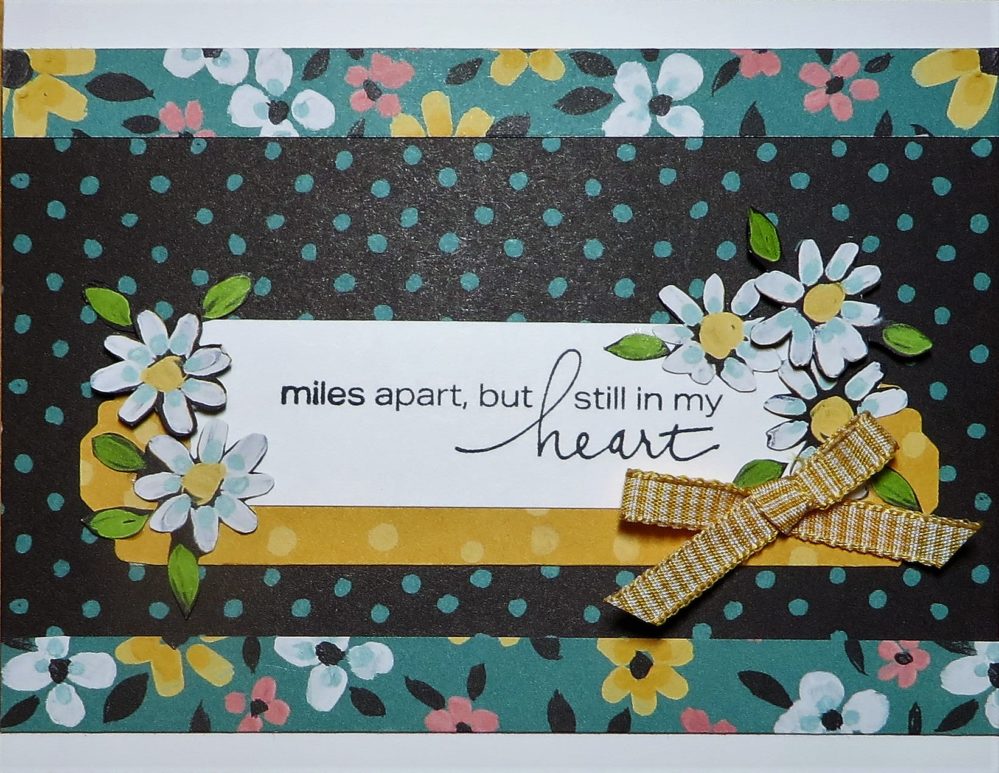
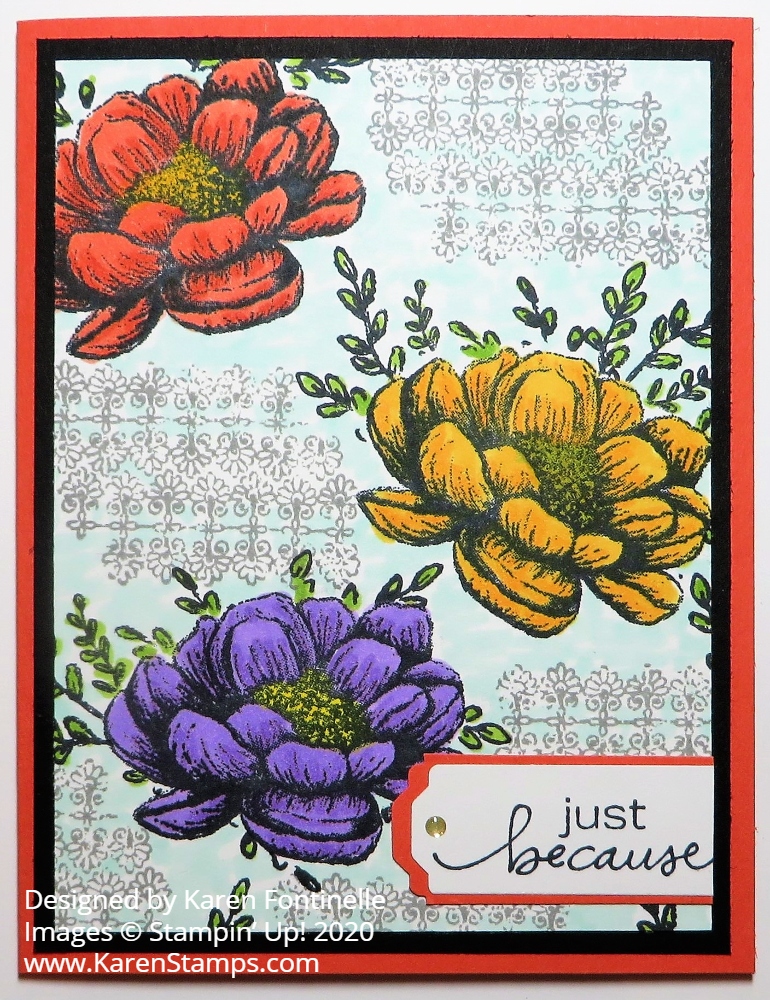
This Flower & Field All-Occasion Card was supposed to look exactly like a sample in the Sale-A-Bration Brochure, but this shows what can happen when you start copying something! Sometimes you change things a little or a lot!
I wanted to make a card with the Flower & Field Designer Series Paper and looked in the Sale-A-Bration Brochure for ideas. Right away the card in the bottom right of page 11 caught my eye. But when I looked through the package of paper, this black background with the Just Jade polka dots is the one that caught my eye!
As I toyed with maybe adding strips of Just Jade Cardstock as a layer under the top and bottom of the polka dot piece, somehow I came up with strips of this flowered pattern instead. I fiddled with the paper sizes until I had about 1 /4″ top and bottom margins on the Basic White Cardstock card base.
The greeting is stamped from the Lovely You Stamp Set. I wanted a greeting that was long in length. I used the same Bumblebee yellow polka dot scrap of designer paper that the brochure sample used to layer underneath the greeting. I used the Lovely Labels Pick a Punch to punch each end of the yellow polka dot layer.
Then for fun, unless you hate cutting with scissors, I cut out several white daisies from another pattern of the Flower & Field Designer Paper to adhere around the greeting. It was a little tedious, but not too bad! You can even consider cutting with Paper Snips relaxing! I popped up a couple of the daisies with Stampin’ Dimensionals.
For a finishing touch, I added a bow of Bumblebee 1/4″ Gingham Ribbon. You could also add some rhinestones or gem embellishments of any kind.
I absolutely love this Flower & Field Paper! If you do too, you can get it FREE during Sale-A-Bration with a $50 Stampin’ Up! purchase. But you have to hurry, because Sunday, February 28 is the last day of Sale-A-Bration! You don’t want to miss out on FREE products!
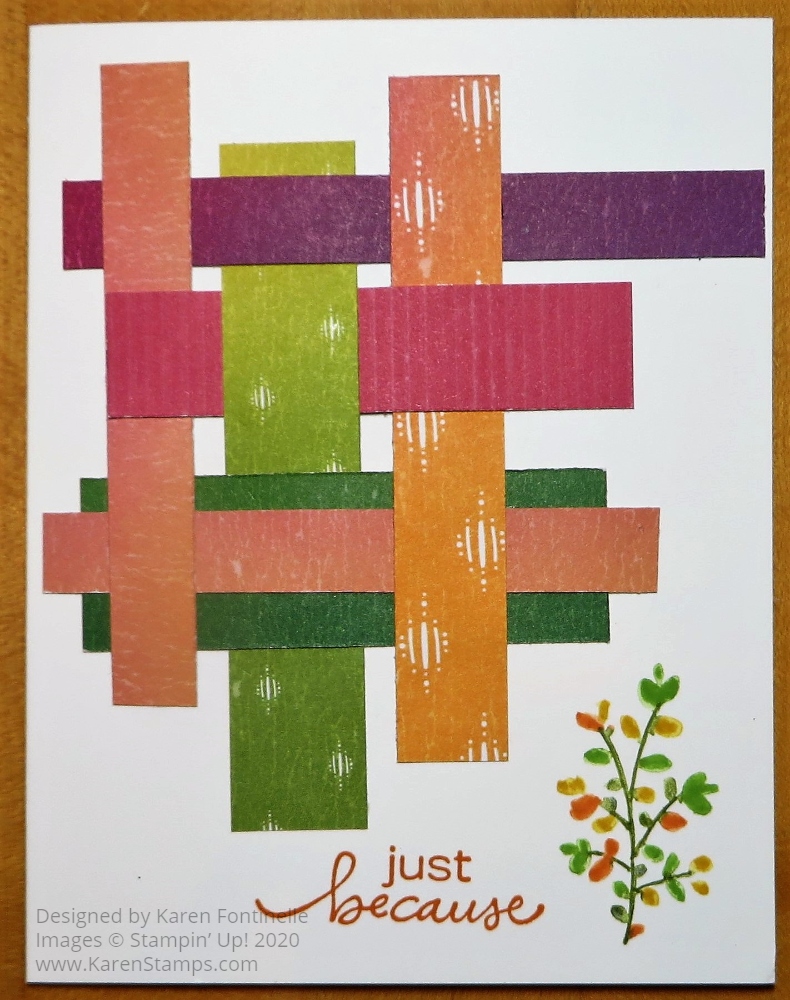
I’m not sure what to say about this Artistry Blooms Just Because Card. I have seen cards with these woven scraps of cardstock or designer paper before so I just thought maybe I would get out my Artistry Blooms Designer Paper again and cut some strips to decorate a Halloween card. And this is what I got instead! It’s not Halloween!
The card base is Thick Whisper White Cardstock. If you are making a card without layers, the Thick Whisper White is strong enough to stand on its own. Since I thought I was making a Halloween card, I cut strips or used scraps of the Artistry Blooms paper that could look like fall or Halloween. But once I got the strips woven together (which really was easy enough to do), I wasn’t sure what else to put on the card!
Finally, I decided on a bunch of leaves from the Lovely You Stamp Set. In order to incorporate most of the colors of the paper strips, I colored the leaves in different fall colors with Stampin’ Write Markers right onto the stamp. This technique makes the stamped image lighter so I colored over the stamped image a little bit with the same colored markers. The greeting is also from the same stamp set and is stamped in Pumpkin Pie.
So the lesson for today is you never know what you are going to create for sure until you sit down and do it! But enjoying the process and using the supplies is the real fun of it!
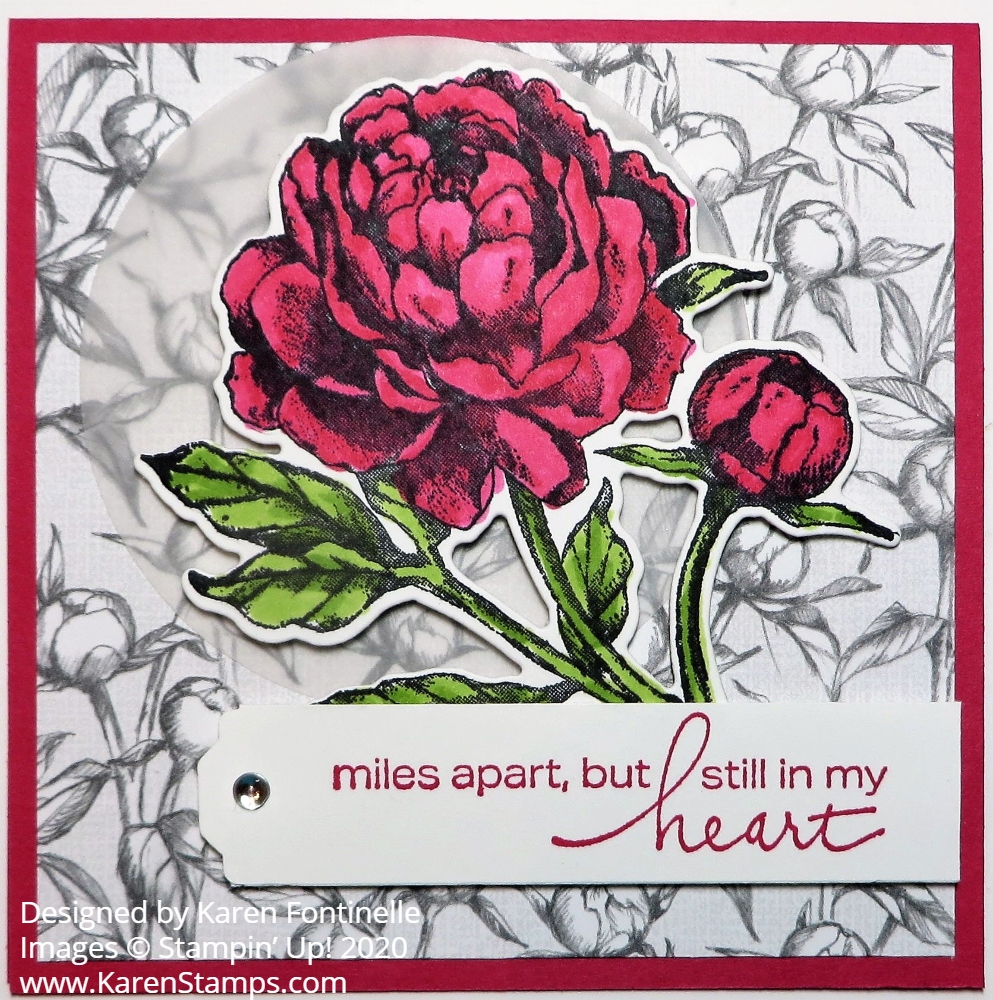
I started out looking at the peony designer paper but couldn’t come to a decision of what card design to make, so I looked in the Stampin’ Up! Annual Catalog at the Peony Garden Suite for ideas. Finally I settled on this Prized Peony All-Occasion Square Card that was inspired by a square card I saw on page 84.
It’s really a very easy card. I cut the Melon Mambo card base to 8 1/2″ x 4 1/4″ and folded in half. The Peony Garden Designer Series Paper is cut at 4″ x 4″ for a layer on the card base. I wanted something not too plain in the background but not too big that the big flower would not stand out.
Now there is a package of Square Vellum Doilies in the Suite, which I bought, but I couldn’t find them! So I substituted a large die-cut Vellum Cardstock circle to put behind the peony. Normally it is difficult to glue down vellum because the adhesive almost always shows in some way behind it, but in this case, I knew I could put some adhesive on the vellum behind where the flower would go and it wouldn’t show at all. The peony is popped up on Stampin’ Dimensionals®.
The greeting is stamped from the Lovely You Stamp Set in the Annual Catalog on page 22 with Melon Mambo ink. I lined one end up with the edge of the card layer on the right and punched the other end with the Lovely Labels Pick a Punch. (This punch on backorder but coming next week). You can purchase the Lovely You Stamp Set and Lovely Labels Pick a Punch in a Bundle for a 10% savings (but backordered as I write this). This greeting is popped up also with Stampin’ Dimensionals right over the stem of the peony. For a little bling I added a Clear Epoxy Droplet to the tag.
You can change the colors, the paper, and the greeting to make a similar card for another occasion. Sometimes it is fun to make a square card instead of our usual design just for a something a little different!
Here is another card I made with the Prized Peony Stamp Set and die using a different pattern of the Peony Garden Paper and using different colors.
There are so many possibilities with this Peony Garden Suite for cards and other projects that you will enjoy making like this Prized Peony All-Occasion Square Card.
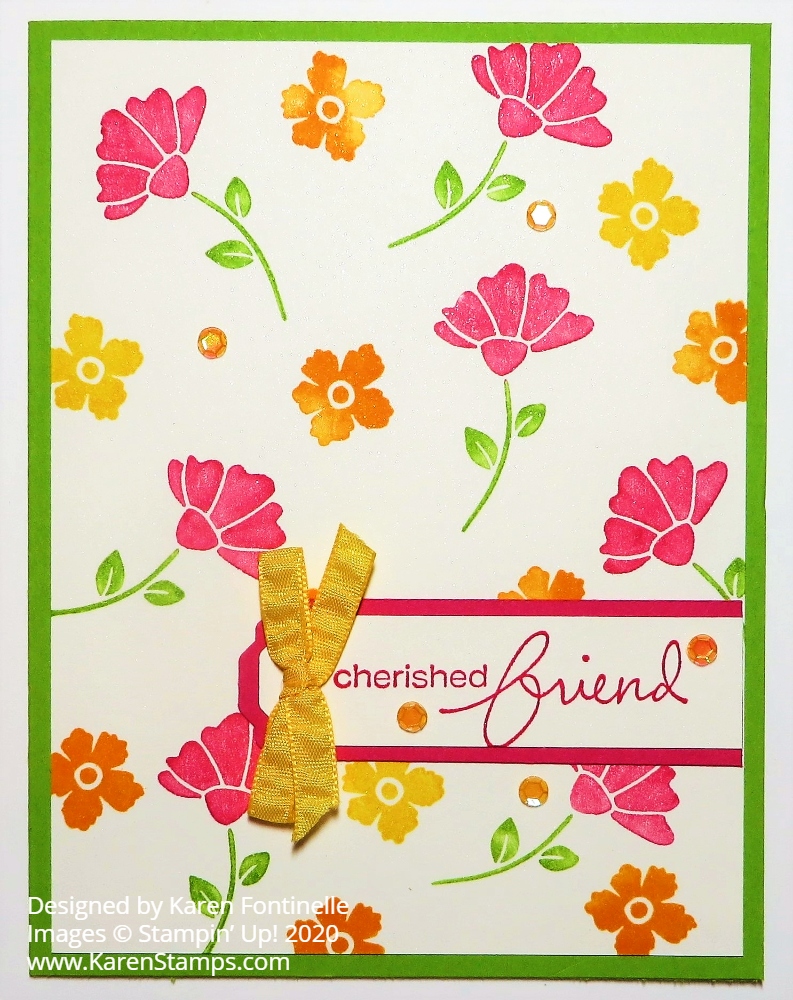
One of my favorite things to do in stamping is to stamp….randomly all over the paper! That repetitive stamping just feels good for the soul! This card didn’t entirely have that feel because I colored the main flower stamp with markers before stamping, so it wasn’t ink pad….stamp….ink pad….stamp. It was color the flower, color the stem, huff (breathe) on it, stamp and repeat! But the little flowers were stamped from the ink pad!
The card base is Granny Apple Green and I used Shimmery White Cardstock for the card front. Shimmery White is my all-time favorite cardstock! It has that shimmer that you can barely see but when you do see it, it is very pretty and subtle. It stands up to watercolor better than regular Whisper White, too.
The floral stamping is done with the Lovely You Stamp Set. You might think that this stamp set is all about the pretty greetings, but as you can see, you can use the flowers as well as the leaves and stems in the set to make cards.
The large flowers and stems are colored with Stampin’ Write markers instead of ink. This is the technique that is good to use when you want different colors on one stamp. I colored the flower with Melon Mambo and the stem with Granny Apple Green. Be sure you huff or breathe on the stamp to moisten the ink before stamping. Using markers gives just a little lighter look to the image.
Next I stamped just a few Daffodil Delight little flowers. Maybe I didn’t clean off my stamp very well or else my Mango Melody ink pad was a little off somehow because I got mostly multi-colored flowers instead of solid Mango! I really liked that accidental shading, though!!
I did have to remind myself to “stop” once I thought I was liking the look of all the stamping. It’s always tempting to keep going, but sometimes you have to know when to stop!
The greeting is stamped from the Lovely You Stamp Set also. A good variety of sentiments to choose from in such a pretty font! I stamped it on a 3/4″ strip of Shimmery White Cardstock and used the new Lovely Labels Pick A Punch to punch one end. Then I cut a 1″ strip of Melon Mambo Cardstock to be the layer under the greeting. If the 1″ wide strip doesn’t fit well in the punch, just trim it down a hair to get it to fit.
Since I didn’t have Melon Mambo ribbon which would have been my first choice, I used the Daffodil Delight 1/4″ Ruched Ribbon to tie a very small bow to put on the greeting. I even moved it in a little bit off the very edge so maybe you can still see the decorative end from the punch! I just used a Mini Glue Dot to adhere the bow.
And then I wanted just a tiny bit more, so I adhered a few sequins! These are the Artistry Blooms Sequins which are great because they already have adhesive on the back! They come in four colors so don’t think the color on the top of the package is the only one. I just used the smallest sequins on the card to just add a little sparkle with out taking away from the flowers.
You can purchase the Lovely You Bundle which includes the stamp set and the new punch! I’m liking the punch so you should check it out! Not everything has to be super fancy so try out some basic stamping like I did on this Lovely You Floral Stamped Card For a Friend.
I had the idea for this Tasteful Touches Flowers Card but didn’t know if it would really turn out. If I even have an idea before I start making a card, it often changes as it goes. Usually I just think I’m going to use a certain stamp set or certain designer paper and go from there.
In looking at this Tasteful Touches Stamp Set I thought about stamping three (or maybe more) flowers randomly on the card front and use that flowery design stamp off to the side of the flowers. I thought it would maybe make it look a little antique.
Three flowers stamped with Memento Ink seemed to fit just fine and then I stamped the flowery grid stamp a few more times around the flowers and off the page in a few areas. I colored the first flower with Calypso Coral Stampin’ Blend markers, but then I decided to color each flower differently. The second flower is colored with Mango Melody and the third with Highland Heather. I just love coloring with my Stampin’ Blends markers! They are alcohol markers so the light and dark shades or even other colors together blend. Just color lightly with them to preserve the brush tips. Really all you need is gentle coloring and not necessarily perfect. Sometimes leaving tiny bits of white space makes it look more realistic.
I also made a “mask” by stamping a flower on a sticky note, making sure part of the flower was stamped over the adhesive on the other side to hold the mask in place when I used it. I stamped the flower and then cut it out with Paper Snips. You can even cut the tiniest bit inside the lines when you are doing masking. Then just stick the mask flower over the stamped flower and then stamp something else over it, like the leaves I did from the same Tasteful Touches Stamp Set. This protects the stamped flower but allows the leaf stamping to show outside the flower image. If you had a tiny leaf stamp that fit outside the flower, then you wouldn’t have to cover the flower. But this is a large sprig of leaves so if you just stamped it, you would be stamping over the flower and that wouldn’t look good!
After coloring the flowers and the tiny leaves with my Stampin’ Blends, I wasn’t sure about leaving the background white. It would have been fine, but my love of coloring with the Blends kept me coloring!! I used Light Pool Party to just kind of scribble in the white space, without trying to be heavy-handed or perfect. Pool Party is a good color for this because it is light enough that the omitted white spaces don’t show up strongly. You might think it would be a big job to color all that space, but since I was just kind of scribbling and not worrying about perfection it went very quickly. I even colored in between some of the tiny flowers in that grid to make it all fit in together.
I’m probably the least satisfied with the greeting. The card was really pretty enough to leave it plain without a greeting and sometimes, like on this card, it’s a little difficult to find the space for a greeting! This greeting is from the Lovely You Stamp Set, with lots of greetings and a pretty font. I punched the one end with the new Lovely Labels Pick a Punch and even made a layer with a slightly wider strip of cardstock. You can use three widths of paper in this punch – 1″, 3/4″, and 1/2″. At the last minute,
I added a small Gold Glimmer Enamel Dot to the greeting for just a little something to finish it off without taking away from the rest of the card.
So there is a card that takes a little bit of time for coloring, but is also one of the best ways to relax and de-stress, I find! There are lots of creative possibilities with these two stamp sets! I hope you will be inspired to create a card or project using this Tasteful Touches Flowers Card.