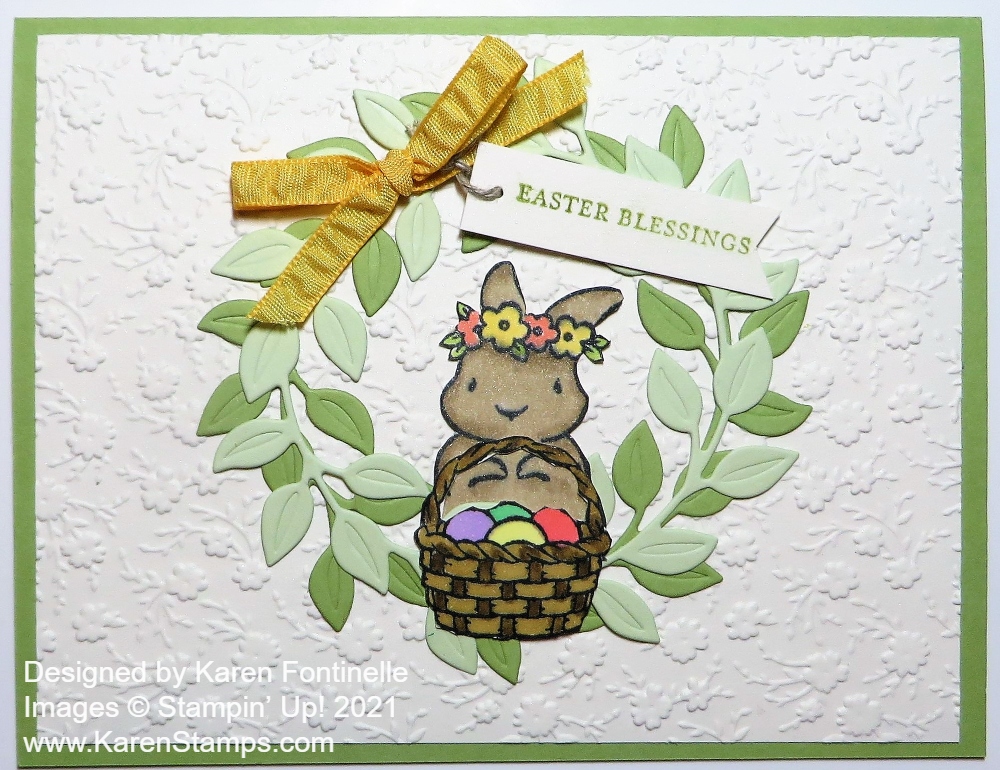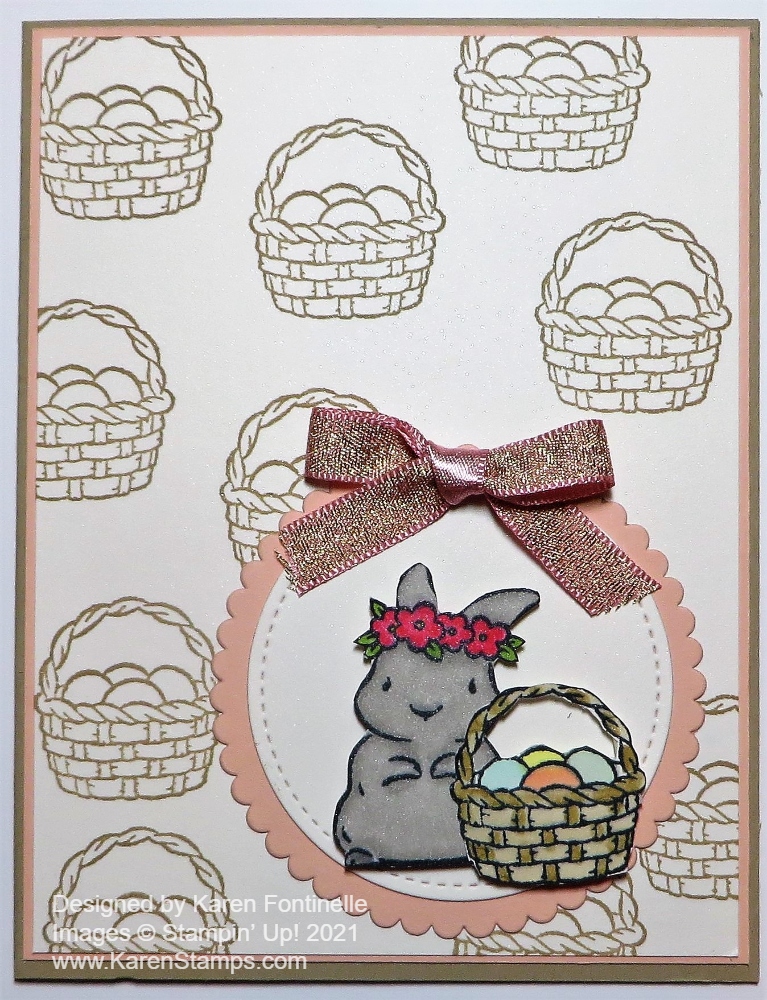
This Springtime Joy Bunny and Easter Basket Easter card came out of planning to make a monochromatic or almost monochromatic card like one I made a previous year that turned out cute! Only the background turned out to be monochromatic! But it is fun to make a stamped background! Just some good old stamping that feels good in your hand!
The card base is Crumb Cake Cardstock with a layer of Petal Pink. The top layer is Shimmery White Cardstock. I stamped the Easter basket in the Springtime Joy Stamp Set randomly on the piece of Shimmery White with Crumb Cake ink. The Shimmery White has just a very subtle shimmer to it which makes it so elegant and beautiful (but difficult to photograph!).
The bunny and the Easter basket in the Springtime Joy Stamp Set are both stamped on Shimmery White and then cut out with Paper Snips scissors by hand! Then they were adhered to a die-cut piece of Shimmery White, cut out with the Stitched Shapes Dies. These dies are on the Last-Chance List which makes me sad because they have been some of my favorite and most used dies. They are just basic shapes you can use over and over but the little stitching around the edge really adds a nice touch. Plus they can be layered on other die-cuts. In this case the Stitched Shapes circle is layered on a Layering Circles scalloped die-cut. (The Layering Ovals and Layering Squares Dies are both retiring!)
The bunny and basket are both popped up on Stampin’ Dimensionals®. They are colored in with Stampin’ Blends alcohol markers. Some Stampin’ Blends colors are retiring as well! Crazy! The bow is tied with the Blushing Bride 3/8″ Metallic Ribbon.
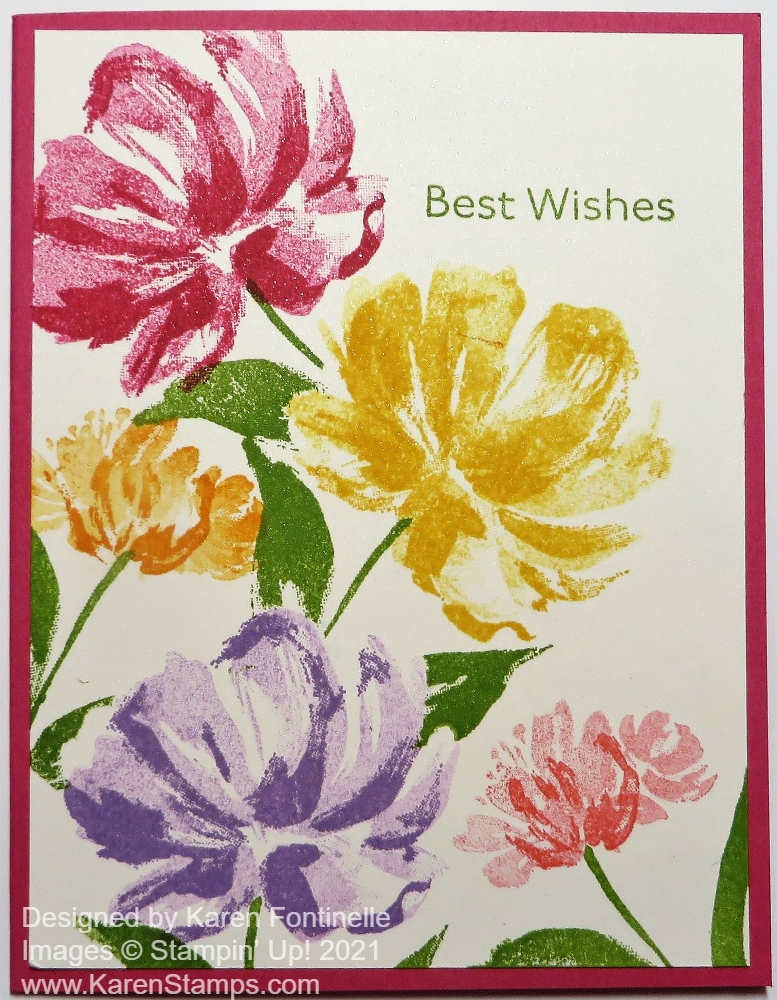
If you really wanted to make a monochromatic Easter card, here is one I made last year all in Highland Heather Ink.
On the inside of the card, I added a Shimmery White piece of cardstock with the Easter greeting stamped in Crumb Cake from the stamp set, plus the Easter basket in the bottom corner.
Be sure to check out the list of retiring Stampin’ Up! Annual Catalog products. Some are discounted but not everything. Bundles are not carried over at the Bundle price with the 10% off price, but some Bundle items are carried over to the new catalog separately. There will be new Bundles in the new catalog! A few products are not really going away, such as the Tear & Tape Adhesive, but are being “reconfigured”. The embossing powders are not going away but will be packaged in sets of three colors.
It’s time to make Easter cards so I hope this Springtime Joy Bunny and Easter Basket card will give you some inspiration.
Last-Chance Products Sale HERE!