It’s time for a new Paper Pumpkin Kit! The January Kits are being sent out now for those people who subscribed by January 10th, so now we have the February Paper Pumpkin Kit! It’s early, but if you’d like to receive this card kit in your mailbox mid-February, go ahead and sign up now! Paper Pumpkin is a monthly subscription from Stampin’ Up! and I say is a treat you give yourself….or even someone special! It is a kit with all the supplies included that you will need, including an exclusive stamp set, ink spot, and even adhesive. There is no risk or obligation. Skip a month or cancel your subscription any time before the 10th of any month.
Here are the details about the February Paper Pumpkin Kit!
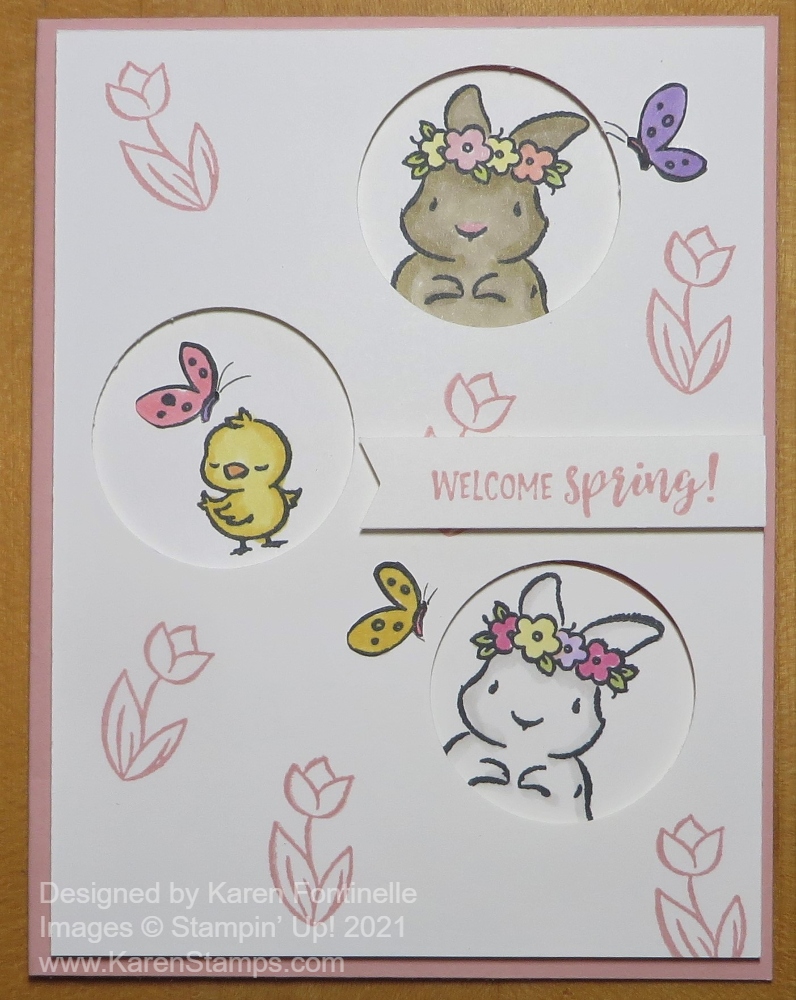
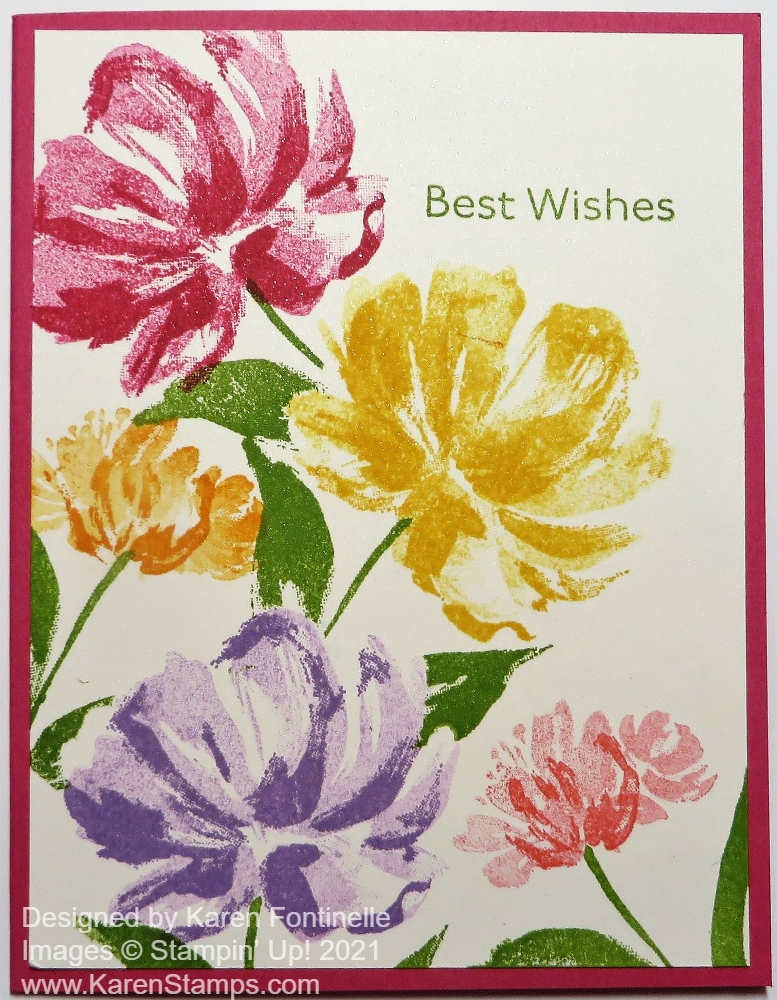
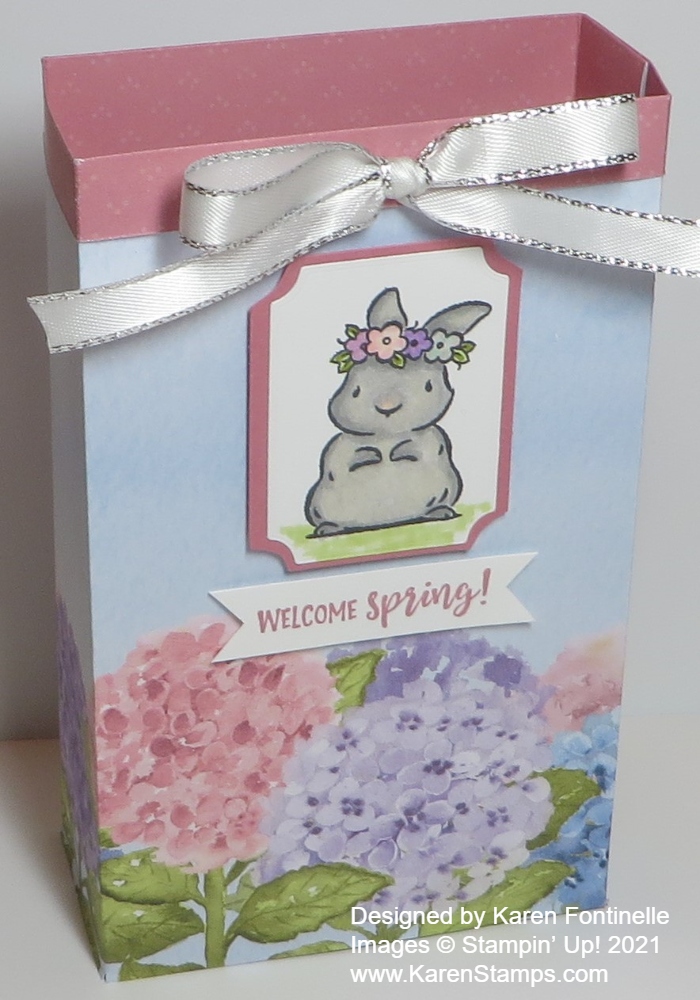
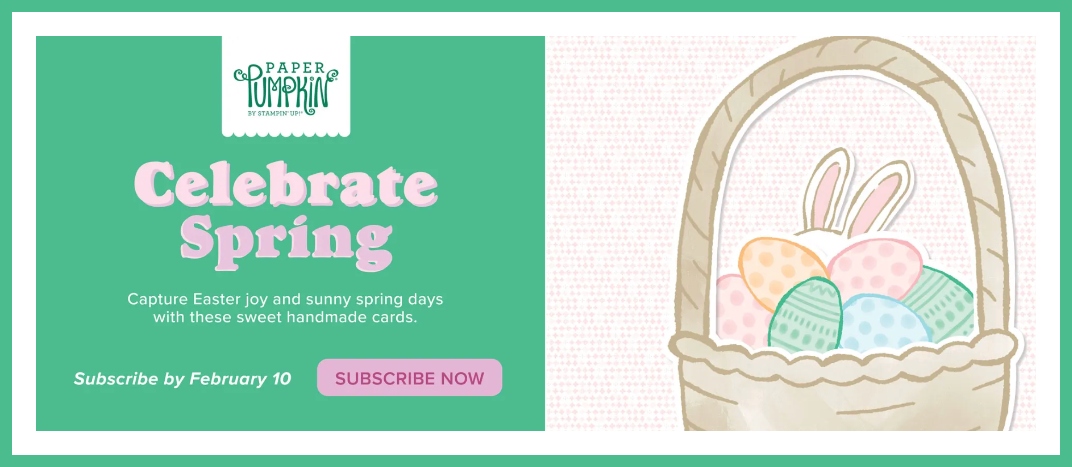
FEBRUARY: Celebrate Spring
Subscribe January 11–February 10
Craft whimsical handmade cards that celebrate Easter and sweet spring days.
• Makes 9 cards: 3 each of 3 designs with 9 coordinating envelopes
• Precut paper pieces and pink baker’s twine
• Iridescent pink and yellow sequins
• Coordinating colors: Balmy Blue, Crumb Cake, Lemon Lolly, Peach Pie, Pretty in Pink,
Shy Shamrock (Classic Stampin’ Spot)
Coordinates with the Easter Joy Suite Collection (item 166954) in the Spring Mini Catalog!
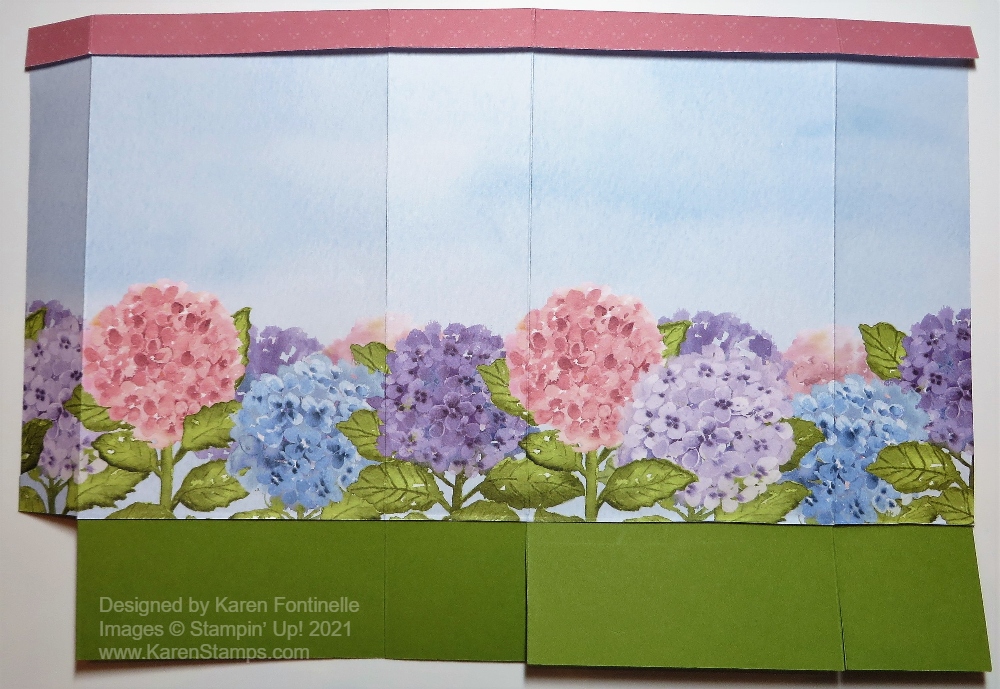
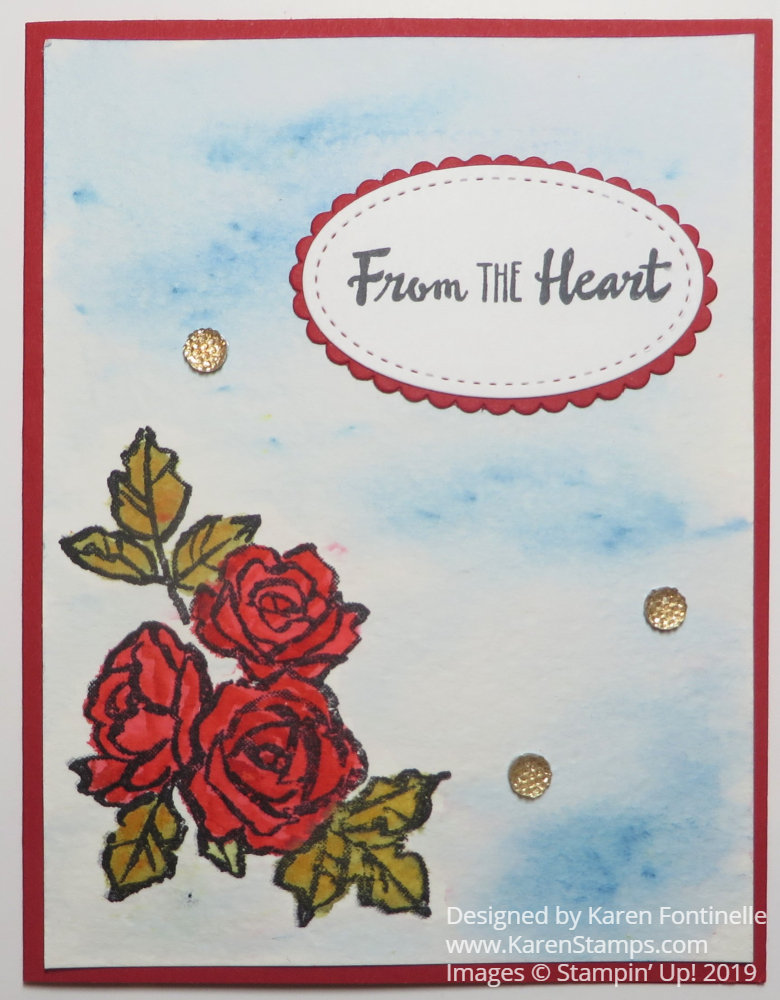
Paper Pumpkin is for anyone, even non-crafters or beginning crafters. Directions are included, of course, and there is always a video online, too. And if you are an experienced, avid crafter, maybe once in a while you’d like to not have to design a project on your own – just open the Paper Pumpkin box and start creating! You can even create different designs than are presented in the kit. They are your supplies and you can cut things differently, make different designs. Just have fun with your kit!
If you like, Paper Pumpkin also offers a few Add-On Dies that you can use with the three Paper Pumpkin Kits for that quarter. Right now, you can “add-on” these little dies to go with the January, February, and March Paper Pumpkin Kits. Of course, you can also use these dies with your other Stampin’ Up! projects, too.
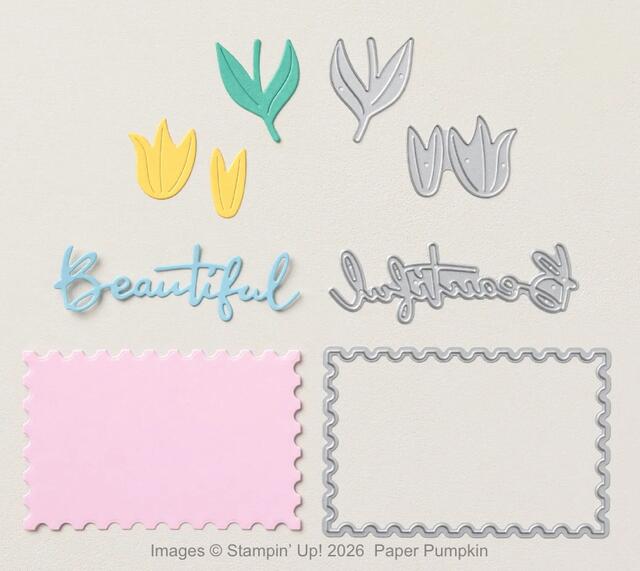
These are the Beautiful Blooms Dies (168666) that you can purchase in the Paper Pumpkin menu in the Online Store. Or just click the link!
Find out all about a Paper Pumpkin monthly subscription HERE!
Go to that link, read about Paper Pumpkin, and scroll all the way to the bottom to see some videos of past kits. Also, once you are a subscriber, you can purchase any past kits or refills (no stamp set or ink spot), and add-on dies that are available.