Here are some easy and fun ideas you can make for Easter at the last minute! And it’s really the last minute today, isn’t it?! Just click on the title below each photo to go to the blog post with directions!

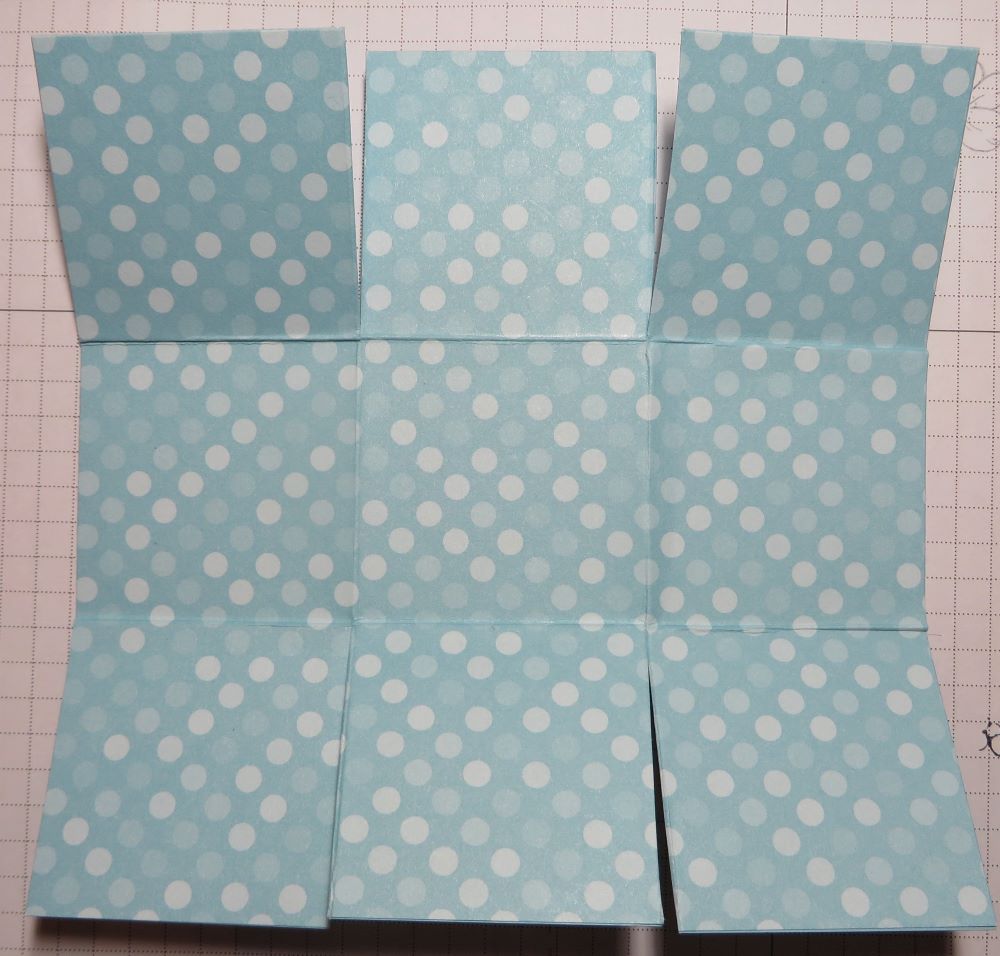
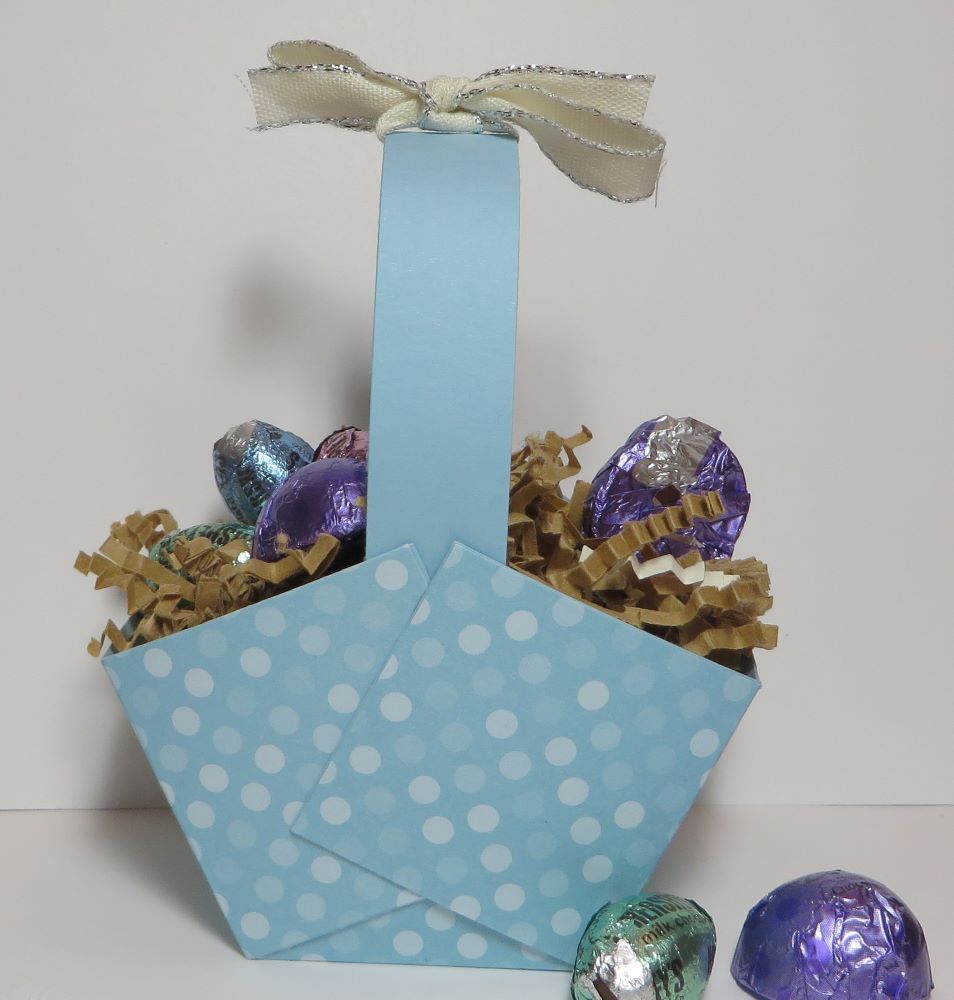
Three Fun Little Easter Baskets To Make
This has always been a popular post because these little baskets are so easy to make! Just use a square piece of cardstock or designer series paper. You can see one is cardstock with stamping, one is just designer series paper, and one is cardstock with designer paper layers decorating it. Everyone needs an Easter basket, even a little one! Use them for party favors/decorations at your Easter dinner table.
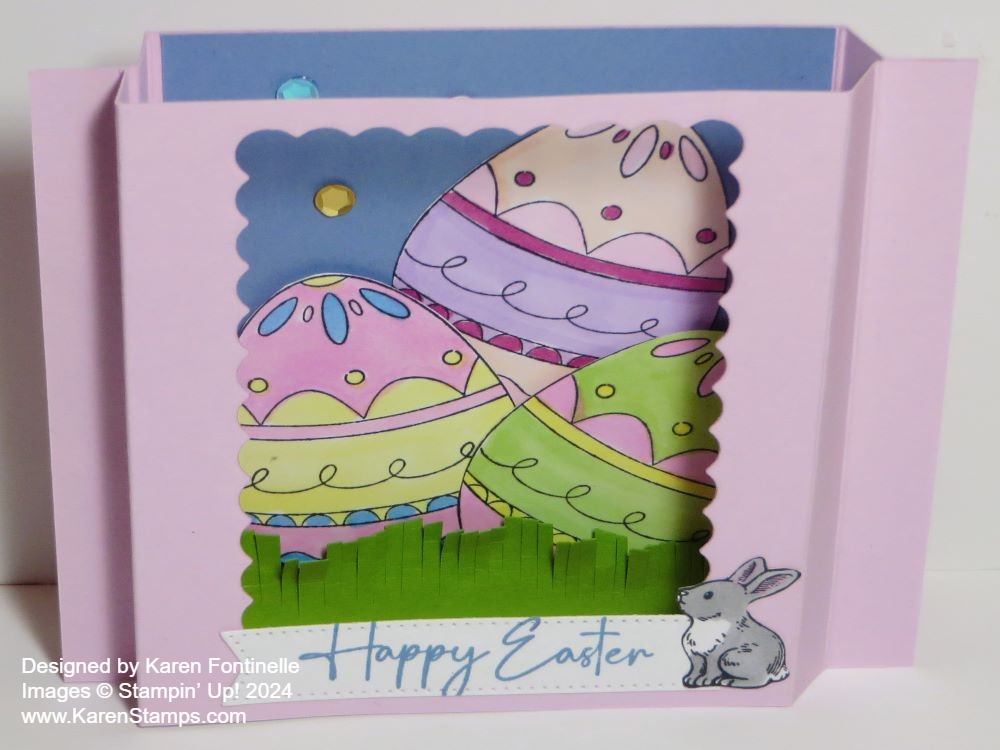
Diorama Excellent Eggs Easter Card
This is a cute Easter card, but it could also be a home decor item, sitting out on a table! It’s easier to make than you would think. It is two layers of cardstock with the center cut out of the top layer and a little scene of any kind made in the background. The sides are scored and folded, then adhered so the card will stand up and you can see inside…..kind of like those old-fashioned sugar eggs with a hole to peek inside! Did you have one? I did and still have it!
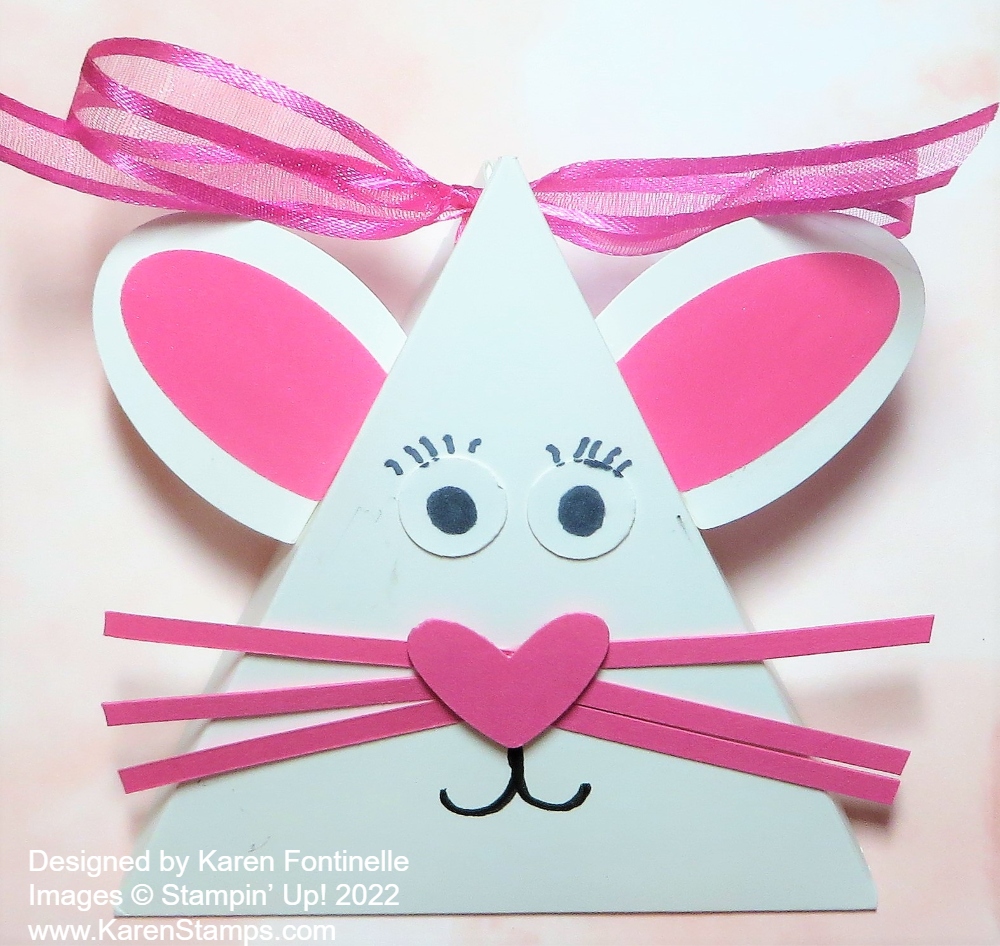
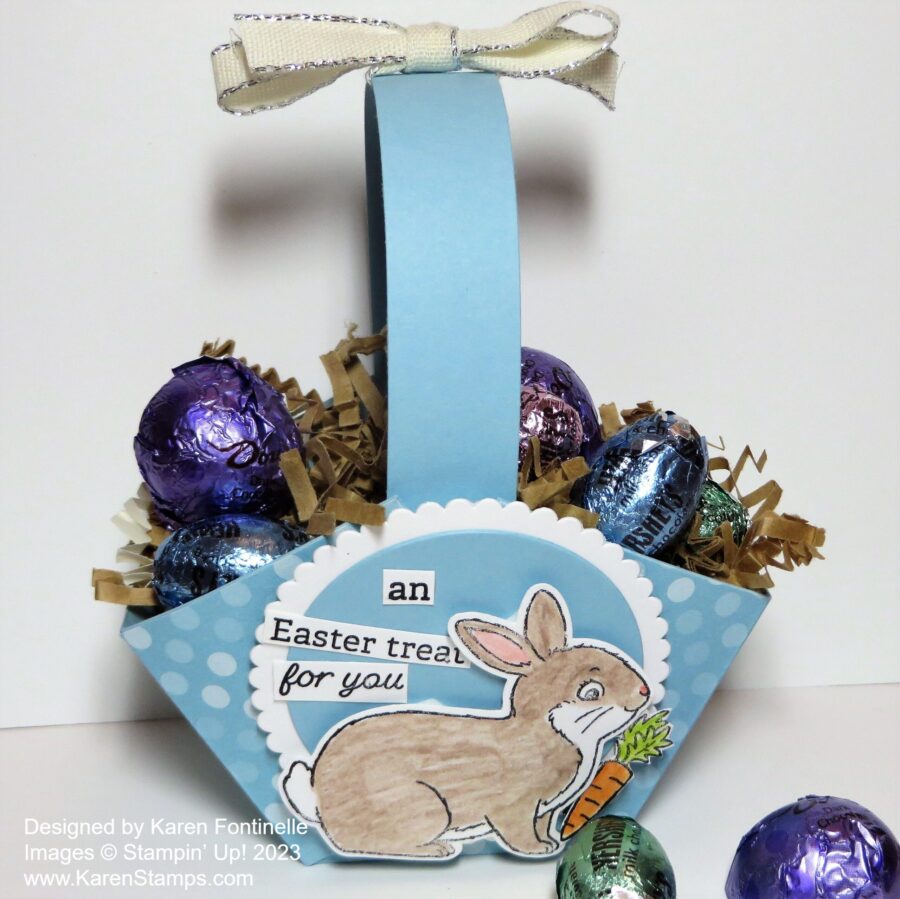
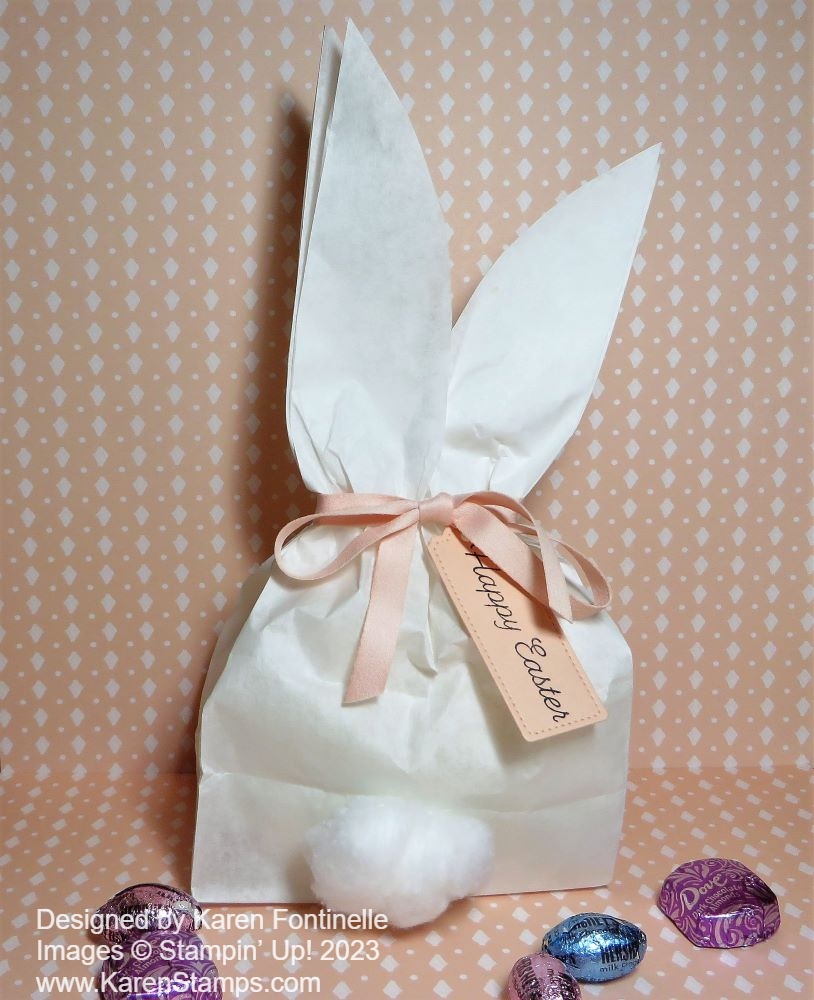
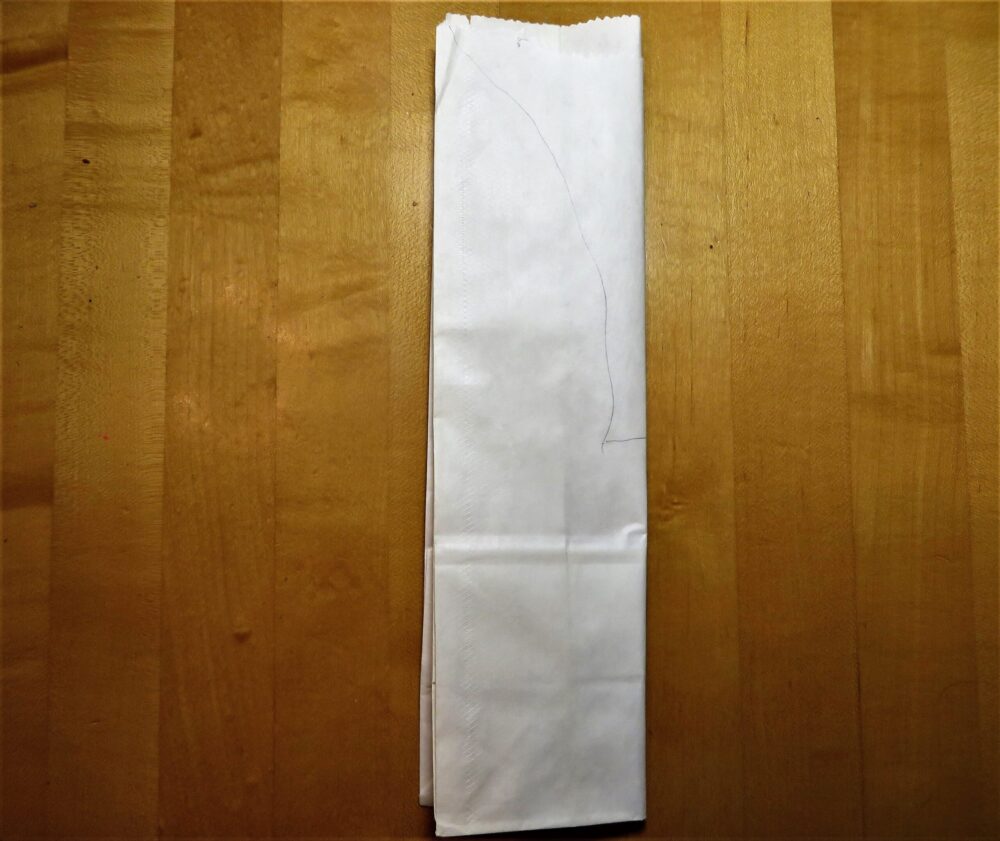
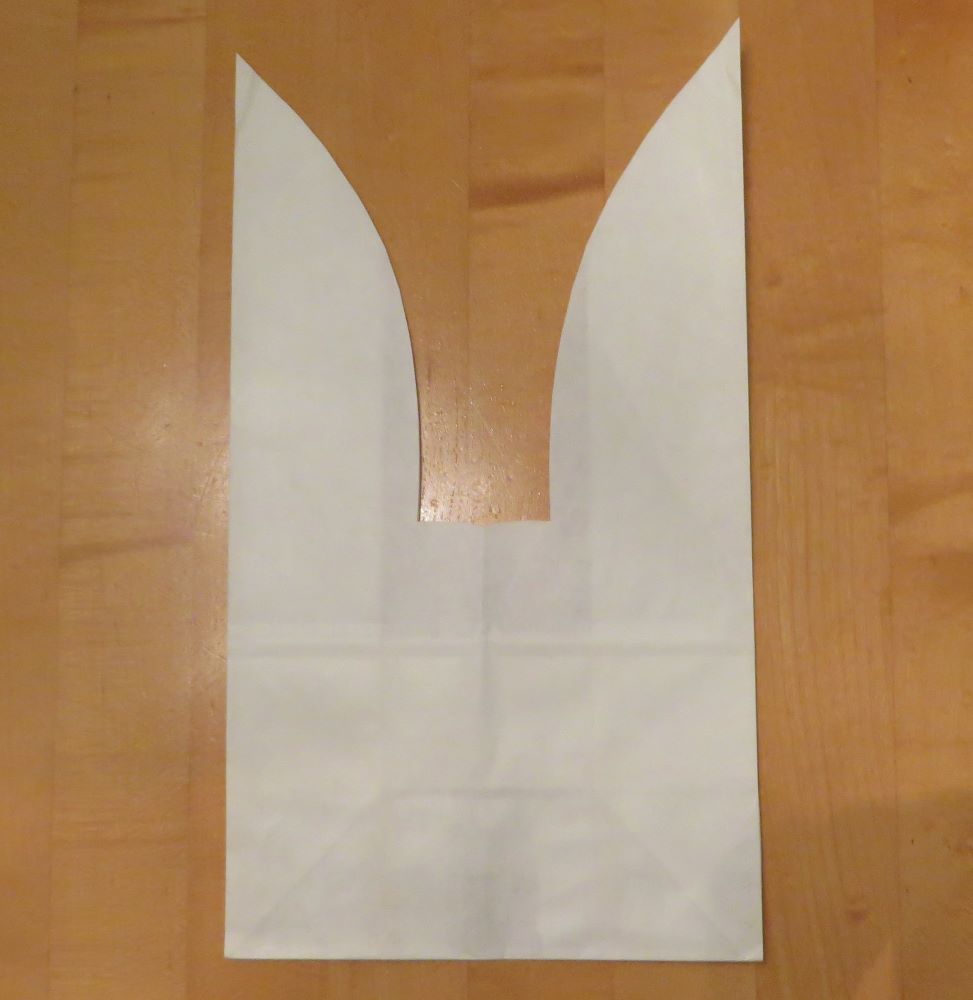
Triangle Box Easter Bunny Treat
If you have followed me for quite awhile you may know that I like to make these triangle boxes for treats or small gifts. They are easy to make and you can make them smaller or larger. This one is cute for Easter! Diagram and directions in my blog post.If you have followed me for quite awhile you may know that I like to make these triangle boxes for treats or small gifts. They are easy to make and you can make them smaller or larger. This one is cute for Easter! Diagram and directions in my blog post.
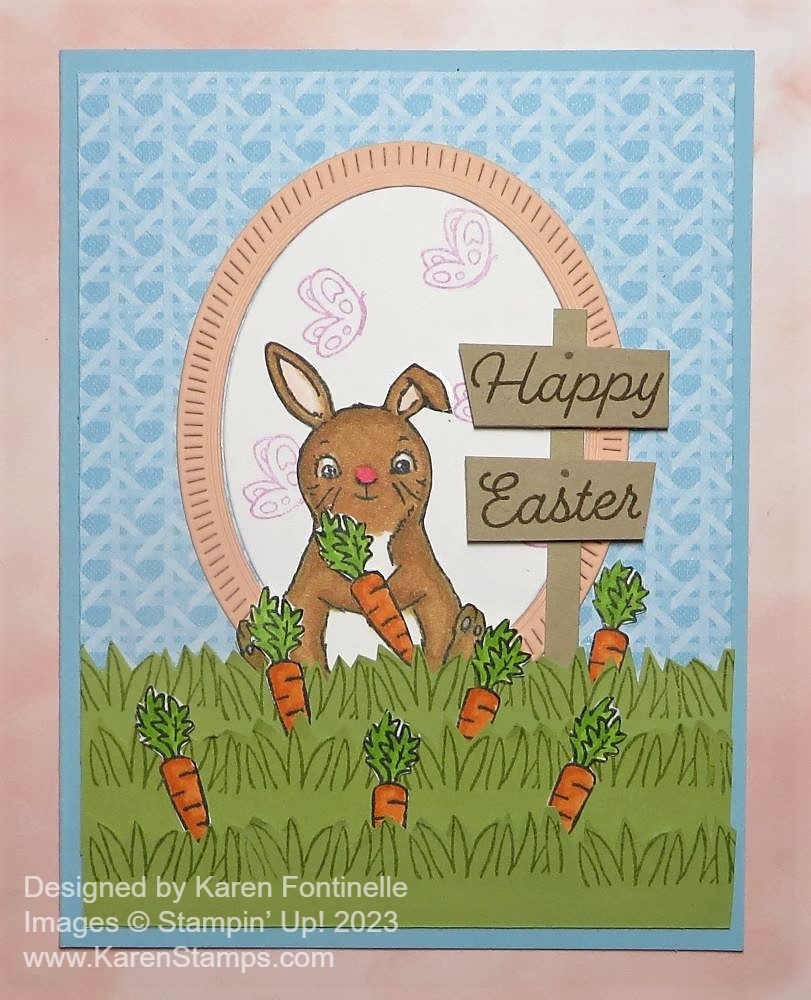
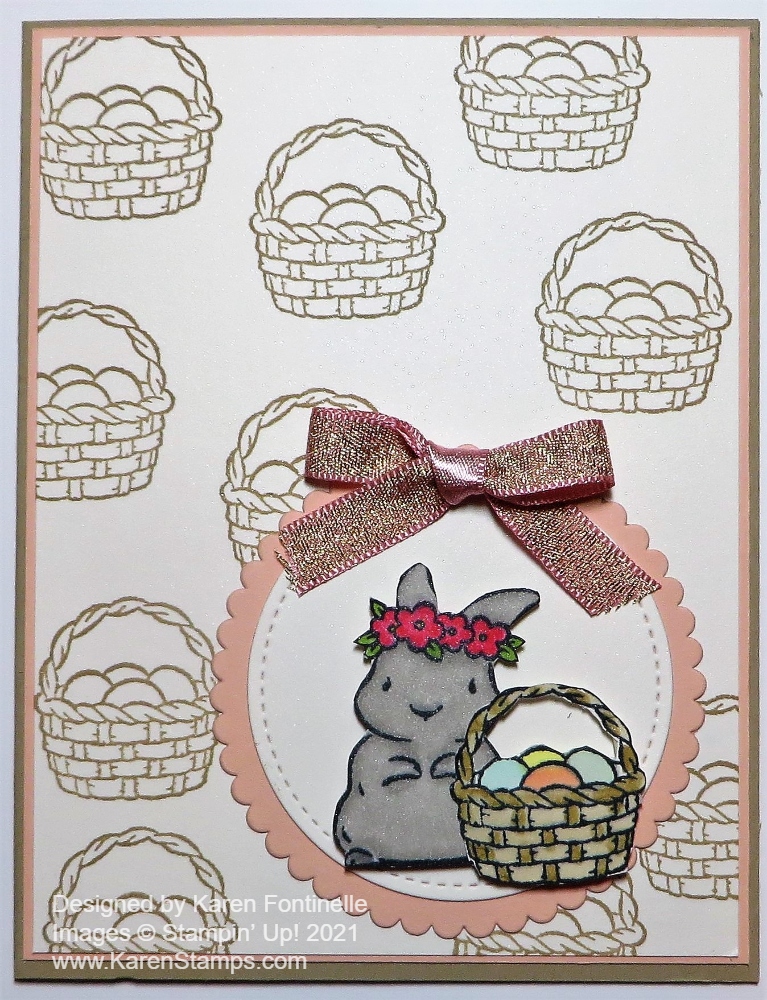
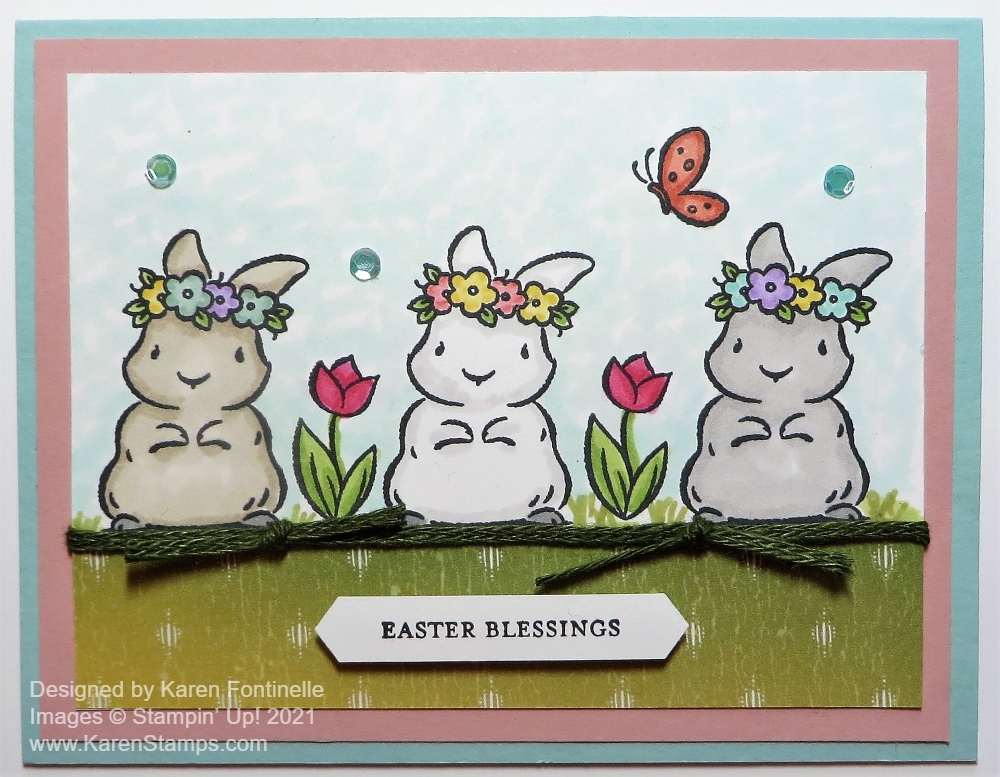
And if you still need more ideas or ideas for Easter cards, just go to the side (or bottom if you’re on your phone) and find the Category box. Type in Easter and lots of Easter posts, new and old, should come up!
Happy Easter!!
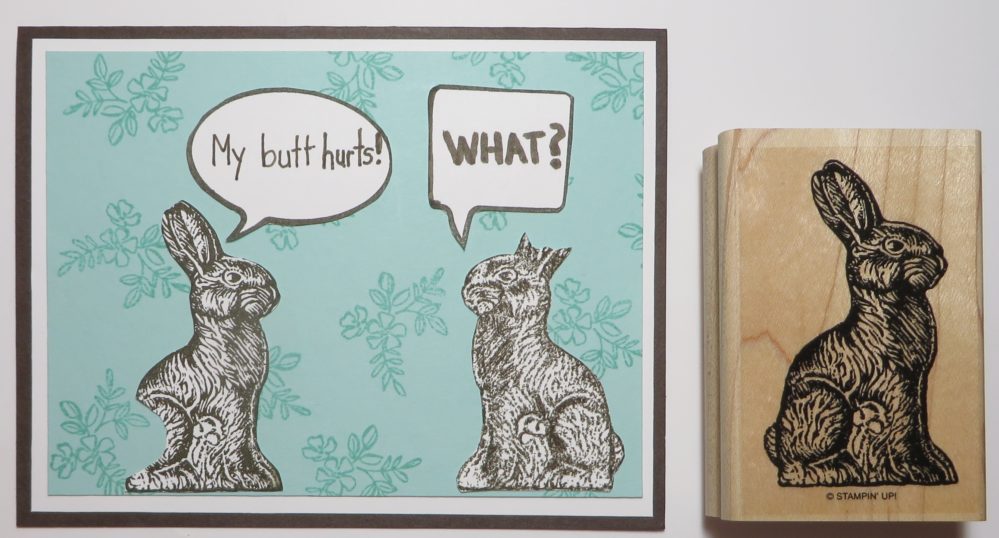
My favorite chocolate Easter Bunny joke! Do you bite the ears off first or the tail?