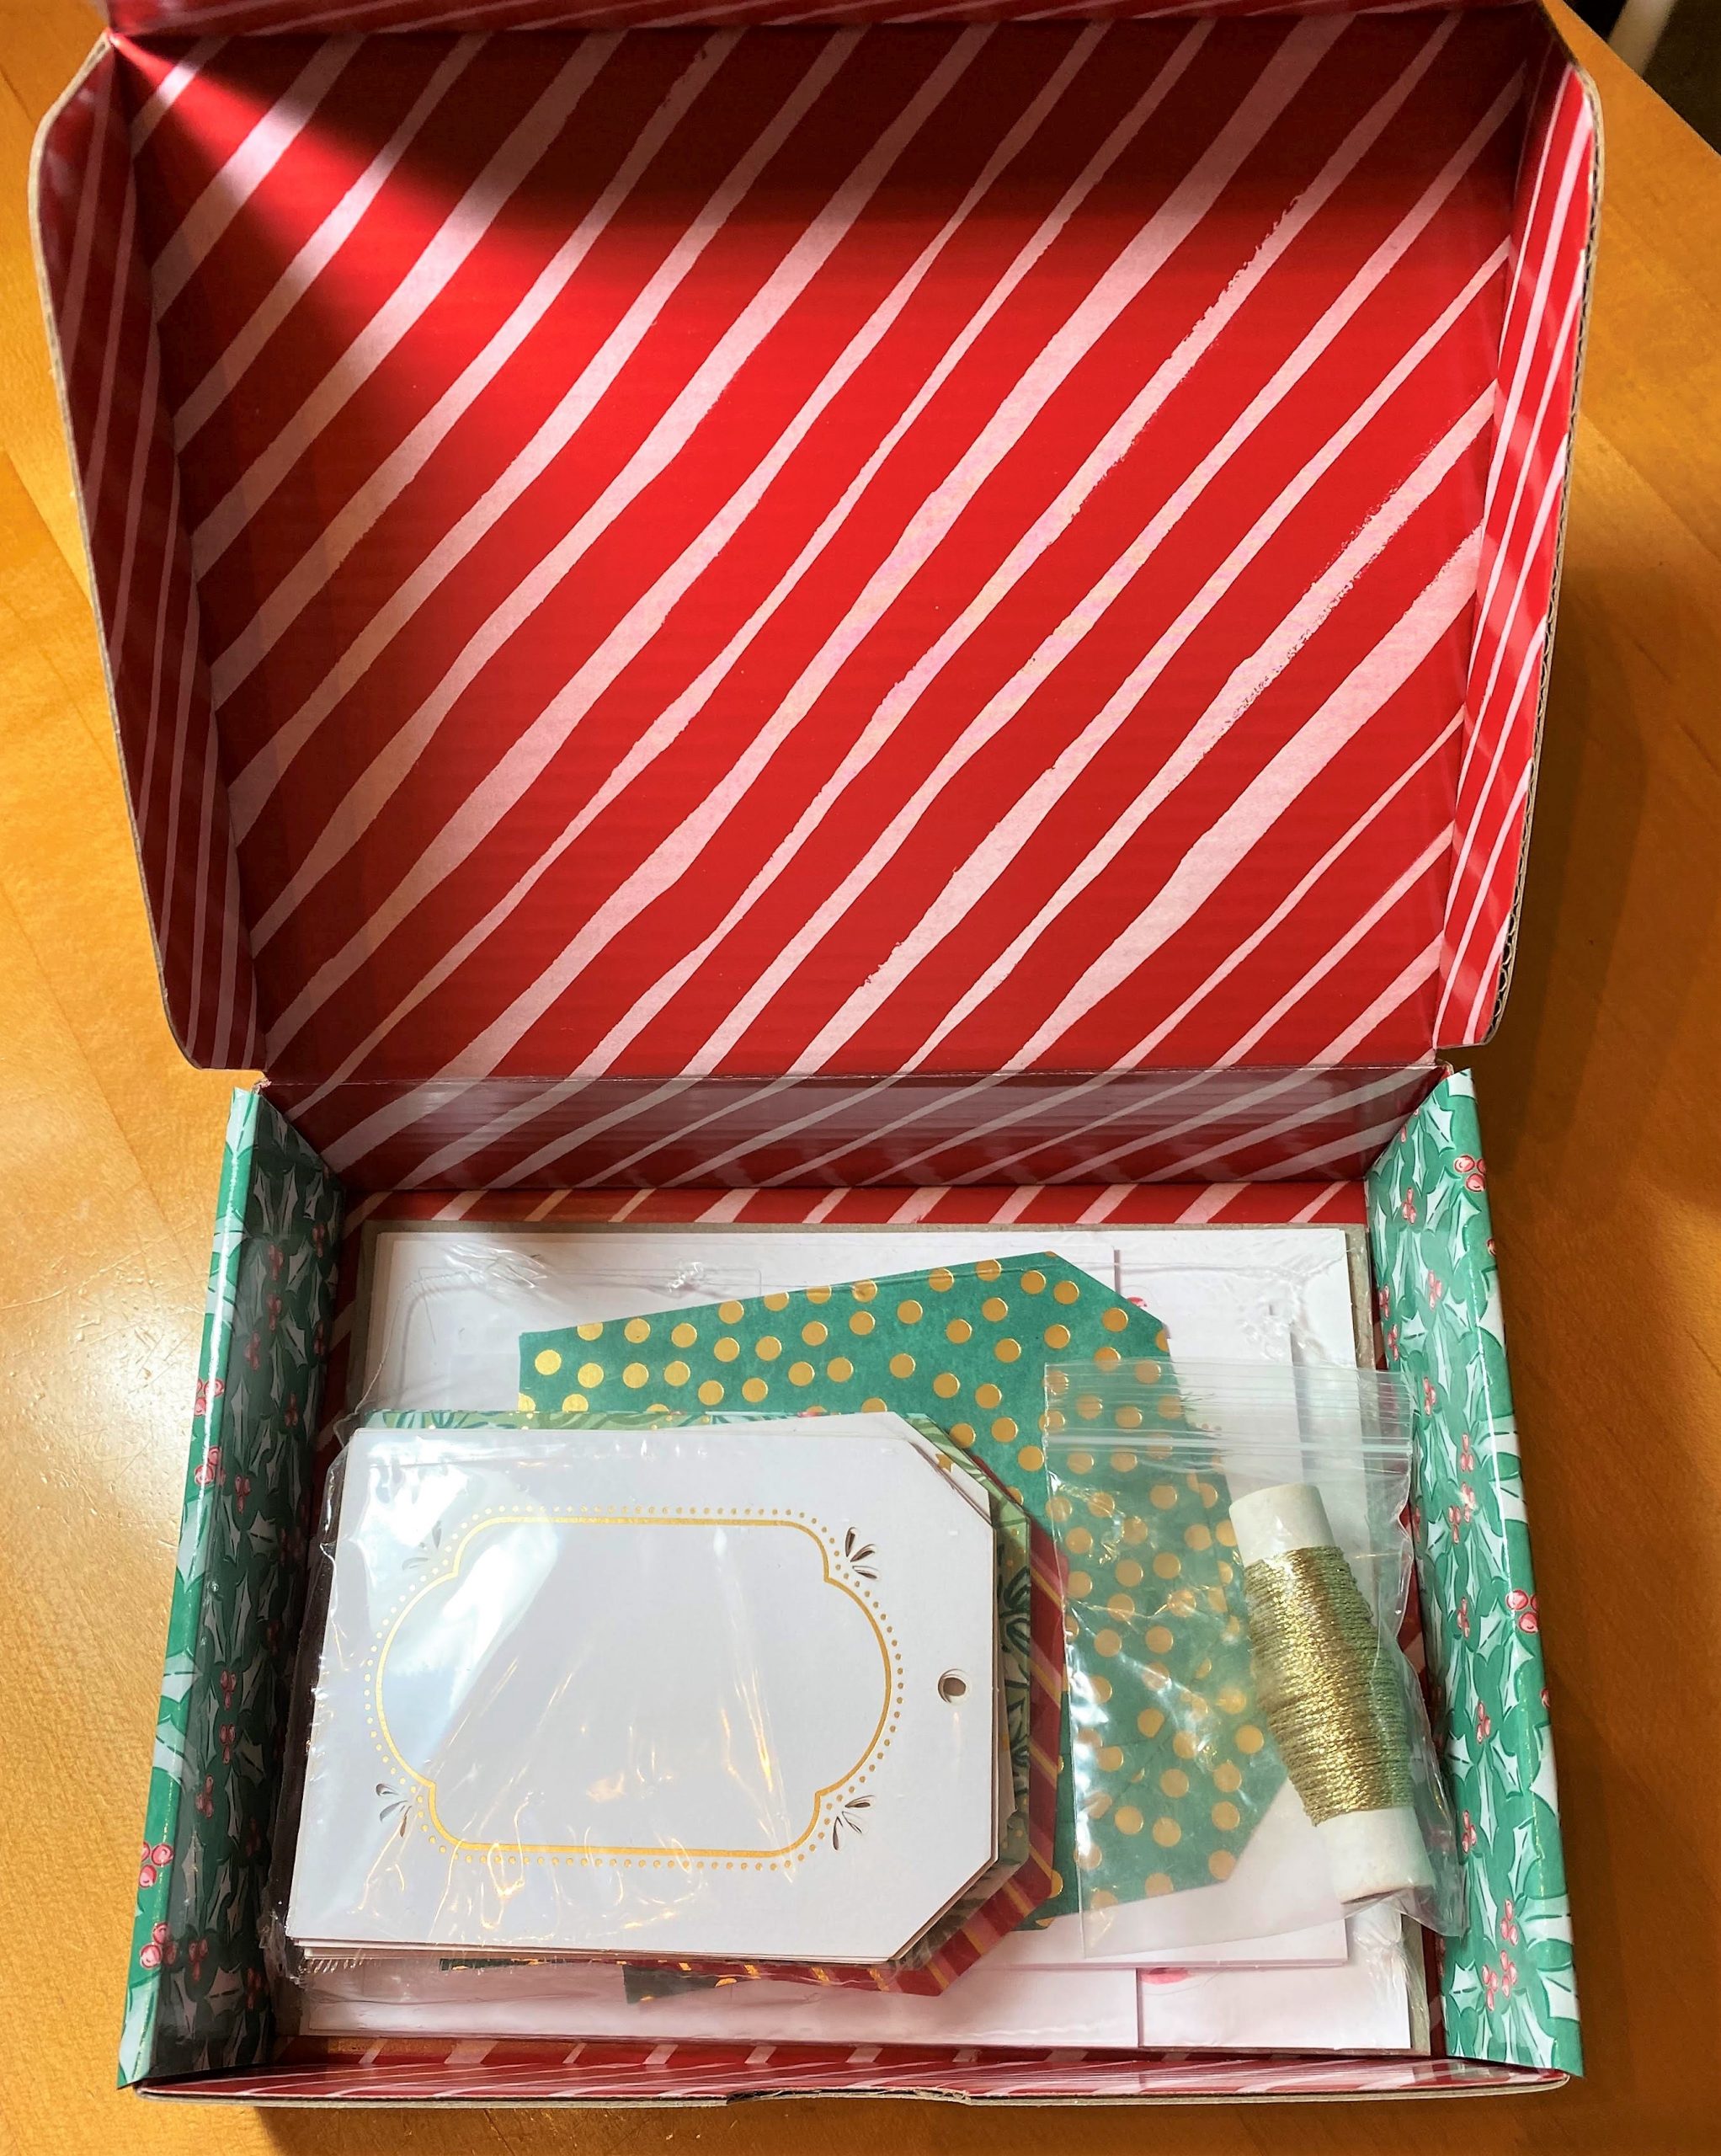
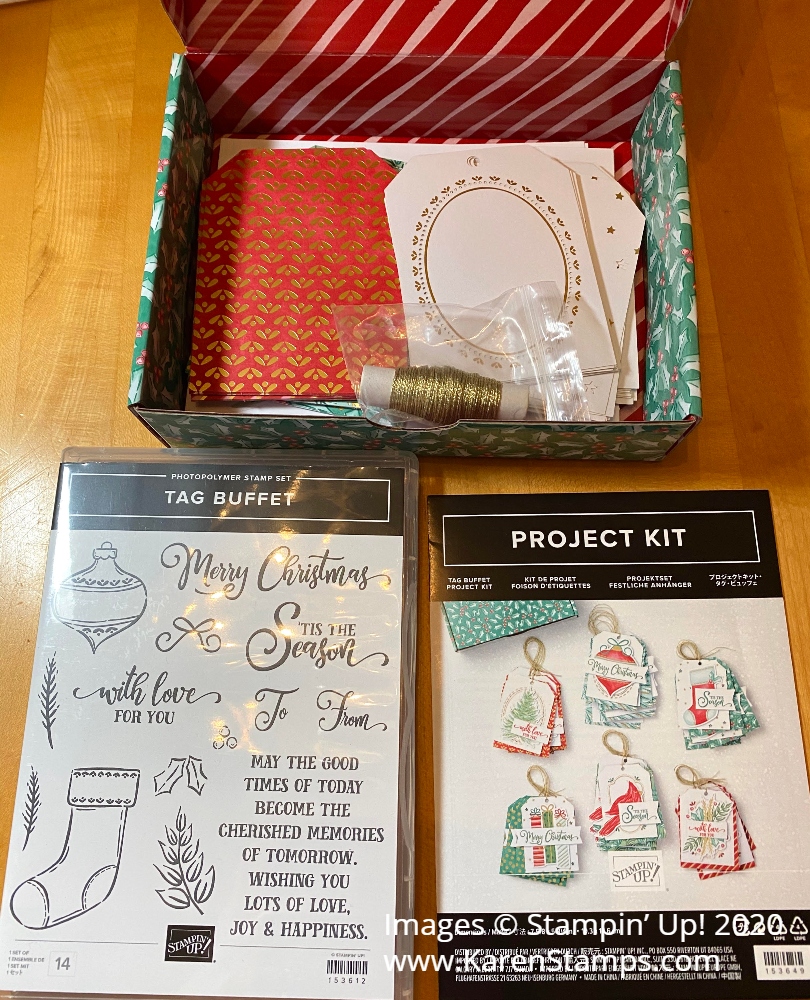
For some fun and relaxation, I took the afternoon and spent time making the kit I recently ordered that I couldn’t wait to get my hands on and made these Tag Buffet Christmas Gift Tags! You will find this Tag Buffet Project Kit in the Holiday Catalog on page 5. I immediately loved the images for the tags and couldn’t wait to order it! Then I forgot to order it over two orders and finally, I got it!
The project kit comes in a cute green holly print box. As long as you have a cute box, that’s almost all you need, right?! If you want, you can order the coordinating Tag Buffet Stamp Set to stamp the greetings on the tags. But if you already have a good selection of Christmas greeting stamp sets, you might have something you can use without buying a new stamp set. But I do love the ornament and stocking in this stamp set, plus the verse that you could stamp inside the card. I plan to make some extra Christmas cards and maybe more tags using this stamp set.
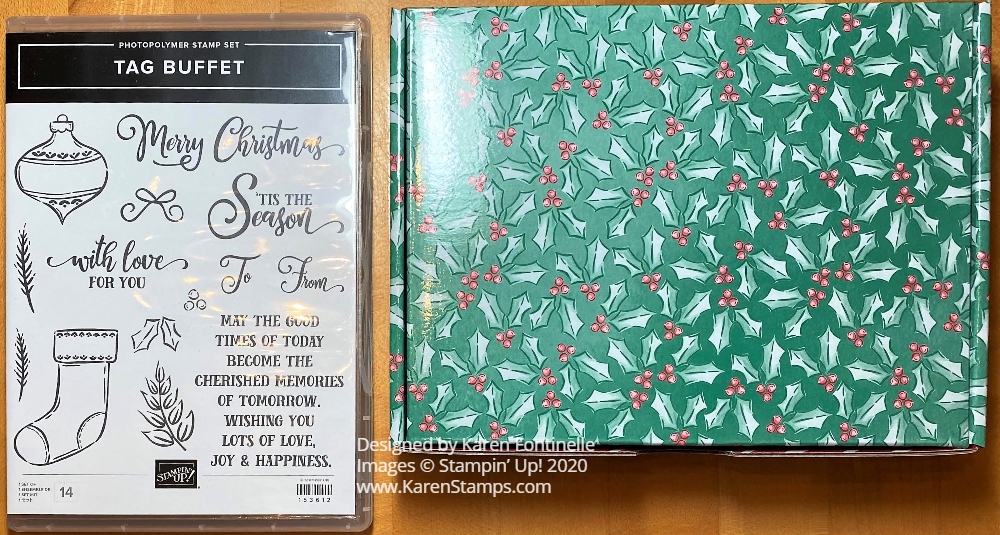
You get all the materials you need to make the tags, but you do need your own ink pads and Stampin’ Dimensionals. The coordinating ink colors are Real Red, Shaded Spruce, and Garden Green. The only stamping is for the greeting so really, you could get buy with any one of those colors or two if you wanted a red and green. I did use a lot of Dimensionals but I did use up some scrap edges of old sheets because no one will see them anyway! And if you don’t want to pop things up, you could just use glue or Stampin’ Seal or Stampin’ Seal+.

And if you want to, you don’t have to follow the directions at all, just do your own thing with the kit supplies. This would be a great kit for a beginning or novice stamper or crafter because all you have to do is stamp the greetings and then assemble the tags and tie them together with the included gold twine.
Since they are gift tags, I stamped the “To: From:” on the back of each of the tags before I put them together. The tags are large so if you also want to add a personal message on the back of the tag or stamp some other image, there is plenty of room! They are really nice tags!
Another thing you could do, is make the tags and then use them as a focal point on the front of a Christmas card. And what would be really fun is if you used just enough adhesive to hold it on the card but that the recipient could take off and use themselves or hang on the tree like an ornament. When I was growing up, my mother knew some people who were very rich and their Christmas card was always the fanciest one, but part of it was actually an ornament to save and use! We always looked forward to that one!
Don’t miss the Tag Buffet Project Kit in the August-December 2020 Holiday Mini Catalog on page 5! You might miss it as you rush to page through the beautiful catalog! The kit makes 30 tags!! That is 6 different designs, 5 tags each! The tags are 3 1/4″ x 4 1/4″ so that is a nice size. Your present will really stand out with these beautiful handmade tags!