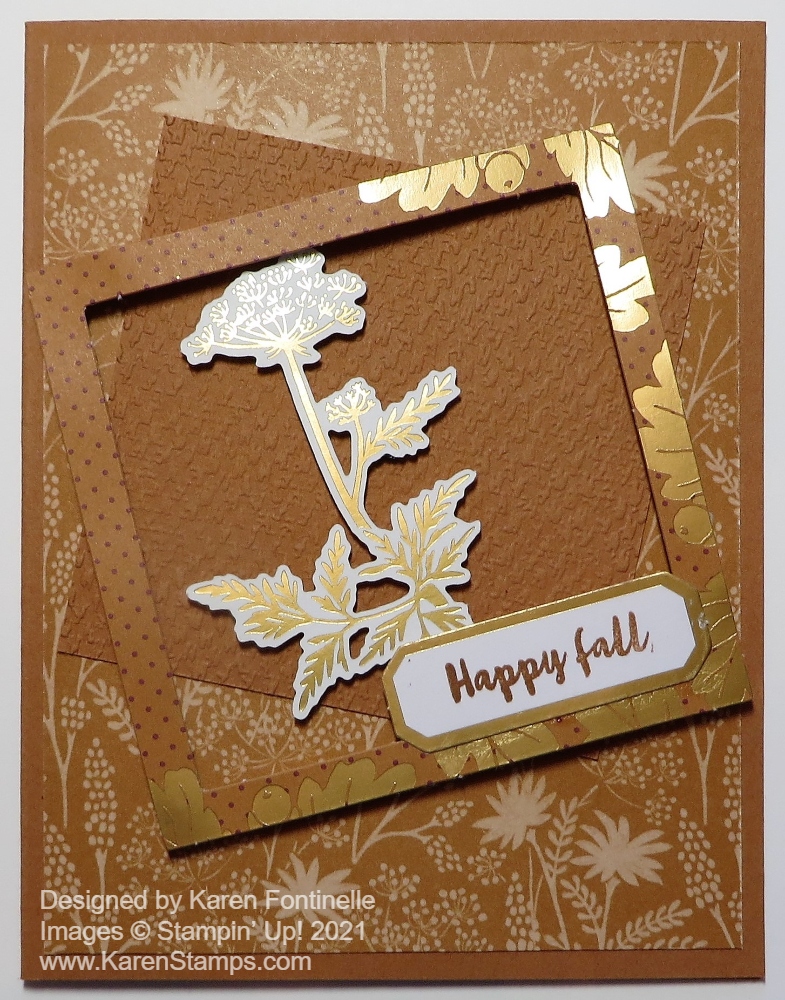
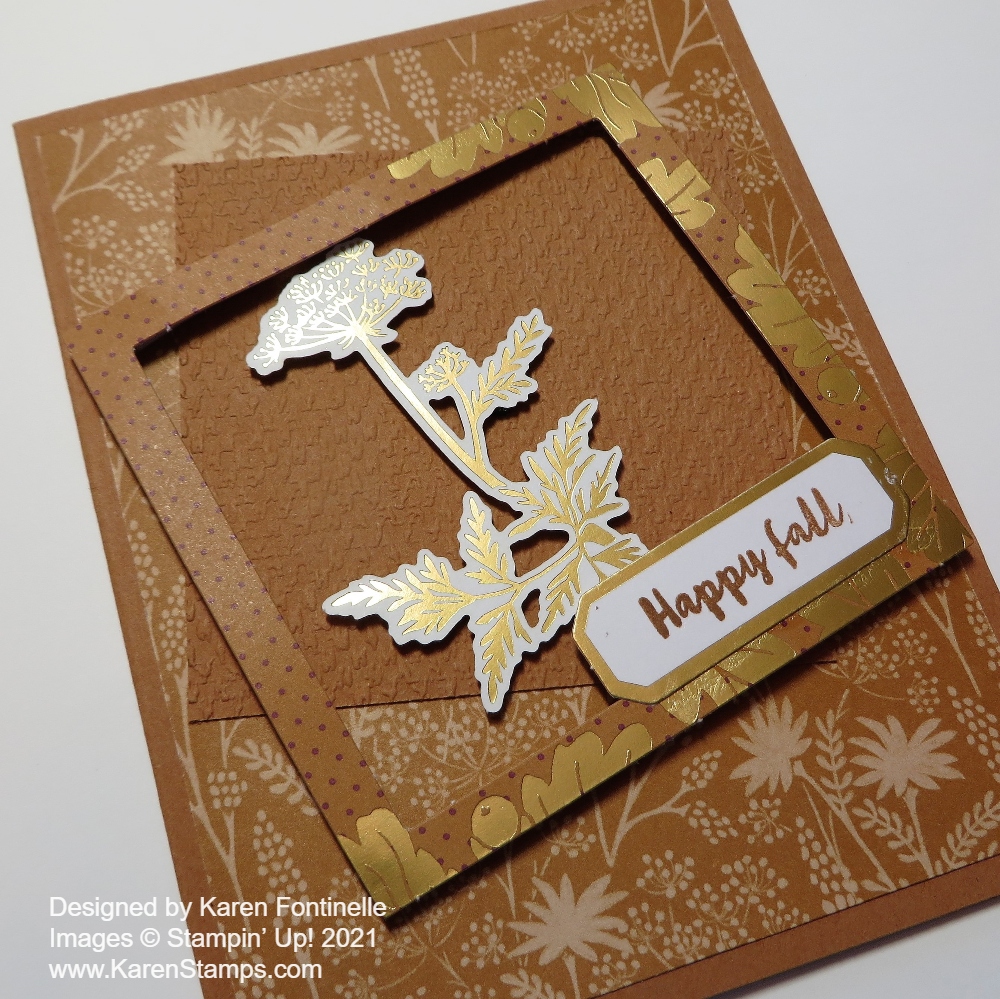
It’s November already so here is an Amber Autumn Card For November. You could easily use this card for Thanksgiving although a Happy Thanksgiving greeting is hard to come by! Now that Halloween is over we can turn our attention to Thanksgiving and Christmas coming up.
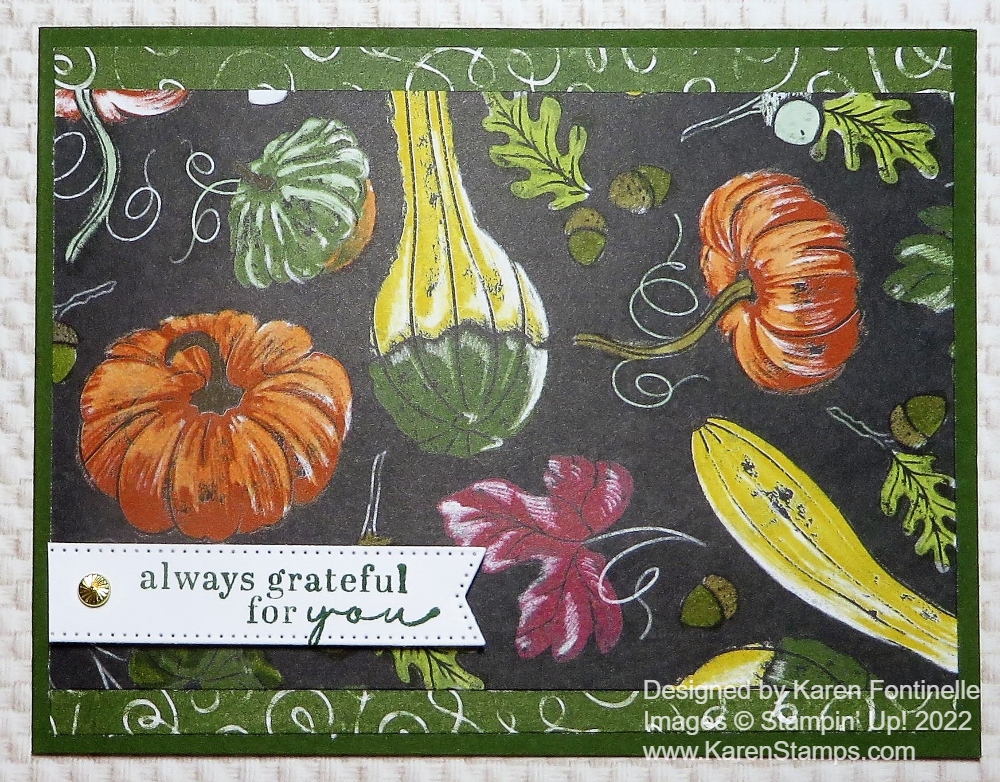
The card base is Early Espresso with a layer of one of the plaids in the Timeless Plaid 6″ x 6″ Designer Series Paper. This paper is so versatile with it’s different plaid patterns and pretty colors. The pumpkins are stamped from the Amber Autumn Stamp Set. I used Memento ink and colored in with various colors of Stampin’ Blends markers. I used Very Vanilla cardstock and then diecut with one of the Branching Out Dies. I think these dies are on their way to being favorites! I love how they can be layered with lots of different sizes. I chose Pecan Pie cardstock for the layer.
Although that was all I planned to do with this piece, it seemed to be missing something. I got the idea to use the Metallic Textures Rub Ons for a little extra something. You can cut out the exact area you want to use so I cut out three different small groupings of gold dots and applied them around the top of the pumpkins. The card needed a little gold!
At first I tried a greeting in one of the ephemera packs, even sponging it with some Pecan Pie ink but finally decided the white background clashed with the Very Vanilla cardstock on the card. I was hoping there was a Happy Thanksgiving in the ephemera pack but I didn’t find one. So I stamped my own greeting from the Amber Autumn Stamp Set on a strip of Very Vanilla in Pecan Pie ink and popped it up on MIni Dimensionals.
These months are really flying by, but even in Houston TX the temperatures have dropped a little so that it feels like fall. I’m going to put away my Halloween decorations now and get out my Thanksgiving decorations! And maybe make a few Thanksgiving cards to send!