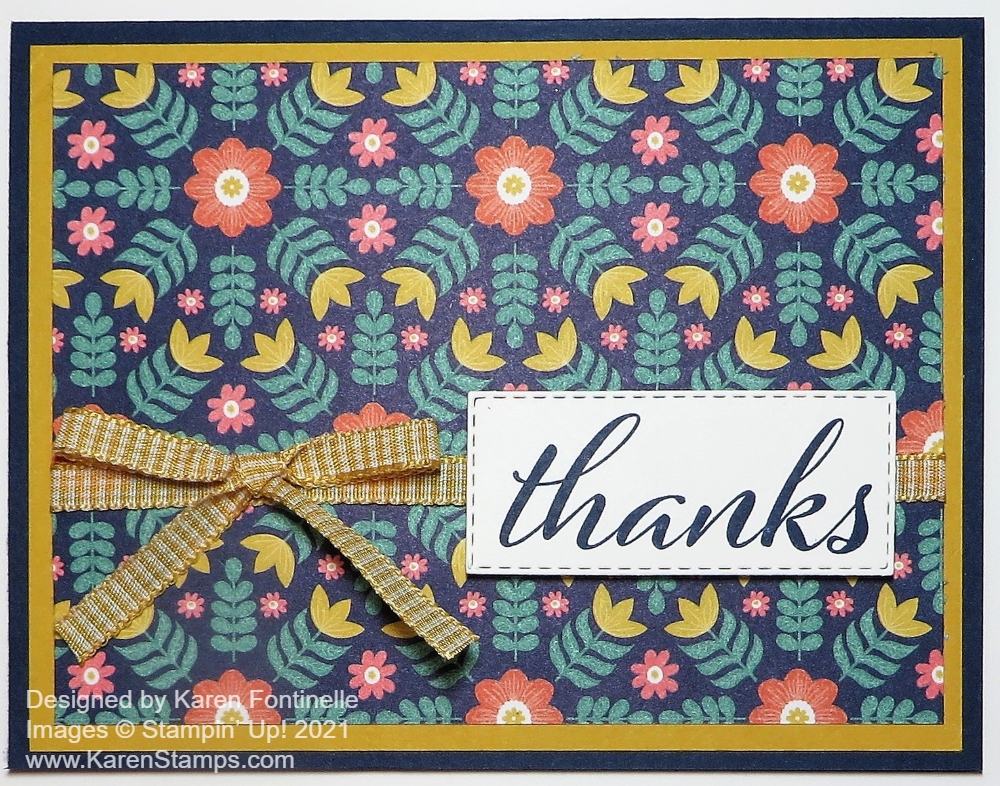
I passed up this new paper in the Stampin’ Up! Annual Catalog at first, but decided that might have been a mistake so I ordered it recently on the Designer Series Paper Sale! Now I can use this cute paper to make cards like this Sweet Symmetry Thanks Card. The designs on the paper are really cute, I think, and fun to make cards and projects with.
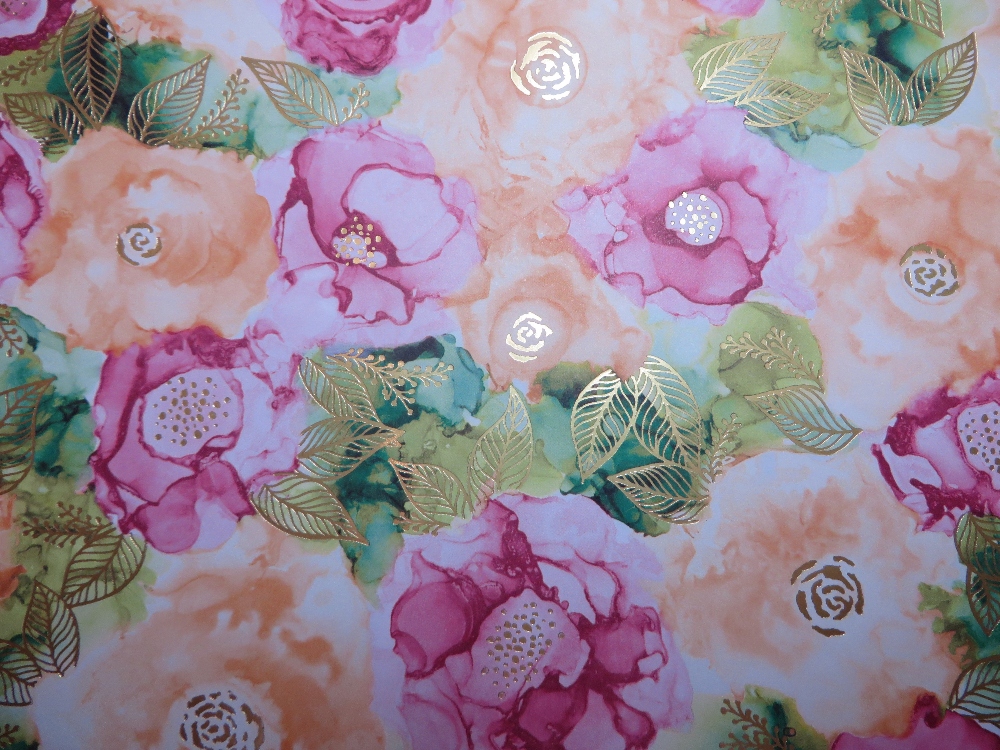
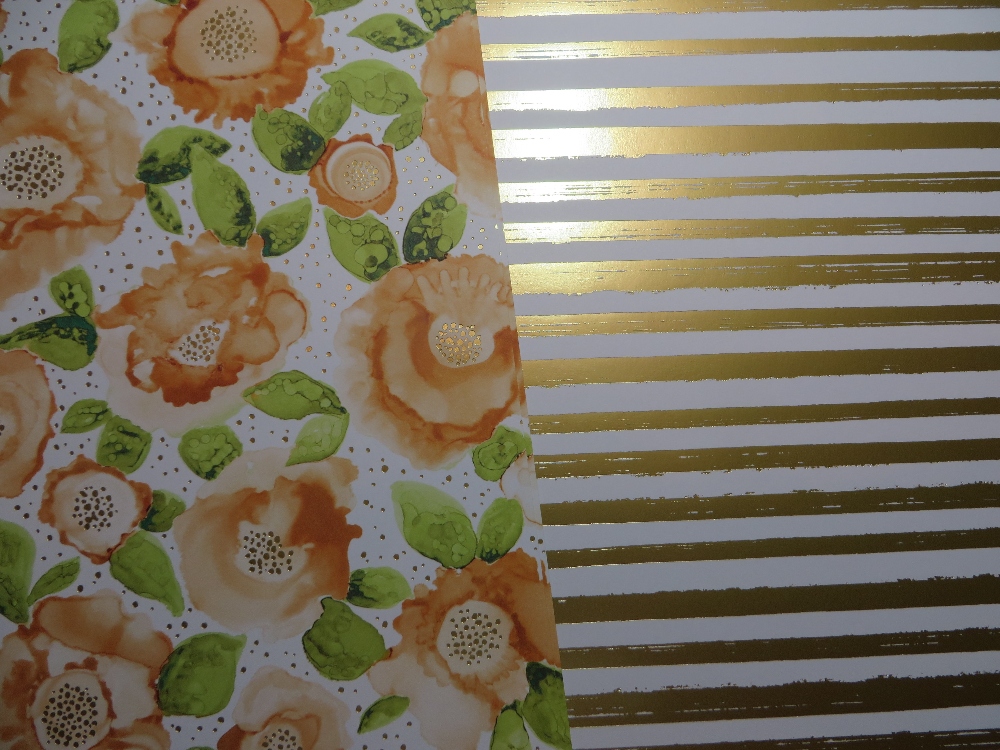
The designer series paper is called Sweet Symmetry. It has traditional, symmetrical folk art images and florals in soft colors. One side has bolder floral designs and the other side has more generic designs. You can use them together or separately.
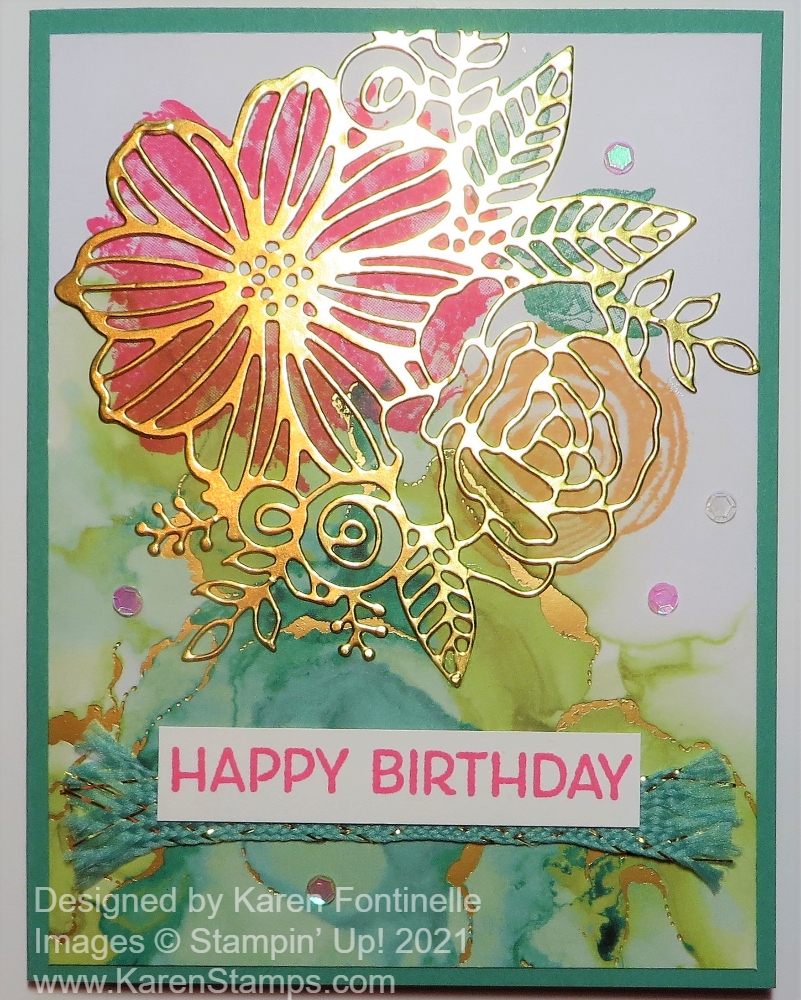
Although it looks black in the photo, the card base is Night of Navy, but you can see the dark blue background in the paper. I added a layer of Bumblebee cardstock underneath the designer paper just for fun. Since Bumblebee is one of the coordinating colors I thought it could add a little something to the card.
For an embellishment, I wrapped a piece of Bumblebee 1/4″ Gingham Ribbon around the designer paper and also adhered the separate bow. Sometimes it is easier to tie a bow separately and adhere it to the ribbon with Mini Glue Dots than to try to tie it to the base ribbon.
The greeting is from the Artistically Inked Stamp Set and stamped in Night of Navy ink. It is cut out with a Stitched Rectangle Die. I was going to cut out a layer of some kind to go underneath it without covering up too much of the paper, but in the end, I decided the greeting looked fine as is, especially with the Bumblebee Ribbon going underneath it. It is popped up with Stampin’ Dimensionals®.
This is such a basic, easy card design! It’s good for beginners as well as experienced stampers. Use just a card base, a layer of designer paper, and a greeting. That’s really all you need, but as you see, I added an extra cardstock layer and the ribbon for the embellishment.
I think the patterns on this Sweet Symmetry Paper just make you feel “happy” whether you are the cardmaker or the recipient! The Designer Series Paper Sale runs through August 2 so stock up or add to your collection of papers!