It’s May 1st and this Die-Cut Pansies For May Day Card is perfect to celebrate the day! If I went outside and walked up and down the street, I would see loads of pansies planted in neighbors’ landscaping. They won’t last in the hot weather, but so far the weather is tolerable for them. Just today I had a memory of being a little girl in Sunday School and planting or just bringing home a pansy planted in a milk carton to my mother for Mother’s Day.
As I discovered the other day, I need to play with the new Pansy Patch Stamp Set and the Pansy Dies in the new Stampin’ Up! Annual Catalog coming out on Tuesday, May 4th a little more to learn how to effectively make a pretty pansy. I’m sure it is not difficult, but I was a little unsure. Maybe I need to take photos of some of our neighbor’s pansies so I know exactly how the petals are placed!
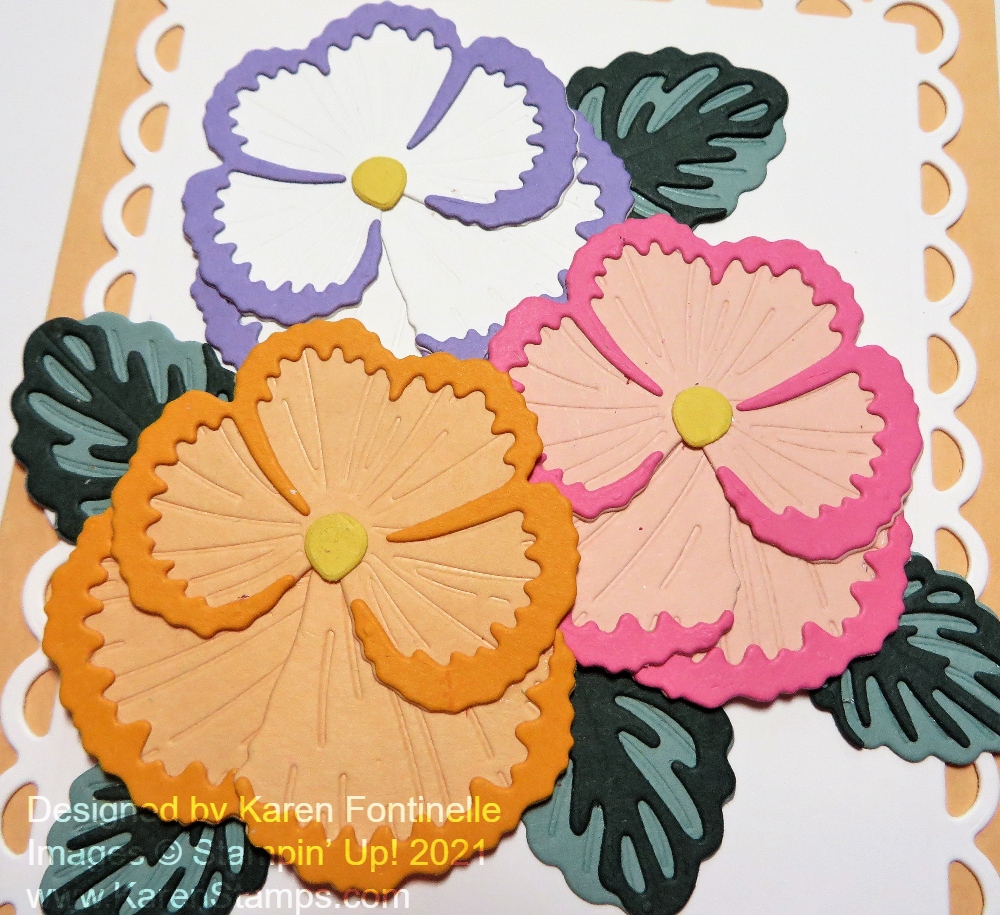
For this card, I wanted to just experiment with the Pansy Dies and not worry about making an amazing card. I just wanted to make pansies. I decided to just die-cut a bunch of pieces and then see how they all fit together. I planned with two different shades of similar colors for each pansy, like Petal Pink and Polished Pink, Pale Papaya and Mango Melody and even just Basic White and Highland Heather for the contrasting parts of the flowers. The leaves are Soft Succulent for the solid leaf (really very pretty on it’s own because the die embosses it) and Evening Evergreen for the outline piece.
After cutting out an assortment of pieces for the pansies, I just glued, with tiny dots of Multipurpose Liquid Glue, the outline edge to the corresponding color. Each pansy flower has three pieces (at least mine do!). The top part has kind of the three areas and then the two bottom pieces are each like one petal with an outline piece along the bottom edge. I glued those two pieces together, then added the top piece. I think you want them close enough so the outlines kind of line up. There also is a die that cuts out three flower centers at once, so I used Daffodil Delight cardstock for the centers.
The leaves, of course, are simple. Just glue on the outline color…..or don’t. You could easily leave the leaves plain.
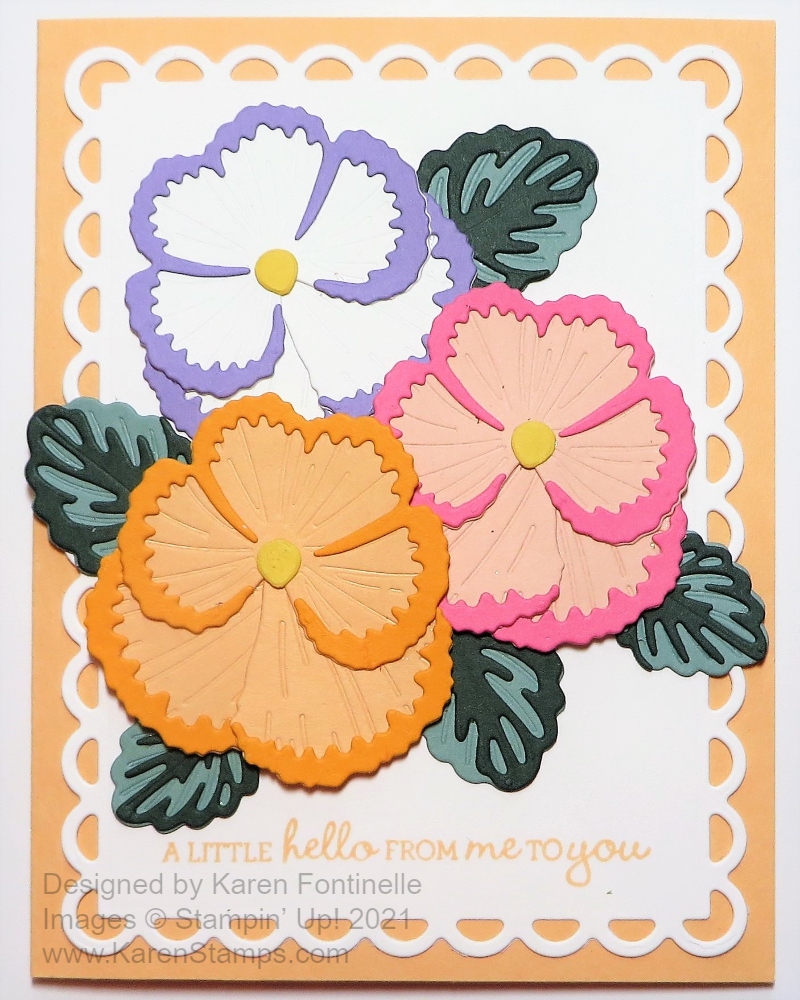
To make the card I used a base of Pale Papaya Cardstock and die cut a Basic White scalloped rectangle with the new Scalloped Contours Dies. I am really liking these dies! They go with the Color & Contour Stamp Set and you can buy the stamps and dies together in the Color & Contour Bundle and save 10%.
Then I just placed the pansies and leaves on the rectangle to see how they would fit. Since the pansies (at least mine) turned out a little large, they took up most of the room on the rectangle. There was just enough space at the bottom to stamp a greeting from the Pansy Patch Stamp Set in Pale Papaya Ink. I probably should have used a darker color as this one doesn’t show up that well with the pansies grabbing all the attention!
My advice when you get the Pansy Patch Bundle is just to get out your Stampin’ Cut & Emboss Machine and cardstock and cut out all the pieces and just play. Don’t worry about making anything, except flowers. Just play! And soon we will all be learning good tips and tricks of the best way to use this stamp set and dies I’m sure!
HAPPY MAY DAY With the DIE-CUT PANSIES!