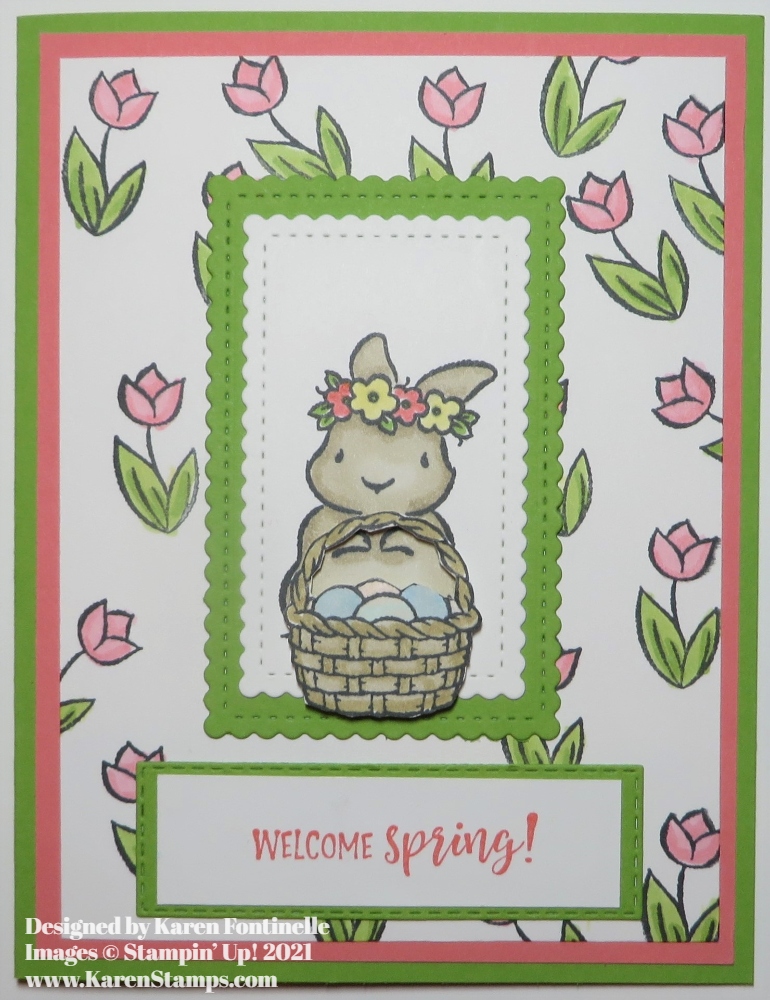
I needed a “happy” card and when I looked through the Hydrangea Hill paper, this sheet of small bouquets and this other sheet with a more generic pattern of little white flowers caught my eye. Even my husband commented as he walked by that those were pretty colors! And that’s how this Hydrangea Hill Floral Hello Card was born!
The card base is Seaside Spray, one of the 2019-2021 In Colors. Not a color I have used much, I don’t think, but it’s pretty with this Hydrangea Hill Designer Series Paper.
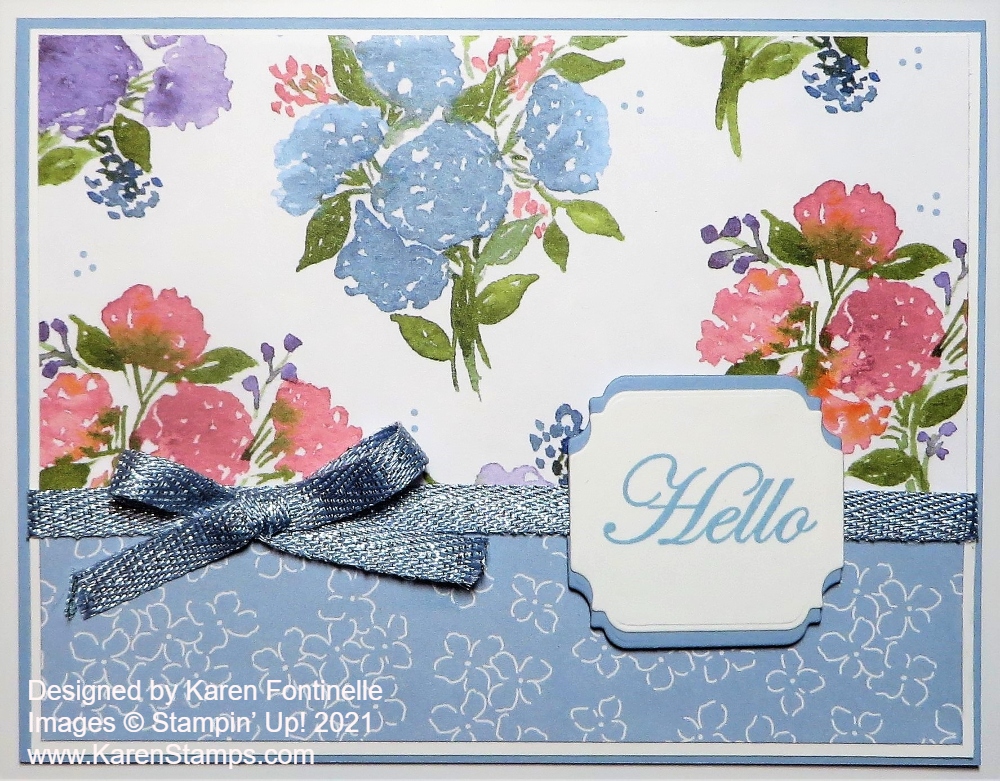
Sometimes when I am using two designer papers together, I like to adhere them to another piece of cardstock just to make it easier for me to get them glued together and then be able to tie a piece of ribbon across the seam where the two papers meet. In this case, I adhered them to a piece of Basic White Cardstock with a 1/16″ margin on all sides rather than 1/8″. Then I added a piece of Seaside Spray 1/4″ Metallic Ribbon across the seam. I tied a separate bow and adhered it with Mini Glue Dots. You could also tie it right onto the base ribbon if you wanted or tie on a knot.
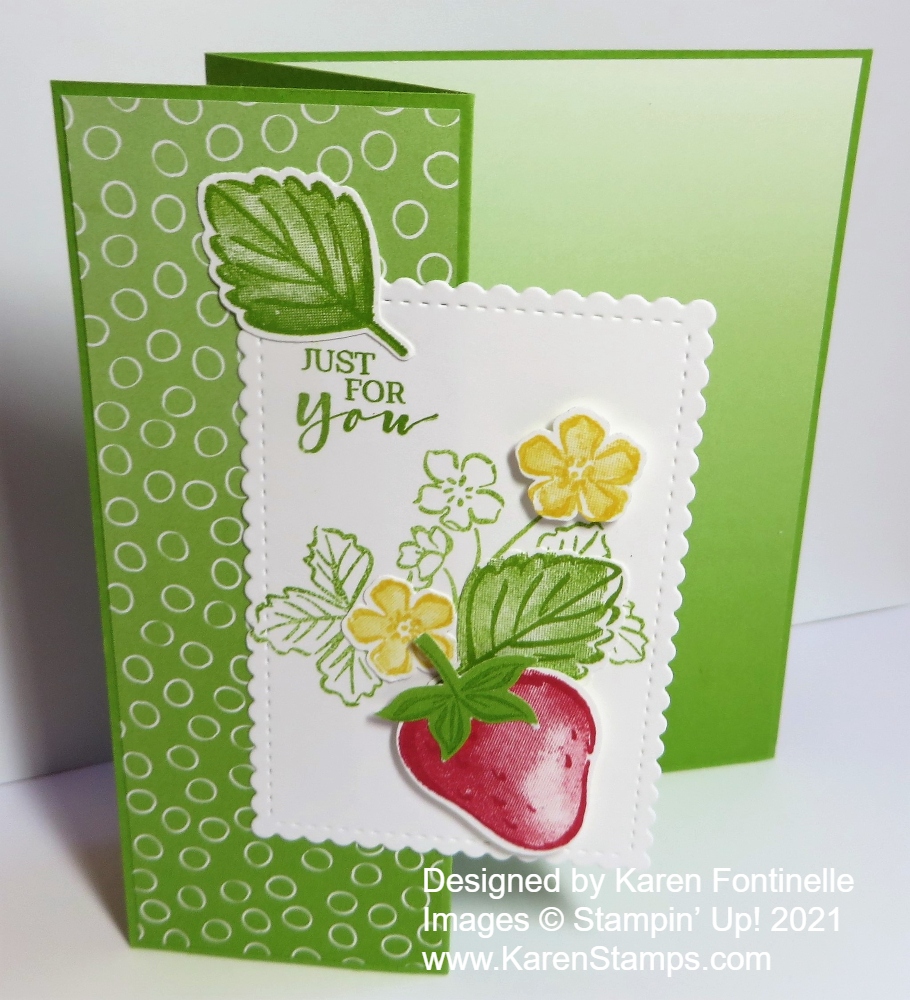
The greeting is stamped in Seaside Spray Ink on Basic White Cardstock. The greeting is from the Good Morning Magnolia Stamp Set. I didn’t want something too big to cover the flower bouquets so I chose a small greeting. It is die-cut from the Ornate Frames Dies. I cut another one in Seaside Spray for a little layer. It’s the same size so I just cut it in half horizontally and then let each half layer underneath a little bit at the top and bottom.
Here’s another card I made with the Hydrangea Hill DSP in much the same design. Put this paper on your Stampin’ Up! order along with some other things total $50 or more and take advantage of Sale-A-Bration before it ends Feb. 28!
This Hydrangea Hill Floral Hello Card is an easy one to make to showcase the pretty Hydrangea Hill Designer Series Paper!