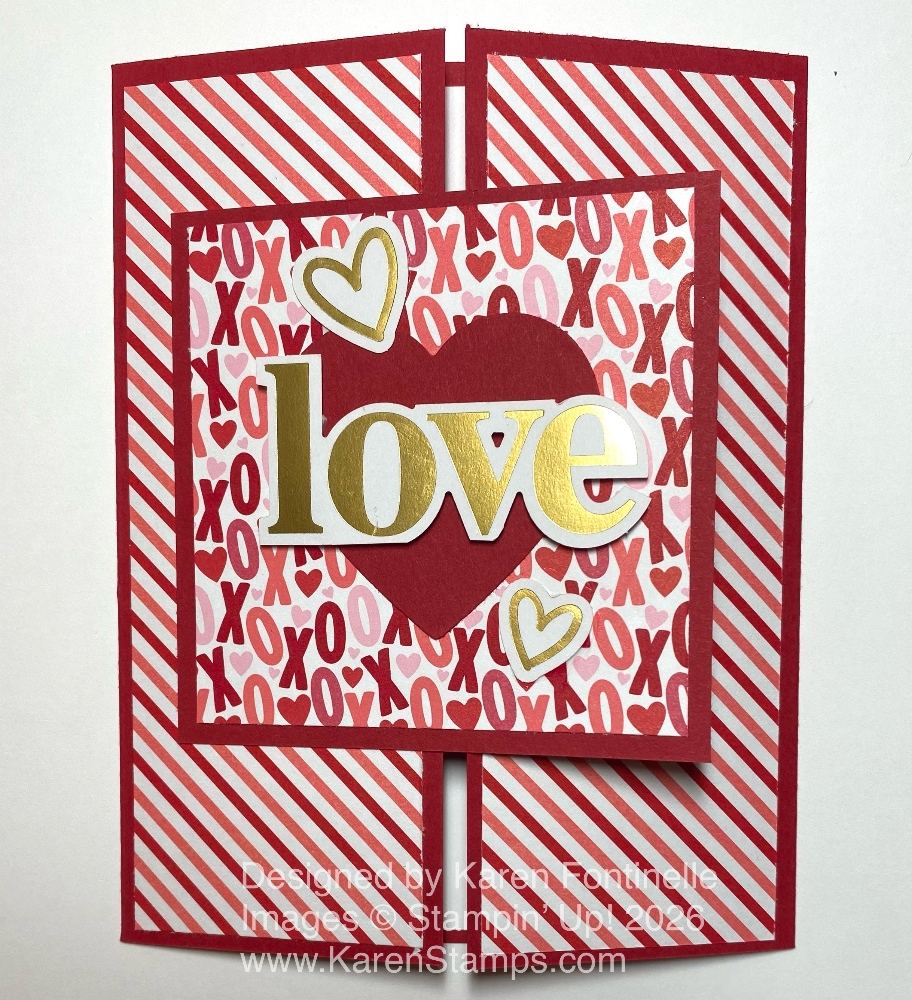
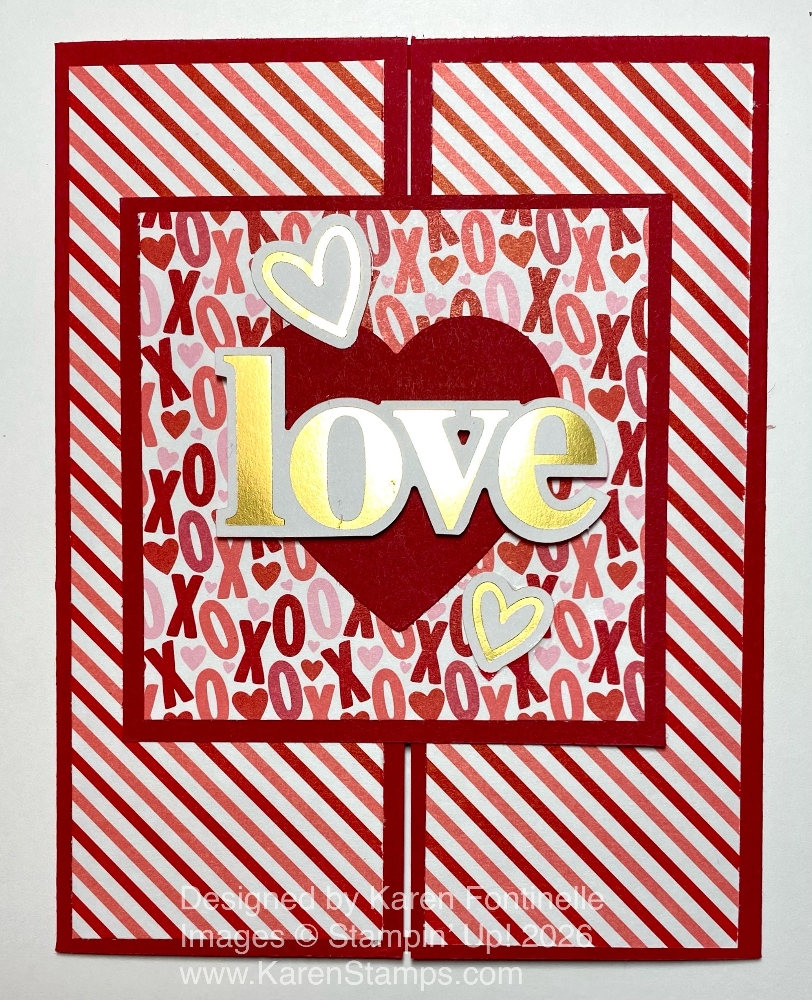
If you need another Valentine’s Day idea, here is the Made With Love Gate Fold Valentine that you can copy or use for inspiration. It’s kind of like the Z-fold card that I always say is so easy for us to make, but makes the recipient think you created something extra-special! Making a gate fold (or gatefold) card only requires one more score line than a regular card.
Start with the usual 8 1/2″ x 5 1/2″ piece of cardstock. I used Real Red. Score at 2 1/8″ and 6 3/8″ on the long side. Crease and fold on those score lines, and the two sides should meet in the middle. It’s just like a double-panel front door. You can open both doors and walk inside! To decorate, you can adhere a strip of designer series paper or a stamped panel on each of the two sides. These would likely measure 1 7/8″ x 5 1/4″. This would give you the normal margins we usually use for our other cards. I used the Made With Love Designer Series Paper.
For the focal point on the front of the card, I just used a square piece of cardstock and designer series paper. Die cut labels or other designs would also be fine. The Real Red square is 3 1/4″ x 3 1/4″. The designer paper pattern is 3″ x 3″. To adhere this to the card, you only want glue on the portion that will attach to the left panel of the card. Figure out or eyeball approximately the middle of this square and line it up where you want it. Make sure you only get adhesive on the portion that will attach to the card, leaving the other side with no adhesive. I usually hold my finger approximately where the middle is and pay attention to which side is which when I flip the piece over to apply adhesive. Then I open it up and make sure no adhesive has leaked out or shows on the inside.
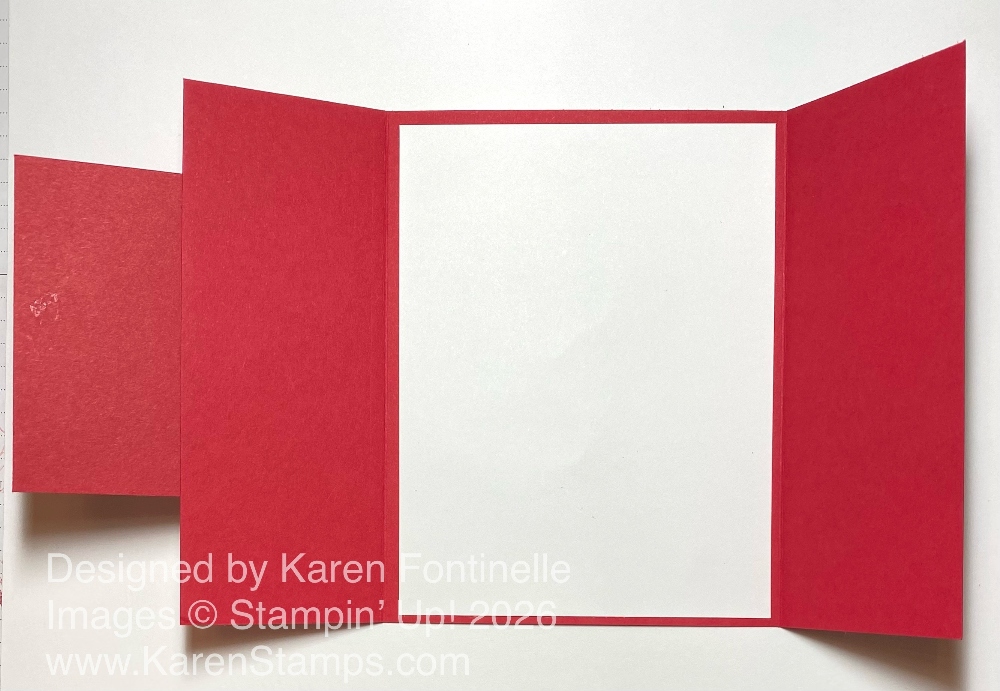
Here is what the card looks like from the inside. You can see I added a Basic White 4″ x 5 1/4″ panel for a stamped greeting or written note. On the left side you can see how the square front piece extends out.
To decorate the front, I added a Real Red heart plus some ephemera. The word “love” and the two small gold hearts are found in the Unforgettable Times Ephemera Pack. These pieces are gold foil but other pieces are in different fonts and bright colors. These are perfect for scrapbooking but you can also use them for cards as you see! I popped up the word “Love” with Stampin’ Dimensionals.
If you want the two flaps to stay closed, you might want to add a belly band around the card that would slide on and off or tie a piece of ribbon. I didn’t really think about it until I had the card made but I liked it just fine the way it was. You could also add some gems or other embellishments if you wanted to.
Also, if you really wanted the two sides to stay closed, you could add just a tiny bit of Multipurpose Liquid glue to the right side of the square, let it dry, and then it can be opened and shut without a belly band or ribbon and probably will not even be noticeable.
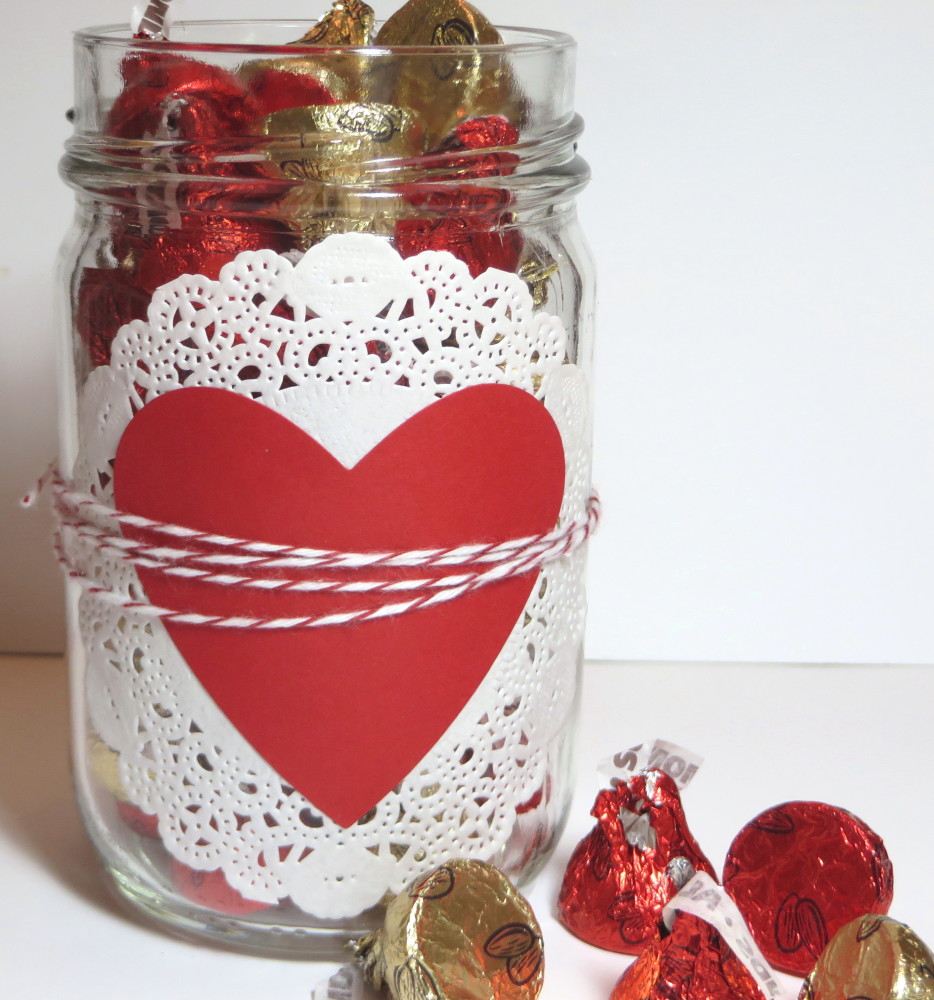
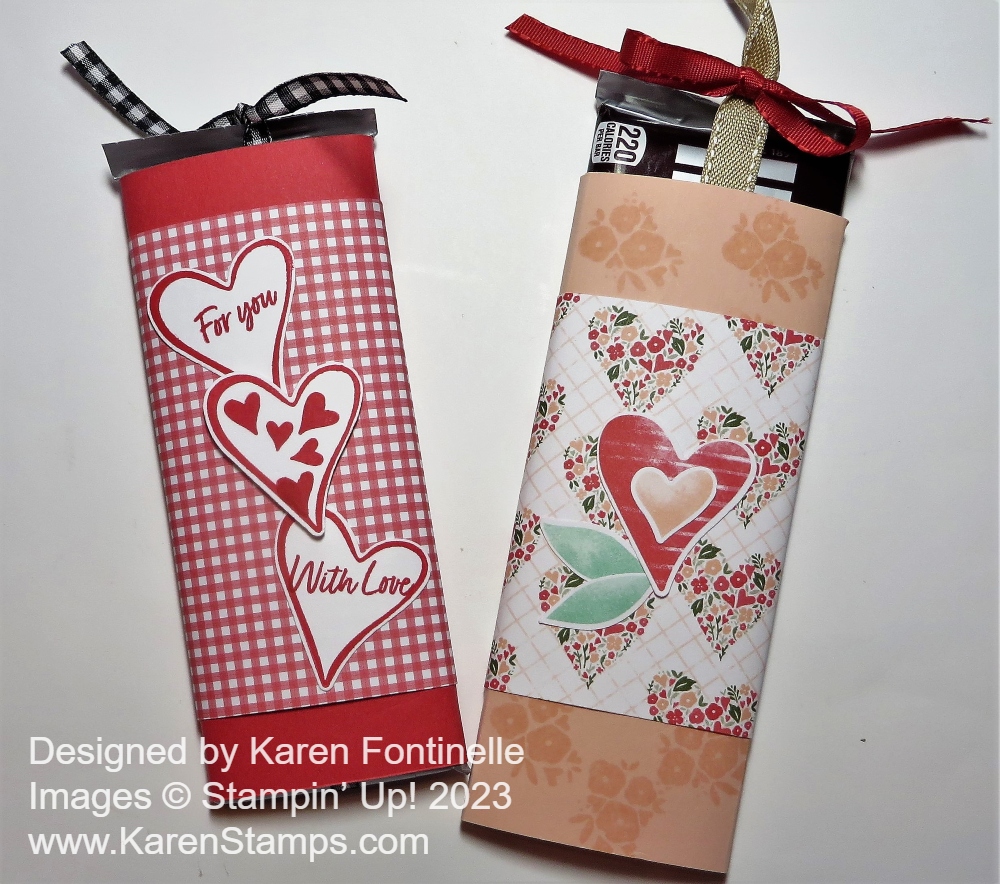
We are down to the wire for making Valentines, but there is time right up until almost the time you want to hand the card to someone! Or mail it and say “Sorry this is late, but I wanted to let you know I was thinking of you!” Just think back to your elementary school years and reminisce about making valentines yourself with construction paper, white paste in a jar, and doilies!