Yesterday was a very wet day in Houston – actually, the third wet day in a row in Houston, which you probably heard about on the news. On Tuesday there was a tropical depression in the Gulf of Mexico which got named Imelda pretty quickly, which I did not take as a good sign that they named a storm! That means it reached certain criteria and that usually isn’t good!
We knew we would get rain, but we needed rain, so at least for the first day it would be good. It all would depend on where you lived and where this storm went how much rain anyone would get. Unfortunately, even the first day coastal towns and towns east of Houston got a lot of rain and flooding. The second day Houston thought the storm had moved on and we dodged a bullet….but then we got big storms late in the day from the heat. Then yesterday, or even the night before for lots of people, the city of Houston itself got plenty of rain, flooding highways and roads and houses. You saw all the pictures on TV. It’s a terrible situation but one we have seen often in all the years we have lived here. We’ve just been lucky, so far, that we haven’t been stranded somewhere on the road or had water get in the house. When Houston gets too much rain, this happens, and often it is difficult to predict or these storms have a mind of their own, no matter how hard the weather people work to get it right.
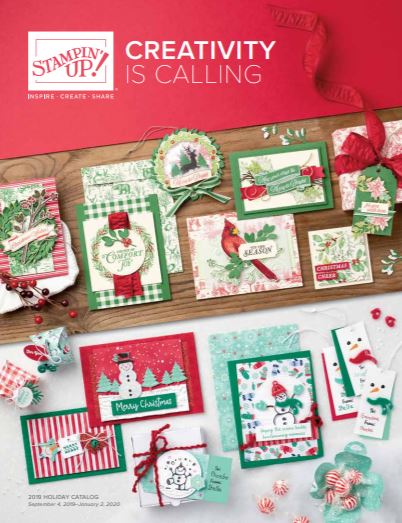
So for today, let’s just relax and watch some Stampin’ Up! videos for Holiday Catalog products!
You saw the fall birthday box I made for my husband for his birthday instead of a card yesterday in THIS POST. There are SO MANY ideas for these Mini Curvy Treat Dies Boxes, you won’t believe the cute ideas creative people come up with! I made one Halloween pumpkin one with my daughter but have to make some more here at home.
A great addition to our stamping supplies, I think, are these So Many Stars stamps and dies in the Holiday Catalog. You can purchase the So Many Stars Bundle and save 10%, which includes the So Many Stars Stamp Set and the Stitched Stars Dies. Stars are not at all just for Christmas! You can use them for any celebratory occasion like birthdays, graduations, and many more. The stars I have had in the past I have used a lot.
Be sure to notice the Mercury Glass Designer Acetate in the Holiday Catalog on page 33 at the bottom. You could easily overlook it. See in this video how they die cut the acetate and then layer it on a white background. I think this Mercury Glass is very interesting to use for lots of projects! Certainly something very different that we haven’t had before!
Enjoy your day and set aside some Holiday Catalog reading and browsing time for your pleasure and inspiration!