Tag Archives: Spooktacular Bash Stamp Set

How to Decorate Candy Bars For Halloween Treats

How to Decorate Candy Bars For Halloween Treats

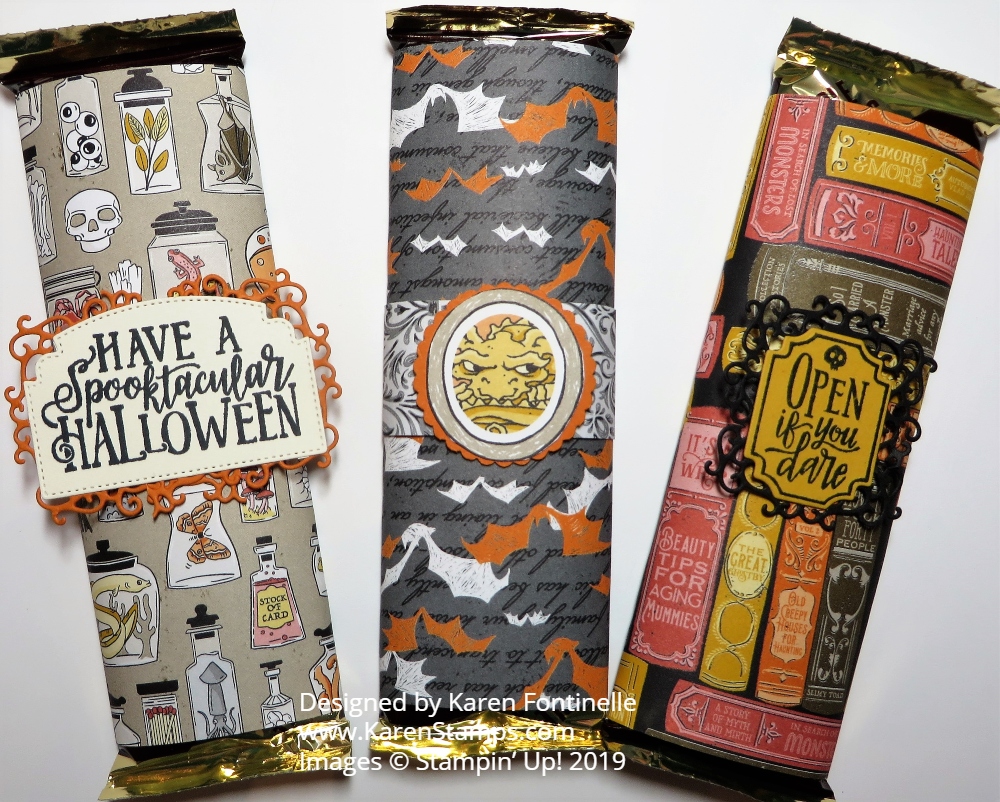
Here are some ideas on how to decorate candy bars for Halloween treats. If you happen to have a box of chocolate candy bars (I mean, craft supplies) in your pantry, you can have a good time decorating some of them (not all of them, of course!) with Halloween designer paper and embellishments. Maybe you don’t want to give out these regular size candy bars out to the trick-or-treaters but maybe it would be fun to make them for family, friends, office mates or neighbors. You could also do this with the little snack candy bars if you wanted to make a lot.

Just wrap a piece of cardstock or designer paper around the candy bar. I found that a piece of 5″ x 5″ Monster Bash Designer Series Paper worked fine. To make sure I had a good adhesive to hold the paper together after I wrapped it around, I used Tear & Tape. If you use Snail Adhesive, I would put it on both ends so the tape sticks to itself and makes the hold stronger. I do this a lot.

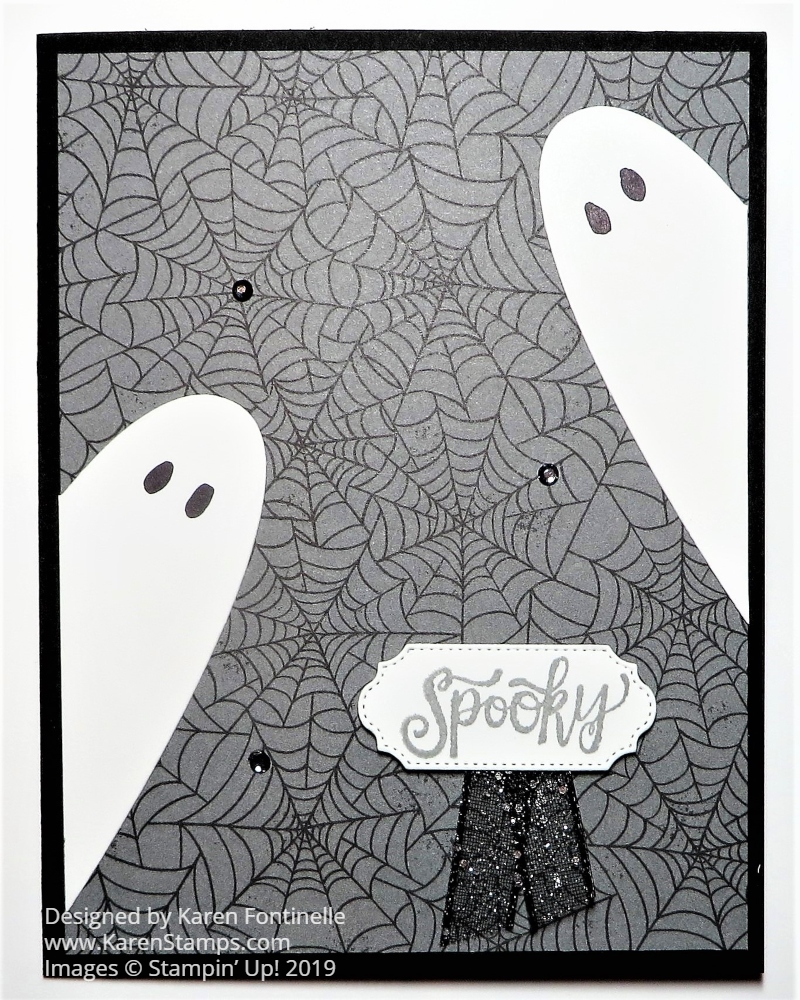
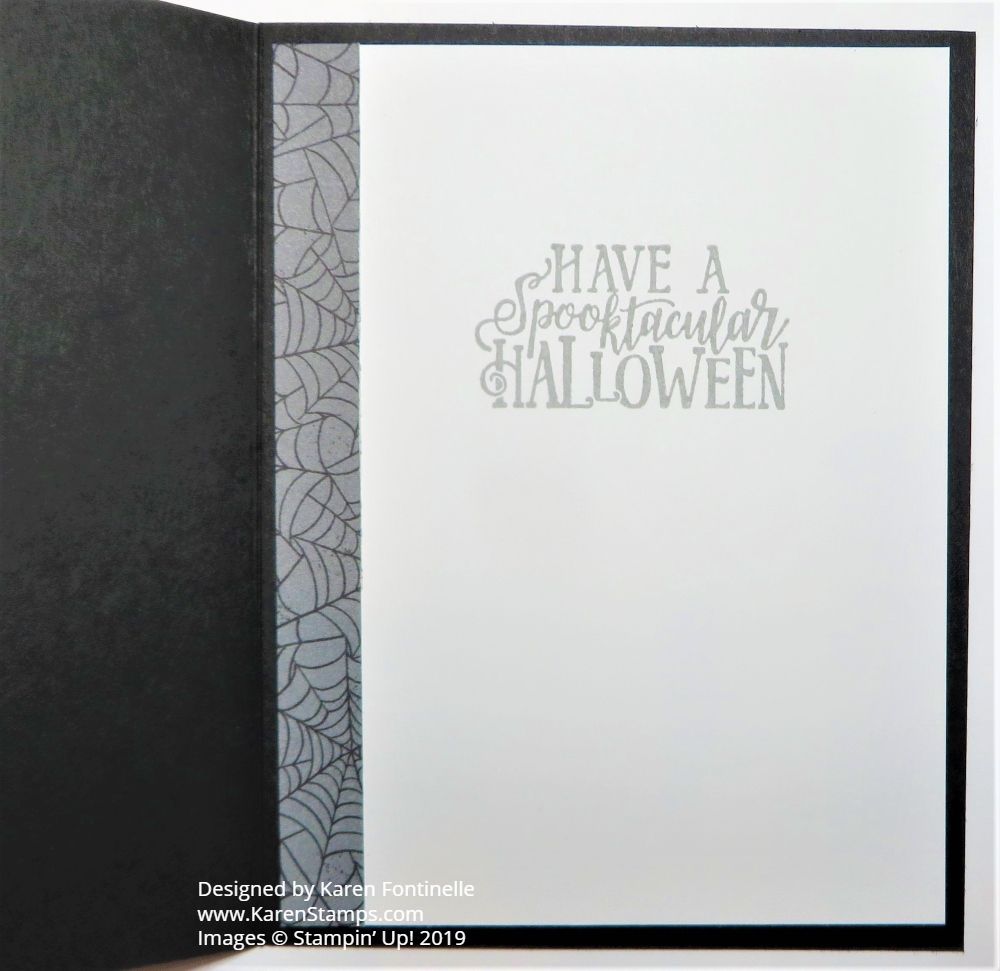
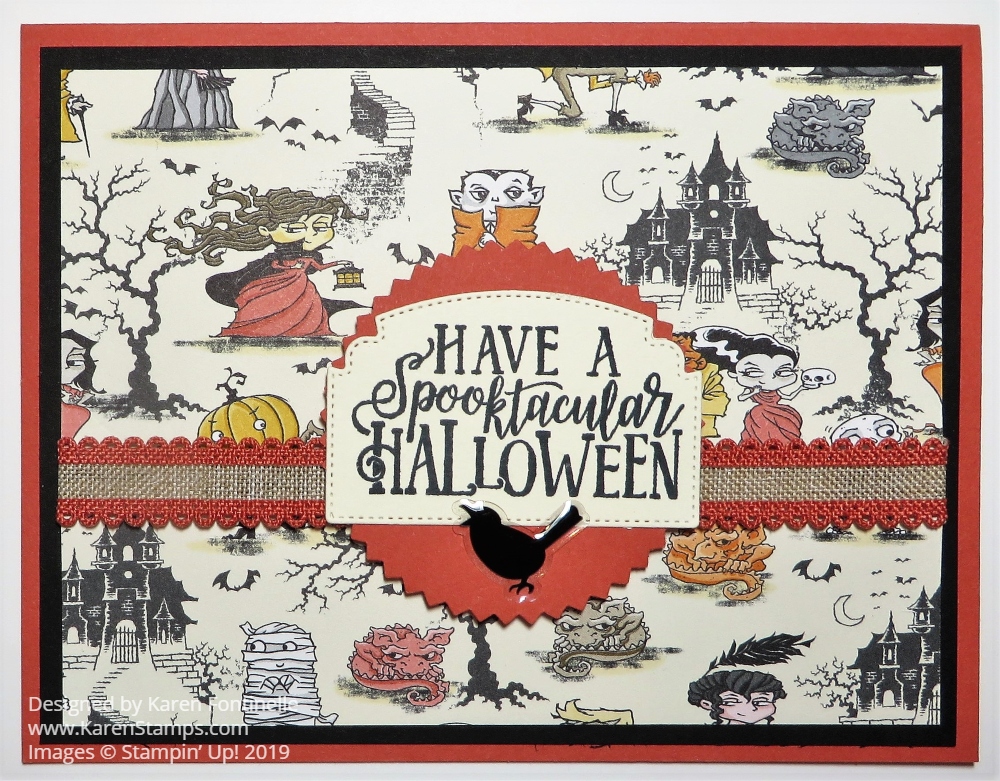
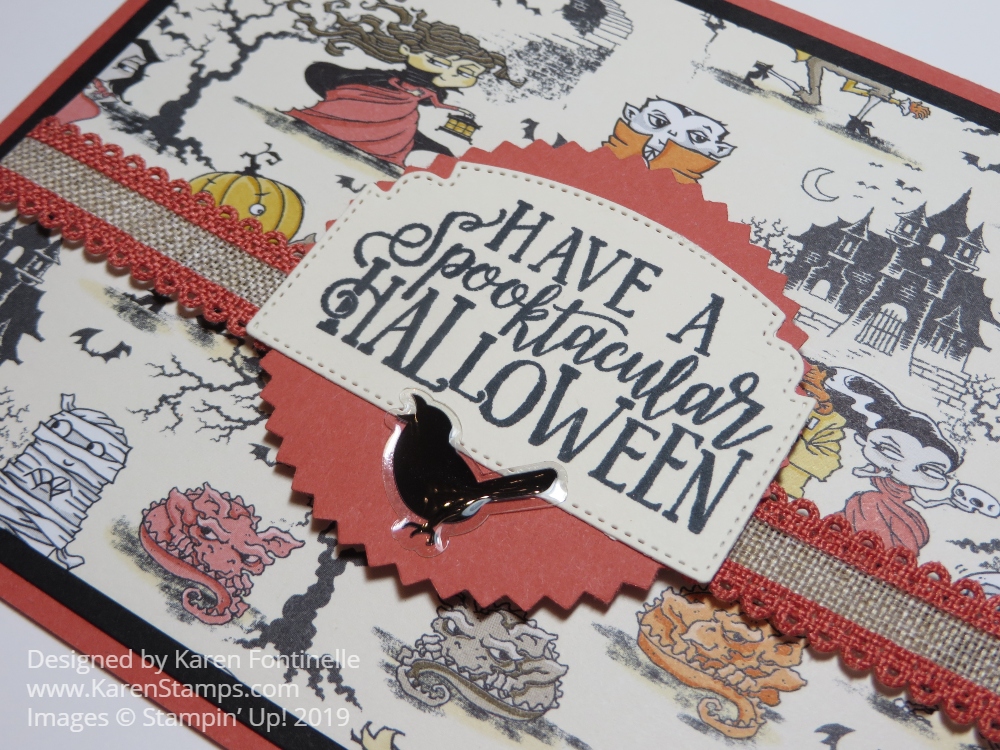
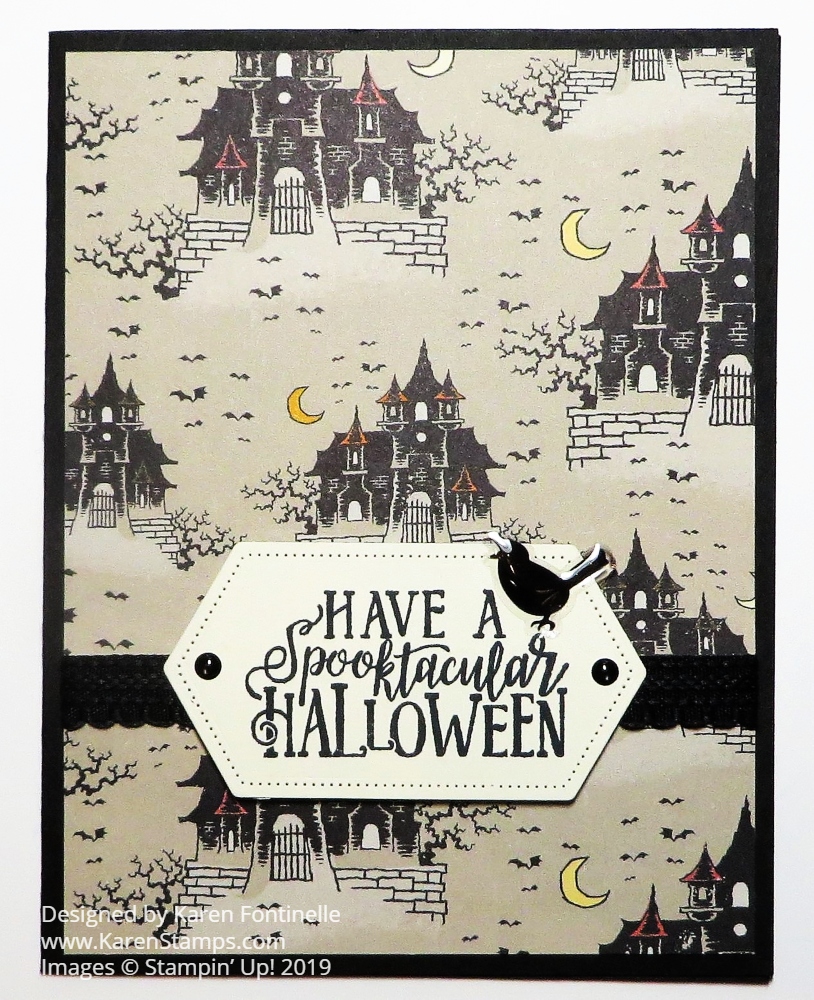
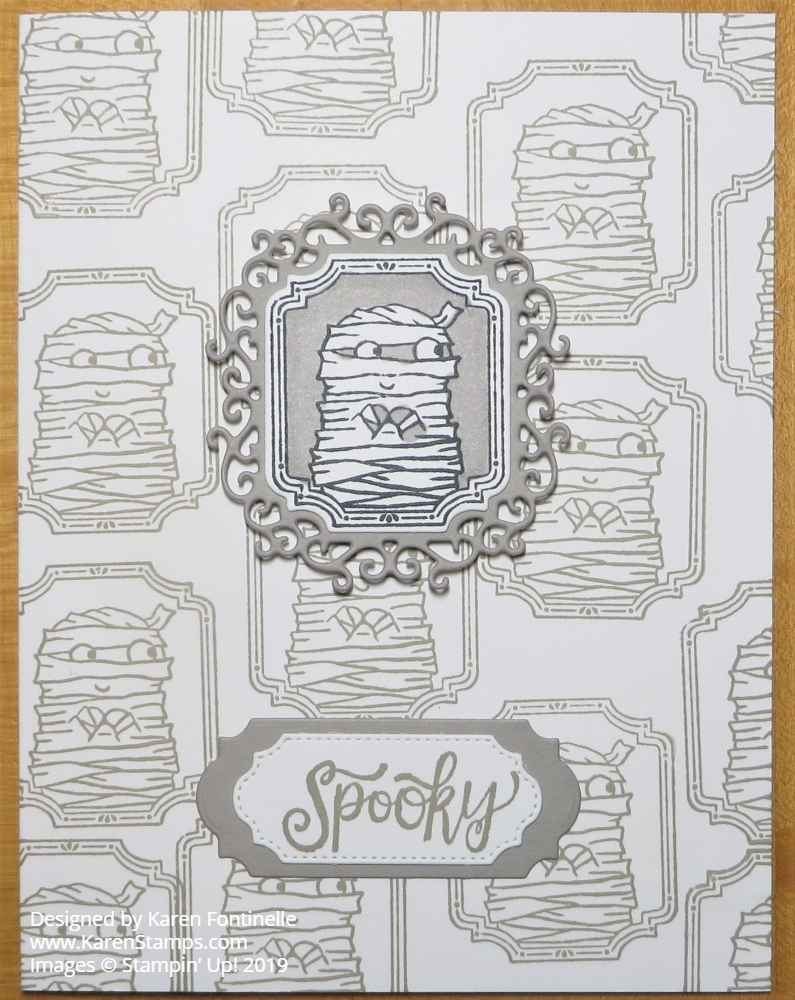
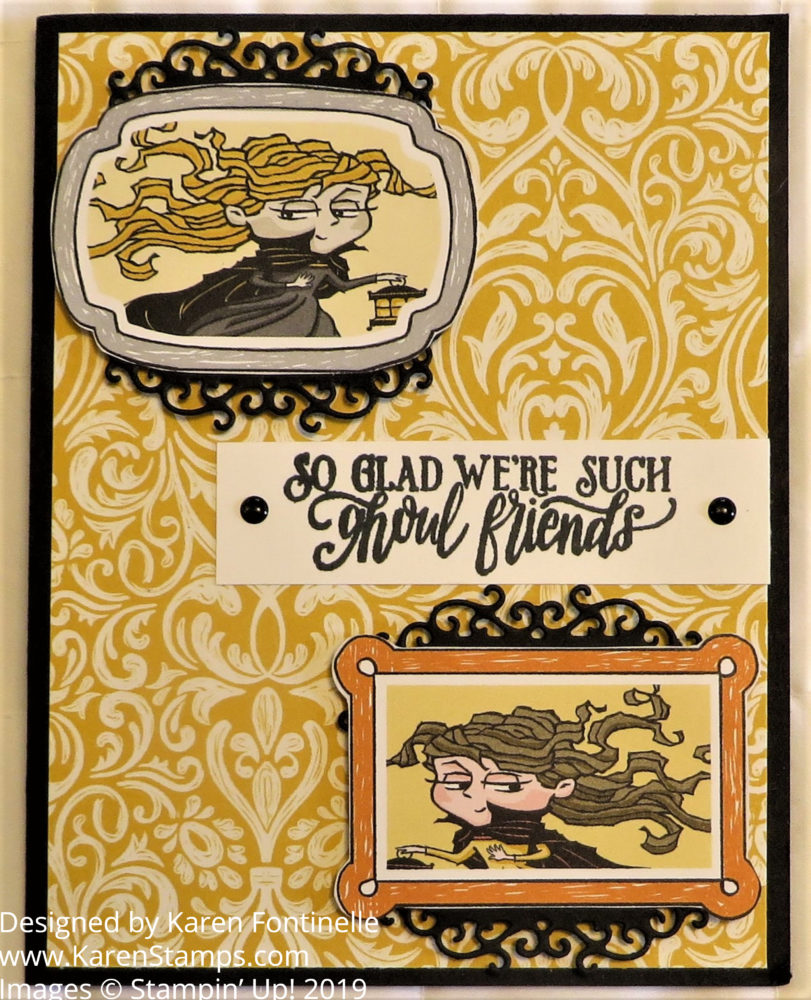
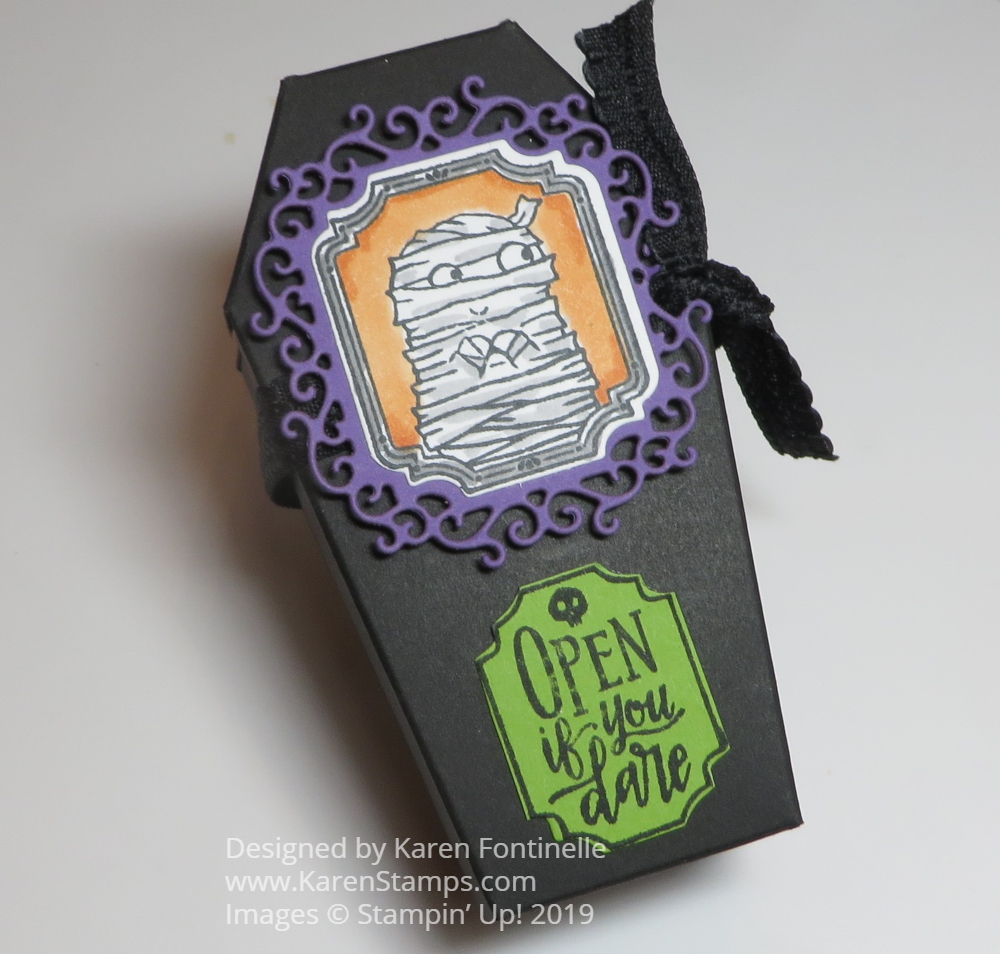
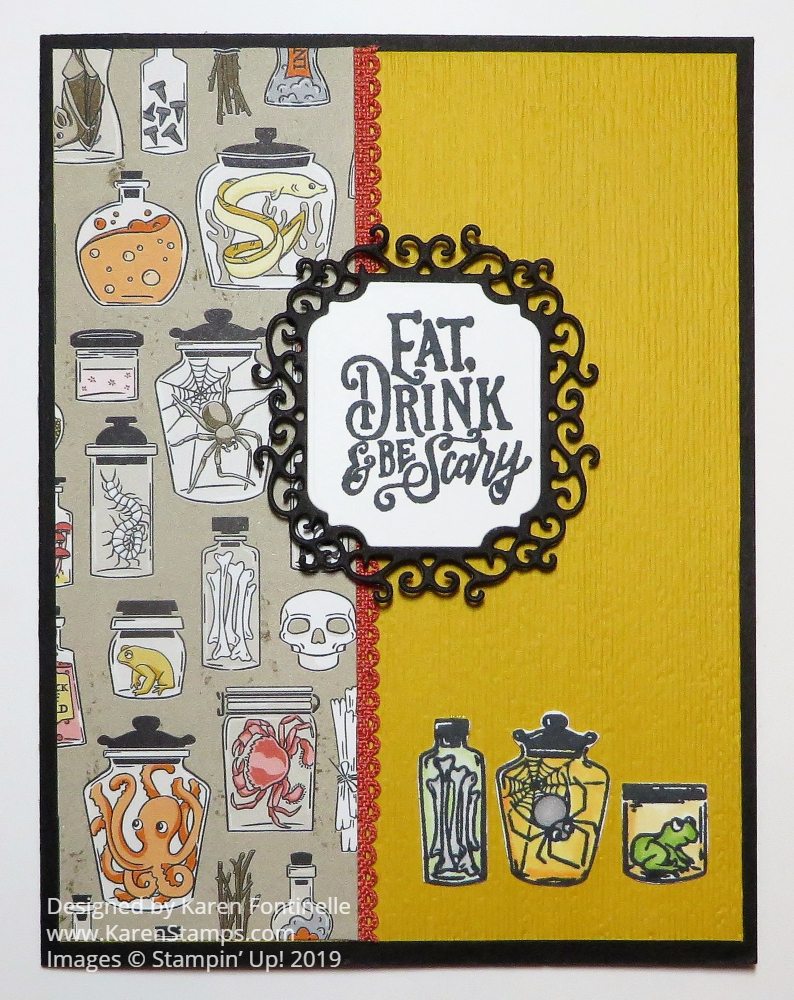
Decorate the candy bar however you like. On these Halloween candy bars, I used one character face from the Monster Bash Designer Paper layered on a 1 3/8″ Scallop Circle Punch. The other two have stamped greetings from the Spooktacular Bash Stamp Set. I layered each on a die-cut from the Ornate Frames Dies. Each die-cut was too big so I just cut them down in the middle and matched up the two ends underneath the greeting. It worked well enough for candy bars!

You could make these as fancy or as simple as you like, depending on who you are giving them to. Most likely you want to make them fairly simple. You could also use stamped or plain cardstock with some kind of embellishment. Here are some little candy bars I decorated several years ago! It really is fun once you get started. You may not want to stop!

Shop Stampin’ Up! Online HERE!

Quick and Easy Ghost Card For Halloween

Quick and Easy Ghost Card For Halloween

I made this Quick and Easy Ghost Card For Halloween almost in seconds! Well, a little die-cutting was involved so maybe it was a few minutes but it was very fast. And I like the card so much I plan to make more to send out!

The way I made these ghosts is a creative idea that I saw when I was first introduced to Stampin’ Up! and helped propel me to sign up as a Demonstrator. I found out that “rubber stamping” was WAY more than a stamp and ink and I was blown away by the creativity I saw with stamping and Stampin’ Up! at a little event I went to with my friend and future upline. When we started doing some stamping at this gathering, I actually had to ask what I was supposed to do with this stamp and ink pad! When I saw a ghost card similar to this one on a display board, I was hooked!

The card base is Basic Black with a layer of the spider web design in the Monster Bash Designer Series Paper. I’ll get to the ghosts in a minute. The greeting is stamped in Smoky Slate Ink from the Spooktacular Bash Stamp Set. It was then die-cut with the Ornate Frames Dies. You can get the stamp set and dies together in a Spooktacular Bash Bundle and save 10%. To dress up the greeting, I added a bit of the Black 5/8″ Glittered Organdy Ribbon. Then it is popped up on Stampin’ Dimensionals®.

Here’s the big secret of how to make ghosts that are hanging out and peering around corners…..cut out a heart and then cut it in half! You have a ghost! You could cut out a heart by hand because, after all, a ghost doesn’t have to be made perfectly. But I used the Stitched Be Mine Dies to cut out a heart. I used one die that was large but not with the stitching. Then I simply cut the heart in half lengthwise. The eyes are just colored in by hand but you could use some kind of punch. Isn’t that clever to use a heart shape to make a ghost??! I love it!

For a little more bling on the card, I colored some Rhinestones with the Black Stampin’ Blend marker and then added three to the card. I like that touch.

Since the inside of the card is black, unless you emboss a greeting in white on the inside, you won’t be able to write a message or note. Just add a layer of Whisper White inside and stamp a greeting. I used another greeting in the Spooktacular Bash Stamp Set and stamped it in Smoky Slate Ink. I also added a strip of the spider web designer paper inside.

Quick and Easy Ghost Card For Halloween Inside

That’s how easy this card is to make and it’s fun to make ghosts out of hearts! Here is another card I made with ghosts and glimmer stars. Get out your Halloween or other designer paper and make some ghosts cut from hearts! Decorate your Halloween card with ghosts and scary greetings and other things and see what you come up with, maybe something like my Quick and Easy Ghost Card For Halloween.

SHOP HALLOWEEN AT STAMPIN’ UP!

Spooktacular Bash Terracotta Tile Halloween Card

Spooktacular Bash Terracotta Tile Halloween Card

In between watching several baseball games and one Texans football game, I’ve spent some time making Halloween cards with the Monster Bash paper like this Spooktacular Bash Terracotta Tile Halloween Card. The Houston Astros have made their way to the American League Championship Series as have the St. Louis Cardinals (our hometown team) so we have been watching a LOT of baseball including the division games they got these two teams here. So it was fun to have some breaks stamping and making Halloween cards!

One of the coordinating colors for the Monster Bash Designer Series Paper is Terracotta Tile, one of the current In Colors. Since I haven’t used this color very much and the matching ribbon, I chose this color for the card base. The designer paper pattern is a cute one with little haunted houses and Halloween characters! I layered it on a piece of Basic Black to help it stand out.

The ribbon is wrapped around the designer paper and adhered on the back. It is the very nice Terracotta Tile 1/2″ Scalloped Linen Ribbon. You can use it to dress up a fun card like this one or use it on a fancier card. I’ve even cut it down the middle to use just the scalloped edge to decorate a card.

The greeting is stamped with the Spooktacular Bash Stamp Set. I really like this greeting and used it on a lot of cards! It is stamped on Very Vanilla cardstock which I think goes better with this card than Whisper White. Then it is die-cut with one of the Ornate Frames Dies. I love this particular shape that goes with this greeting so well!

Then I took a long time to decide how to layer the die-cut greeting on something! I just couldn’t find the right thing. Finally, I looked at my punches and chose the Starburst Punch. The greeting seemed to fit fine over the Starburst shape with a little room left for one of the blackbirds in the Monster Bash Enamel Shapes. I think the bird gives an appropriately spooky look to the card, right?! It’s fun to stick it on, anyway! A cute embellishment for a Halloween card!

Spooktacular Bash Terracotta Tile Halloween Card Closeup

All you have to do is change the designer paper pattern and the greeting if you want for another design for a Halloween card. It is fun making cards and treats with this Halloween paper and all the spooky, whimsical characters! The backside of some of the papers will also make very nice non-Halloween cards!

Make some Halloween cards this week and give them to your family or send them to friends who enjoy Halloween!

SHOP STAMPIN’ UP! ONLINE FOR HALLOWEEN!

Monster Bash Spooktacular Haunted House Halloween Card

Monster Bash Spooktacular Haunted House Halloween Card

This Monster Bash Spooktacular Haunted House Halloween Card is certainly an easy card to make! And I love the paper! I had actually overlooked this pattern in the designer papers so I wanted to use it. The designer paper seemed interesting enough that all I needed on the card was a greeting…..and just a couple of easy embellishments!

The card base is Basic Black but of course, you could use any of the several coordinating colors with the Monster Bash Designer Series Paper. I chose this pattern with the haunted houses, not quite sure what else I would do with it.

The greeting is stamped in Memento Black Ink from the Spooktacular Bash Stamp Set. Then I used the Stitched Nested Labels Dies to cut it out. When I tried it on the card, I didn’t feel like I needed a layer underneath or anything. I used the Basic Black 3/8″ Scalloped Edge Ribbon wrapped around the piece of designer paper.

Just for a little easy embellishment, I added two dots and a bird from the Monster Bash Enamel Shapes to the greeting.

Be sure to adhere a Very Vanilla layer inside the card with a stamped greeting and maybe a little Halloween stamping or strip of designer series paper since the cardstock is black. Then you can write a Halloween note or just decorate the inside of the card a little bit.

If you are making some Halloween cards, try this design that I did with my Monster Bash Spooktacular Haunted House Halloween Card and be sure to mail them to friends and family to wish them a Happy Halloween!

Monster Bash Mummy Halloween Card

Monster Bash Mummy Halloween Card

The ghouls are beginning to come out now that Halloween is getting closer as in this Monster Bash Mummy Halloween Card! It’s a monochromatic card, easy for you to copy now that I figured out the design and it’s just stamping, die-cutting and a tiny bit of coloring to make it.

I essentially made my own designer paper by stamping the front of this card with a mummy stamp from the Spooktacular Bash Stamp Set. It is just random stamping with Gray Granite Ink. I used the Whisper White Thick Cardstock so the card would not feel flimsy with no other layers or designer paper.

Next, I stamped the mummy by itself and die-cut it with the die from the Ornate Frames Dies. When I first started making this card, at this point I had some difficulty deciding on the layering of this stamped mummy. I was trying to keep the card monochromatic. Eventually, I got the idea to color the background around the mummy and with the Light Gray Granite Stampin’ Blend marker which helped it stand out. I chose the frilly frame in the Ornate Frames Dies for the background layer. Then I played around with whether or not to have something horizontal behind this frame.

In the end, I decided to use a horizontal die cut with a die-cut greeting lower on the card. Both dies are in the Ornate Frames, but after die-cutting the horizontal piece, I placed the die on it again and cut it shorter to fit the greeting better. The greeting, of course, is from the Spooktacular Bash Stamp Set.

Once I had all those elements and placed them on the card, I was pleased with the result. Sometimes, many times, you just have to play around with your card if you don’t feel it is quite right. Eventually, you will come up with something that you know is how the card design is supposed to be! Sometimes you have to change colors or stamps or layout, whatever, but it WILL come to you!

Have fun this month making some Halloween cards and treats and be sure to mail out those Halloween cards early so your recipient can enjoy them awhile before Halloween! If a friend isn’t “into” Halloween, then make them a card with pumpkins or something not “spooky” and hopefully they will like that, especially just the idea of getting a card in the mail! You never know what effect your card, that one day at that one time, will have on a person. And it will have an effect on you, just enjoying making the card, thinking of that person, and being happy that you sent them a reminder of your friendship, thoughts, or love.

Get the Spooktacular Bash Bundle and save 10%! You get the Spooktacular Bash Stamp Set together with the Ornate Frames Dies so you can make all kinds of fun Halloween cards, treats, and projects like this Monster Bash Mummy Halloween Card! Order soon because as I write this the inventory is low. Hurry!

SHOP THE STAMPIN’ UP! HOLIDAY CATALOG HERE!

Monster Bash Spooktacular Bash Halloween Card

Monster Bash Spooktacular Bash Halloween Card

It’s the Monster Bash Spooktacular Bash Halloween Card for ghouls and goblins! Halloween is so much fun for making cards, treats, and other projects! I especially love the fun, whimsical Halloween things and this card has them! What a cute sentiment to send someone with these two ghouls on this card!

This card starts with a card base of Basic Black Cardstock with a layer of a generic design on the backside of a Halloween paper for the card layer. This paper is the Monster Bash Designer Series Paper which is full of fun Halloween characters and themes. You can cut out many of the images and use them on your projects rather than just using the full paper. For this card, I chose two of the “ghouls” and then layered them on the Ornate Frames Dies.

Although these Ornate Frames Dies are in the Holiday Catalog, in the Halloween suite, these are great frames to use on many types of cards, not just Halloween! I hope Stampin’ Up! will keep them around past the Holiday Catalog! You can layer them under many things.

The sentiment is stamped with the Spooktacular Bash Stamp Set. Talk about a cute Halloween stamp set with these fun monsters and cute greetings to use on your Halloween cards and projects! You can actually purchase the Spooktacular Bash Stamp Set and the Ornate Frames Dies in a Bundle together and save 10%!

And for a little extra pizzazz, get the Monster Bash Enamel Shapes and use them on your projects! These are adhesive-backed enamel tombstones, skulls, crows, and dots. On this card, I used two of the dots on the greeting piece. Just imagine the fun things you can do with the other shapes!

Here is how I used the designer paper for just a decorative strip on the side of a different card and then the Ornate Frames and monster from the DSP. If you like Halloween, you will have all kinds of fun with this Monster Bash Suite in the Stampin’ Up! Holiday Catalog!

Shop the Monster Bash Suite in the Holiday Catalog Today!

Coffin Treat Box With Monster Mash

Coffin Treat Box Monster Mash Embellishment

This Coffin Treat Box with the Monster Mash Suite is sure to be a hit if you choose these boxes for Halloween treats! I think they are going to be a hit product in the Stampin’ Up! Holiday Catalog! I’ve already seen Demonstrators use all the Coffin Treat Boxes to make a wreath! How do these people think of these things??!

The Coffin Treat Boxes come 12 boxes and 12 lids in a package and are food safe so you can feel comfortable putting candy or a treat inside. They come flat, but already die cut and scored so all you have to do is add adhesive and assemble. Then the fun begins!

Coffin Treat Box Pieces

Once you fold and crease the score lines, you will easily see how the box will go together. This is how I added Tear & Tape Adhesive to the flaps, some pretty small!

Coffin Treat Box Adhesive
Coffin Treat Box Assembled Open
Coffin Treat Box Closed Lid

Once the box is assembled, you can go crazy decorating it for Halloween! There are so many ideas with the Monster Mash Suite products! I think the Monster Mash Designer Series Paper and the Ornate Frames Dies are a must! The Ornate Frames Dies can be used for lots of occasions, not just Halloween.

To decorate my Coffin Treat Box, I stamped the mummy from the Spooktacular Bash Stamp Set on Whisper White and used some Stampin’ Blends just for a little color. The mummy is then layered on one of the Ornate Frames in Gorgeous Grape Cardstock. I LOVE this die! It is popped up on Stampin’ Dimensionals.

The little Halloween greeting is stamped in Memento Black Ink on Granny Apple Green Cardstock and then die cut with another one of the Ornate Frames Dies. It is just glued on to the coffin treat box lid. To finish it off, I tied a piece of Basic Black 3/8″ Scalloped Edge Ribbon around the coffin by sliding it under the popped up mummy piece.

It was so fun to make a decorate this Coffin Treat Box with Monster Mash products so I know you will also want these Coffin Treat Boxes to make your own creations for Halloween treats!

Monster Bash Halloween Card

Monster Bash Halloween Card

A Monster Bash Halloween Card for my first Halloween card of the holiday crafting season! The Monster Bash Suite in the upcoming Holiday Catalog from Stampin’ Up! will get your creative juices flowing if you are into Halloween! And I am!!

It doesn’t take long to come up with a multitude of ideas for cards and projects using the Monster Bash Designer Series Paper. There are so many things you can do with this paper! Use a piece of the paper as-is for a layer on a card or cut out some of the images and use those on cards and projects. Of course with Halloween, we always think about treat boxes and you can have lots of fun making those for kids or parties with products in this suite!

To make this card I started with a card base of Basic Black with a layer of Crushed Curry. I thought it looked too plain so I used the Subtle Embossing Folder to just give the Crushed Curry Cardstock a little texture. Then there is the strip of Monster Bash Designer Series Paper.

Here is the secret of the bit of ribbon along the edge of the designer paper! It is the Terracotta Tile 1/2″ Scalloped Linen Ribbon, but I cut it in half lengthwise so I could use just that one side of the scallop for a bit of color along the designer paper!

The greeting is stamped from the Spooktacular Bash Stamp Set in Memento Ink and die cut with a shape from the Ornate Frames Dies. I also die cut one of the frames in Basic Black to frame the greeting. These dies are great because they are not just for Halloween! Even if you aren’t a fan of Halloween, these frames would be fun to have for die-cutting on non-Halloween projects!

For a little extra, I stamped the jars in the Spooktacular Bash Stamp Set and colored them with Stampin’ Blends. Then I just cut them out with Paper Snips and adhered them to the bottom of the card.

It won’t be long now! Just a couple weeks until you can begin ordering from the Holiday Catalog on September 4th! I am warning you now, your Wish List will be a difficult one because you will want almost everything in the catalog! And you know how seeing samples goes…..once you see something cute, then you will want to make that and will have to order that product(s)! You won’t be able to help yourself!

If you like Halloween, you may want to start with the Halloween stamping products like the Monster Bash Suite so you can make a fun card like my Monster Bash Halloween Card!

SHOP STAMPIN’ UP! ONLINE HERE!