Tag Archives: Night Before Christmas 6″ x 6″ Designer Series Paper

Night Before Christmas At the Christmas Tree Lot

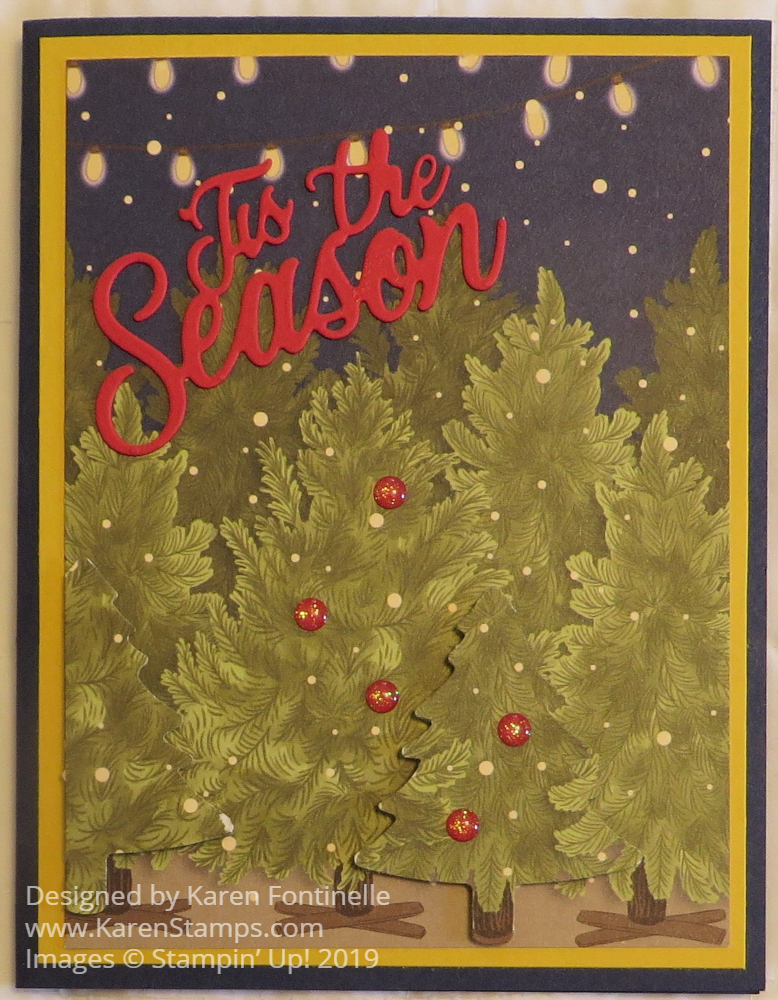
I named this card Night Before Christmas At the Christmas Tree Lot because that is what it looks like to me! Well, I guess it’s not just what it looks like to me, I think that’s what it is! I first thought it looked like all the trees were die-cut, so that’s how I got the idea for this card, but then I realized it’s just how good the paper is designed that they look that way! However, I did sacrifice some other paper to punch out a couple of trees to give it a 3D effect!

This card is made with the Night Before Christmas 6″ x 6″ Designer Series Paper. I just fell in love with this whole package of paper when I first saw it in the Holiday Catalog for its vintage look! The card base is Night of Navy, one of the coordinating colors with a layer of Crushed Curry. I thought it brought out the strings of lights over the Christmas trees. For the 3D trees, I was going to cut some out by hand but I decided to use the Pine Tree Punch, just to punch out some greenery from the larger trees in the paper. I popped those up on Stampin’ Dimensionals®.

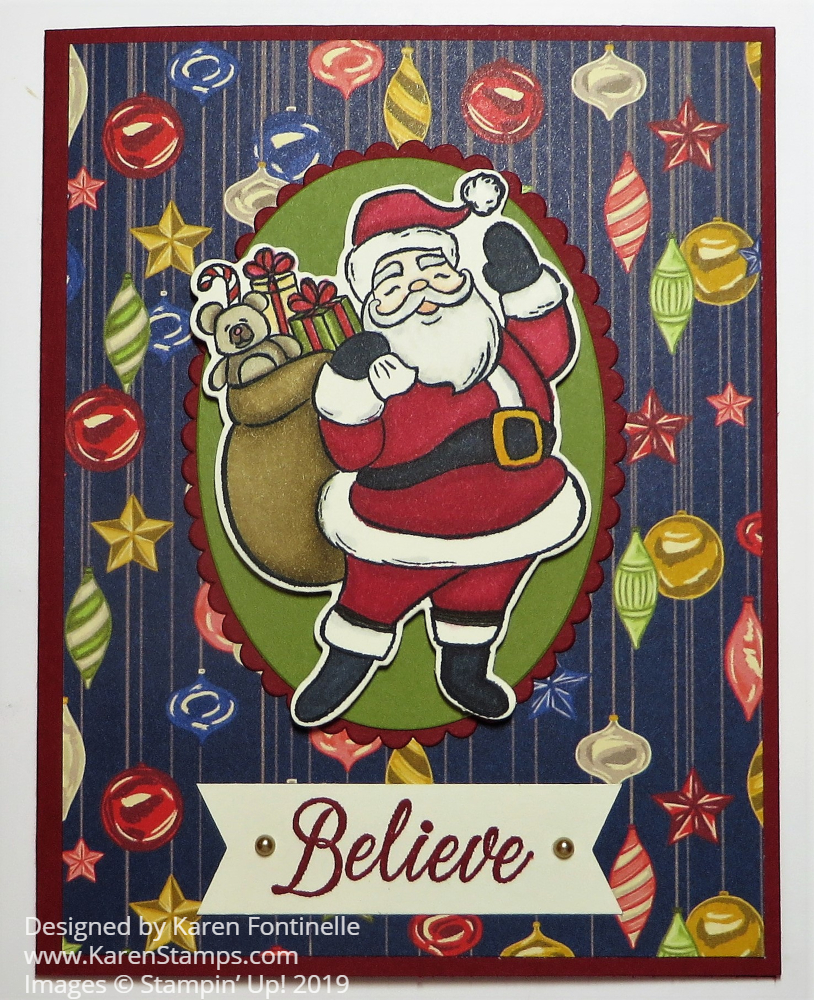
I couldn’t find a good place for a stamped greeting, so I thought of using the die cut one from the Jolly Season Dies, part of the Holly Jolly Christmas Bundle. I used Real Red Cardstock and just adhered it with tiny drops of Multipurpose Liquid Glue. Of course, I had to have a little more bling, so I adhered some Toile Tidings Glitter Enamel Dots to the fronts of two of the trees like little red ornaments!

If you like this paper, you will also probably like the card I made in THIS POST using a different pattern of paper and the Santa in the Holly Jolly Christmas Stamp Set. All of these holiday products you will find in the Night Before Christmas Suite in the Holiday Catalog!

SHOP STAMPIN’ UP! ONLINE HERE!

Holly Jolly Christmas Santa Card

Holly Jolly Christmas Santa Card

If I do say so myself, I am very happy with how this Holly Jolly Christmas Santa Card turned out! As I flipped through the package of Night Before Christmas paper, I saw this vintage ornament sheet and it jumped right out at me, reminding me of old-fashioned Christmas ornaments. I just had to use it on my first Christmas card with this Night Before Christmas Suite in the upcoming Stampin’ Up! Holiday Catalog! The Holiday Catalog goes live September 4, 2019.

Sometimes it is hard to know where to begin when you have so many new products you are dying to try! As I said, with that particular ornament design paper catching my eye in the Night Before Christmas 6″ x 6″ Designer Series Paper, that was the place to start. I also was inspired by another sample card in the catalog that used the Santa stamp in the Holly Jolly Stamp Set. I thought it would be fun to stamp the Santa, color him in and then die cut to use on the card.

I chose coordinating colors as listed on the designer paper to know what to use for my card. The card base is Cherry Cobbler Cardstock with a layer of Night Before Christmas designer paper. You could probably pick another design and make the same card and it would also turn out great!

After coloring the Santa with various Stampin’ Blends markers on Very Vanilla Cardstock, I die cut him with the Jolly Season Dies. With these new dies, just line them up along the stamped edge of the image and the die-cutting will leave a tiny margin around the image. This makes it easier to line up correctly.

To help Santa stamp out a little better, I played around with various colors of oval die-cuts to see what I liked best. Finally, I settled on an Old Olive oval with a Cherry Cobbler scalloped oval layer, using the Layering Ovals Dies. I popped the Santa up on Stampin’ Dimensionals®.

For the greeting I simply chose the “Believe” stamp in the Holly Jolly Stamp Set, stamped on Very Vanilla with Cherry Cobbler Ink. I used the Tailored Tag Punch to punch the banner ends. If you stick a strip in just the top of that punch, you can punch that banner end. Then turn the strip around and stick the other end in from the side. Do not stick the whole strip into the punch like you normally would or it won’t turn out right! For a final touch, I had to add two Gold Metallic Pearls. That’s it for the card front!

Since the Cherry Cobbler is a dark color, I added a Very Vanilla layer inside the card, stamped with a greeting from the same stamp set. Since I had a strip of designer paper laying on the table, I cut it narrower and used it along the inside Very Vanilla paper. I could have stopped there but decided to stamp the Christmas trees in the Holly Jolly Stamp Set and color those with Stampin’ Blends.

Holly Jolly Christmas Santa Card Inside

It would also be nice to stamp something like these little trees on the outside of the envelope to give the recipient a hint about the card inside! Keep in mind Stampin’ Blends might bleed through so maybe stick a piece of scrap paper inside the envelope while you color, then remove. It is time to be collecting ideas for Christmas cards that you like! I think I will make a few more cards like this Holly Jolly Christmas Santa Card!

SHOP STAMPIN’ UP! ONLINE HERE!