Tag Archives: Holiday Catalog

Say Goodbye to the Holiday Catalog!

Holiday Catalog 2019 Cover

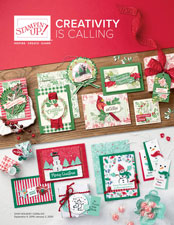
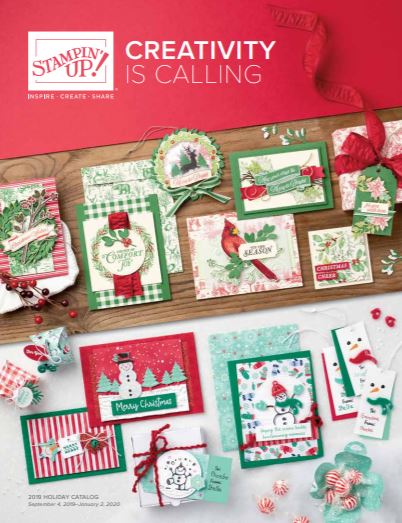
Today, January 2, 2020, is the LAST DAY for the HOLIDAY CATALOG! Where did the time go?! It seems like such a short time ago that we were SO excited to have the Holiday Catalog coming out! All the excitement of the holidays and the creative thrill of all the many holiday cards and projects we would be making were ahead of us. And now it’s all over except for the clean-up! (At least at my house!)

Today is the last day to order anything from the Holiday Catalog, what is still available anyway! Many products were so popular that Stampin’ Up! couldn’t get more in stock in time to be used for the holidays. We have to keep that lesson in mind with every catalog – anything you really love and want, be sure to order it as soon as you can to perhaps save you from a backorder situation.

Stampin’ Up! is doing a different Holiday Catalog Carryover process this year!

Some products will carry over to the next Annual Catalog in June.

Some products will carry over from this Holiday Catalog to the NEXT Holiday Catalog but will not be available in the meantime. If you want any of these now, be sure to order them today! Here is the list:

Holiday-to-Holiday Catalog Carryover Products

  • Most Wonderful Time Product Medley (item 150705)
  • Christmas Countdown Project Kit (item 150703)
    • Please note: The coordinating Christmas Countdown Stamp Set (item 151833) will not carry over.
  • Jingle Bells Embellishments (item 149598)
  • Snowflake Sequins Embellishments (item 150443)
  • Feels Like Frost Specialty Designer Series Paper (item 150444)
  • Toile Tidings Designer Series Paper (item 150432)
  • Brightly Gleaming Specialty Designer Series Paper (item 150429)
  • Christmas Gleaming Stamp Set (item 150464)
  • Gleaming Ornament Punch Pack (item 150647)
  • Merry Moose Stamp Set (item 150494)
  • Moose Punch (item 150652)
  • Gather Together Stamp Set (item 150589)
  • Gathered Leaves Dies (item 150662)

Here is the full Carryover List although it includes the products available above (you will see an asterisk on the chart) that won’t be available until the next Holiday Catalog. Anything without an asterisk will be available after today even though it’s not shown in the catalog.

Check this link in the Online Store of Retiring Favorites.

Check this link in the Online Store for the Carryover List.

Whenever you are interested in a product and aren’t sure about it, just type in the item number and if you can order it at that moment, it will come up!

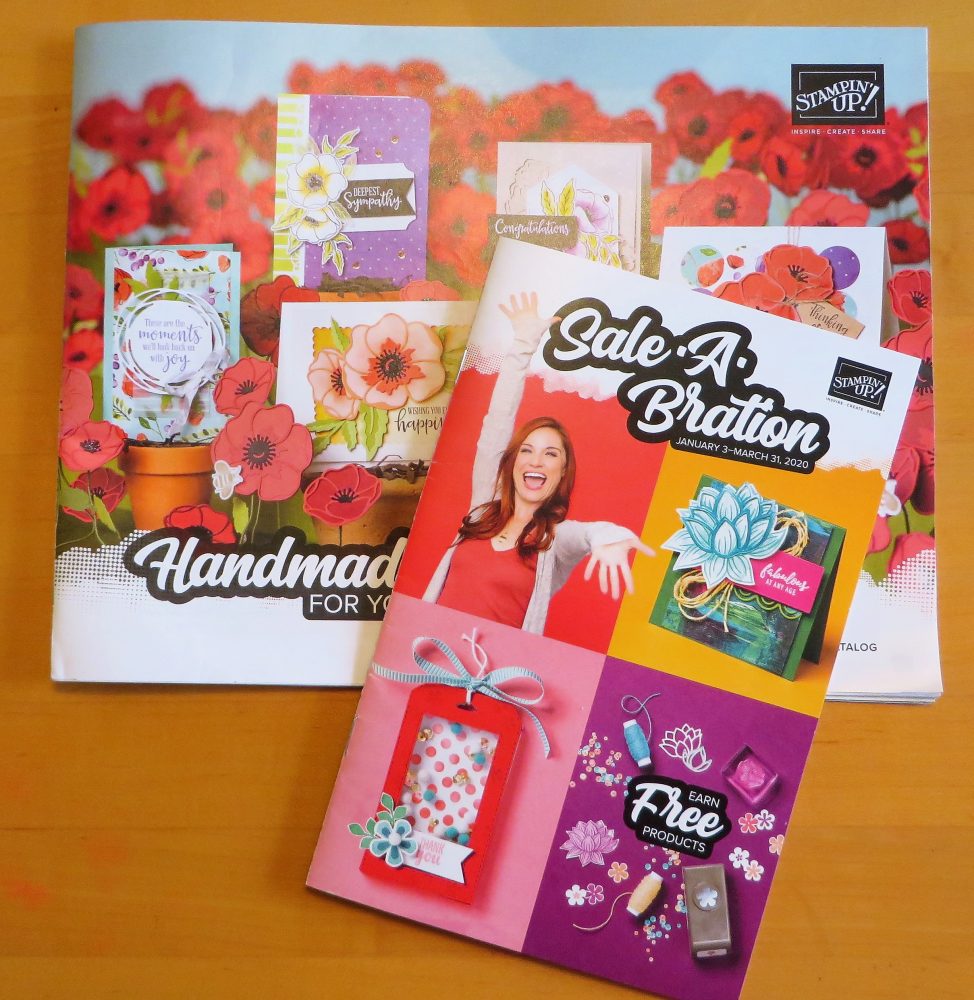
And beginning tomorrow, Friday, January 3, 2020, you can begin ordering from the Occasions Mini Catalog (but it’s not very “mini”) and enjoy the benefits of Sale-A-Bration! The catalog PDF’s will be online tomorrow if you don’t have a hard copy of the catalog and of course, you can see the products in the Online Store.

ORDERING DOWNTIME: Ordering will be unavailable from midnight to 3:00 am (MT) while we transition our systems to the new catalog and brochure. Ordering will be restored no later than 3:00 am (MT).

Occasions & SAB Catalogs 2020

But TODAY…..the HOLIDAY CATALOG! Get what you want!

Also, LAST DAY for the YEAR-END CLOSEOUT!

SHOP STAMPIN’ UP! ONLINE HERE!

How To Take a Feels Like Frost Plain Christmas Card To an Embellished Card

Feels Like Frost Plain Christmas Card

While I thought I could do without this beautiful wintery designer paper, I found that I could not and started working on a card. Just layering the designer paper I chose on the card base I thought looked simple and beautiful enough, especially if you were just sending a personal note. Since the card was so pretty as is, I thought about taking it step by step from a plain Christmas card to an embellished Christmas card and showing you the steps.

As you can see, the first card was just a card base of Seaside Spray Cardstock with a layer of Whisper White under the Feels Like Frost Specialty 6″ x 6″ Designer Series Paper. I think the white helps the designer paper stand out even better. I just thought the card looked so elegant enough with just the designer paper that it barely needed anything else! I could see this paper being used to make a series of note cards or regular size cards for Christmas cards, holiday cards, or just cards for winter. Often when we have someone of a different religion who is not celebrating Christmas, we like to have a more generic card to send them during our holiday.

Feels Like Frost Christmas Card With Greeting

To step up the first card, I added a holiday greeting to this plain card. Since there was kind of an open area on the designer paper, I put the greeting in the upper corner. The greeting is in the Itty Bitty Christmas Stamp Set and is stamped with Seaside Spray Ink, one of the newest In Colors. I die cut it with one of the small circle dies in the Layering Circles Dies. I looked through my dies a little bit and decided to use this cute circle layer in the Stitched Labels Dies.

Feels Like Frost Embellished Christmas Card

Next, to step up the card, even more, I added the Silver 3/8″ Metallic-Edge Ribbon. I moved the greeting down to the lower corner of the card And for a little bling, I added the teeny tiny Snowflake Sequins to the card, three of the tiny silver ones and three of the snowflake ones. I just used the tiniest dot of Multipurpose Liquid Glue to adhere the sequins with the help (and I do mean HELP) of the Take Your Pick Tool. This is a great tool, no matter which end of the tool you use. I have used the pokey end and also the spatula for scooping up jewels off the sheet and applying to the project and today the sticky end for picking up and placing the sequins. Otherwise, you would go crazy without it, so put one on your next order!

Feels Like Frost Embellished Card Closeup

Check out this beautiful paper in the Stampin’ Up! Holiday Catalog and in the Online Store. Even though the photographic wintery images are beautiful, wait until you flip the paper over to the other side with the silver foil images! (As I write this, I see this paper and matching ribbon are backordered. The Feels Like Frost will be back in stock next week and the ribbon at the end of October.) (I must have gotten the last ones!)

If you are unsure about making a card, just start with something very simple like I did with just the designer paper. Then see what greeting you might want to add. Next see if you have some ribbon or jewels you want to add or a layer for the greeting, whatever it is. Sometimes it is good to stop before you overdo it! And sometimes it is good to jazz it up a bit! Anyway, check out the steps I took to take this plain Christmas card to an embellished Christmas card.

25 Products in the Holiday Catalog Under $25!

Holiday Catalog 25 Products Under $25 Flyer

We may want almost everything in the Stampin’ Up! Holiday Catalog but most of us cannot afford to buy everything, not even Demonstrators! But here is a flyer with 25 Holiday Catalog products that are priced under $25. This may help you out if you are trying to watch your budget.

I know we probably say this every year, that THIS Holiday Catalog is the best we’ve ever had, but maybe it is because this year and every year it is TRUE! It is all subjective, of course, but I think it is because almost everyone just loves the holidays beginning in the fall and going through New Year’s. We are always excited to get the new Holiday Catalog when it comes out and ready to start all our craft projects and cards as soon as possible!

If you are interested in making holiday cards and projects with Stampin’ Up! products and are looking for a Demonstrator to assist you, I would be happy to send you a catalog or answer any questions you may have. Just send me your contact information and I can mail a complimentary Holiday Catalog to you. Also, remember you can look at the Holiday Catalog AND Annual Stampin’ Up! Catalog online HERE.

Have Fun Shopping At Stampin’ Up! Online!

Night Before Christmas At the Christmas Tree Lot

I named this card Night Before Christmas At the Christmas Tree Lot because that is what it looks like to me! Well, I guess it’s not just what it looks like to me, I think that’s what it is! I first thought it looked like all the trees were die-cut, so that’s how I got the idea for this card, but then I realized it’s just how good the paper is designed that they look that way! However, I did sacrifice some other paper to punch out a couple of trees to give it a 3D effect!

This card is made with the Night Before Christmas 6″ x 6″ Designer Series Paper. I just fell in love with this whole package of paper when I first saw it in the Holiday Catalog for its vintage look! The card base is Night of Navy, one of the coordinating colors with a layer of Crushed Curry. I thought it brought out the strings of lights over the Christmas trees. For the 3D trees, I was going to cut some out by hand but I decided to use the Pine Tree Punch, just to punch out some greenery from the larger trees in the paper. I popped those up on Stampin’ Dimensionals®.

I couldn’t find a good place for a stamped greeting, so I thought of using the die cut one from the Jolly Season Dies, part of the Holly Jolly Christmas Bundle. I used Real Red Cardstock and just adhered it with tiny drops of Multipurpose Liquid Glue. Of course, I had to have a little more bling, so I adhered some Toile Tidings Glitter Enamel Dots to the fronts of two of the trees like little red ornaments!

If you like this paper, you will also probably like the card I made in THIS POST using a different pattern of paper and the Santa in the Holly Jolly Christmas Stamp Set. All of these holiday products you will find in the Night Before Christmas Suite in the Holiday Catalog!

SHOP STAMPIN’ UP! ONLINE HERE!

At the Movies With Holiday Catalog Videos!

Holiday Catalog 2019 Cover

Grab some popcorn and a soda or some chocolate and enjoy!

Honestly, it will take you a while to really absorb all the products in the Holiday Catalog! Everyone seems to miss seeing something…..EVEN Shelli Gardner in a video hadn’t noticed the Coffin Treat Boxes! (If you like Halloween you should get those, even if you like more whimsical Halloween themes, but these are cute and easy to put together. Then you can decorate however you like!)

SHOP THE STAMPIN’ UP! HOLIDAY CATALOG!

A Happy Snowman Christmas Card

Why is this snowman so happy and excited? It’s because the Stampin’ Up! Holiday Catalog is LIVE today! If you like snowmen, soon you will be making a card like this Happy Snowman Christmas Card with the Snowman Season Stamp Set and the Let It Snow Specialty Designer Series Paper!

You will find this darling snowman stamp set and really fun designer paper in the Holiday Catalog plus the teeny tiny snowflakes in the Snowflake Sequins package. They are really for the Snow Globe Shaker Domes, but I couldn’t resist using a few with my Happy Snowman Christmas Card! I used the teeny tiniest dot of Multipurpose Liquid Glue and used the Take Your Pick Tool to place the sequins. They are really tiny!

The card base is Real Red (which I am super happy to be using with these cards and the Let It Snow Paper) and has a layer of this red pattern of Let It Snow Designer Series Paper. I hate to tell you that on the other side are glimmery snowmen that I hated to cut through and put glue on!!! Oh my!! But it had to be done if I wanted to use this red paper with white snowflakes. Of course, you could use this pattern at any time because the white dots don’t have to be snowflakes! Just to help this red stand out, I put a layer of Whisper White underneath it. Now if you don’t tell anybody, you can die cut the circle that the snowman is stamped on out of the Whisper White before you assemble the card. No one will ever see it or know!

After I die cut that circle out of the Whisper White layer, I stamped a snowman from the Snowman Season Stamp Set on it in Memento Ink. Then I could add just a tiny bit of icy shadows on the snowman and snow with my Stampin’ Blends and lightly color in the winter sky. This circle is layered on a Real Red larger circle, die-cut with the Layering Circle Dies and that is layered on a scalloped circle from the same set out of Sparkle Glimmer Paper.

The greeting is in the snowman set and stamped in Real Red Ink. I also layered this on a piece of the Sparkle Glimmer Paper. Just for fun, I added three tiny snowflake sequins to the greeting, too.

That’s it. Pretty easy card to make once you have the idea and the Sparkle Glimmer Paper adds a little pizzazz! The inside of the card has another one of the greetings stamped in red, plus “Merry Christmas” as well as some snowflakes stamped at the top, all on a layer of Whisper White since the red card base would be a little difficult on which to stamp a sentiment or write a note. It’s easy to decorate a layer inside your card with some stamping or a piece or strip of designer paper! And don’t forget the outside of the envelope!

Just as this snowman is excited, I’m sure you are excited to start shopping with the Holiday Catalog! You can combine your Holiday Catalog order with the Designer Series Paper Sale! And don’t forget about the Clearance Rack if you want to pick up some bargains!

Holiday Catalog Cover 2019

SHOP THE HOLIDAY CATALOG!


Holly Jolly Christmas Santa Card

Holly Jolly Christmas Santa Card

If I do say so myself, I am very happy with how this Holly Jolly Christmas Santa Card turned out! As I flipped through the package of Night Before Christmas paper, I saw this vintage ornament sheet and it jumped right out at me, reminding me of old-fashioned Christmas ornaments. I just had to use it on my first Christmas card with this Night Before Christmas Suite in the upcoming Stampin’ Up! Holiday Catalog! The Holiday Catalog goes live September 4, 2019.

Sometimes it is hard to know where to begin when you have so many new products you are dying to try! As I said, with that particular ornament design paper catching my eye in the Night Before Christmas 6″ x 6″ Designer Series Paper, that was the place to start. I also was inspired by another sample card in the catalog that used the Santa stamp in the Holly Jolly Stamp Set. I thought it would be fun to stamp the Santa, color him in and then die cut to use on the card.

I chose coordinating colors as listed on the designer paper to know what to use for my card. The card base is Cherry Cobbler Cardstock with a layer of Night Before Christmas designer paper. You could probably pick another design and make the same card and it would also turn out great!

After coloring the Santa with various Stampin’ Blends markers on Very Vanilla Cardstock, I die cut him with the Jolly Season Dies. With these new dies, just line them up along the stamped edge of the image and the die-cutting will leave a tiny margin around the image. This makes it easier to line up correctly.

To help Santa stamp out a little better, I played around with various colors of oval die-cuts to see what I liked best. Finally, I settled on an Old Olive oval with a Cherry Cobbler scalloped oval layer, using the Layering Ovals Dies. I popped the Santa up on Stampin’ Dimensionals®.

For the greeting I simply chose the “Believe” stamp in the Holly Jolly Stamp Set, stamped on Very Vanilla with Cherry Cobbler Ink. I used the Tailored Tag Punch to punch the banner ends. If you stick a strip in just the top of that punch, you can punch that banner end. Then turn the strip around and stick the other end in from the side. Do not stick the whole strip into the punch like you normally would or it won’t turn out right! For a final touch, I had to add two Gold Metallic Pearls. That’s it for the card front!

Since the Cherry Cobbler is a dark color, I added a Very Vanilla layer inside the card, stamped with a greeting from the same stamp set. Since I had a strip of designer paper laying on the table, I cut it narrower and used it along the inside Very Vanilla paper. I could have stopped there but decided to stamp the Christmas trees in the Holly Jolly Stamp Set and color those with Stampin’ Blends.

Holly Jolly Christmas Santa Card Inside

It would also be nice to stamp something like these little trees on the outside of the envelope to give the recipient a hint about the card inside! Keep in mind Stampin’ Blends might bleed through so maybe stick a piece of scrap paper inside the envelope while you color, then remove. It is time to be collecting ideas for Christmas cards that you like! I think I will make a few more cards like this Holly Jolly Christmas Santa Card!

SHOP STAMPIN’ UP! ONLINE HERE!