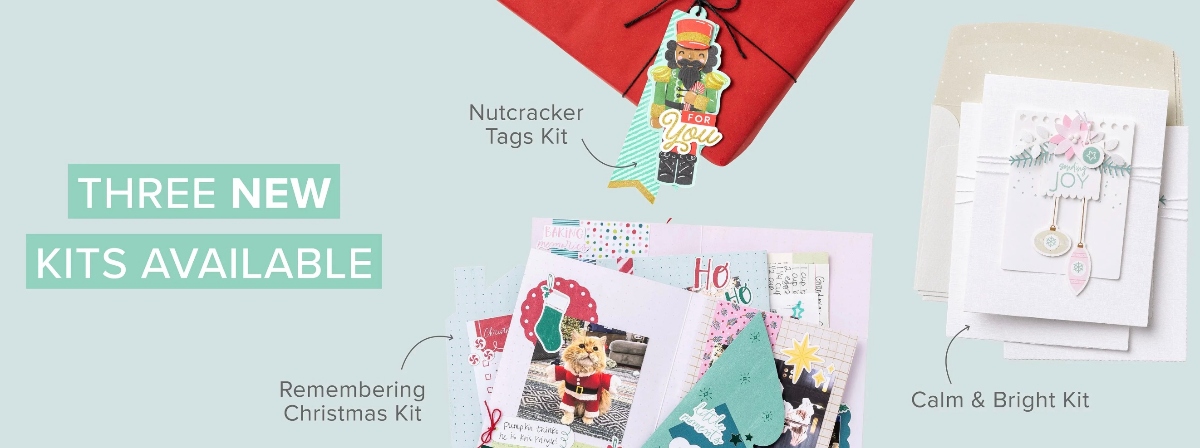
I was so excited when I checked the Stampin’ Up! website this morning and saw that Stampin’ Up! had not two, but THREE, new Kits in the KIts Collection and they are all Christmas! One is a tag kit, one is a small journal/scrapbook for the holidays, and one a beautiful card kit! I can’t wait to look these over in more detail, but I think for sure I’ll be ordering the Nutcracker Tags kit! I love those because you can use them for tags or make cards with them. Check out these Kits!! And easy enough for anyone to make!
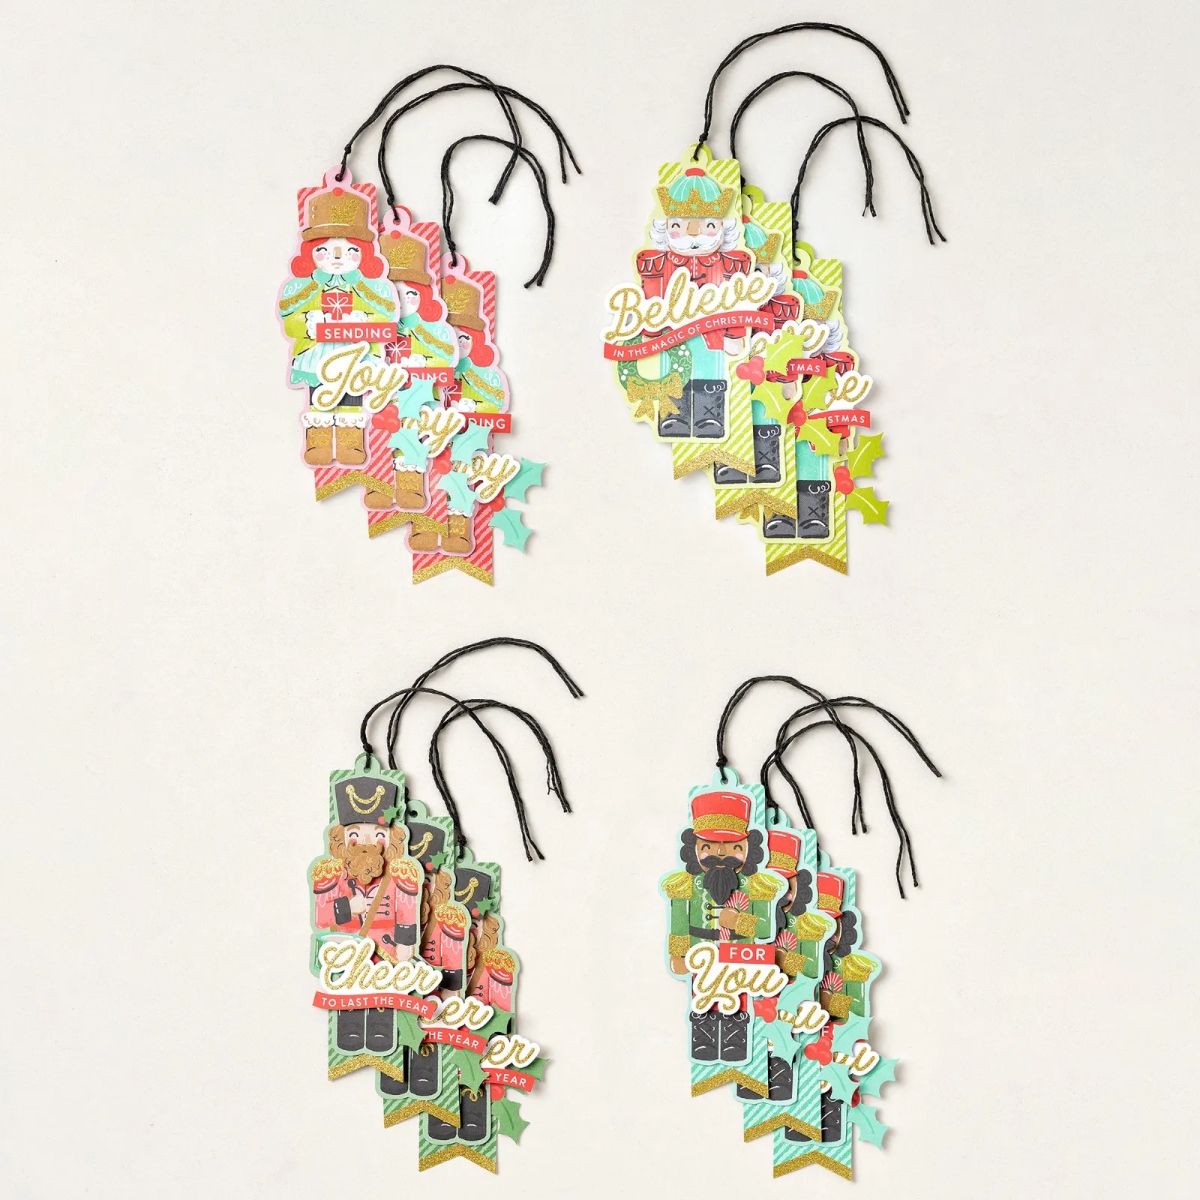
Make your gifts stand out under the tree with the Nutcracker Tags Kit. Featuring festive nutcrackers and glittery sentiments, this kit makes it easy to create handmade tags bursting with festive spirit. It’s a fun and merry way to add extra magic to every gift. Now let’s get cracking!
DETAILS (#166226)
– Makes 12 tags: 3 each of 4 designs
– Colors: Basic Black, Darling Duckling, Garden Green, gold, Pecan Pie, Poppy Parade, Shy Shamrock
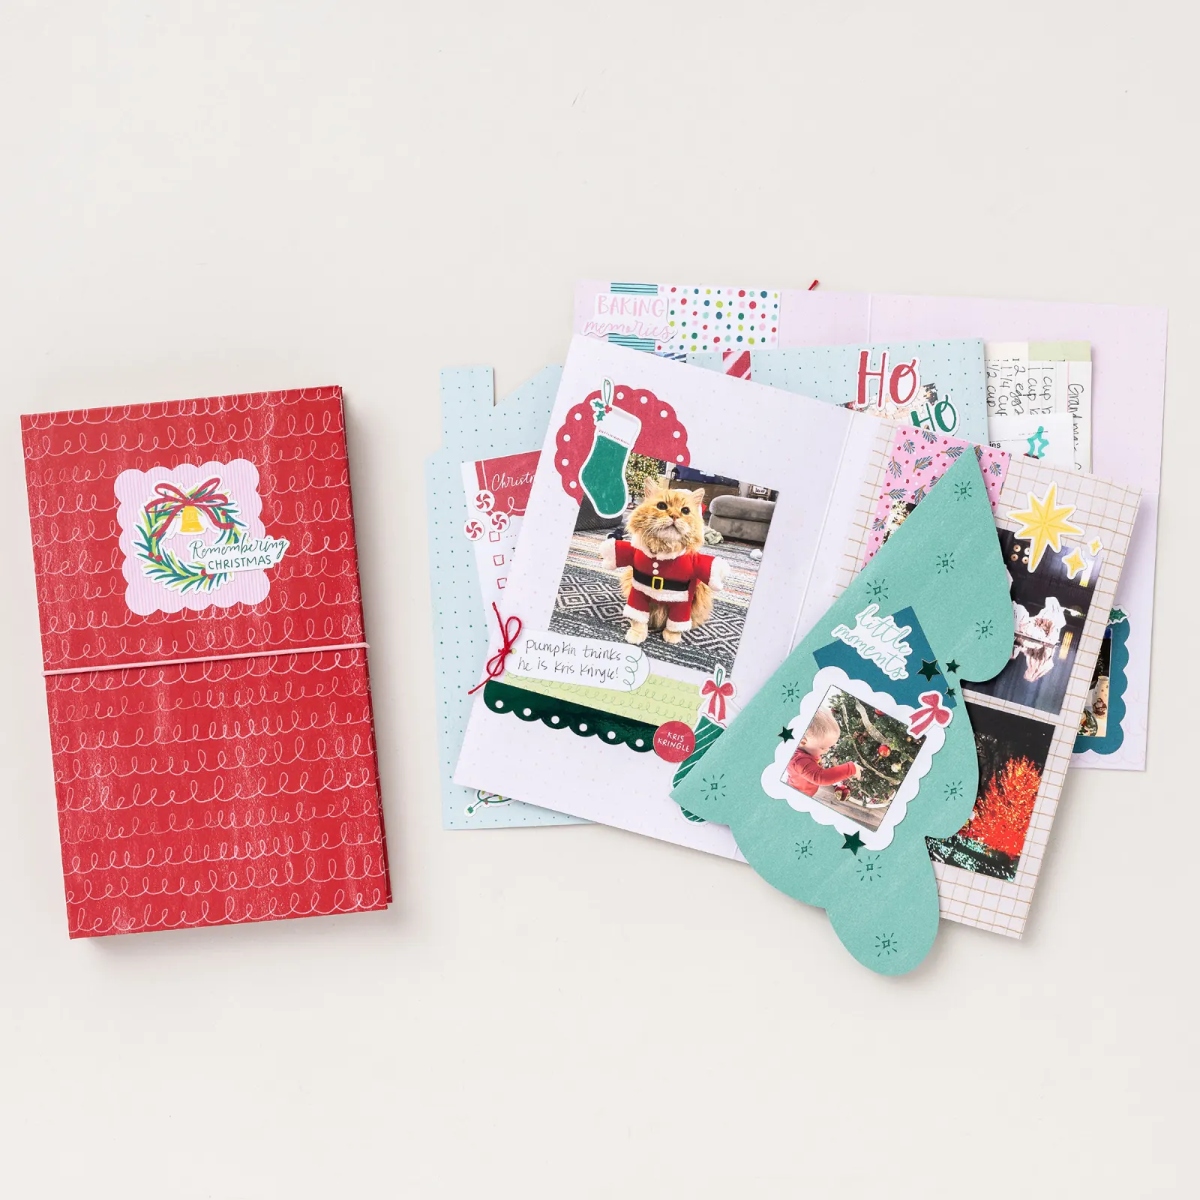
Turn your festive moments into a cherished keepsake with the Remembering Christmas Kit! With plenty of space for photos and journaling, you can easily create a festive album filled with your favorite Christmas highlights. Combine die-cut letters, holiday-patterned paper, and fun ephemera like bows, stars, and stockings to craft a merry album full of Christmas cheer. Display it proudly each season and relive those joyful memories year after year!
DETAILS (#166230)
– Colors: Coastal Cabana, Crushed Curry, Early Espresso, Granny Apple Green, Pecan Pie, Pretty in Pink, Pretty Peacock, Pumpkin Pie, Real Red, Shaded Spruce
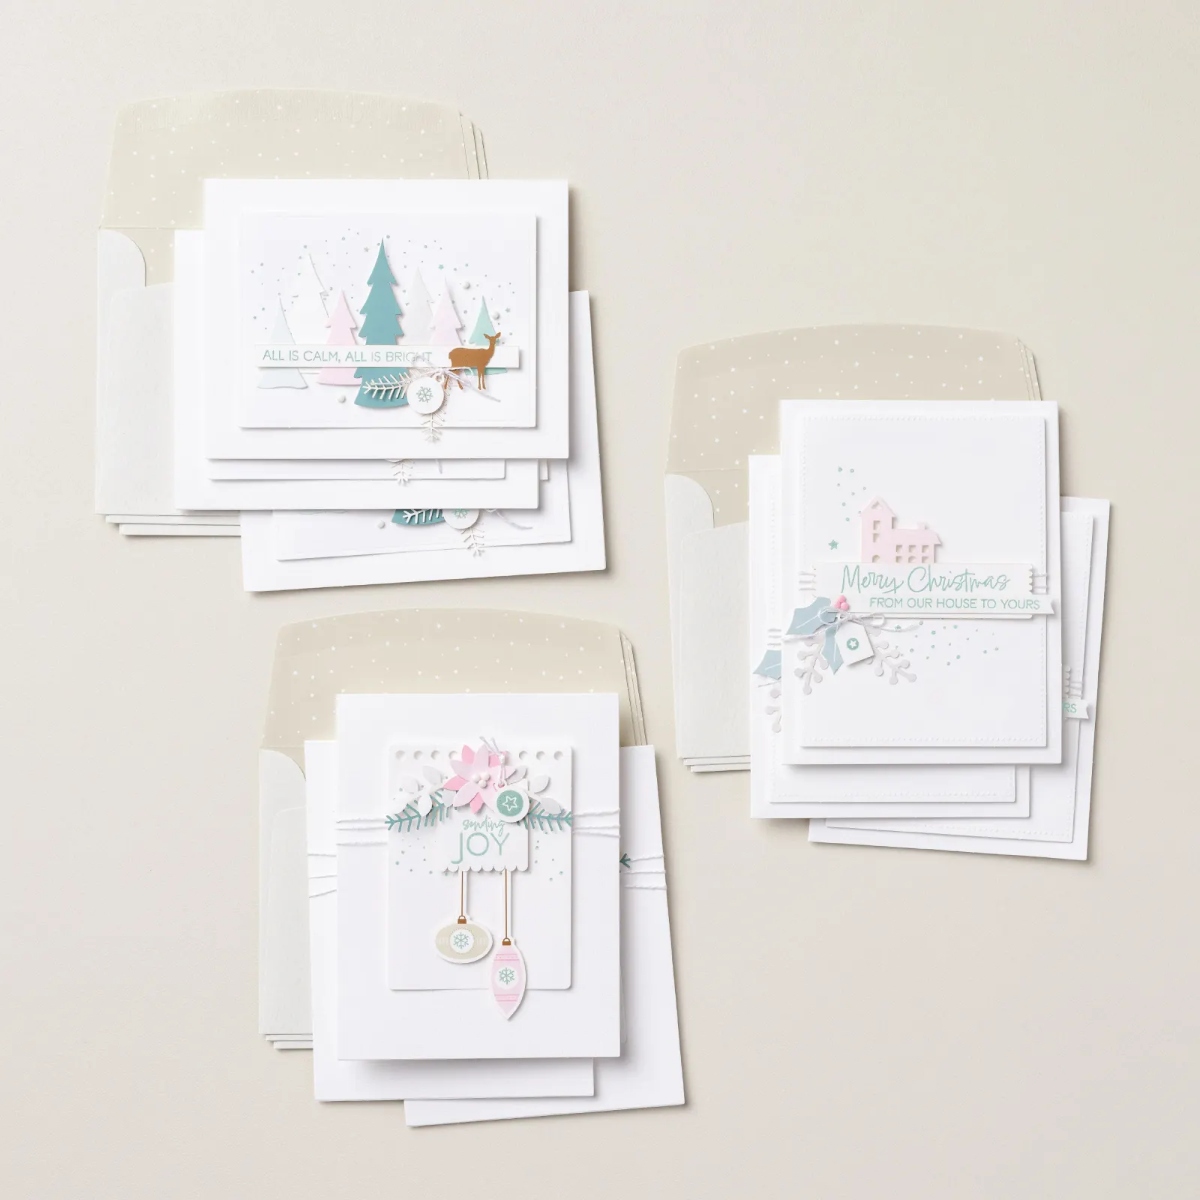
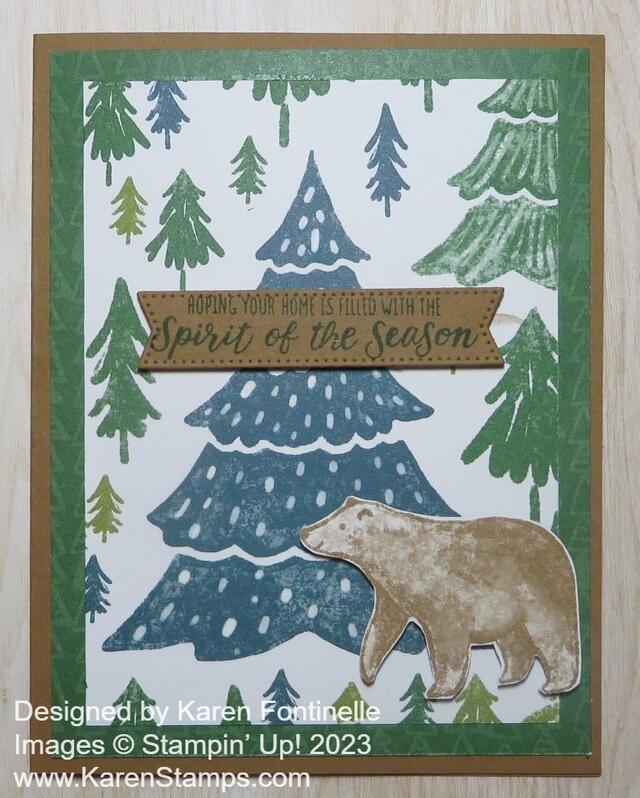
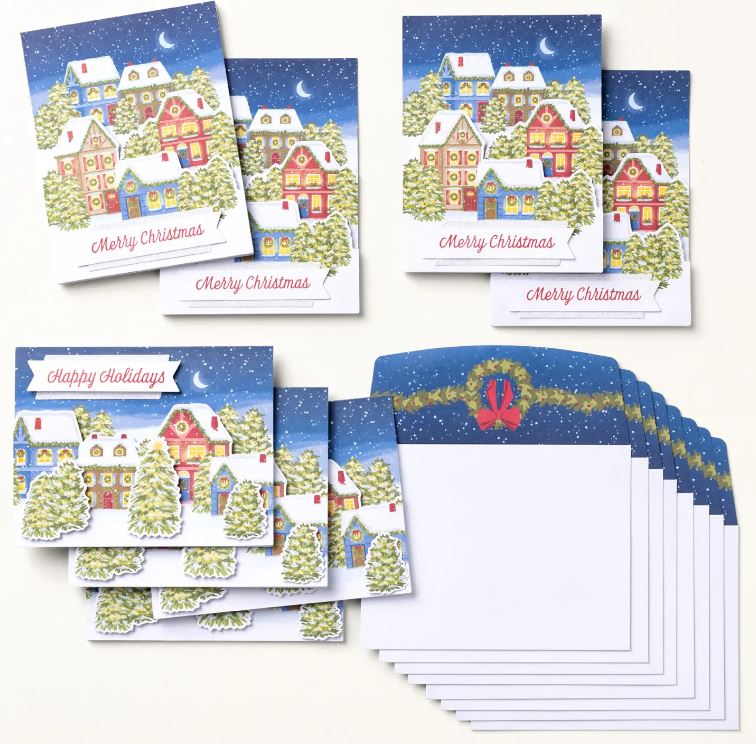
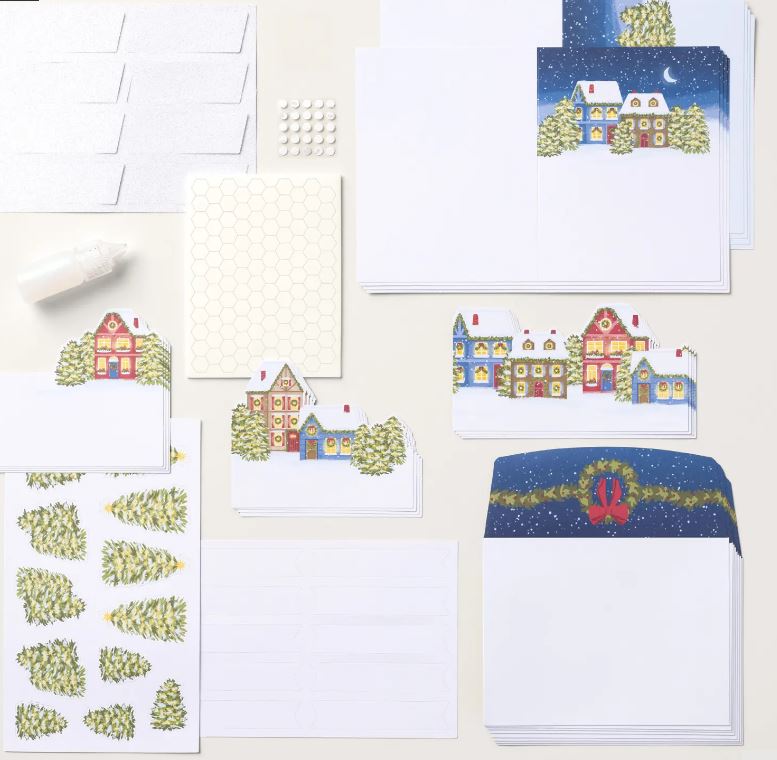
Celebrate the warmth of home and the quiet magic of Christmas with the Calm & Bright Kit. A clean and simple design style paired with a soft color palette sets the tone for creating serene, sophisticated cards. Neutral bases and intricate die-cuts—tiny houses, holly leaves, and banners—layer beautifully to form peaceful focal points, while stamped sentiments like From Our House to Yours and All is Calm, All is Bright add a heartfelt and timeless touch.
DETAILS (#166461)
– Makes 9 cards: 3 each of 3 designs
– Folded card size: 4-1/4″ x 5-1/2″ (10.8 x 14 cm)
– Colors: Basic Beige, Gray Granite, Lost Lagoon, Pecan Pie, Pool Party, Pretty in Pink, white