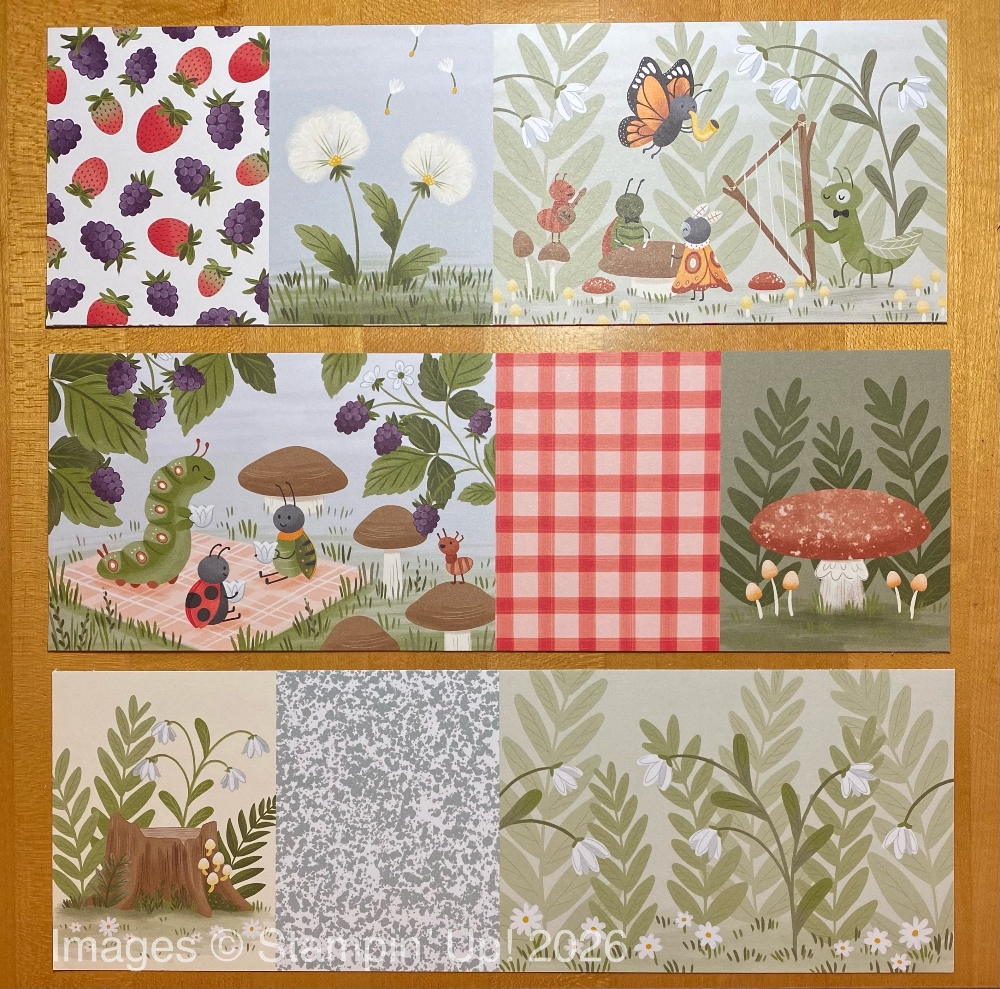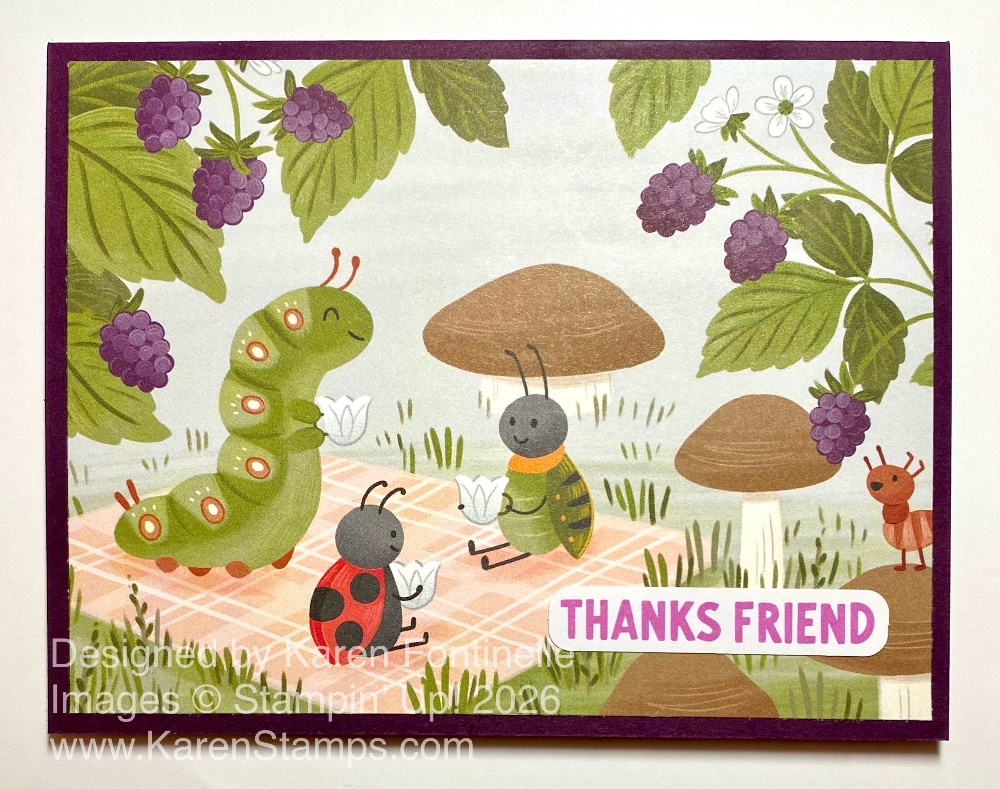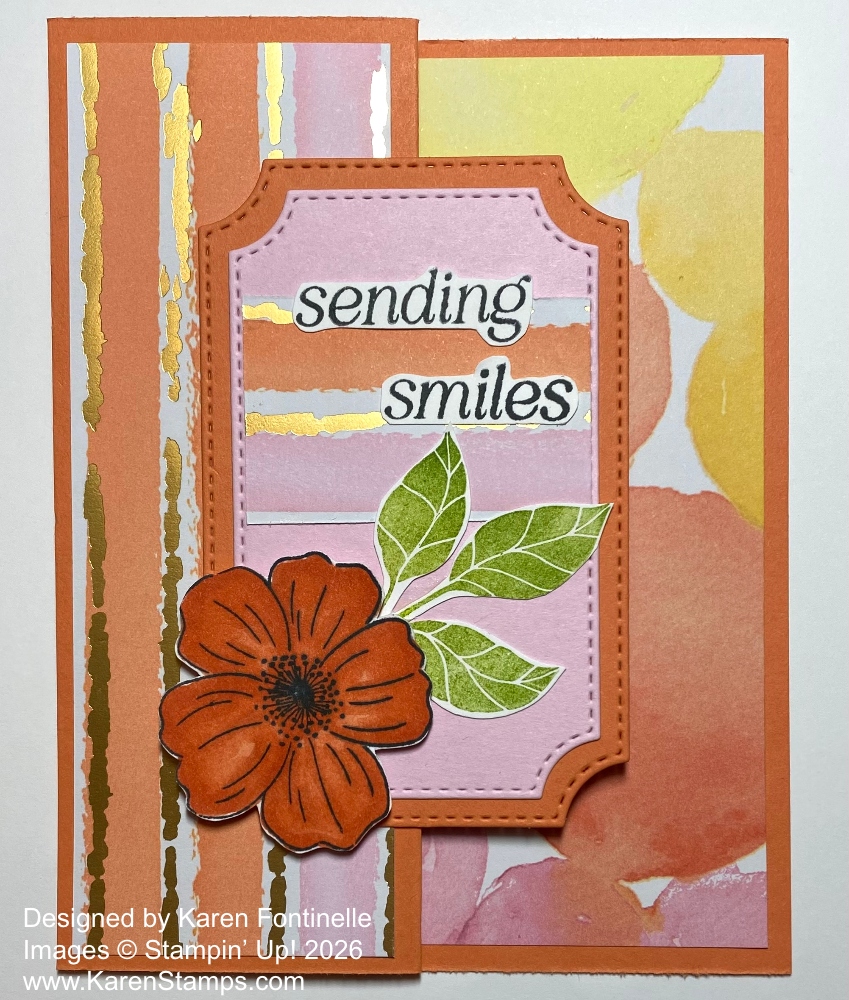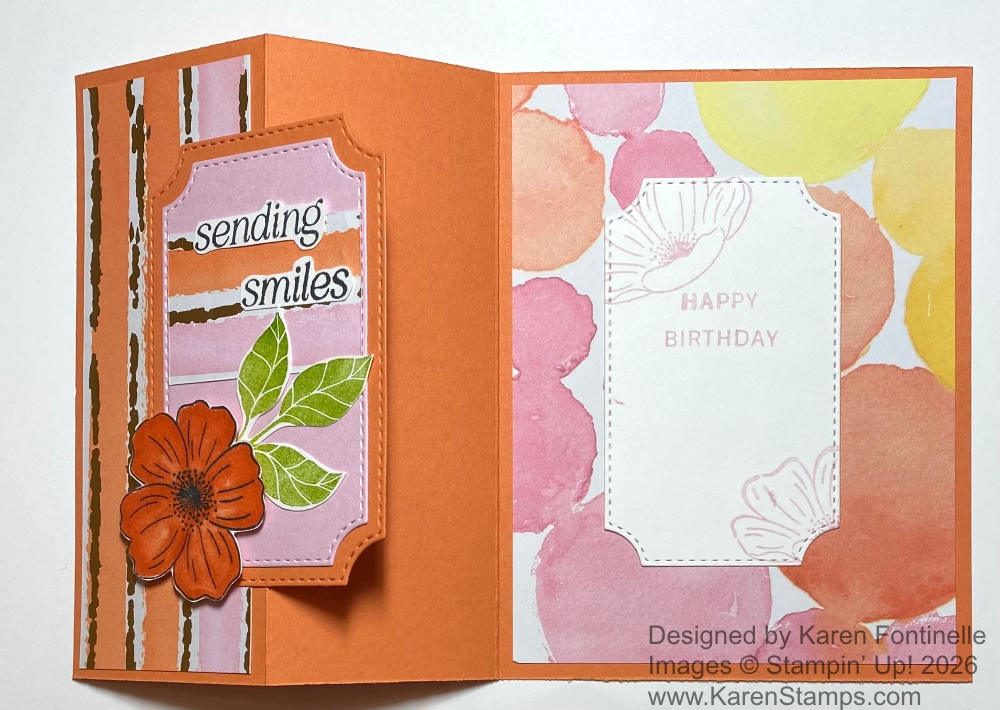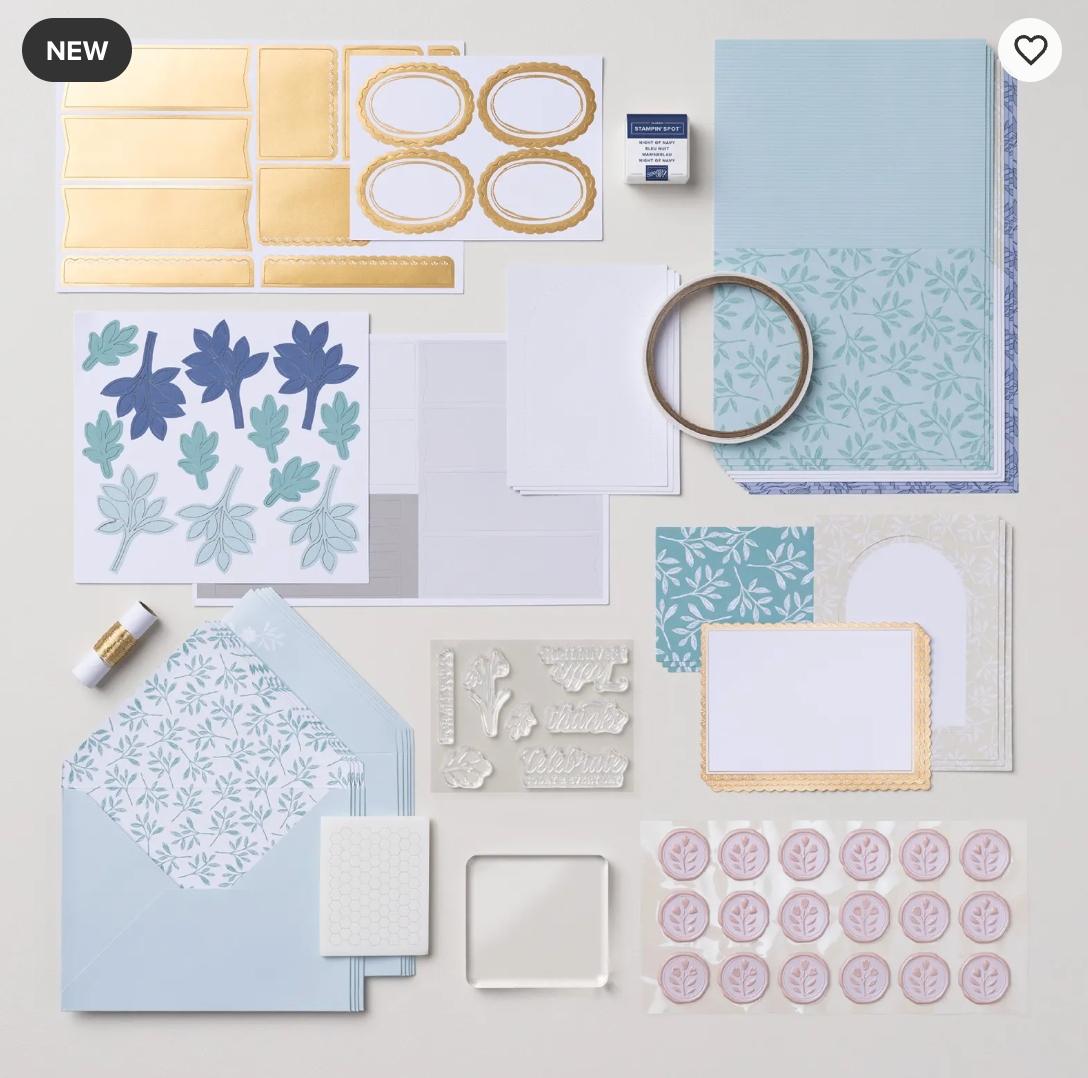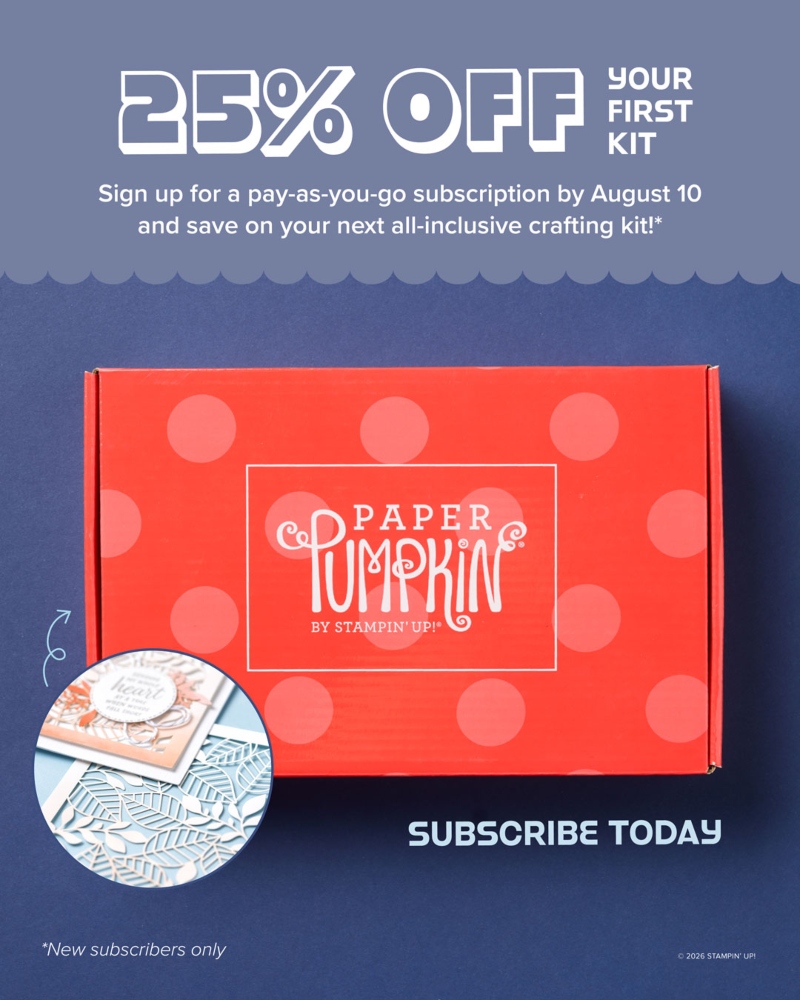
Last Tuesday Stampin’ Up! announced this special on a Paper Pumpkin Kit…for NEW subscribers….to try Paper Pumpkin and receive 25% off this first Kit. This is the kit for August 2026, Kindred Greetings.
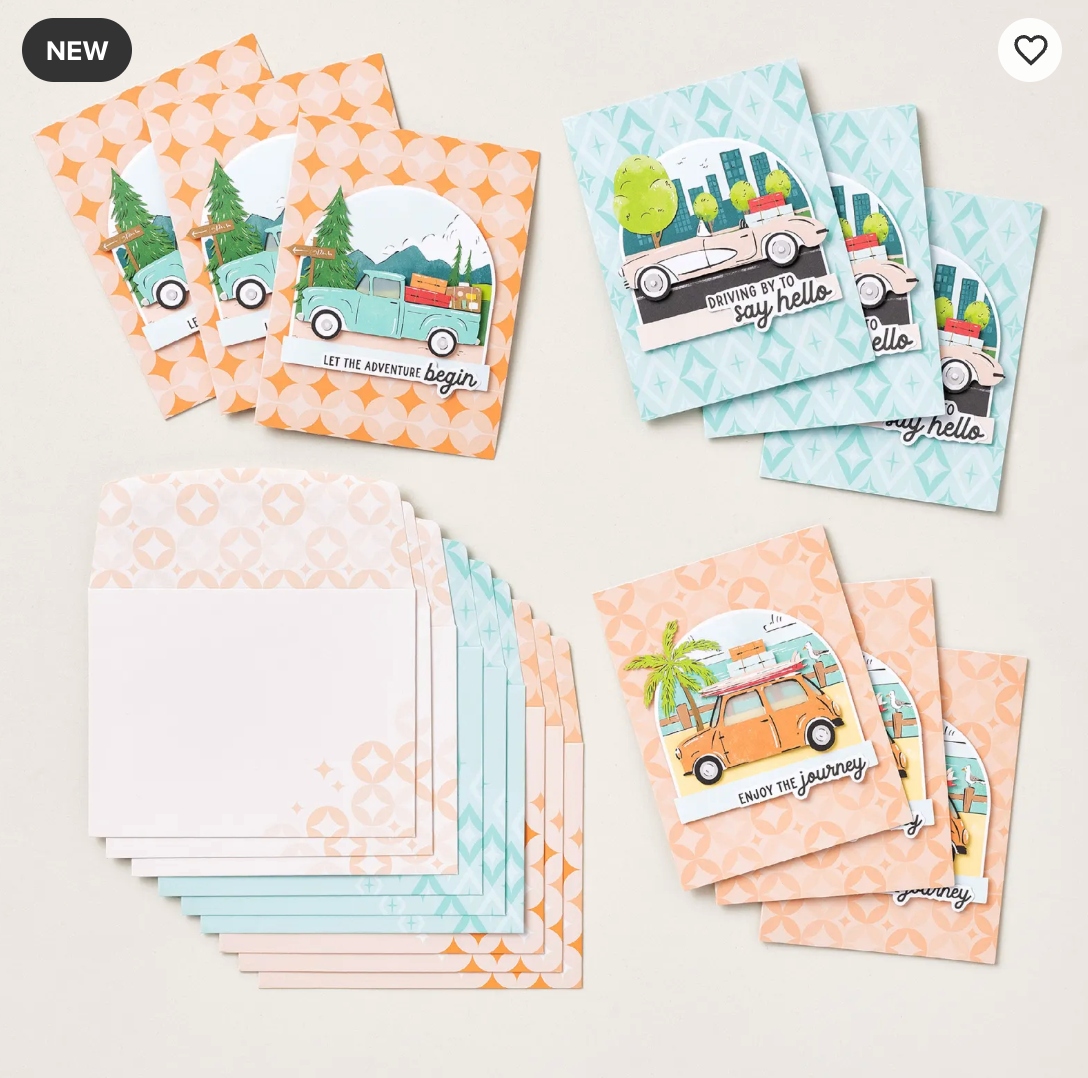
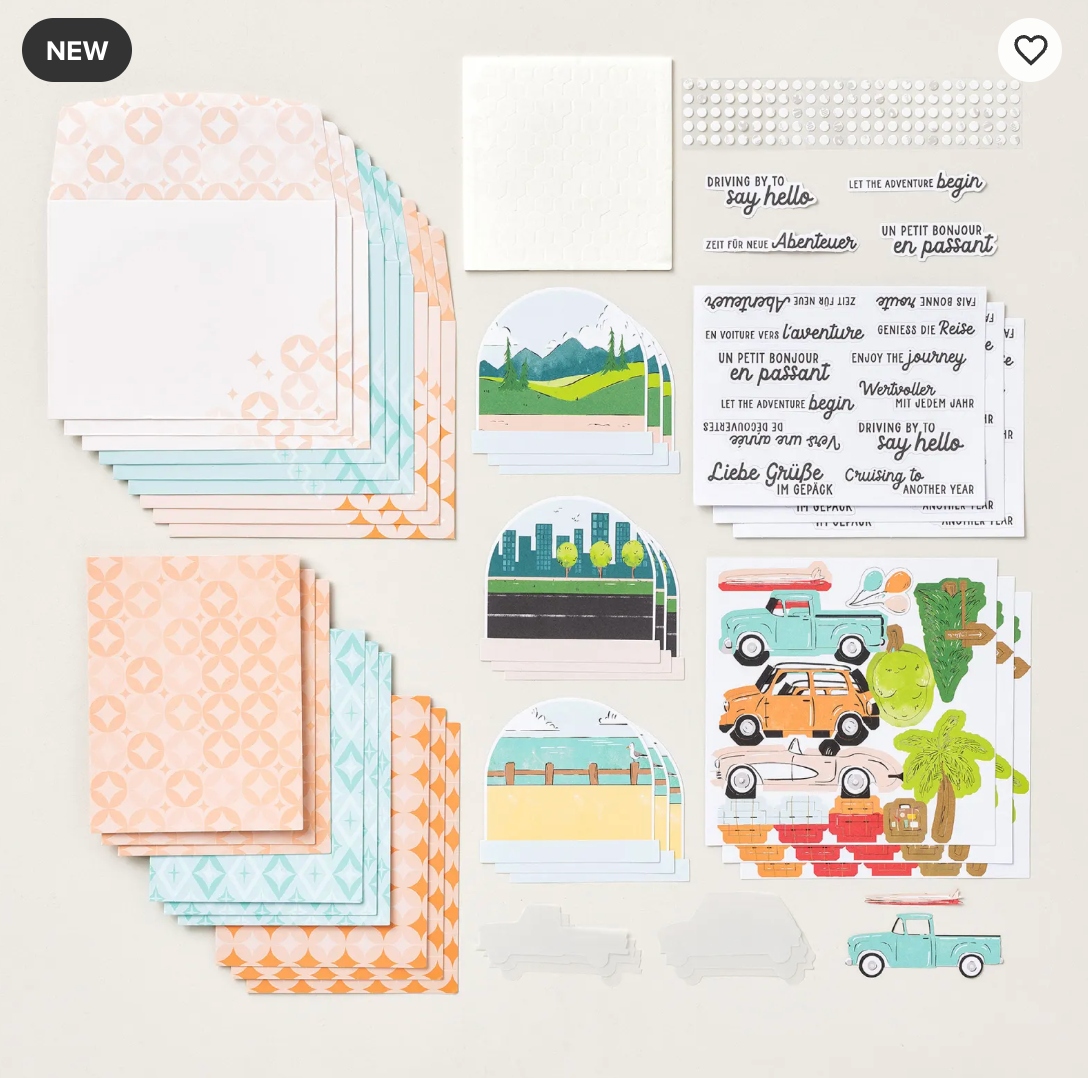
Paper Pumpkin is a monthly subscription to craft kits that are all-inclusive, beginner-friendly, and delivered in your mailbox each month. Everything you need to make the project is in the box, including a small ink spot, exclusive stamp set, adhesive, and maybe embellishments. Usually the project is cards, but it can be other things like gift tags, home decor, a small album, or something else! Everything comes wrapped in tissue paper inside the Paper Pumpkin box, which is why I say it is a gift you give yourself to find this in your mailbox each month. No risk, no obligation to continue for any length of time. If you need to skip a month, just log in to your account by the 10th of any month.
Not only will subscribers receive the wonderful August Kindred Greetings Kit at a discount, but you’ll also gain access to exclusive add-ons, past kits, and refills. It’s a great way to carve out a little creative “me time” each month while joining a global community of passionate crafters!
- Subscribe July 11–August 10
- Send timeless, understated cards with heartfelt messages of comfort and appreciation.
- Makes 9 cards: 3 each of 3 designs with 9 coordinating envelopes
- Precut paper pieces and intricate precut card fronts
- Gray and white twine
- Coordinating colors: Basic Gray, Calypso Coral, Gray Granite (Stampin’ Spot), Lost Lagoon, Petal Pink, Pool Party
Card bases and envelopes have a textured, linen-like feel.
The discount is only valid for new Paper Pumpkin subscribers. This means customers who have not had an active Paper Pumpkin subscription on their Stampin’ Up! account in the past 18 months.
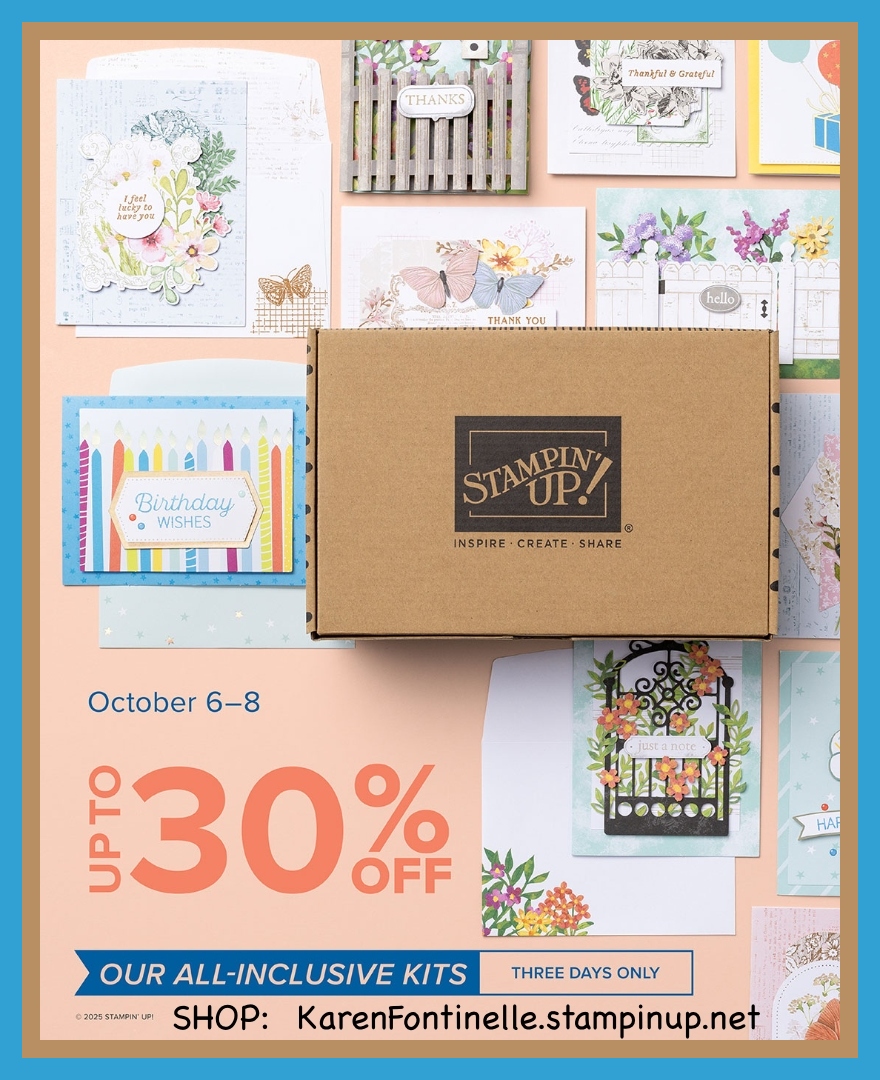
JOIN PAPER PUMPKIN JULY 11 – AUG 10th to save 25% on this first kit only!