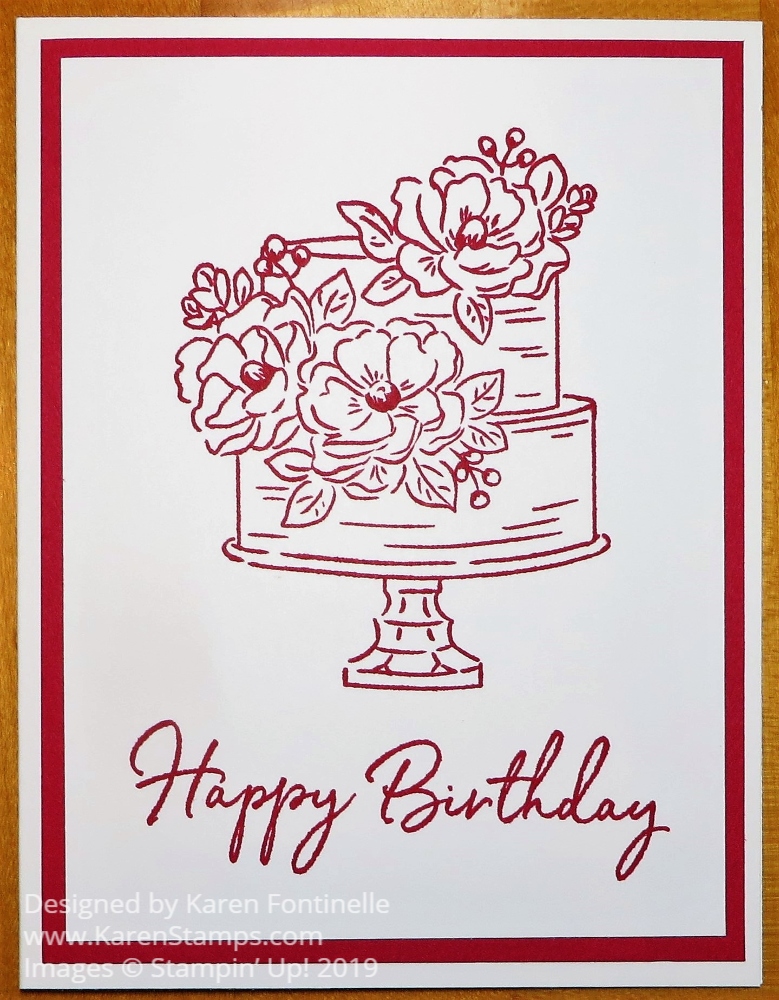
When you want to make a pretty card in a very short time, try monochromatic like this Monochromatic Lovely Lipstick Birthday Card. I thought this stamp set might be a perfect one for a monochromatic card and I think I was right! Talk about quick and easy cardmaking!
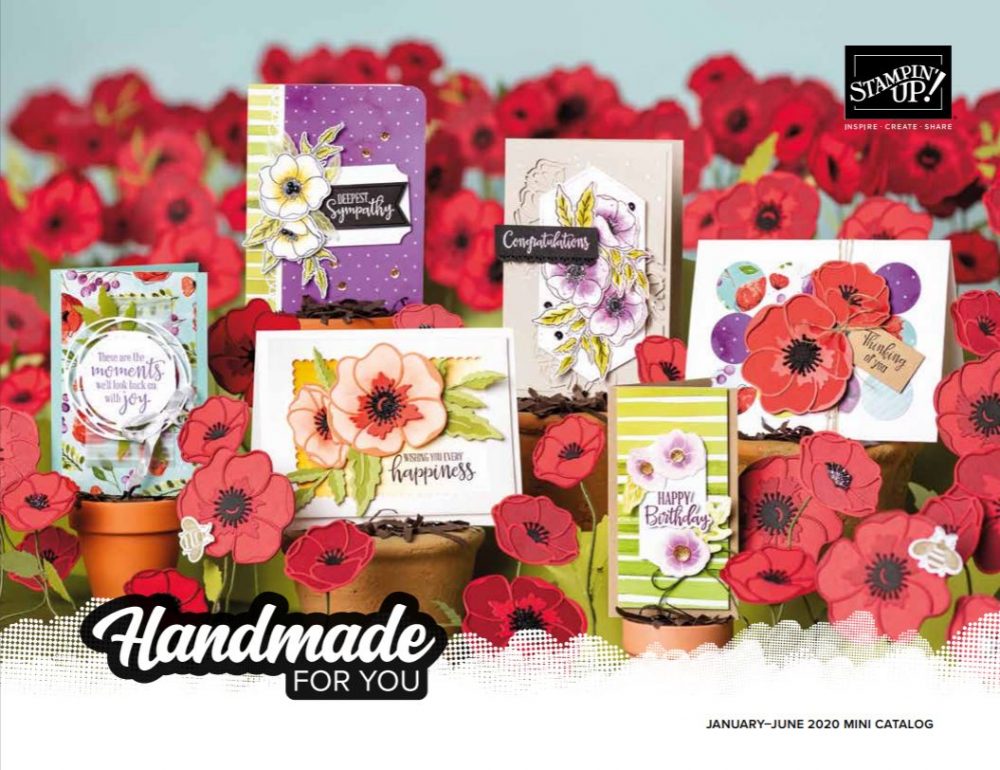
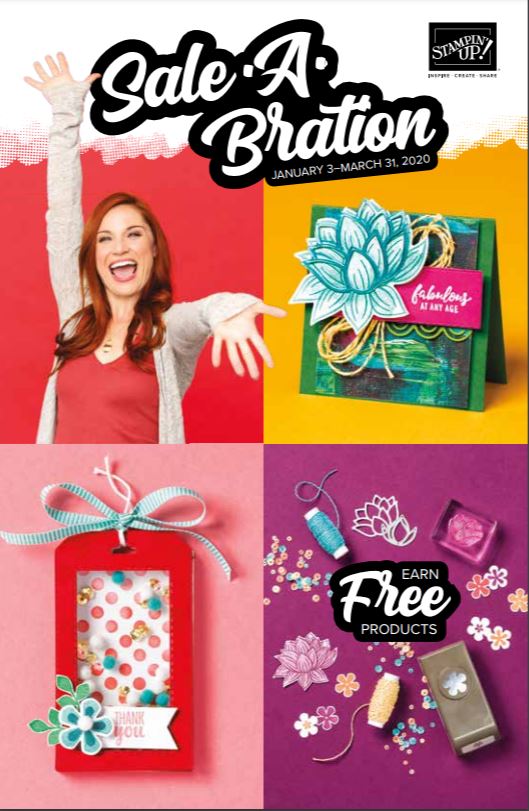
I used the Happy Birthday To You Stamp Set, only available FREE during Sale-A-Bration with a $50 purchase. And even more exciting, coming in February, you will be able to purchase a set of dies for this stamp set as an extra! There will be several new coordinating items for you.
The card base is Whisper White and the layer is Lovely Lipstick. I realized I have barely used these In Colors and thought I would give Lovely Lipstick a whirl. Then I stamped the fancy cake with Lovely Lipstick on another layer of Whisper White and the greeting at the bottom. I mean, you can’t make a card any faster than this one!
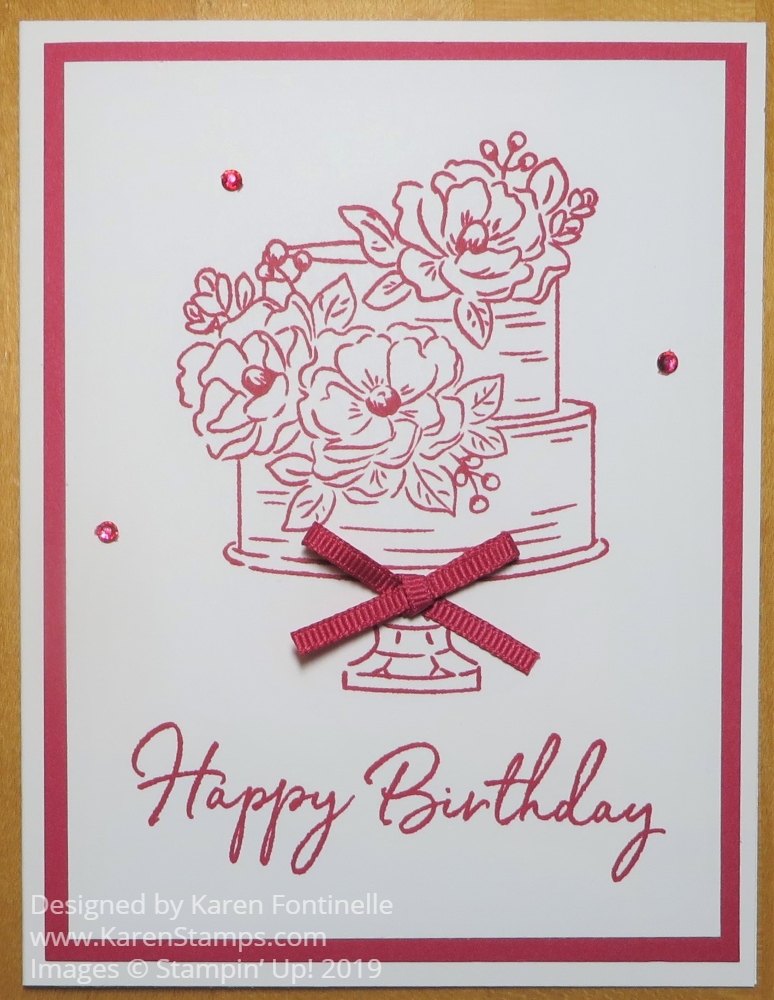
But if you did want to make a quick and easy monochromatic birthday card and you wanted a little bling on it, you could make this card! I had some very narrow Lovely Lipstick 1/8″ Grosgrain Ribbon so I made a very small bow to go on the cake stand. Next, I colored three small rhinestones with the Lovely Lipstick Dark Stampin’ Blend marker and placed them on the card. A monochromatic card with a little extra bling!
Whatever you want to order, be sure to try and do it in $50 increments so you can take advantage of Sale-A-Bration 2020 and earn some free product(s). After you have entered your order, it will prompt you to choose your Sale-A-Bration items.