By now you have probably used up most of your fun Let It Snow Specialty Designer Series Paper unless you are a paper hoarder! And we all want to hoard this fun paper with the glittery snowmen on it. However, if you did actually cut up the sheets with the snowmen, you know it required drastic steps, perhaps destroying parts of the snowmen design. I know you didn’t throw away a bit of the scraps, so look through them now and see what you can make! You might still be able to salvage some snowmen!
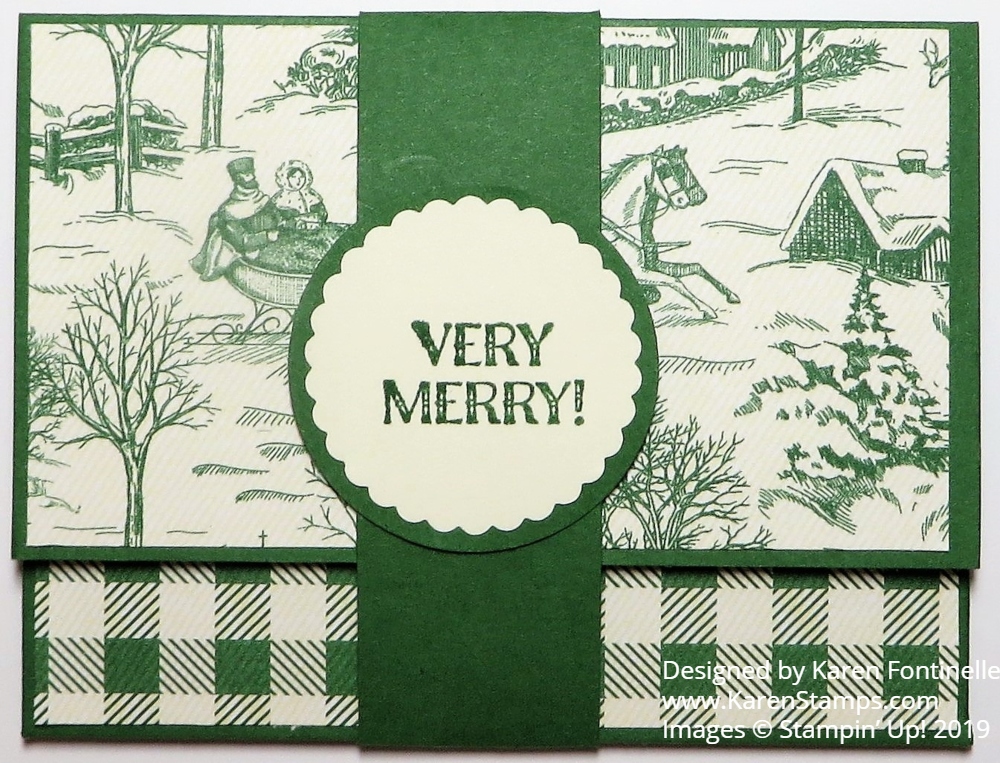
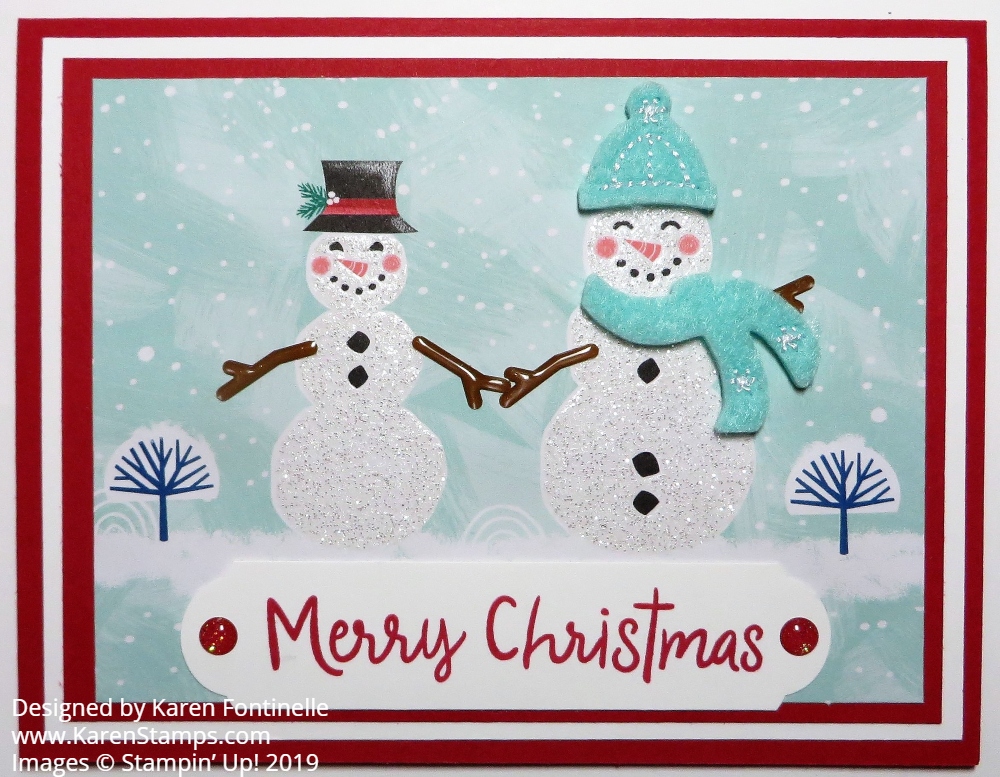
On this first card, I had a smallish piece of designer paper with the two snowpeople on it. I just added extra layers so it would make a full card. And I jazzed up the snowmen by adding some stick arms and a scarf and hat. These pieces were from the Let It Snow Embellishment Kit. Don’t forget to use the cardstock cheat trick by punching out or die-cutting some pieces from the center of the cardstock that is going to be covered up anyway. No one will ever know!
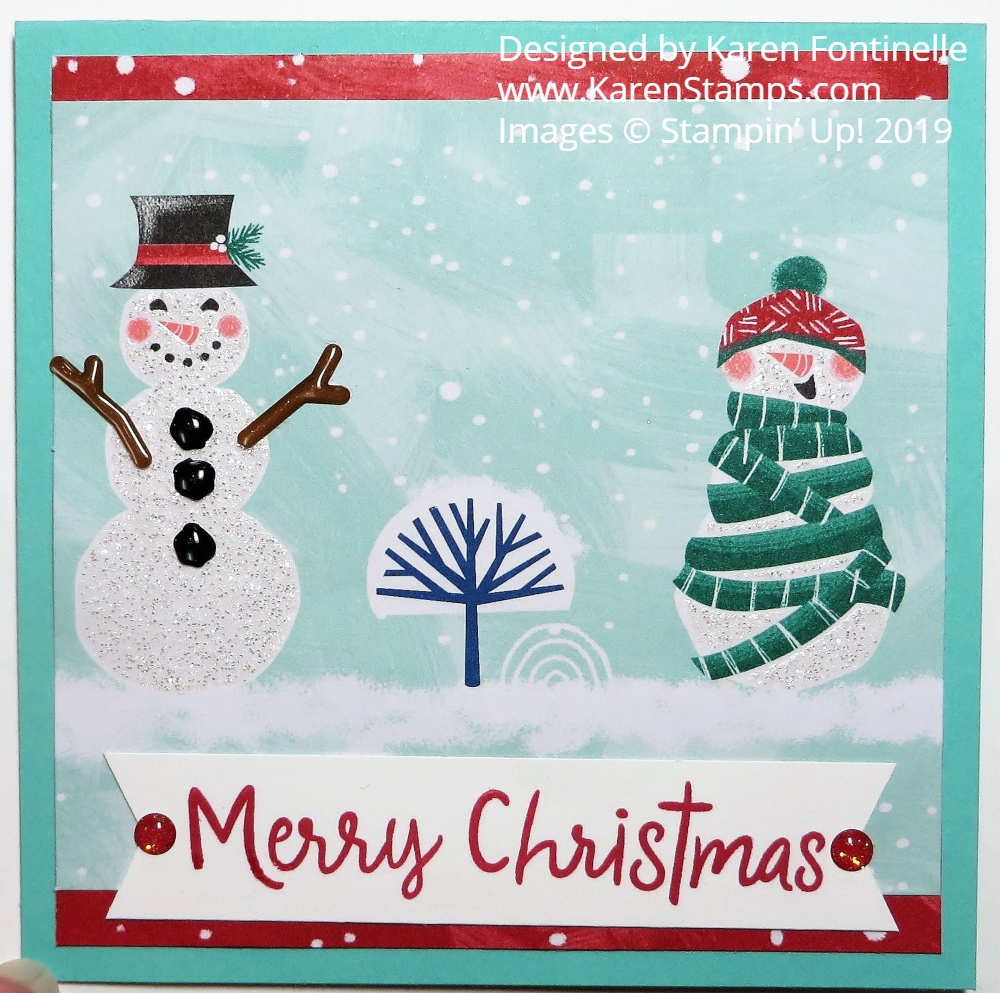
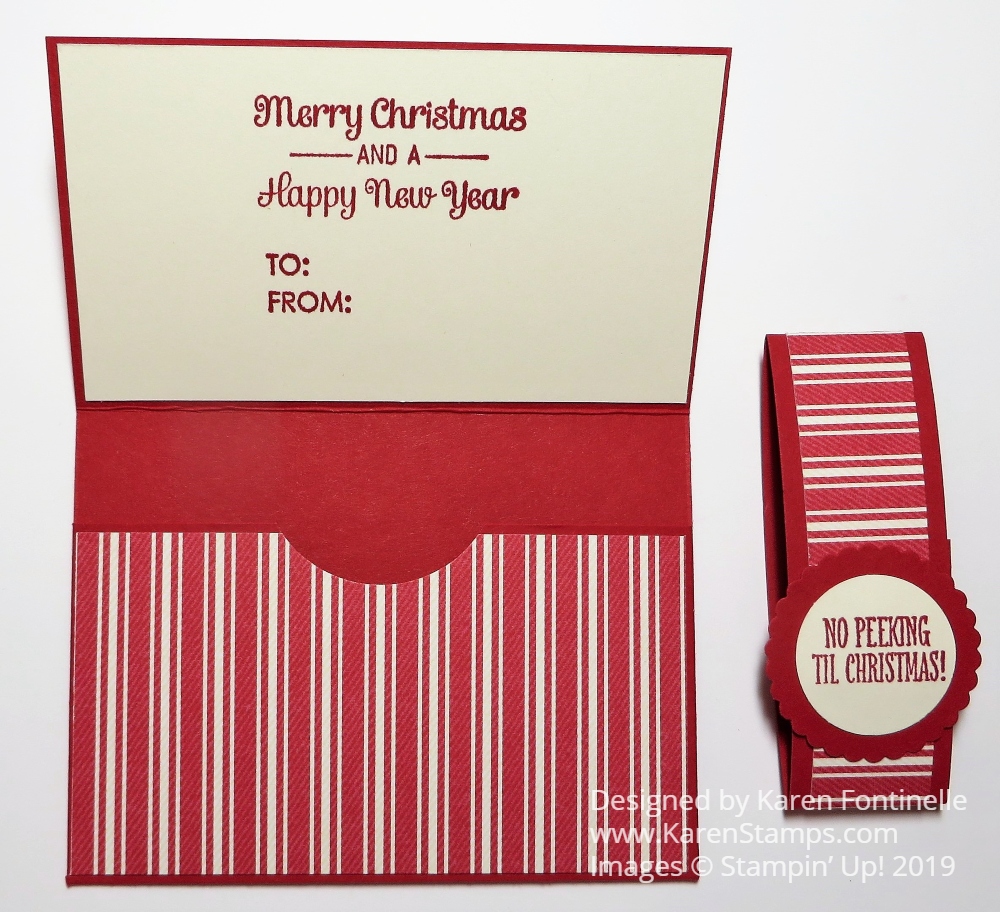
On this card, I was able to save these two snowpeople and just made a smaller card! Make a 4 1/4′ x 4 1/4″ card or 4″ x 4″ size, whatever the piece of designer paper will fit best. On this one, just a little designer paper at the top and bottom of the snowman paper was enough to set off the focal point snowmen. Once you add a greeting and embellish the card a little bit you will have a great card even with a smaller piece of designer paper than you might have used.
Remember, sometimes the opposite side of the paper can be used long after the holidays. Often, we aren’t as familiar with the other side of the paper as we are of the well-known image.
If you have really small pieces of this Let It Snow Designer Paper, remember, you can make tags for gifts! Usually we run out before all the packages are wrapped, so it’s a good idea to make extra tags! Especially if you haven’t started wrapping packages yet1
Have fun making your last minute holiday cards, tags, and treats!