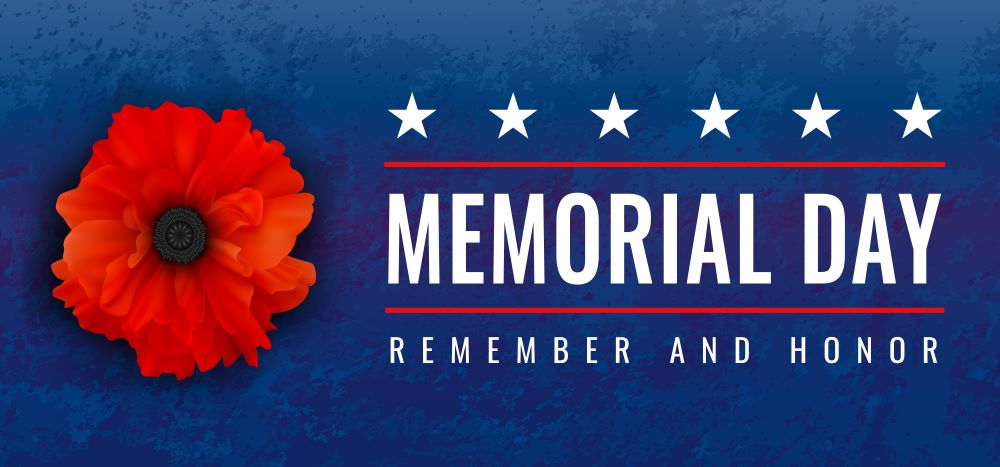
Memorial Day is a holiday to remember and honor those men and women who gave their lives while serving our country in the Armed Forces. The poppy seemed to flourish in Europe after World War I, out of the rubble of war. The red poppy is a symbol for the blood shed by soldiers during war. The American Legion made the poppy their official flower in 1920 and in 1924 the American Legion began distributing poppies to honor the fallen and support the living who have served in the military.
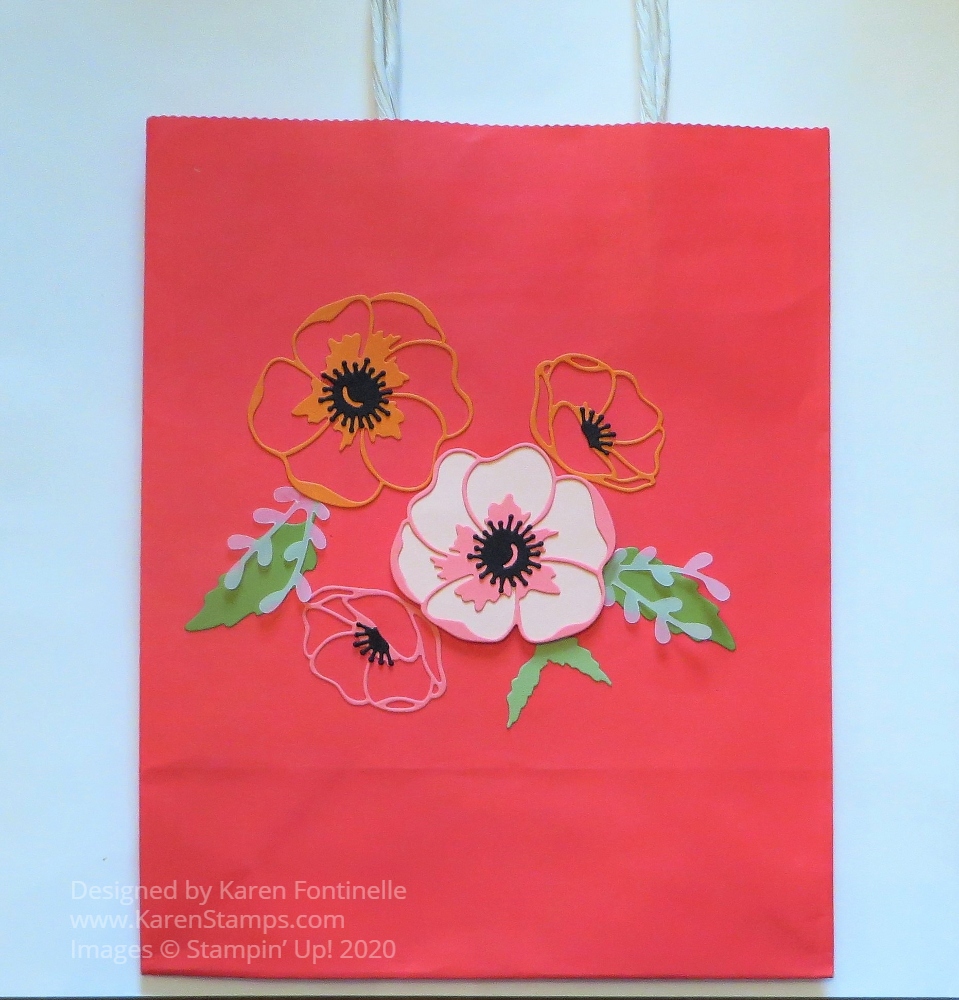
One of my favorite projects to make is to decorate a gift bag like this Poppy Moments Altered Birthday Gift Bag that I made for a friend’s birthday. Sometimes I use a bag I got out shopping and even if it has the store name on the side, I can cover the name with paper and decorate. It’s almost like making a card on the side of a bag! And if you don’t already have a cute shopping bag, you can buy a bunch at the craft store.
To decorate this shopping bag, I used thePoppy Moments Dies and just cut out a few flowers and leaves! I also used the Sprig Punch to punch a few leafy sprigs out of Vellum Cardstock. I made this bag pretty simple because there was no store printing that I had to cover up. After putting a gift inside the bag with tissue paper, you could also tie a ribbon around the bag handles. You could also attach a gift tag that you made. So many possibilities!
Here’s a birthday gift bag I decorated several years ago. The bag itself is pretty with a swirly leaf print on it, but I did need to cover the store name but that’s usually easy to do, sometimes on the front and back of the bag.
This gift bagturned out really pretty I think! I don’t remember if the bag was plain on the front or if it had printing on it, but it was easy to cover almost the whole front of the bag almost like if I had been making a card! You can see how you could make the same design for a card just by making it smaller!
If you are cleaning up closets and cabinets during the pandemic, save those small shopping bags and do something creative with them! Decorate for birthdays or Christmas or something generic and then you will have some personalized gift bags ready to go! Or maybe you can make a bag that matches your gift.
Altering or decorating bags you have around the house is something fun you can easily do and a great way to recycle! And it just might save you a trip to the store for a gift bag!
As I was looking through what is left of my Peaceful Poppies Designer Series Paper, I had a full sheet of this poppy floral pattern and thought it looked so pretty and that it would make a lovely Peaceful Poppies Gift Bag With Poppies. You could use this gift bag for a small gift for Mother’s Day or a birthday or any special occasion. There will be graduations coming up even, perhaps, without graduation ceremonies this year. Making your own gift bag out of pretty Stampin’ Up! designer paper would make a very special gift presentation!
You can make this gift bag with just half a sheet of designer paper, whichever one you choose to use. I used the Peaceful Poppies Designer Series Paper to make the bag. Start with the paper cut to 6″ x 11 3/4″. Using the Paper Trimmer or the Simply Scored scoring tool, score along the long side at 1 1/4″, 5 1/4″ 6 1/2″ and 10 1/2″. Turn the paper so the short end is at the top of the board and score at 1/4″ on one side, then at 1 1/4″ on the other side. Pay attention to the pattern on the designer paper so the bag will have the design going the correct way. The narrow 1/4″ scored area will be the part you will fold over to make a smooth top edge. The other long scored 1 1/4″ area will be the flaps at the bottom of the bag.
Crease all the score lines and fold over the narrow 1/4″ piece at the top of the bag. If you prefer you could fold it to the outside if you’d like that side to show as a contrast. OR don’t score that 1/4″ line and have your bag be 1/4″ taller. Use some adhesive of choice to adhere that to the inside of the bag.
Use the Classic Label Punch to punch a handle at the top of the bag. You can squish the front and back sides together and try to center the punch to make the handle opening or you can do one side at a time.
Assemble the bag folding on all the scored lines and flaps. Then decorate for the occasion.
To decorate my gift bag, I die cut two large poppies using Poppy Parade for the body of the flower and Flirty Flamingo for the outline, plus Basic Black for the center. The leaves are Old Olive and Pear Pizzazz. I tied a bow of Poppy Parade 1/2″ Textured Weave Ribbon separately (after trying to tie it onto the handle unsuccessfully!) and adhered it to the handle with Mini Glue Dots.
In this photo you can see the actual designer paper better from the back of the bag and how pretty it is:
Add some tissue paper and a gift inside, maybe make a matching gift card and you’ll have a charming gift to give someone special! Here’s a matching card idea you could even use to go with the bag! Just cut half a sheet of designer paper and make a gift bag with the basics of this Peaceful Poppies Gift Bag With Poppies.
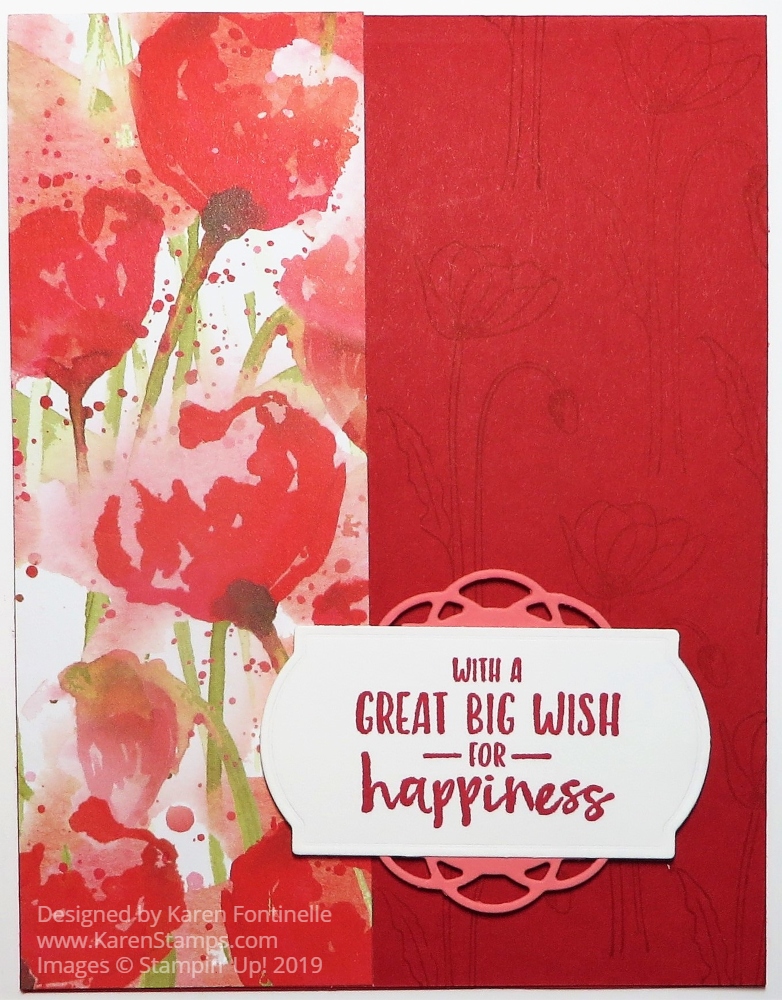
This Peaceful Poppies Happiness Card is another fairly simple card to make! This card opens at the top instead of the side just for something different. It uses a strip of the beautiful Peaceful Poppies Designer Series Paper. Just wait until you get your hands on this beautiful designer paper!
To make this card, the card base is 11 1/2″ x 4 1/2″, folded in half with the fold at the top. I chose Real Red Cardstockalthough I don’t think that’s actually a coordinating color with the designer paper, but I think it looks fine together.
For a little extra interest, I stamped a poppy and stem from the Painted Poppies Stamp Set on the Real Red cardstock that isn’t covered by the designer paper. I inked it up and stamped off before stamping on the card. I could also have used Versamark Ink for that watermark look. If you had ribbon, you could wrap some ribbon around the designer paper before adhering it to the front of the card.
The greeting is from the Sending You Thoughts Stamp Set, one you can get FREE during Sale-A-Bration with a $50 purchase. I stamped it on Whisper White with Real Red ink and then die cut it with a label die in the Painted Labels Dies. Then I used Flirty Flamingo Cardstock and die cut another label in the same set, cut it in half and used it under the top and bottom of the greeting. It just adds a little something although just the greeting die cut with that label die with a little embossed border around the edge was just fine by itself.
You will probably want to get the Painted Poppies Stamp Set and the Painted Labels Dies together in the Painted Poppies Bundle and save 10%!
Check out the whole Peaceful Poppies Suite and see what you’ve GOT to put on your next Stampin’ Up! order! Remember about Sale-A-Bration and getting a free SAB item with every $50 you spend!