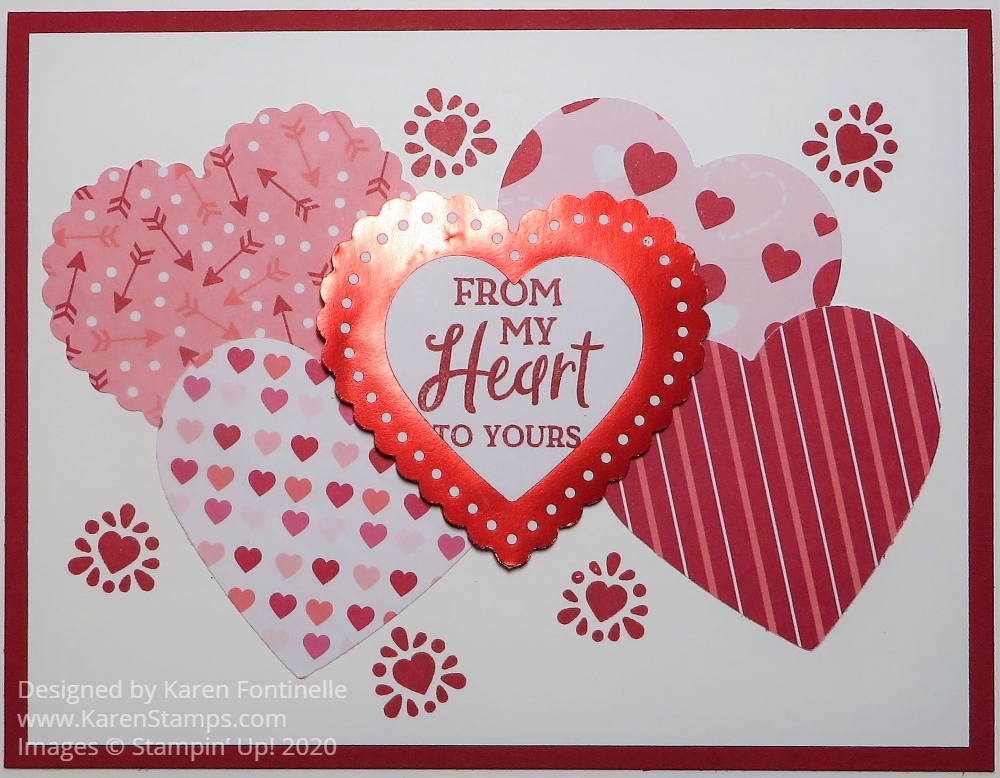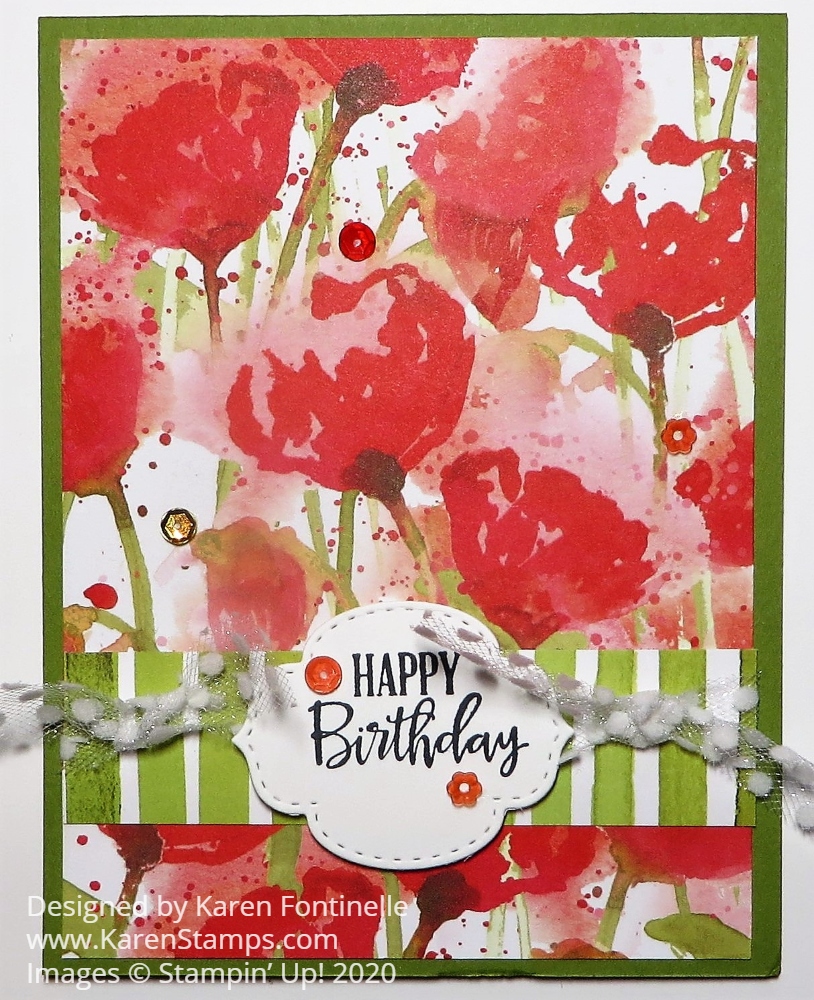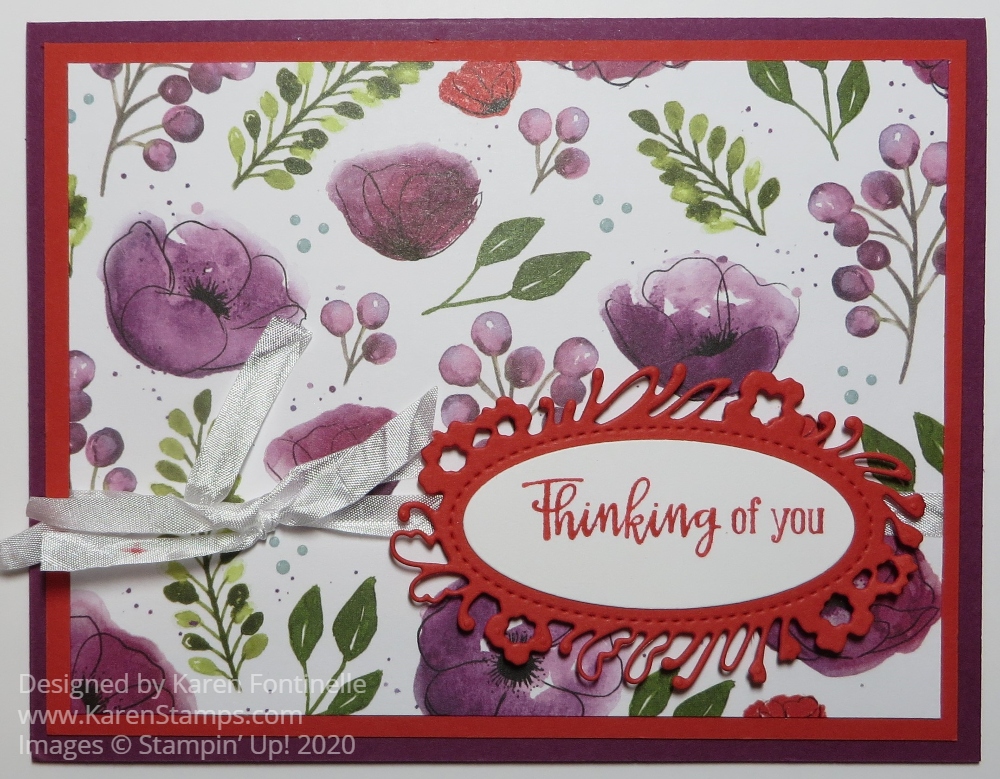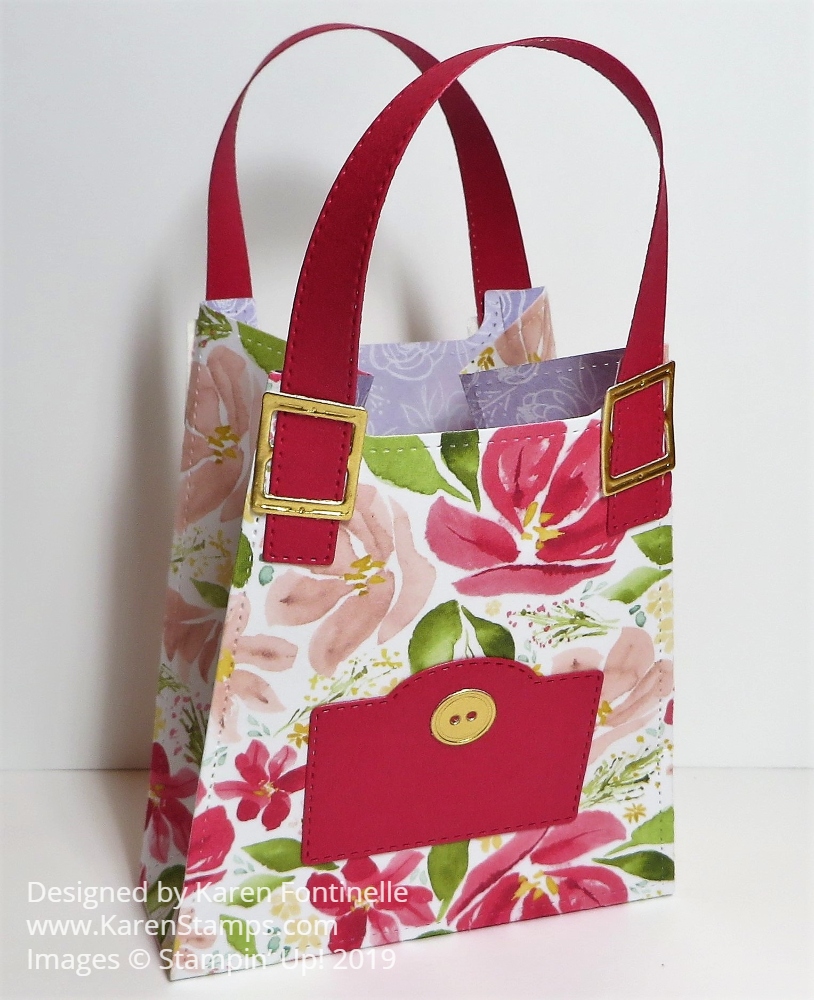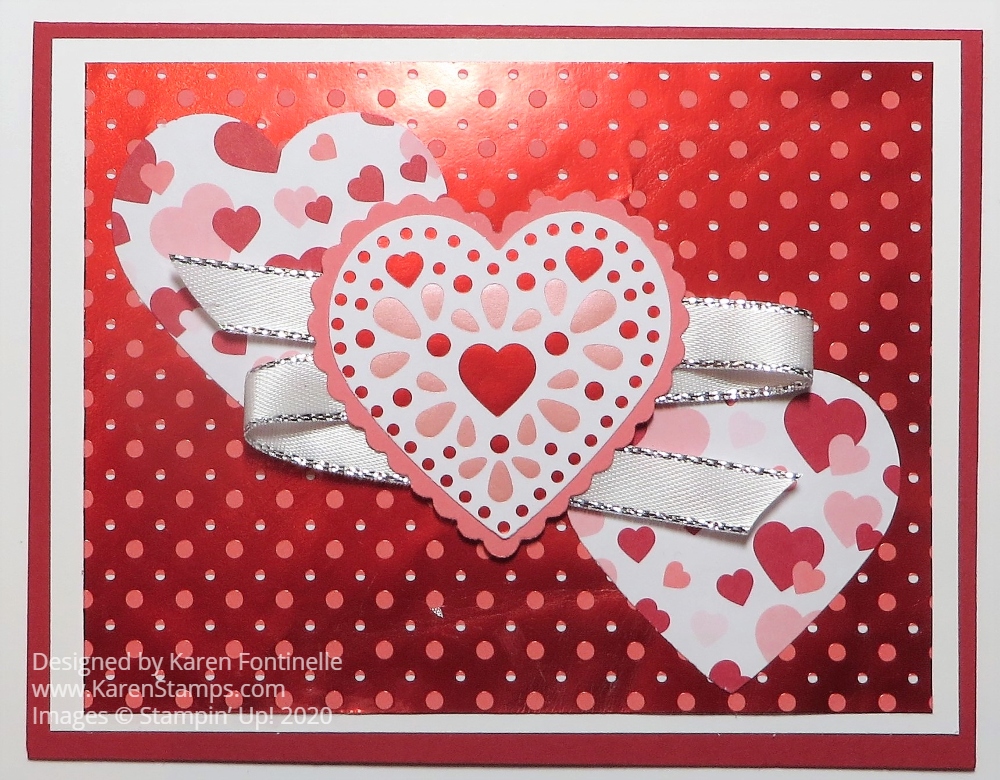
Valentine’s Day is coming up at the end of this week so if you need more valentine ideas, here is an Easy Valentine Hearts and Ribbon Card you can try!
The card base is Real Red with a layer of Whisper White to help the designer paper stand out a little bit. This dotted foil layer is in the From My Heart Specialty Designer Series Paper. It really caught my eye when I was making this card!
The next step is to simply punch two hearts from another design of the From My Heart DSP. I chose the paper with the scattered hearts. I thought it stood out well against the foil DSP.
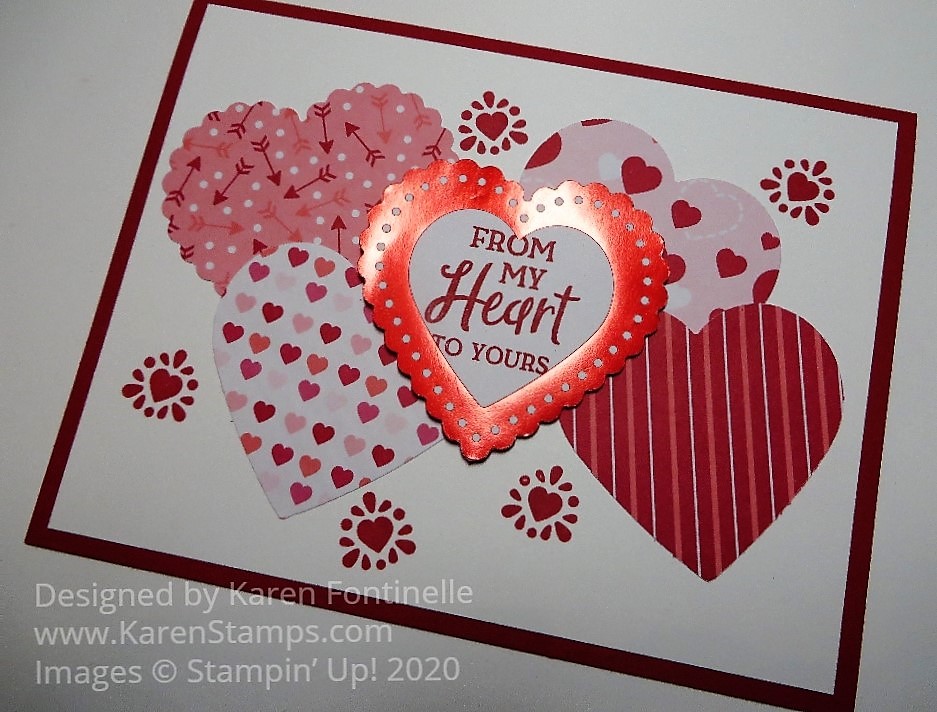
The center heart is punched from the sheet of foil hearts and then layered on a punched scallop heart from Flirty Flamingo Cardstock. You can get both these plain-edge heart punch and the scalloped edge heart punch in the Heart Punch Pack. And if you want the Heartfelt Stamp Set, too, you can purchase it with the heart punches and save 10% in the Heartfelt Bundle.
After those two hearts were layered together, I put more adhesive on the back with Snail Adhesive so I could stick the ribbon going back and forth behind the heart. Then it is popped up on Stampin’ Dimensionals® and centered on the card between the other two hearts.
Even though there is no sentiment on the front of the card, I think it is pretty enough on its own so you can just stamp a greeting inside the card on a Whisper White layer.
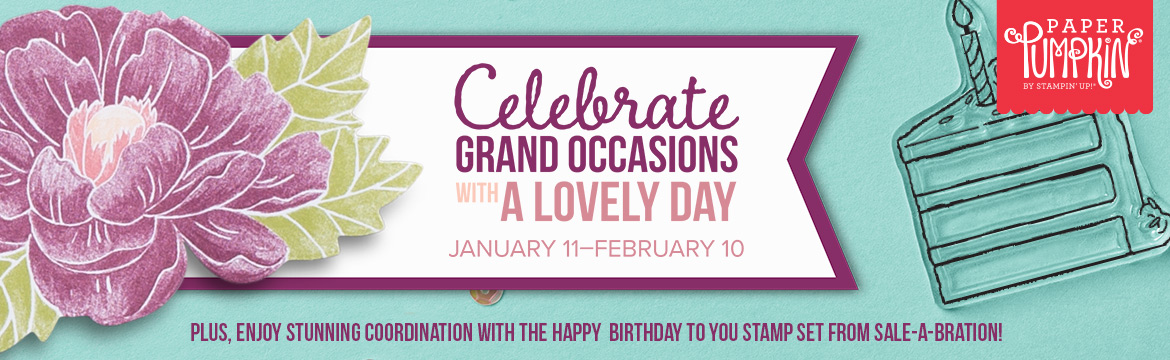
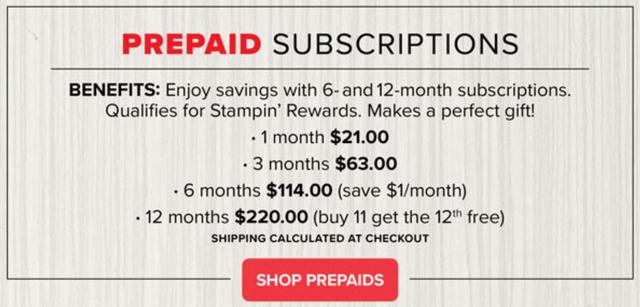
Don’t forget! Today is the last day to join Paper Pumpkin and get the February Kit in just a few days! You could also purchase a Prepaid Subscription in the Online Store and just add it to your Stampin’ Up! order! That way it might help you earn a free Sale-A-Bration item or reach Hostess Rewards!
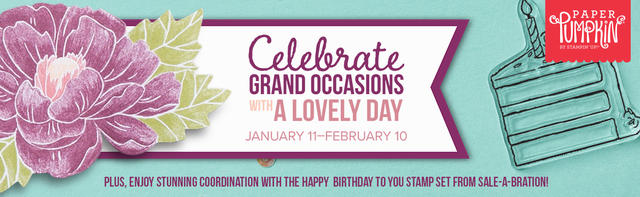
This kit will make nine cards that will help you make cards for birthdays and other special occasions. It also coordinates with the Happy Birthday To You Sale-A-Bration stamp set!