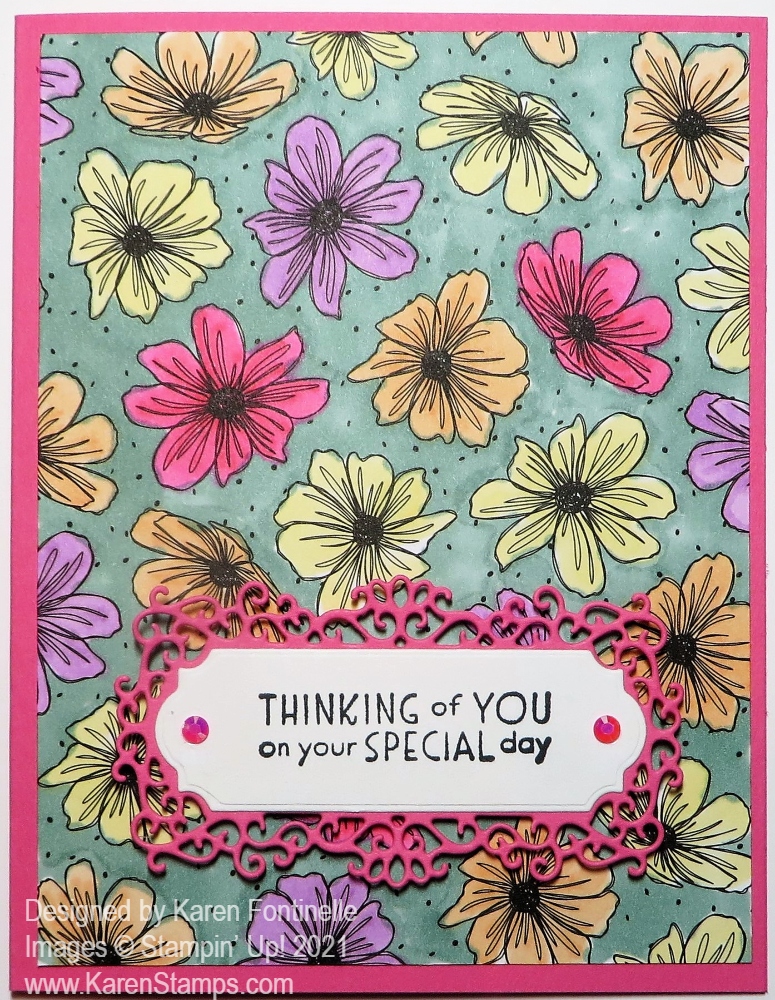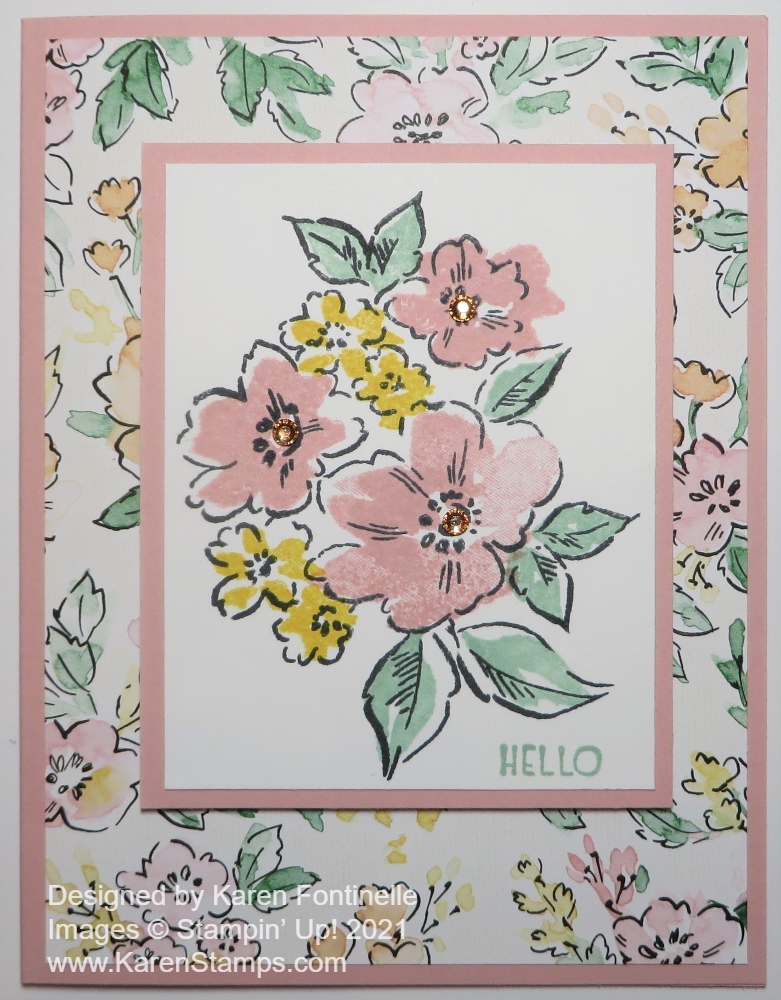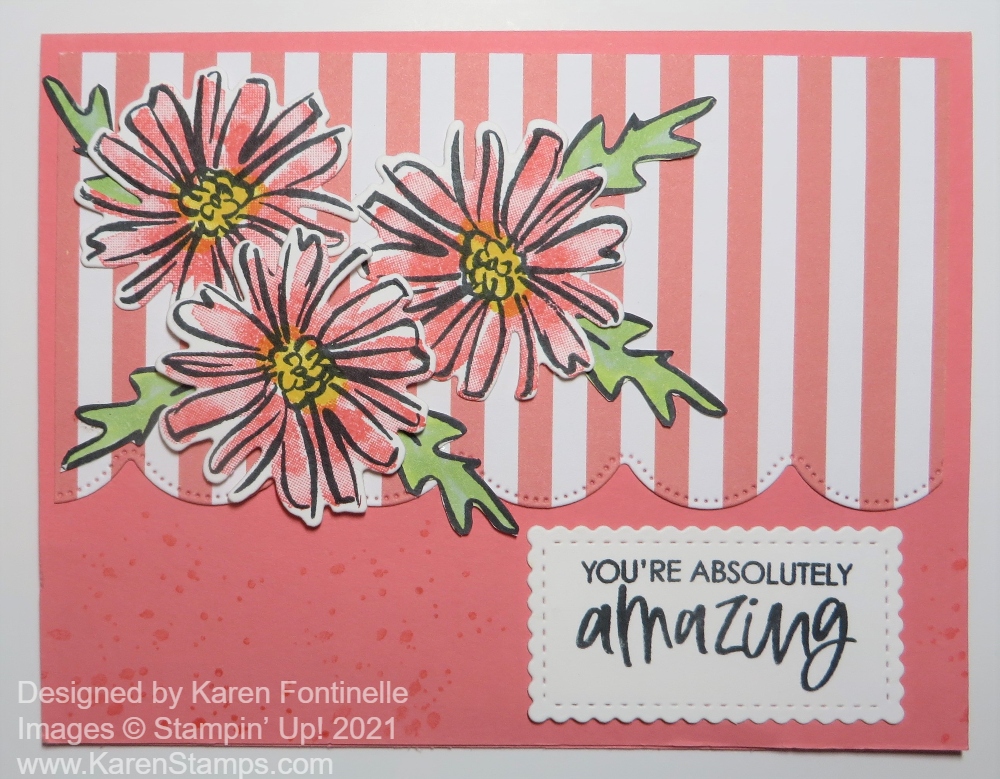
This Hand-Penned Petals With Soft Pastels was nearly the death of me! The idea was easy enough but the execution was a mess. This wasn’t even going to be a card! I was just trying out the new coloring technique we have, but I thought it turned out okay so I went ahead and made it into a card! That was the easy part.
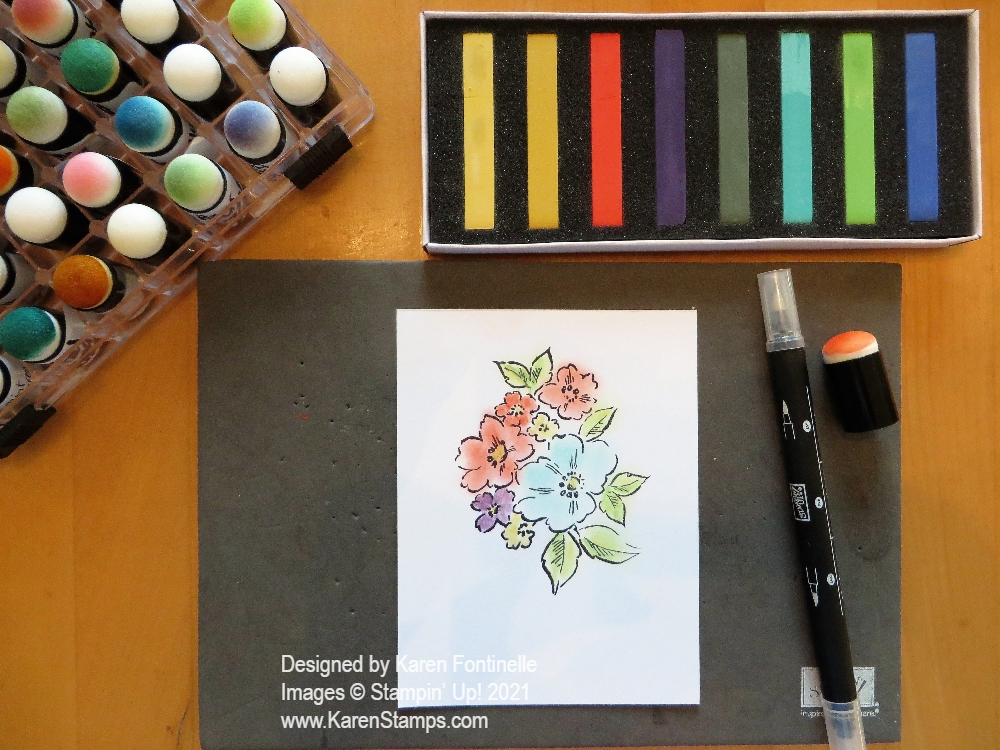
In the new Stampin’ Up! Annual Catalog we have the Soft Pastels Assortment! You will find these new chalk pastels on page 126 in the catalog at the bottom. You get eight colors in the box: Coastal Cabana, Daffodil Delight, Gorgeous Grape, Granny Apple Green, Mango Melody, Mossy Meadow, Night of Navy, and Poppy Parade. You can use these pastels in a variety of ways for cards and projects. Years ago Stampin’ Up! had a tin of a bunch of colors, little squares that we would pick up the chalk color with little applicators or a cotton ball. I need to refresh my memory of all the things we used to do with pastels!
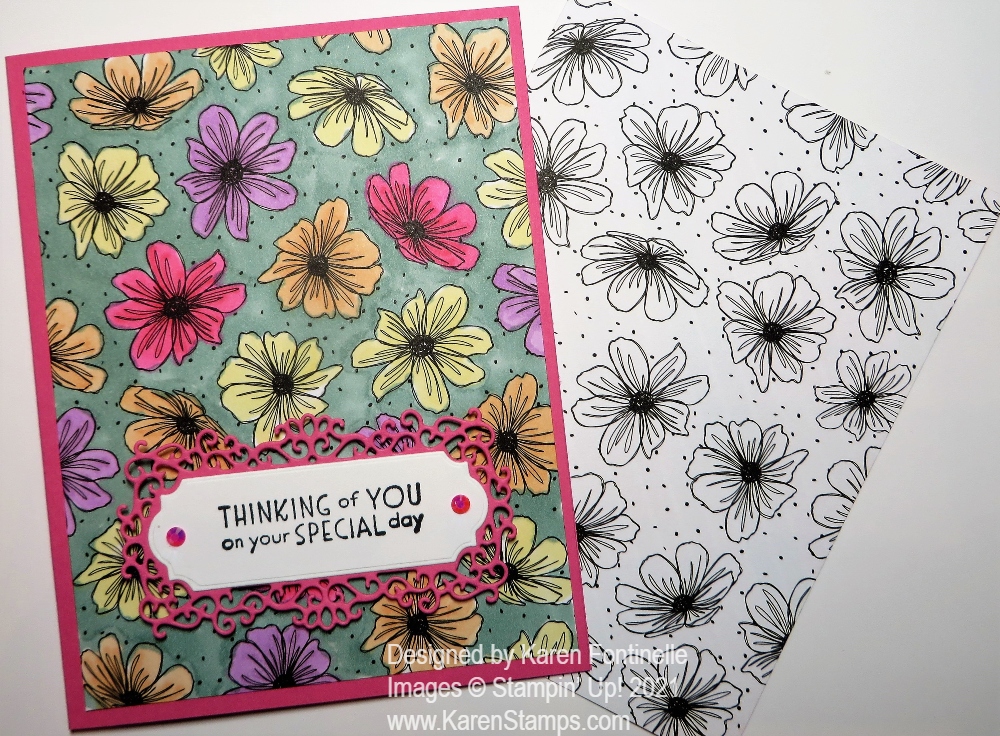
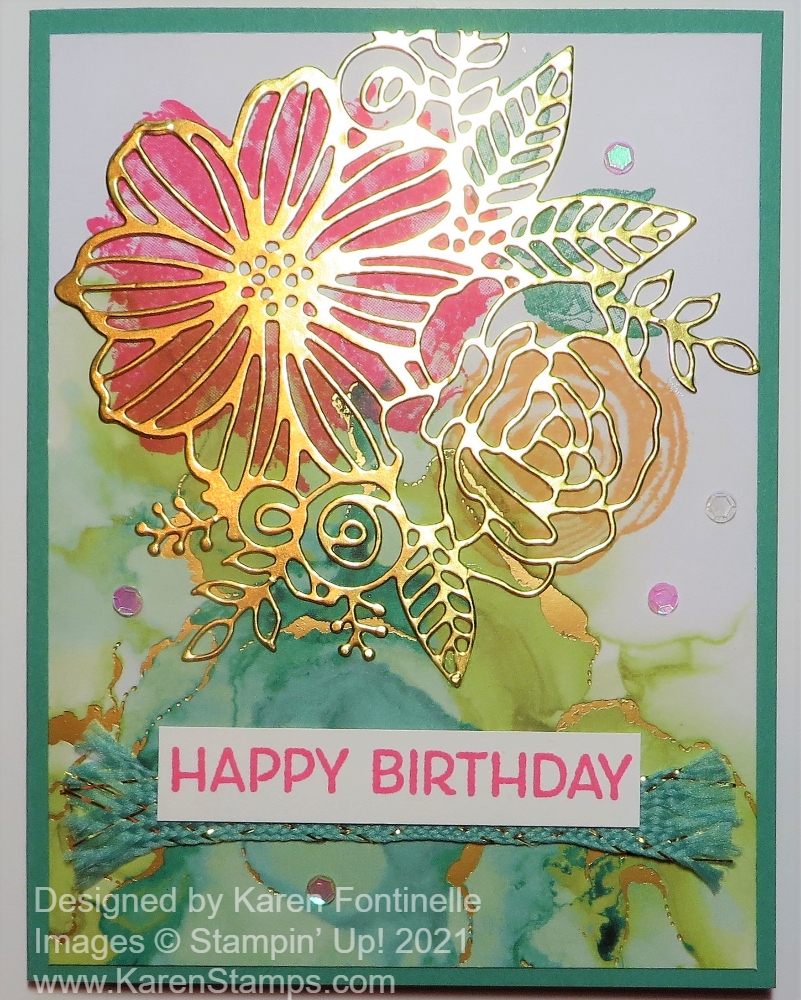
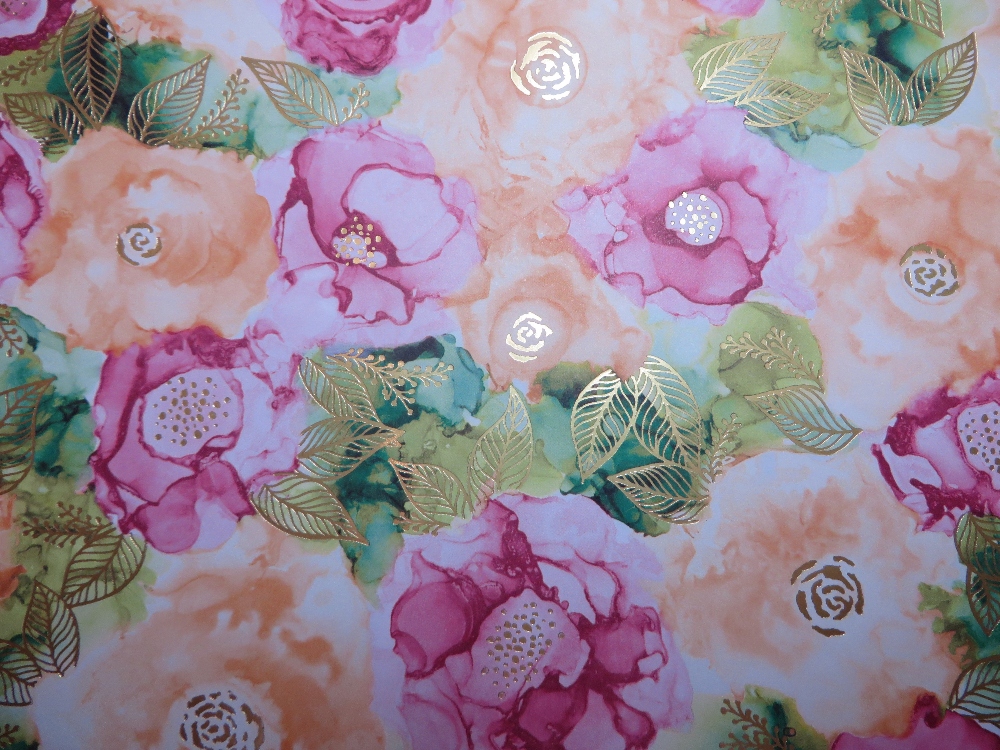
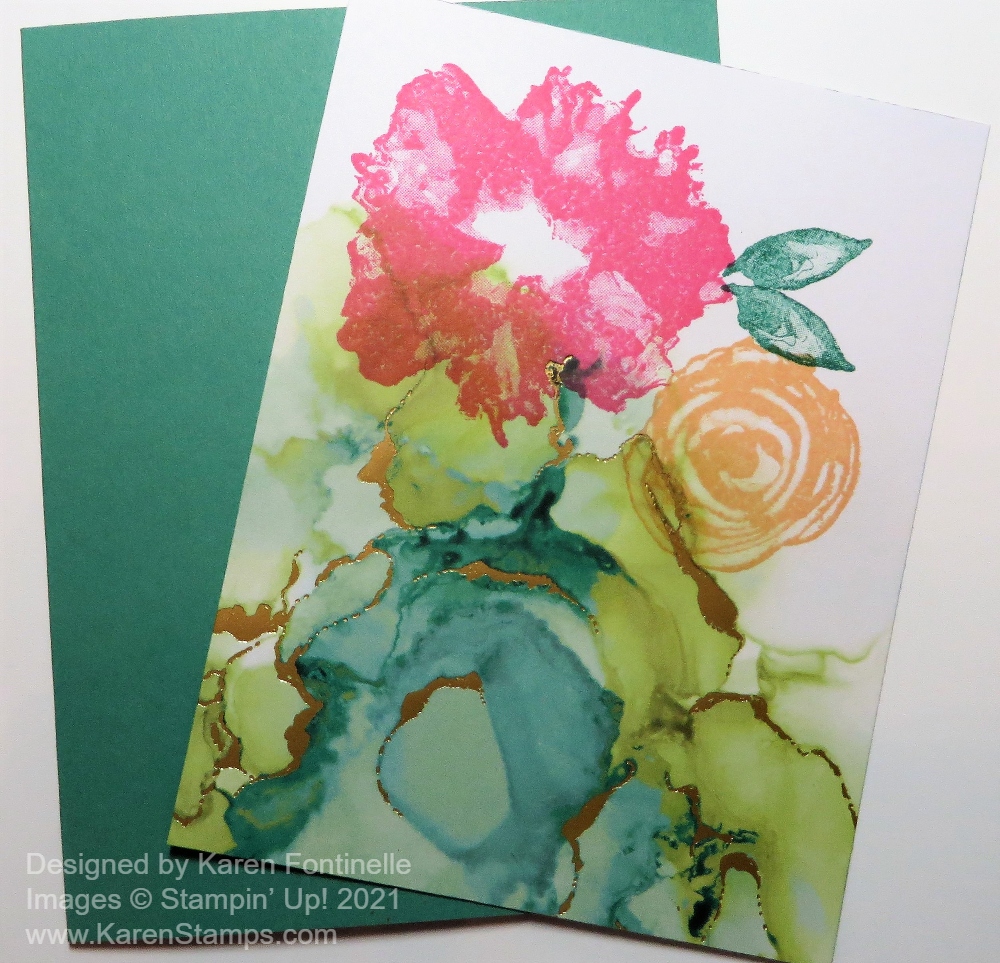
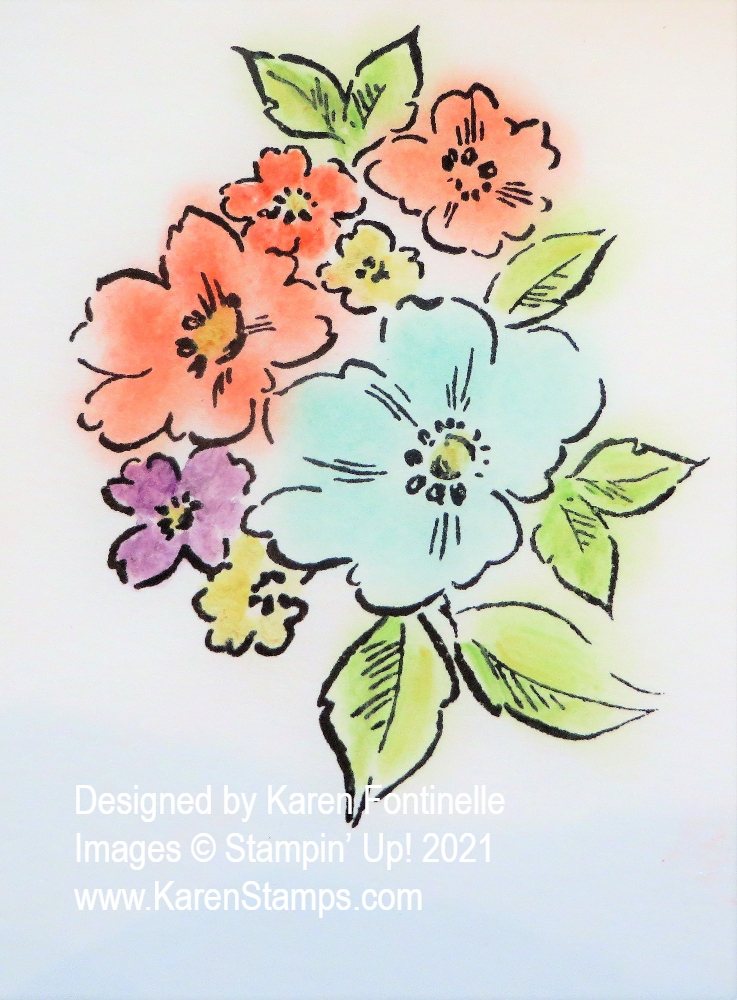
To begin, I stamped this bouquet with Stazon Ink. First I tried picking up color from the end of the chalk using a Blender Pen. That worked, but on Basic White Cardstock you have to be careful not to rub too hard with any tool with water. Blender Pens barely have any moisture, but you still have to be careful. I colored in the small Daffodil Delight small flowers. Next, I used other colors and Sponge Daubers on some other flowers. I scraped some chalk dust off the side of the chalk using my open Paper Snips to get a little dab of chalk dust on an acrylic block to pick up with the Sponge Dauber. Of course you can’t color precisely with Sponge Daubers but that’s okay. With the soft look of the pastels, it gives a watercolor look to the flowers. In the end, the Basic White looked a little bare around the flowers, so I grabbed a Blending Brush and applied some Mango Melody chalk very lightly around the edges.
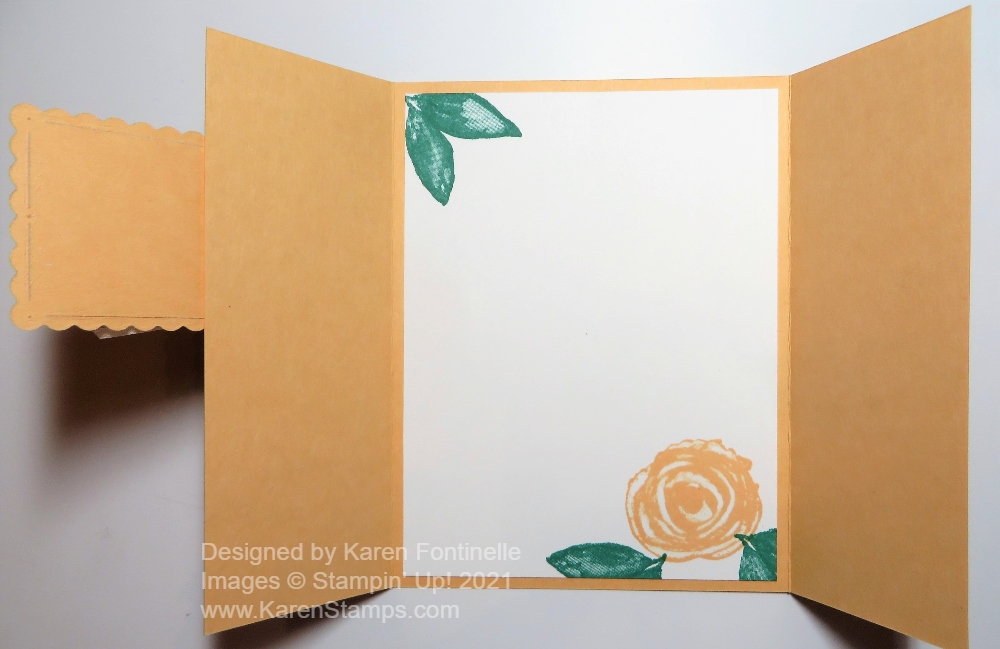
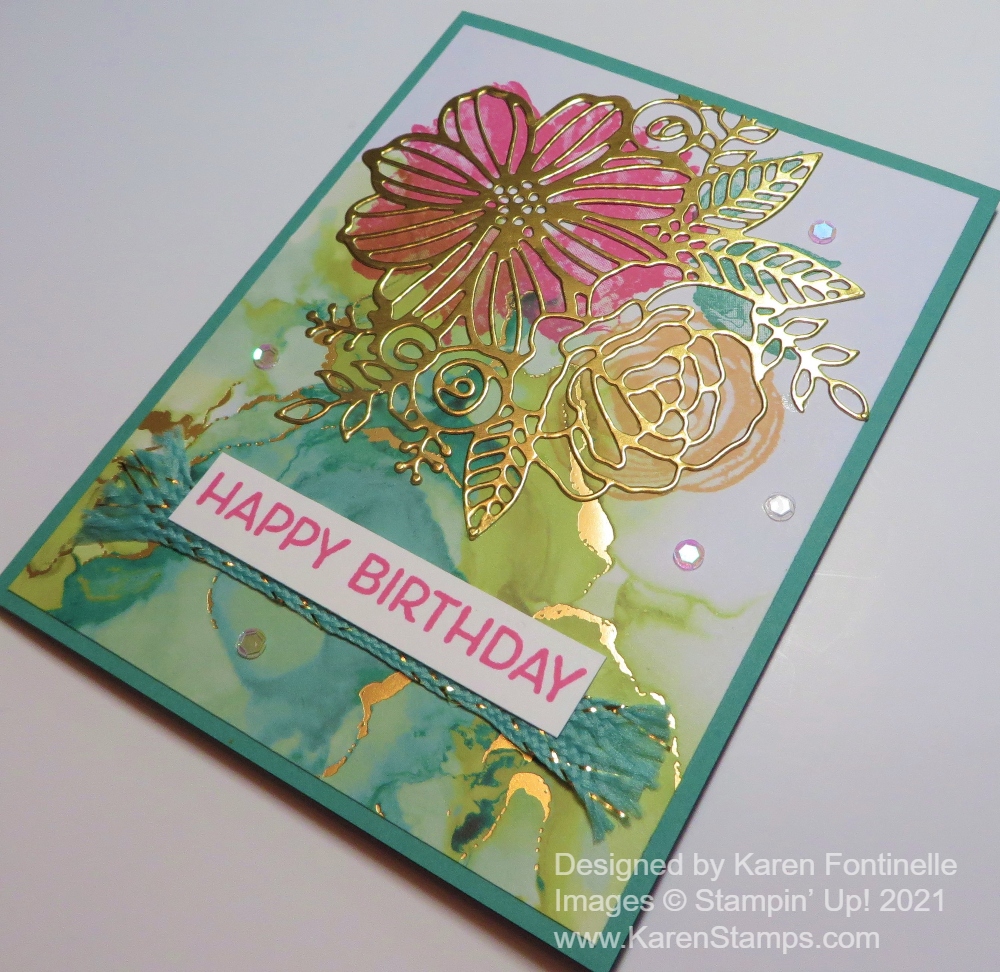
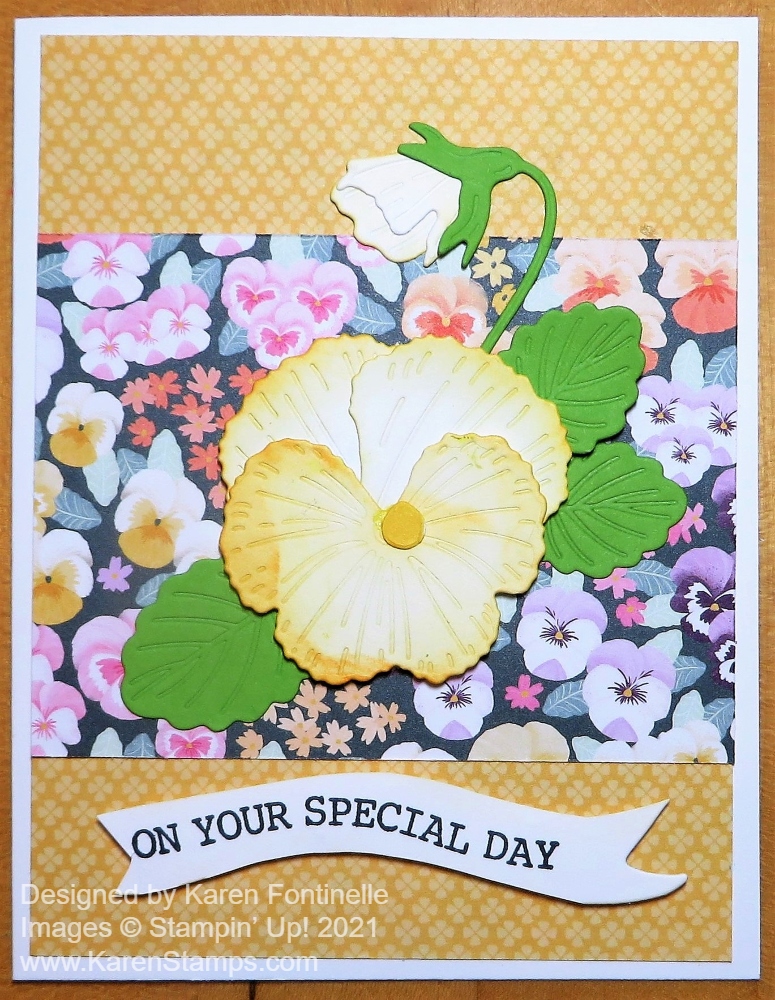
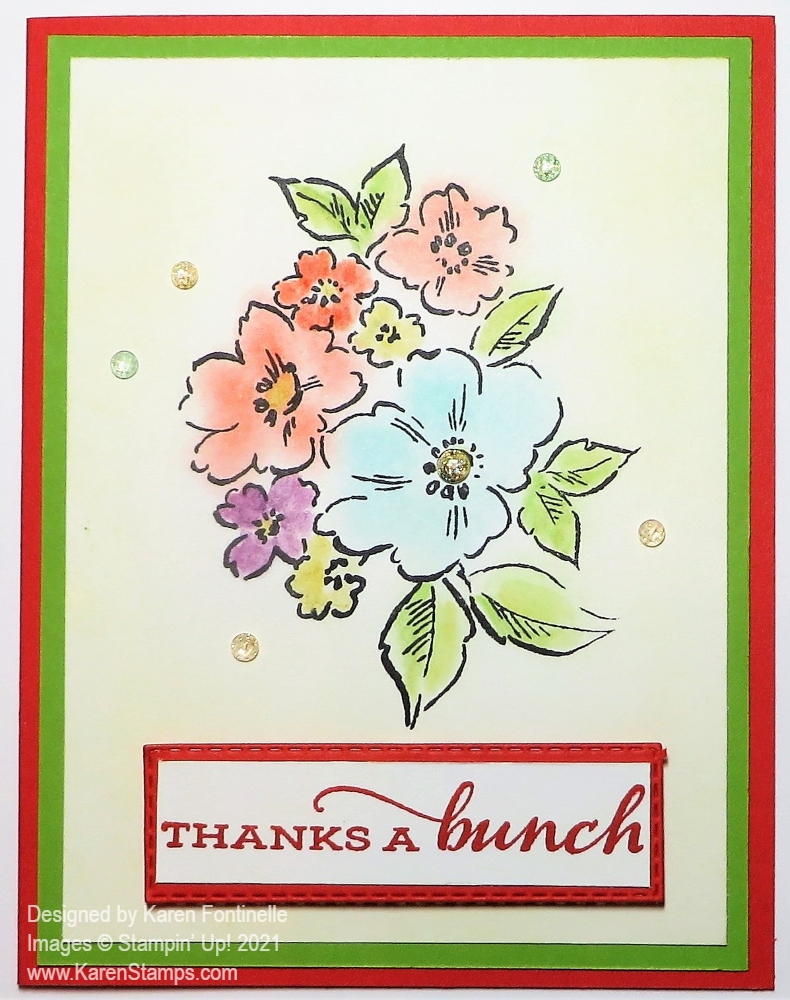
Since Poppy Parade is one of the chalk colors, I used Poppy Parade and Granny Apple Green for the card base and the layer. But since the chalk doesn’t turn out as strong as the real colors, I think I should have chosen something different for the card base. The greeting is from the Celebrate Sunflowers Stamp Set, stamped in Poppy Parade Ink. I did cut it with a Stitched Rectangle die, but then I trimmed off the stitched edges to make it smaller to fit into the same size die cut in Poppy Parade. Otherwise, the next larger size of die cut seemed too big for this card.
Of course for a final embellishment, I adhered some Genial Gems in both colors around on the card. It was fun playing with the pastels, I just had trouble assembling the card. I stuck the layers down crooked and had to redo. Then the torn paper with adhesive on it was really sticky and I couldn’t get it off my fingers easily nor pick up the other pieces off the table! Just a lot of little things were a pain making this simple card, but at least I got to play with the Soft Pastels Assortment.
Check out the Soft Pastels Assortment in the Stampin’ Up! Online Store!