

The photo of this Expressions In Ink Gatefold Thank You Card doesn’t do this Specialty Designer Series Paper justice! Once you open the package, you cannot stop “oohing and aahing” over the beauty of it! The gold foil accents and the watercolor/alcohol ink images are just stunning.
This paper is the Expressions In Ink Specialty Designer Series Paper and I think it is some of the most striking papers we have ever had! Nothing can compare to having the paper in your hands to see how beautiful it is. No photos can come close. My post yesterday has photos of some of the sheets of paper and a card but even then, the paper is even better in person.
This card was fun to make and easy. It’s called a gatefold card because instead of the 8 1/2″ x 5 1/2″ paper that we usually start our cards with, folded in half, this card is folded in from each side which makes the “gatefold”. Start with your card base of 8 1/2″ x 5 1/2″ and score 2 1/8″ from each end (or 2 1/8″ and 6 3/8″). This gives you a standard card width of of 4 1/4″ in the center, with the two ends folding over like doors (gates) over that area.
Decorate each “gate” with a piece of designer paper cut at 5 3/8″ x 2″. This leaves just a very narrow margin of cardstock showing so you can cut it smaller at 5 1/4″ x 1 7/8″ if you like. The cardstock I used on this card is Pale Papaya, one of the new In Colors.
For a gatefold card, make a center piece with the greeting or some other image to be adhered only on the left side flap so the card can be opened. Or you can make a bellyband that goes around the card to hold it closed. On this card, I die-cut a piece of Pale Papaya with one of the Scalloped Contours Dies (the second from the smallest die). After you cut out this piece, you will notice something different about it. There are actually slits around the edges that you can use for other creative opportunities, like inserting cardstock strips or ribbons through those. But otherwise, you can just use this die-cut piece as a layer or a focal point. For the greeting, I simply cut a piece of Basic White that would fit inside the Pale Papaya piece and stamped the “thanks” on it in Pale Papaya Ink. This was adhered to the left side of the card by figuring out where the middle of that piece was (count the scallops at the bottom!) and making sure I only put glue on the left side. The greeting is from the Artistically Inked Stamp Set. You can purchase the stamp set and dies that go with the stamp set, the Artistic Dies, together in a Bundle and save 10%.
To embellish, I tied a little Pale Papaya 3/8″ Open Weave Ribbon into a bow and adhered it to the greeting. Then I also added a few of the adhesive-backed iridescent sequins that come in the Expressions in Ink Ephemera Pack.
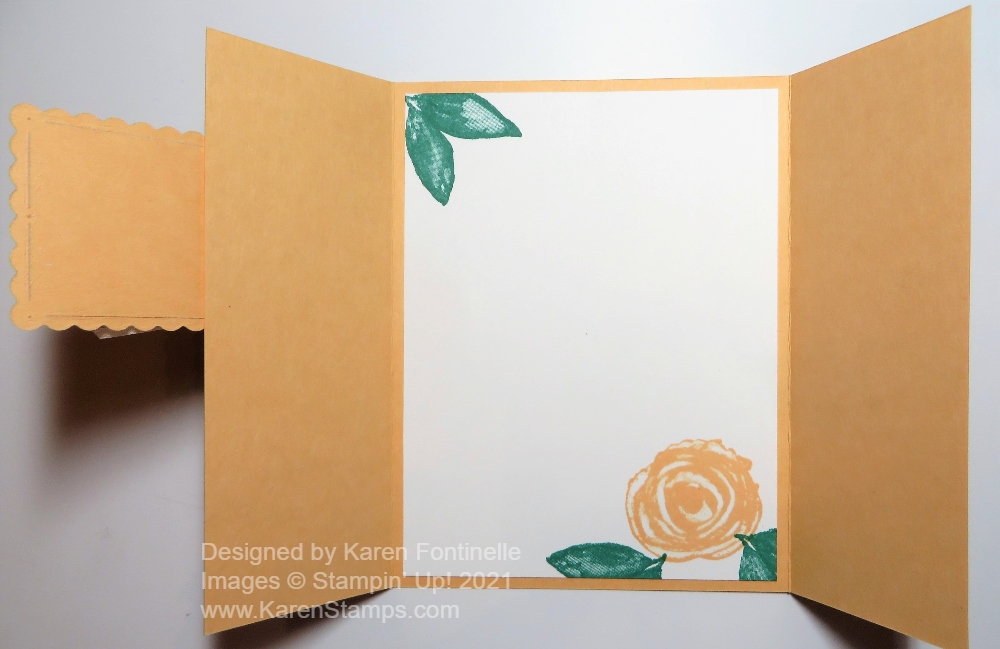
On the inside of the card, I added a layer of Basic White, stamped with a flower and leaves from the Artistically Inked Stamp Set in Pale Papaya and Just Jade Ink. You can also see in the photo below how the greeting looks from the inside of the card.
Be sure to check out the Expressions in Ink Suite or at the very least the designer paper, the Expressions In Ink Specialty Designer Series Paper! You will easily make beautiful cards and projects using this paper at a minimum, like this Expressions In Ink Gatefold Thank You Card.