We’ve all seen card designs like this one with strips of cardstock adhered to the front of a card in one way or another but this In Color Stripes Cards came about because of a math error. I was cutting strips of the new In Color cardstock to make bookmarks for my customers, as many Stampin’ Up! Demonstrators do, to showcase the new In Colors “in person” for them. Instead of thinking about how many bookmarks I could make out of one strip of cardstock, I cut the number of bookmarks I was making instead of thinking about that I was going to get about five bookmarks out of one strip of color. Anyway, I ended up with about 5x as many cut strips as I needed, so not only did I waste the brand new cardstock, but I wasted a lot of time and energy! But paper never really needs to be wasted! I sent a bunch to customers in their catalogs along with the bookmark or in their envelope of goodies. And I made these two cards!
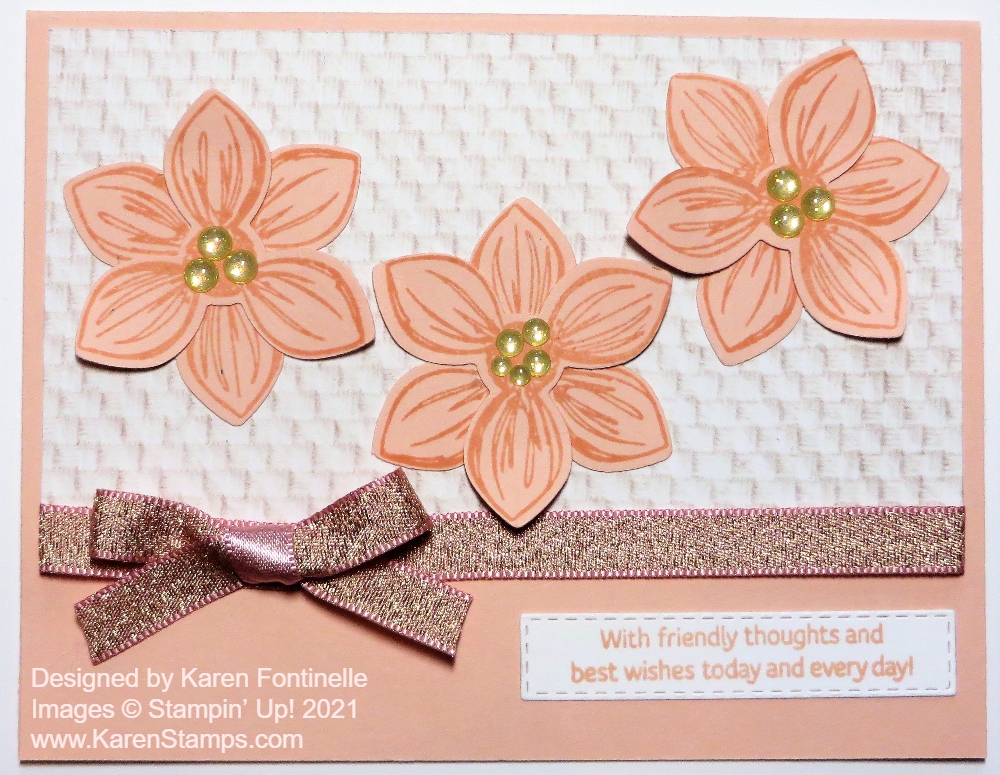
The first card I made has a card base of Whisper White and I placed the strips of In Colors horizontally. In case you haven’t heard about the In Colors yet, these are the new trendy colors Stampin’ Up! chose for this year and next: Soft Succulent, Pale Papaya, Polished Pink, Evening Evergreen, and at the bottom, Fresh Freesia.
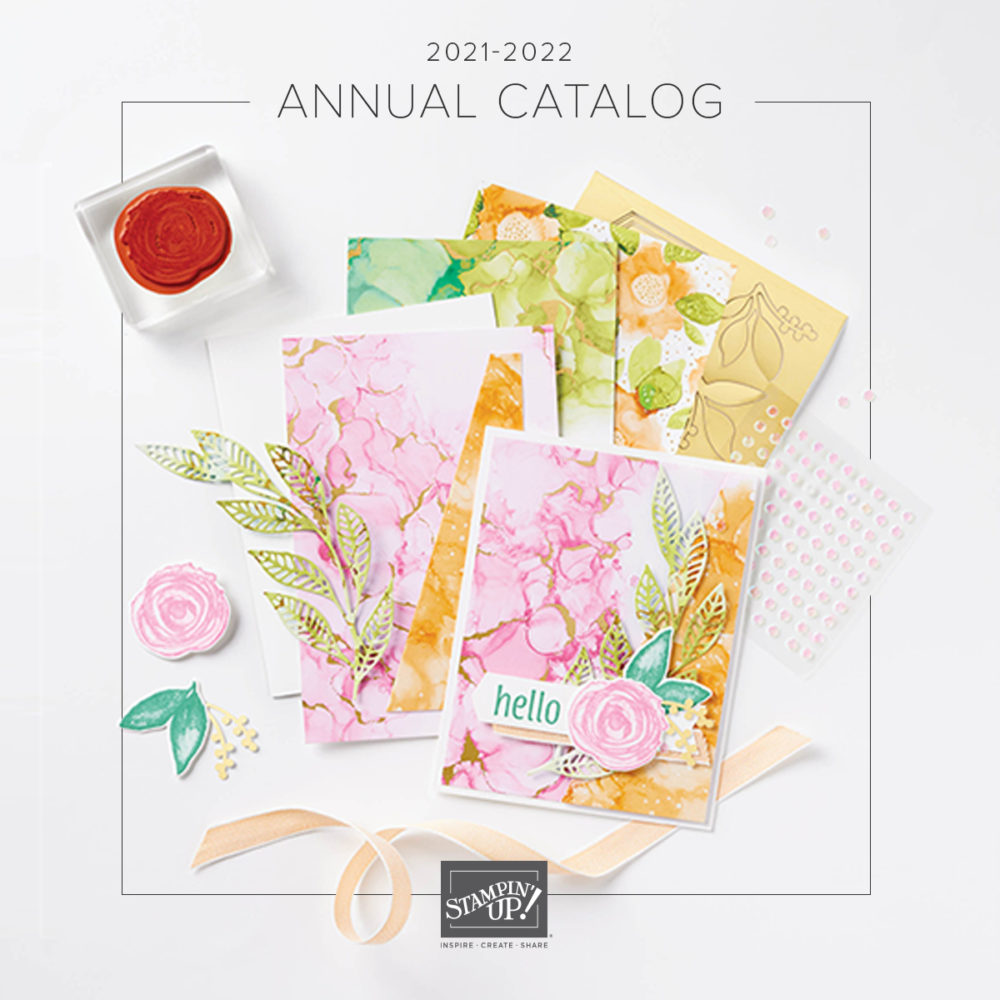
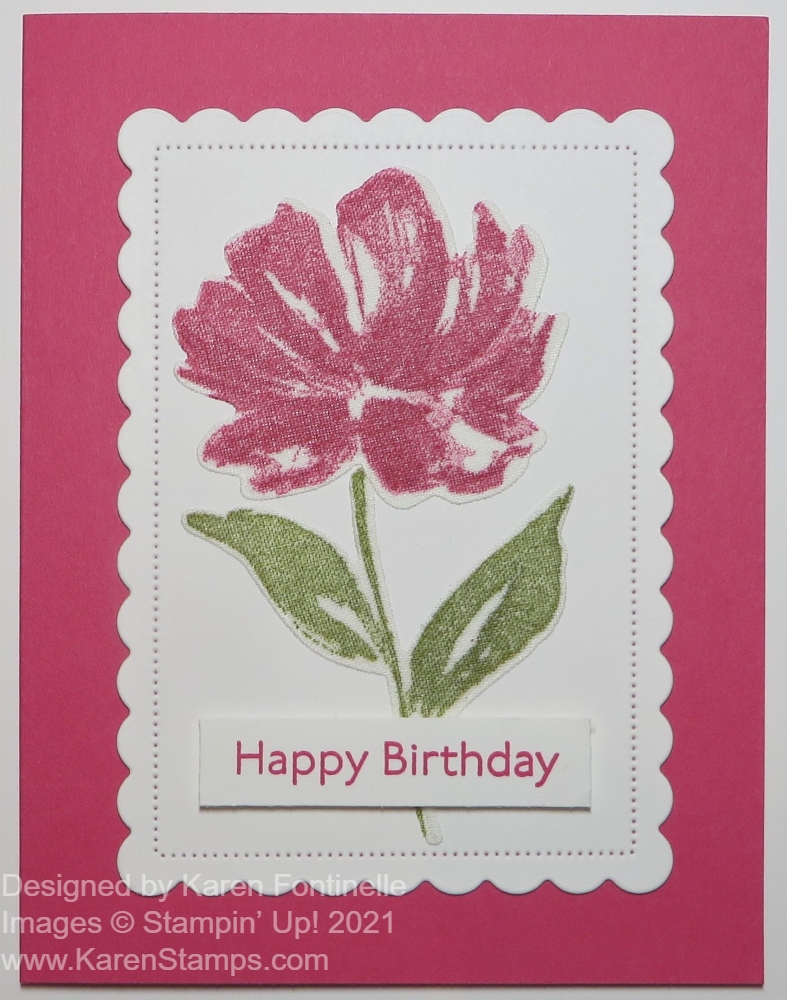
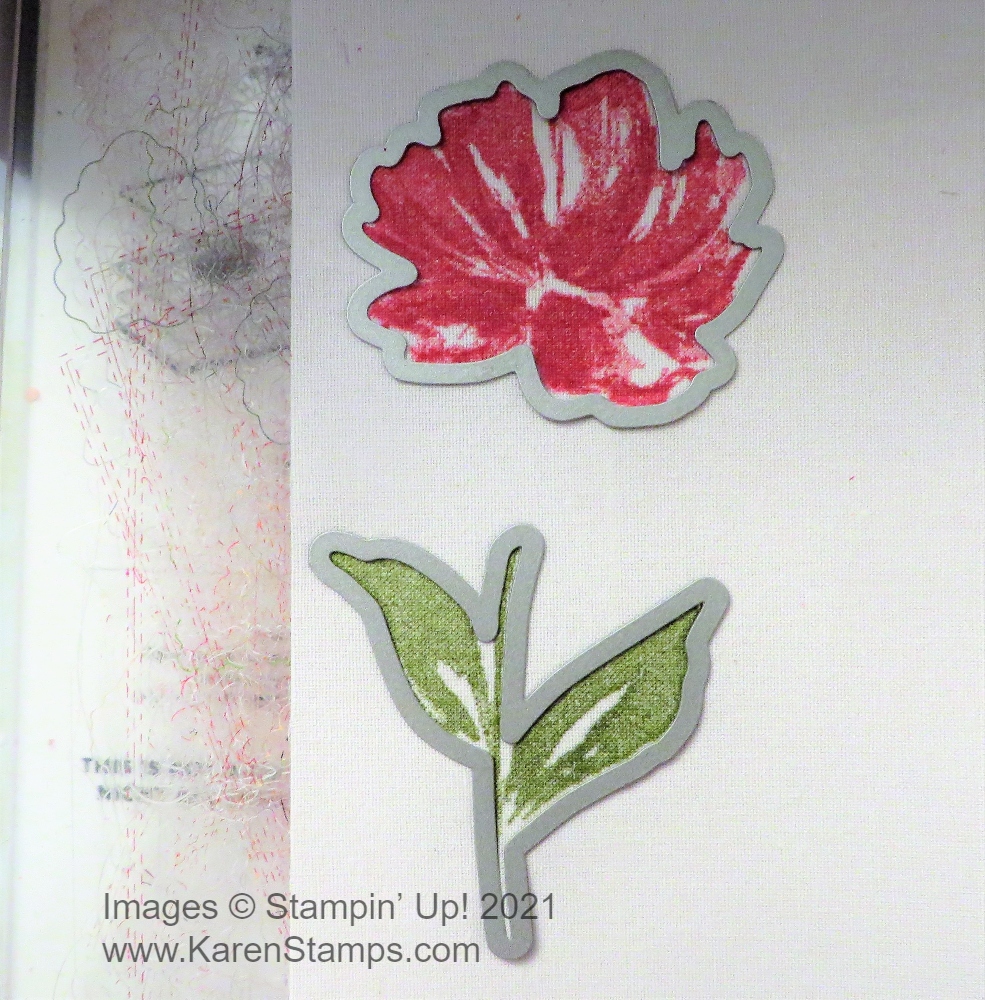
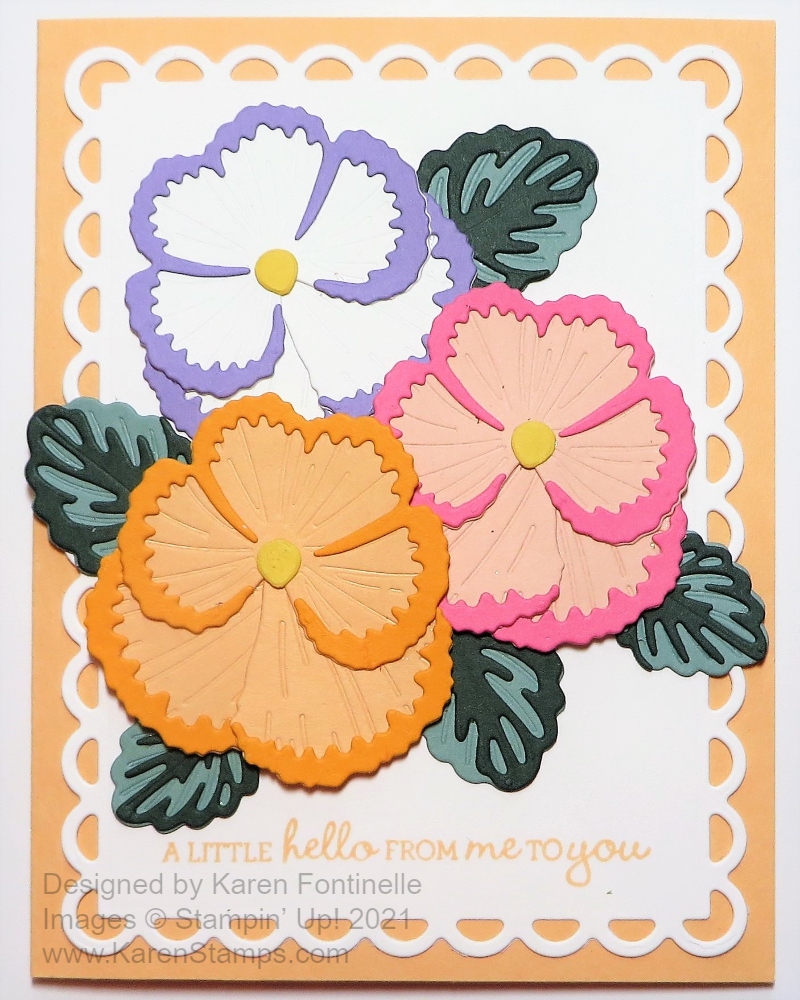
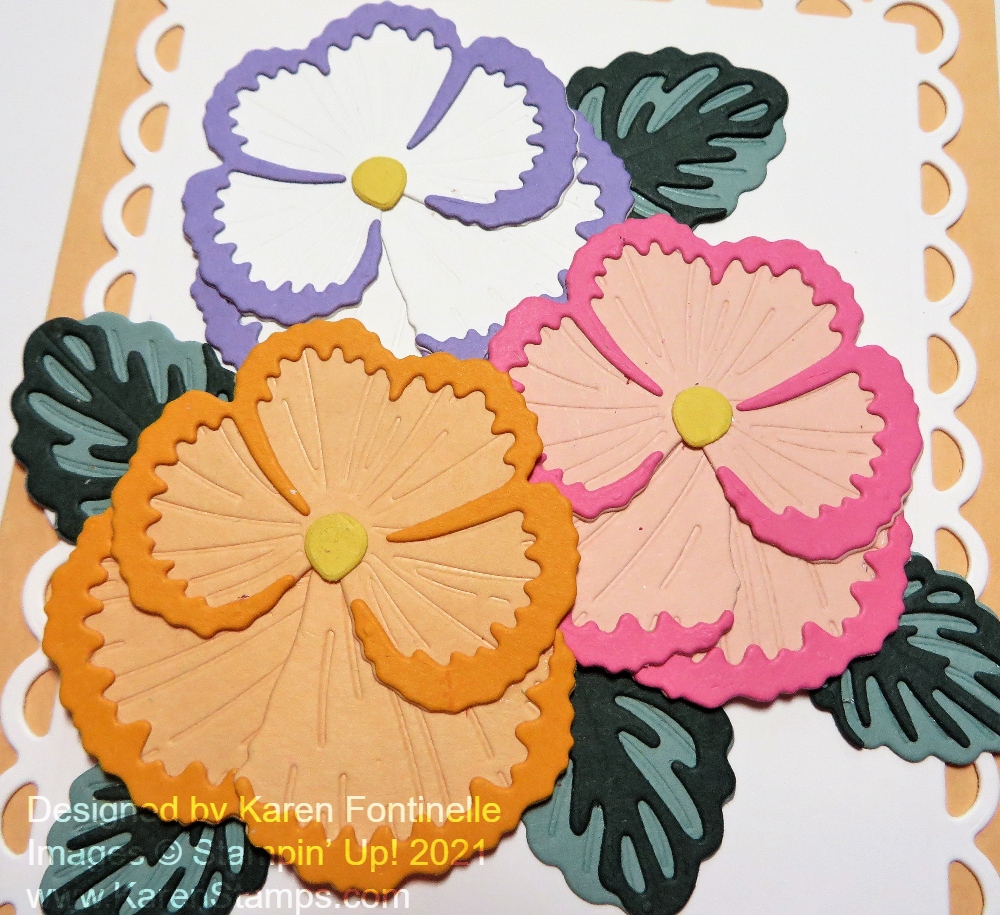
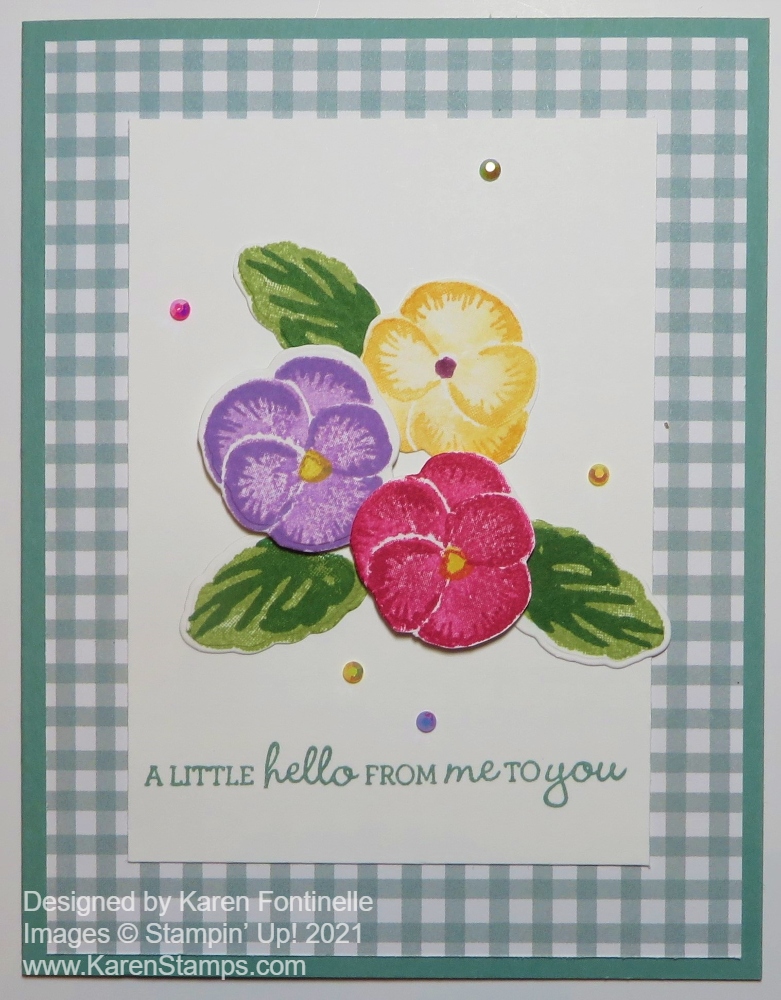
To decorate the card, I stamped the new flower in the Color & Contour Stamp Set, coming in the new Stampin’ Up! Annual Catalog on May 4th. It is a two-step stamping flower. You can stamp the outline and then stamp the solid stamp to fill in. It’s a little tricky to line up and probably not meant to line up perfectly anyway. Or you can stamp the solid image first, possibly stamping off on scrap paper first if you want a lighter color, and then stamp the outline image over it. And to make life easier, there are the Scalloped Contours Dies to die cut this flower. You can purchase both the stamp set and the dies in the Color & Contour Bundle and save 10% when the new catalog comes out.
The flowers I stamped are Pale Papaya, Fresh Freesia, and Polished Pink with a center stamped with Daffodil Delight. I intended to scatter them a little but ended up just making a straight line. That left room at the bottom to stamp the greeting from the Pansy Patch Stamp Set.
As long as I had everything out and plenty of strips, I made another card using Basic Black as the card base. I think these colors look good against the black! This time I made the card in portrait mode and left spaces in between the strips (wider than on the white card) so you could see the black in between the strips. This time I offset the die-cut flowers and did not add a greeting yet. I’ll think about what greeting I need later on when I send the card.
You can do that, too, when making cards. If you just want to make a stack of cards, just wait until you need one to add a greeting. You could also stamp an assortment of greetings on Basic White Cardstock and punch out or die-cut, then save them for adding to cards quickly and easily.
Even though I cut too many cardstock strips of the In Colors, it made me work with them and get to know them better! I almost have the names down without looking!
What do you think of the new In Colors? I have to say I wasn’t too thrilled with the colors that are going OUT, the 2019-21 In Colors – Rococo Rose, Terracotta Tile, etc. But I think I am liking these current In Colors and the ones that came out last year as well. In Colors stick around for two years so one group is always going out and a new group comes in. This keeps Stampin’ Up! up-to-date with the newest color trends without revamping ALL of our core colors.
If you want to check out the products that are still available in the retiring In Colors, click HERE or go to SHOP PRODUCTS, then SHOP BY COLOR and then choose the In Colors. The cardstock and ink pads are gone but you can get ribbons and markers if you want to have some embellishments to go with the colors you have already.
SHOP STAMPIN’ UP! HERE!