Tag Archives: Bloom Where You're Planted Designer Series Paper

Bloom Where You’re Planted Z-Fold Card

Bloom Where You're Planted Z-Fold Card

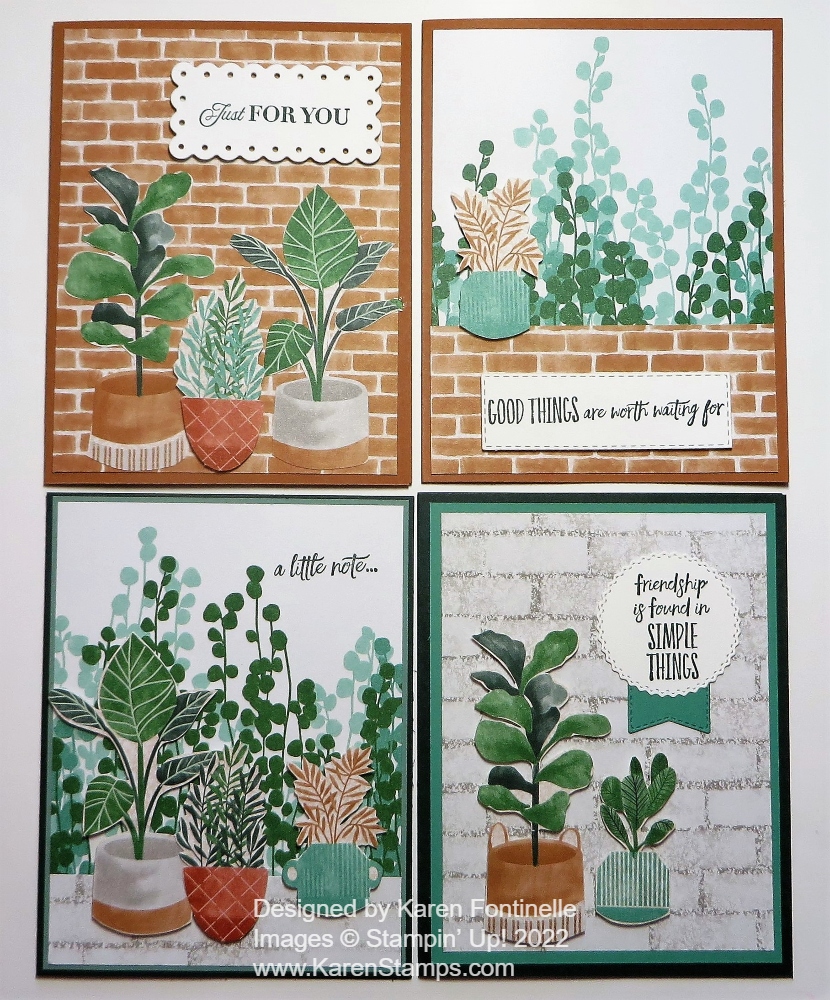
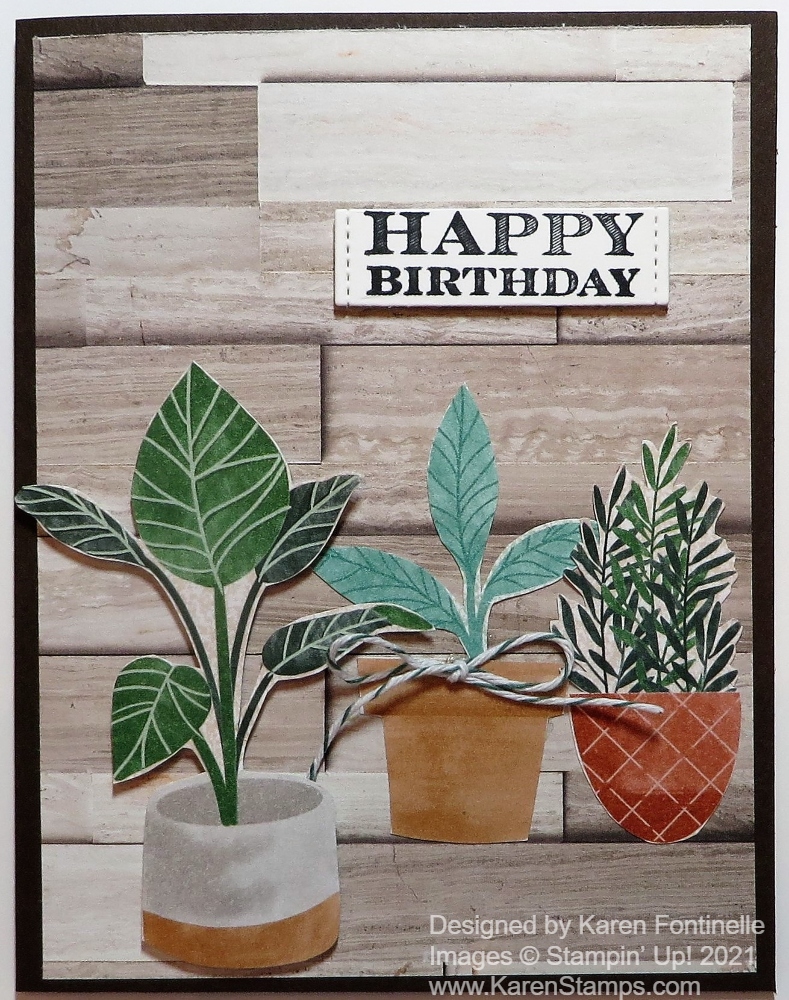
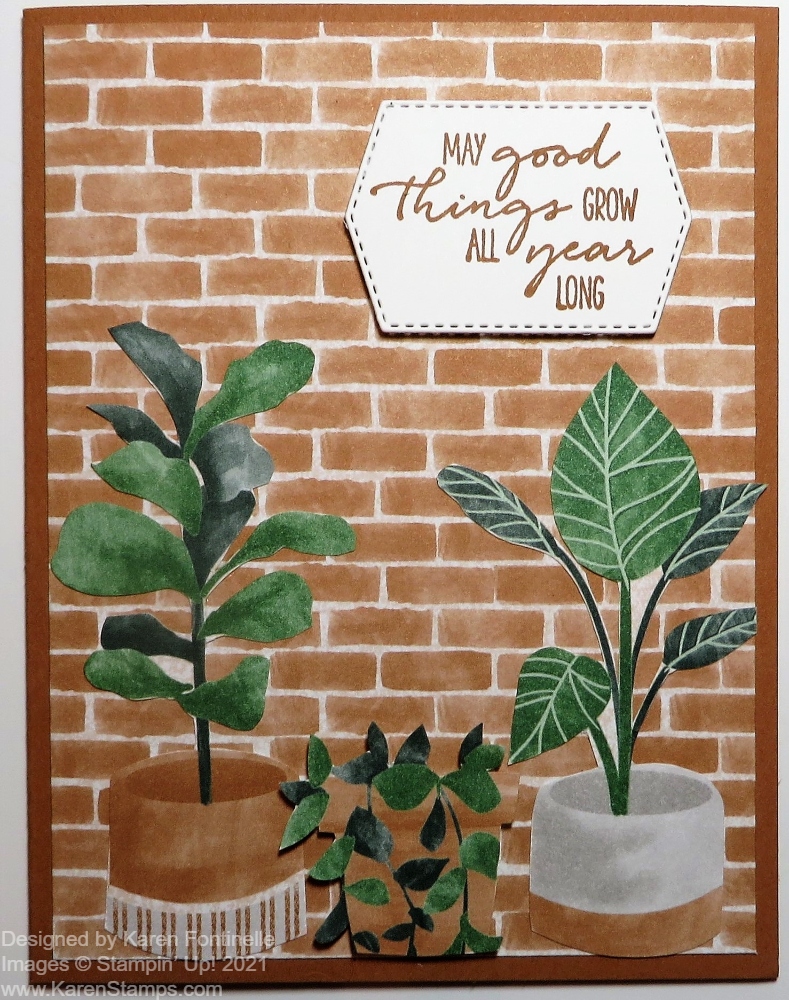
Once I started making cards with the Bloom Where You’re Planted Designer Series Paper, I was on a roll! This paper is retiring on May 2nd, while supplies last, so I wanted to have some fun with the paper I had left. All I did was use the designer paper as either a background for the card or I cut out the plants and pots to decorate the cards. If you don’t own the dies, you can just cut things out! Many people find it relaxing, actually!

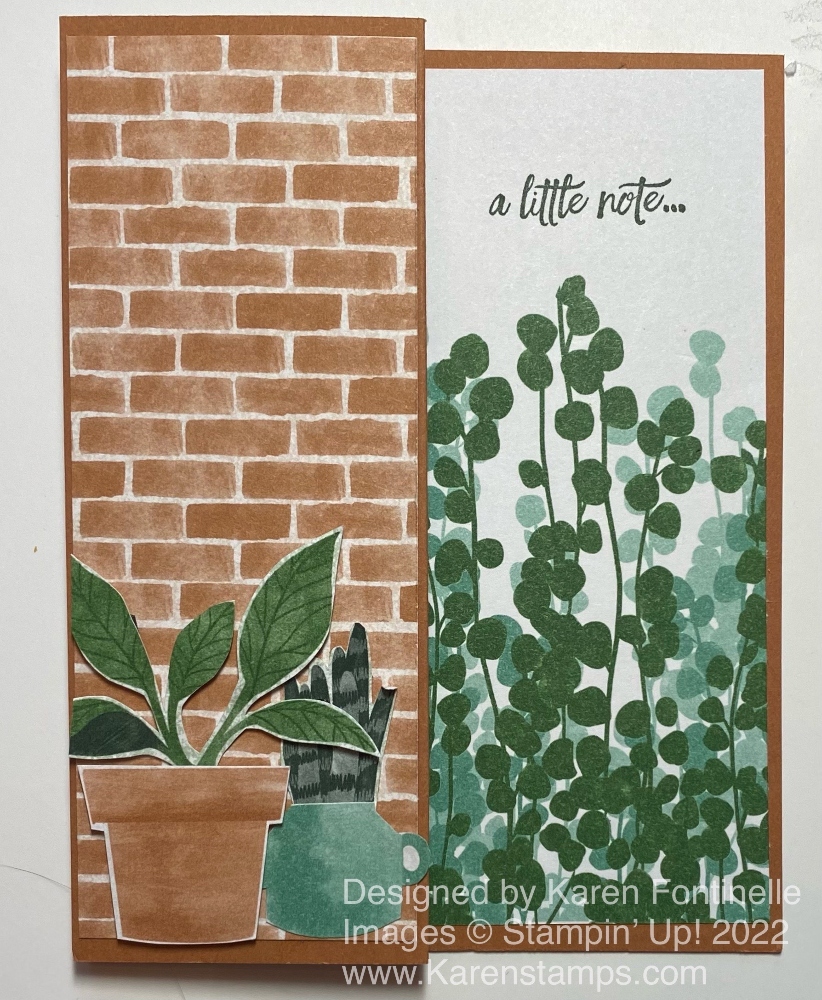
This card turned out to be a Z-Fold card so I saved it for today. A Z-Fold card always looks extra-special in my opinion! I used Cinnamon Cider for the card base. After making the normal card base, just score the front of the card at 2 1/8″ and fold that back. That makes the Z-Fold.

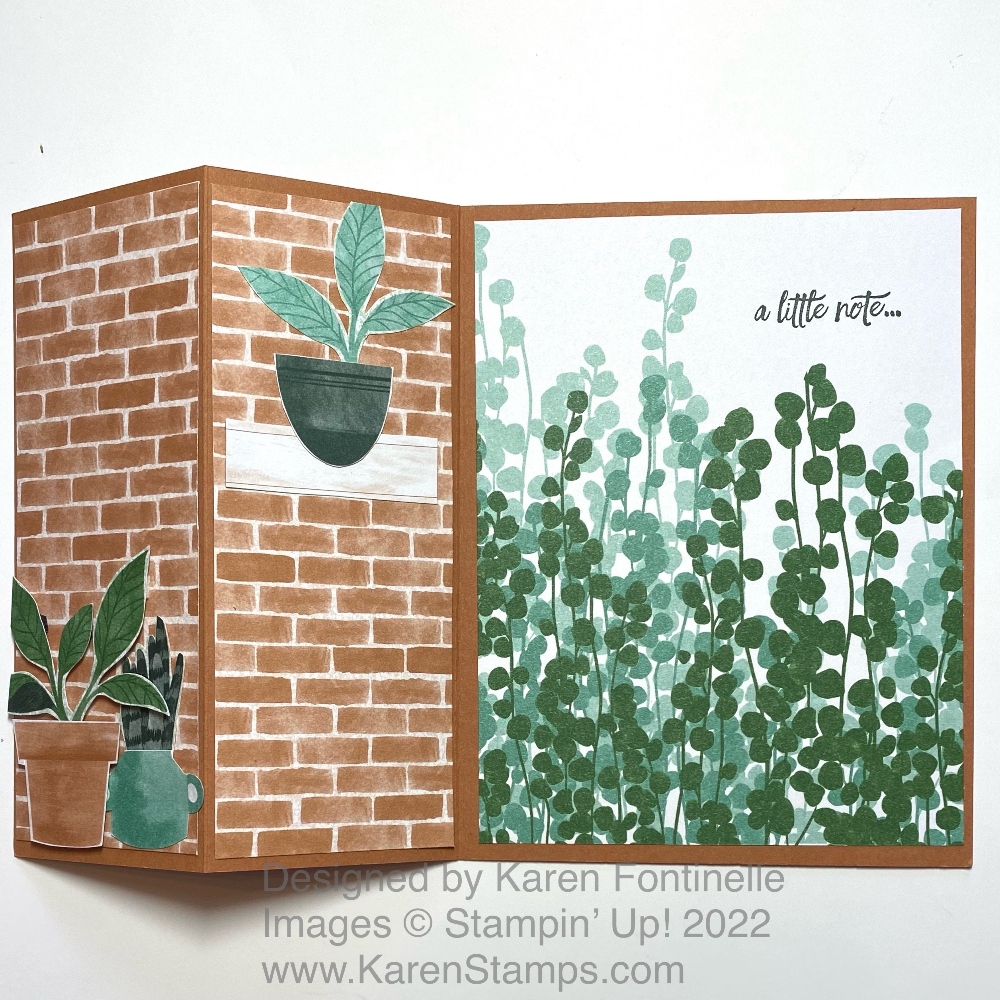
For decorating the front panel, I used the brick pattern in the Bloom Where You’re Planted Designer Paper. I just cut it to fit that panel, at 2″ x 5 1/4″. I carried the brick pattern into the inside of that same panel inside the card. To make it a little more interesting, a used a scrap of another paper with a wood floor pattern to make a “shelf” for a plant.

For the inside of the card, I used this greenery panel with just enough white space for a greeting, from the Enjoy the Moment Stamp Set. The right side of it shows from the outside with the Z-Fold but when you open the card, you see the whole pattern.

To decorate the card, I cut out some plants in pots for the front and for the shelf on the inside. Often on a Z-Fold card, we put a piece – a circle or a rectangle or square halfway on the front folded panel which covers the greeting on the inside of the card. On this card, I put a piece of Basic White on the back with a scrap strip of the brick patterned paper on the bottom edge. There I can stamp or write a message when I send the card.

Bloom Where You're Planted Z-Fold Card Inside

If you like this Bloom Where You’re Planted paper and want an extra package or want your first package, be sure to grab it before it retires on May 2!

LAST CHANCE PRODUCTS!

Bloom Where You’re Planted Fun Cards to Make

Bloom Where You Are Planted Fun Cards to Make

As I looked through the Last Chance Products to see what retiring products were still available I saw this designer paper and ended up, unplanned, making all these cards plus one more I saved for tomorrow! These are the Bloom Where You’re Planted Fun Cards to Make! They WERE fun to make and I only have the paper, not the dies or stamp set. My little Paper Snips were perfect for all the cutting I did.

The card bases were made with either Evening Evergreen cardstock with Just Jade or Soft Succulent on the green ones. The other two were made with a card base of Cinnamon Cider. I just looked through the Bloom Where You’re Planted Designer Series Paper and inspiration came! So many cute plants, pots, and backgrounds to use! All the plants and pots are hand-cut with my Paper Snips. I don’t try to be perfect AT ALL. If there are a bunch of little leaves, I just wiggle my scissors back and forth as I go along the sides. For the larger leaves, I may trim closer around each leaf but not necessarily in between or all the way down to the pot. They say turn the paper, not your scissors. Some people say they hate to cut things out but it’s a mindless activity you can do while watching TV or just sitting at your craft table. If you don’t try to be perfect it is not that hard! So let go of perfectionism! In fact, years ago at a Stampin’ Up! convention, they suggested when cutting out images leave just a small margin around the image, that way you don’t have to be perfect! And sometimes it helps the cut out image stand out from the background better. Do what makes you happy!

Some of the plants are popped up on Stampin’ Dimensionals and especially the Mini Dimensionals. Others are adhered flat on the card front. For the greetings, I chose some from the Celebrating You Stamp Set and some from the Enjoy the Moment Stamp Set. (retiring and discounted!). I used various die cuts, I think Scalloped Contours Dies, Stitched Rectangles, and Tasteful Labels Dies (retiring and discounted!). Some are stamped directly on the paper with Evening Evergreen Ink.

Here is another card, similar style to all of these, that I made a while back.

Not many days left to get the remaining retiring products! The Last Chance List ends May 2!

SHOP STAMPIN’ UP! ONLINE HERE!

Bloom Where You’re Planted Happy Birthday Card

Bloom Where You're Planted Happy Birthday Card

If you would like to make this Bloom Where You’re Planted Happy Birthday Card, you can buy the paper with the plants and the paper with the background both on sale in the Stampin’ Up! Designer Series Paper Sale! There are nine select papers on sale right now through August 2 so you can stock up or try out new ones at a 15% discount!

To make this card, I used two of the papers on sale now – In Good Taste for the background and Bloom Where You’re Planted for the plants! In Good Taste is a giant package of paper, 24 sheets of paper, 2 papers each of 12 different designs. You are sure to find patterns for every creation in this package! Each sheet has photographic images of wood, tile, stone, and other elements to add visual textures to all kinds of projects. These would be great backgrounds for scrapbook pages as well.

For the card base, I used Early Espresso Cardstock. Since this paper is so dark, you will want to add a Basic White or lighter color layer inside the card on which to stamp or write your message. You might even stamp or add a cutout image of one of the plants to this inside layer for a fun surprise.

For the plants, I just went through the Bloom Where You’re Planted Designer Paper and chose some plants I wanted to cut out. This paper has sheets of separate plants and pots, leafy backgrounds as well as various generic backgrounds to look like walls where you might place a plant. If you have the Perfect Plant Dies, you can cut out certain pots and plants on separate papers by running them through the Stampin’ Cut & Emboss Machine. I just used my Paper Snips to cut out one separate pot and separate plant and the other two were the full pot and plant on another sheet.

The largest plant on the left is popped up on Stampin’ Dimensionals® and the other two are adhered right down on the background paper. I found a retired spool of twine and used that to tie a little bow and adhered it to the middle pot with a Mini Glue Dot.

The greeting was already die-cut in a little pile on my table from the Many Messages Stamp Set and Messages Die. This is an amazing concept! It’s like a large background stamp filled with greetings that is best to stamp with the Stamparatus so you make sure every inch is stamped fully. Then die cut with the one large die, making sure it is lined up properly, and it cuts out all the greetings in one fell swoop! You used to be able to buy both the stamp set and die in a Bundle, but that retired now so you have to buy them separately. However, they added a new stamp set, the Many Happenings Stamp Set, for even more greetings to be stamped and die-cut in the same way! If you stamp and cut out these greetings maybe in a couple of colors of ink or on different colors of cardstock, then store them in a little box or bag, you will have a whole bunch of greetings ready to go when you don’t have time to look for a specific stamp set to use!

In this previous post, you can see how I used the Stamparatus to stamp all these greetings!

Check out all the papers on sale, if you haven’t already! Maybe you have purchased one of the patterns already but used a lot of it. Now is the time to stock up on more at a discount! Every little bit helps! My Bloom Where You’re Planted Happy Birthday Card was fun to make!

SHOP STAMPIN’ UP! TODAY!

Bloom Where You’re Planted Card

Bloom Where You're Planted Card

If you like plants, you will like creating cards with lush greenery like this Bloom Where You’re Planted Card! You don’t even have to have a green thumb! Just some dies or scissors! This is a Suite in the new Stampin’ Up! Annual Catalog that just came out about two weeks ago. Almost everyone wants to have a few green plants around, but these paper ones are a lot easier to take care of!

Even Demonstrators can’t buy everything they want, so I opted, as I sometimes do, to just purchase the Bloom Where You’re Planted Designer Series Paper so I could have a little bit of fun with the plants without buying everything. I like the way this card turned out and I just used my Paper Snips scissors!

The card base is Cinnamon Cider Cardstock which goes really well with this brick wall design design in the designer paper. I decided to cut out some of the plants on one of the sheets of designer paper. One sheet has lots of images of all kinds of potted plants, some large and some smaller. Now the Perfect Plant Dies will cut out images on one or more of the designer paper sheets but not these plants, so even if you have the dies, you will still have to cut out these plants as I used on my card. You might think it is too much trouble and too tedious to cut out images from designer paper, but it really is easy enough and I would even say relaxing to do. It’s best to have some good scissors for this job like the Stampin’ Up! Paper Snips. These scissors are very sharp but you can get in and around curves and things easily. Remember to mostly hold your scissors steady and turn your paper according to how you want it cut.

The dies are really made to go with the Plentiful Plants Stamp Set. You can buy both in the Plentiful Plants Bundle and save 10%. There are also Paper Lattice Accents that will be fun to play with as you create your cards and projects. So if you want it all, just use the one order number for the Bloom Where You’re Plants Suite Collection (1556990).

After cutting out these three potted plants with my Paper Snips (even dies are not perfect always so don’t worry if your cutting is not perfect), I just adhered them to the bottom of the brick paper. The small middle plant is popped up on Stampin’ Dimensionals for fun. If you don’t like the handles on the pot, just cut them off! If you don’t want the plant that tall, cut it shorter! You have more freedom with scissors!

The greeting is from the Dragonfly Garden Stamp Set. I thought it was appropriate for this card! I stamped it in Cinnamon Cider Ink and die cut it with a die in the Tasteful Labels Dies. What would we do without this die set?! I felt like the greeting didn’t need any other layers or anything behind it. I did pop it up with Stampin’ Dimensionals as well.. And except for putting a Basic White layer inside the card, stamped with a leaf from another stamp set, that’s all there is to this card!

Even if you can’t afford everything, you can pick and choose products in an entire Suite and buy what you think you can use the most. I think it’s the colors on this Bloom Where You’re Planted Card that really appeal to me and make me really like this card!

Shop Stampin’ Up! Online HERE!