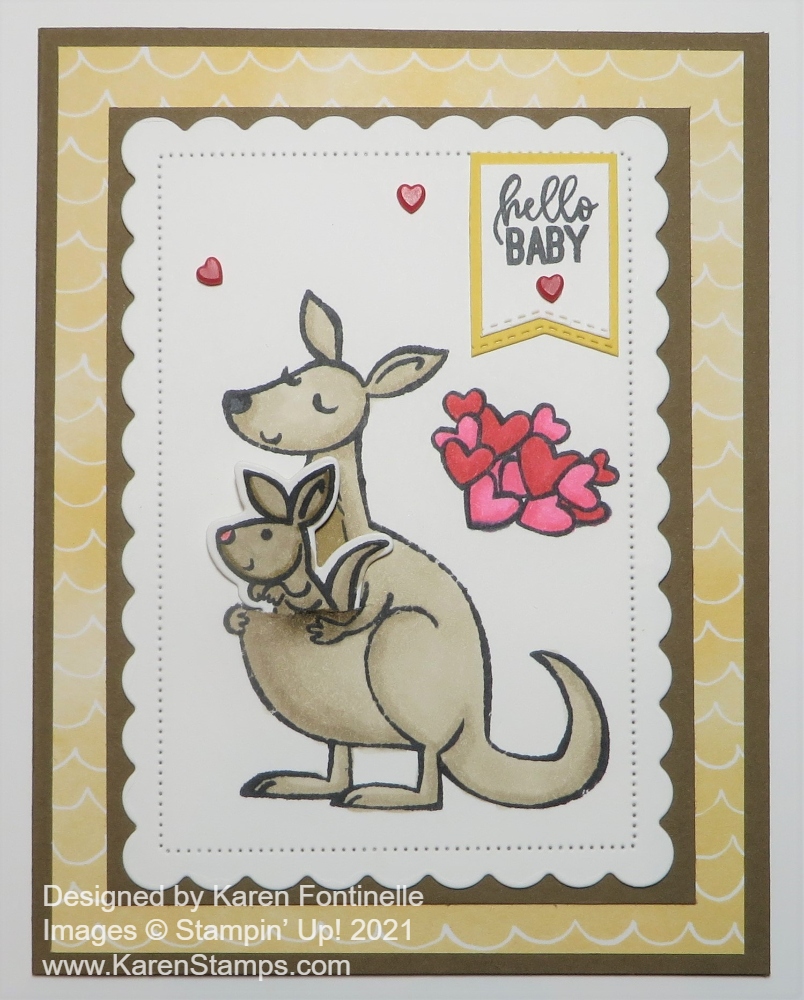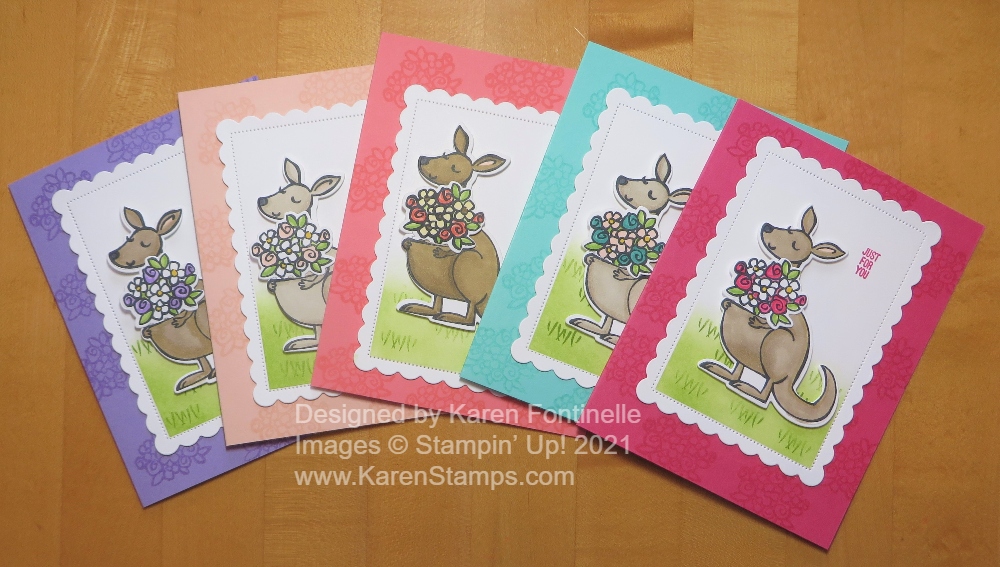
I hate to tempt you with these Kangaroo Just For You Cards because the Kangaroo & Company Stamp Set is sold out. But I loved making these even though I was a little late to the party with ordering the stamp set and dies and even later in using them. I’m sure you have seen plenty of samples of the Kangaroo cards. There are so many cute ideas out there!
If you already have the Kangaroo & Company Stamp Set, but you don’t own the Kangaroo Dies, I would encourage you to order them now! They are on the Last Chance List for the January-June 2021 Mini Catalog and are HALF-PRICE! Sometimes dies are just an extra expense when we want so many things, but for this price, I would get them.
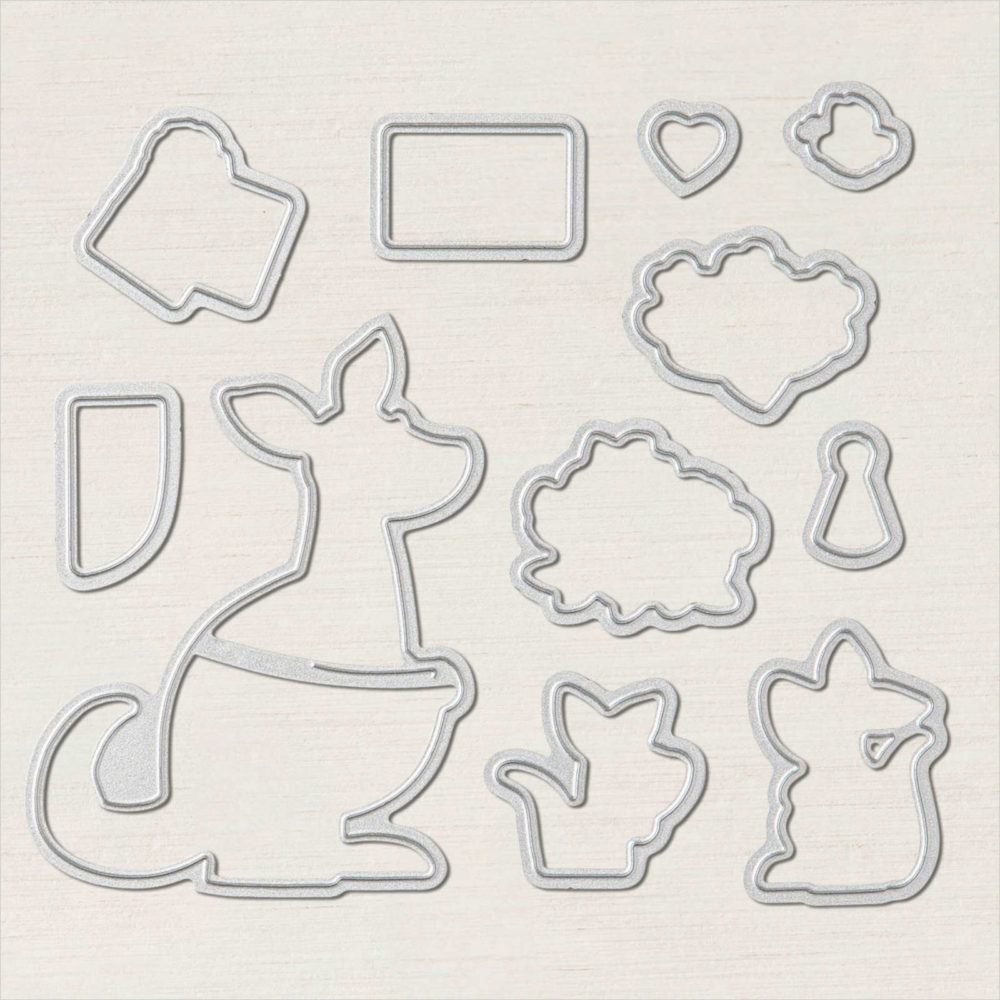
Just search for “Kangaroo” or else the item number #154334 for them to come up.
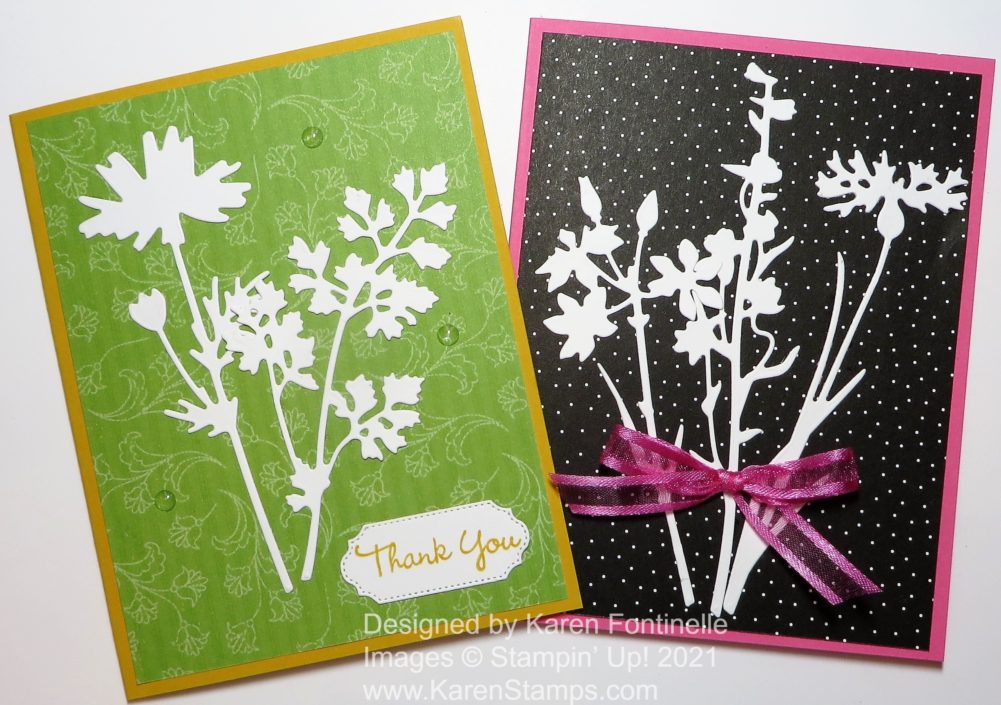
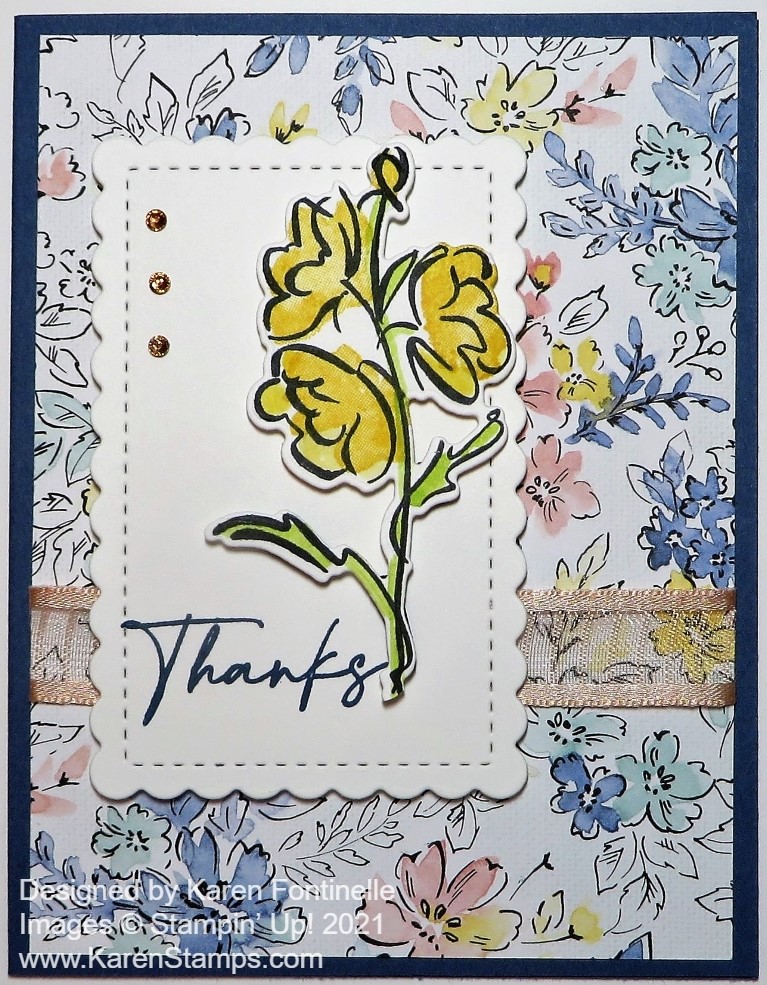
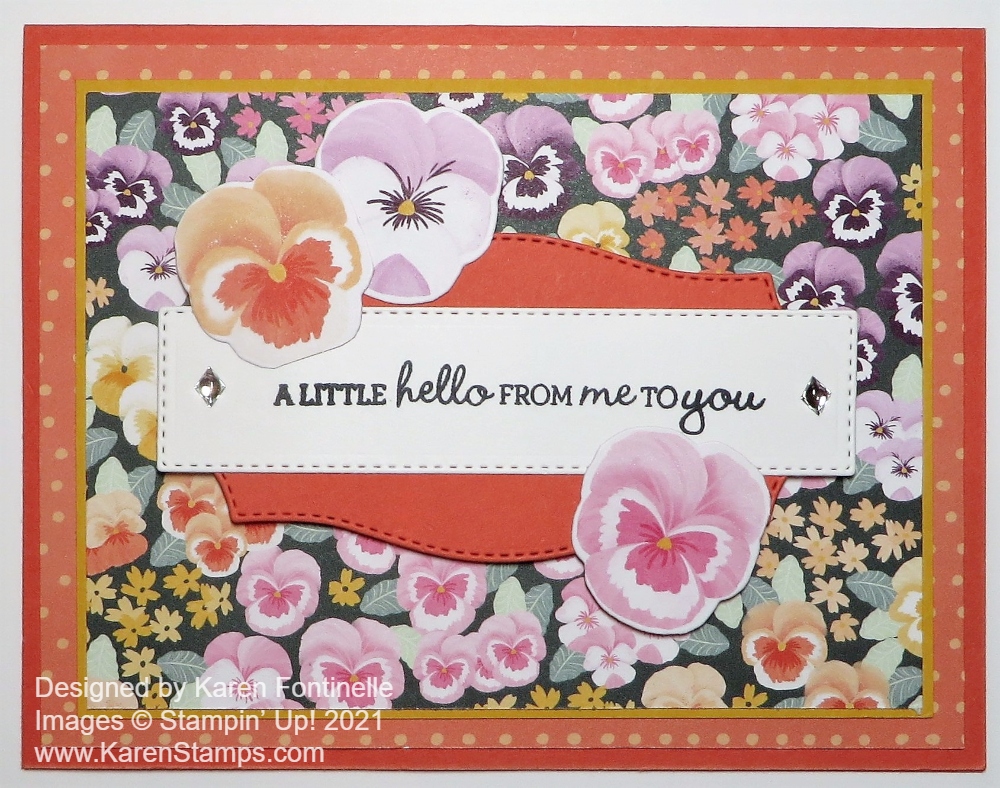
Here is another card I made a little while back. This stamp set and dies can be used for birthday cards, baby cards, general “thinking of you” cards, all kinds of fun occasions! As I said, the stamp set seems to be sold out, but if you already have it, you might want to get the dies at half-price.
Sometimes when I make cards, I like to make several at one time while I have all the supplies out and mainly the idea for the design! For this set of cards, I just chose several colors of cardstock and started stamping and die-cutting! If you make cards assembly-line style, stamp all the kangaroos, stamp all the flowers, stamp all the card bases, do all the die-cutting of each thing, etc. it goes pretty fast. You develop sort of a muscle memory while you are doing it! This is especially useful for Christmas cards!
Check out the Last Chance products, some discounted, before the end of June if there are any retiring products you want from the Spring Mini!