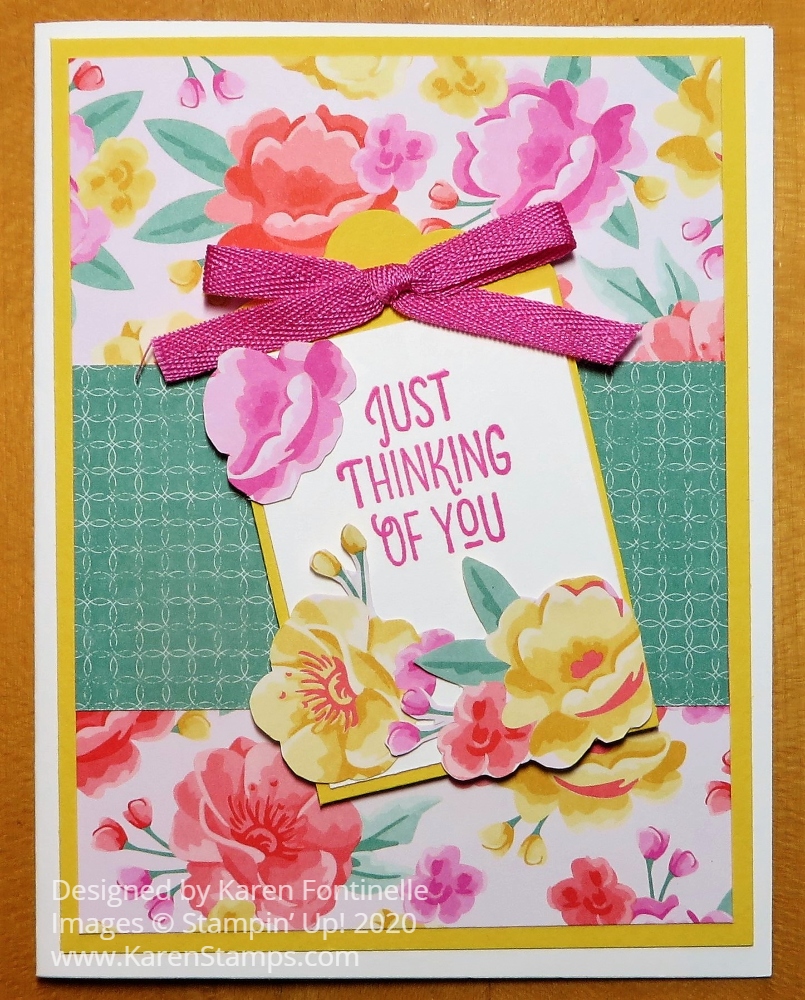
This Frames & Flowers Floral Diecut Card was so fun and easy to make! All you need is the Frames & Flowers Specialty Designer Series Paper with its sheets of designer paper but also sheets of diecuts of flowers and foliage.
I started with the frame that has a diamond shape cut out from the center. I chose Soft Sea Foam green to be the card base so the soft green would be in the background in the center. Then I could add the diecut flower bouquet in the center. As it turned out, the frame piece was narrower and I thought a Pumpkin Pie layer underneath it to bring out the orange flowers would be pretty. But then I wouldn’t have the Soft Sea Foam center!
I ended up cutting the center out of the Pumpkin Pie cardstock that was cut like a normal card layer at 51/4″ x 4″ leaving just a 1/4″ border around the edge. That would look like a layer underneath the pretty diecut but not cover the center Soft Sea Foam green area. You can see the photo below how I did it.

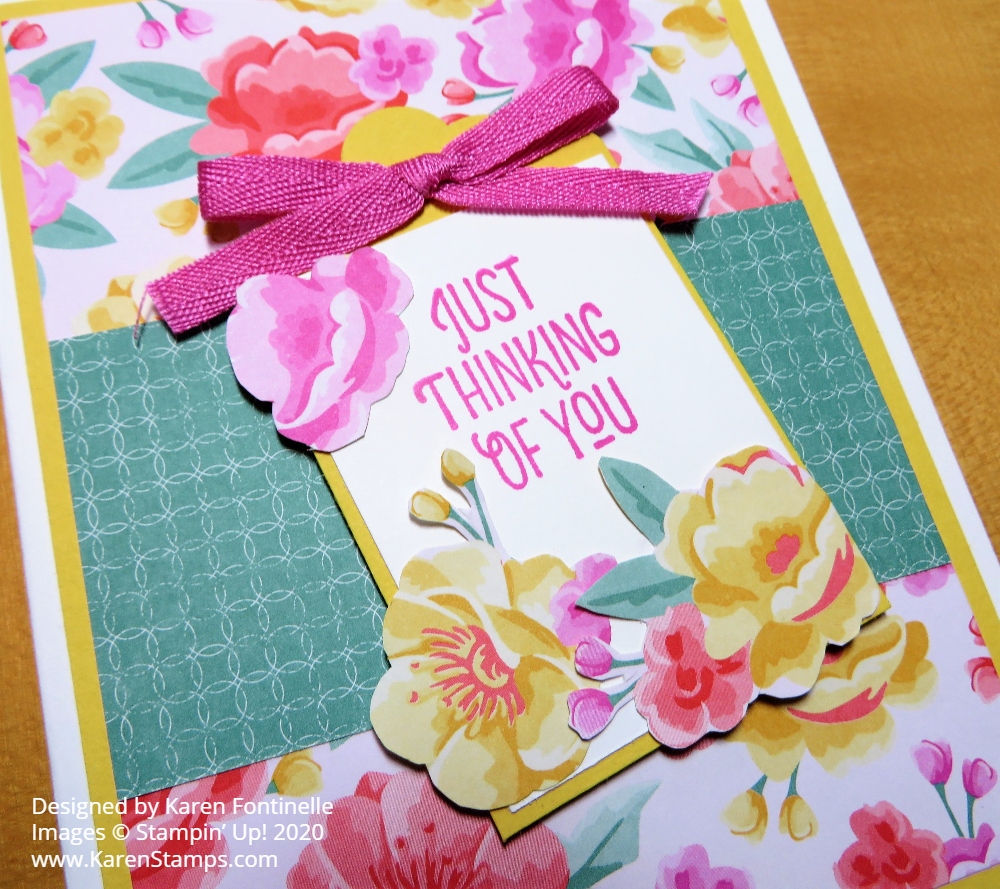
The floral frame is adhered flat to the card base over the Pumpkin Pie border. The bouquet of flowers is popped up with Stampin’ Dimensionals, both the regular size and a few Minis. I even cut a couple of the Minis in half to fit under the ends of the leaves.
For the greeting, I chose one in the Saying Something Ephemera Pack. The color matched the card! I flagged each end of the greeting in the tiny space and put a Stampin’ Dimensional under each end so it would fit over the popped up flower bouquet. For a little embellishment I used a few of the Adhesive-Backed Sequin Trio white sequins.
If you want to make some quick and easy cards that are fun to make, you might check out the Frames & Flowers Specialty Paper and some of the Ephemera Packs! It’s fun to play with the variety of pieces that you can build a card with.