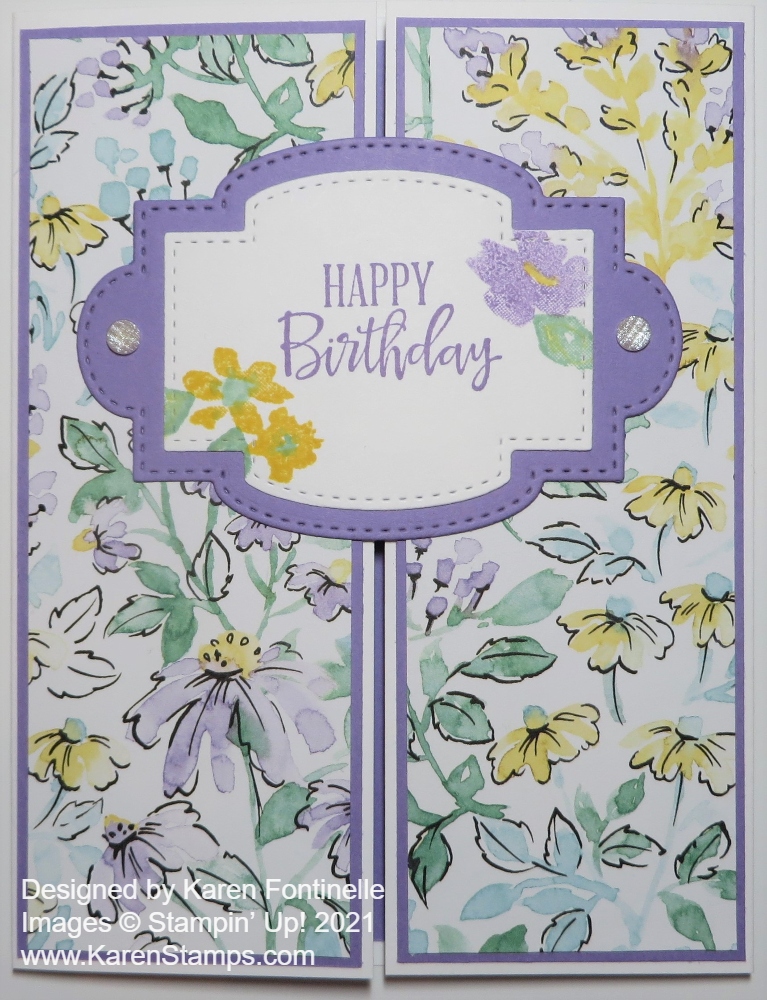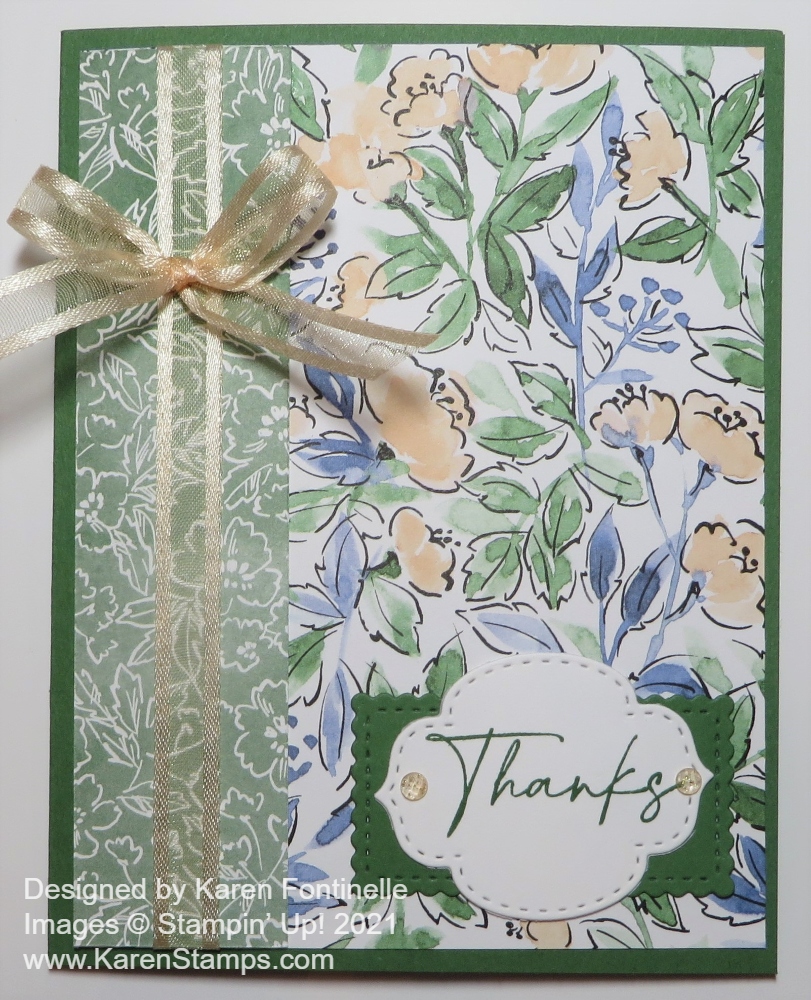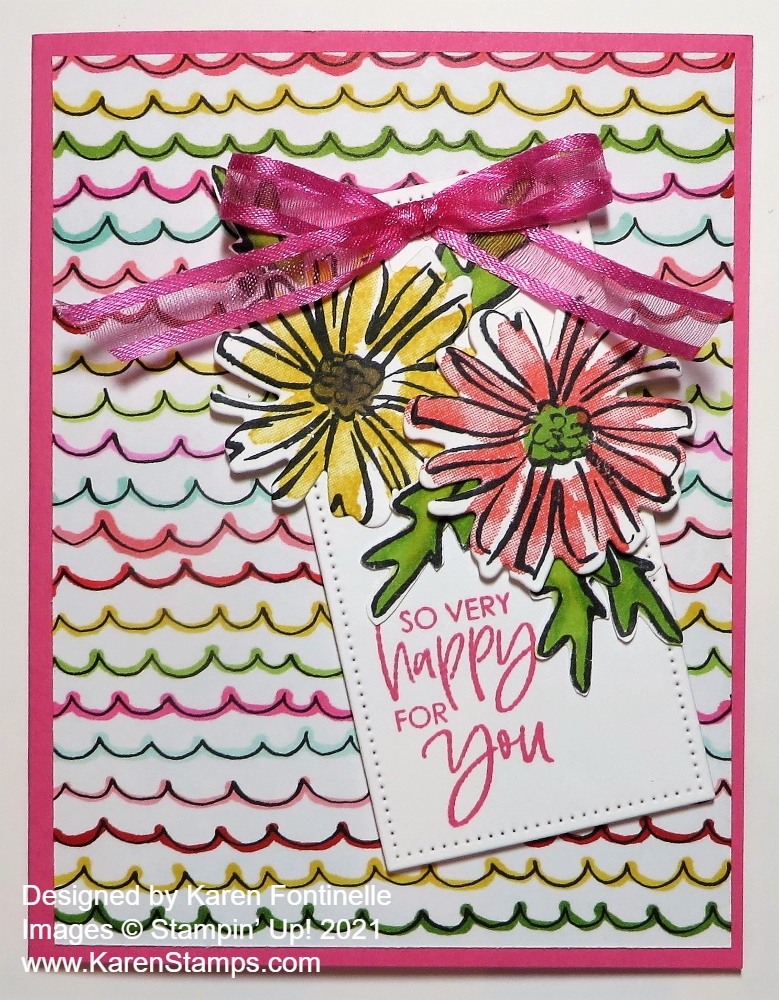
You won’t believe where this Beautifully Penned Floral Tag Card came from! I opened the package of Beautifully Penned Paper that I got free during Sale-A-Bration on my recent order which is all black and white in design. I saw this design with the squiggly lines and I immediately thought it looked like a fun paper to use!
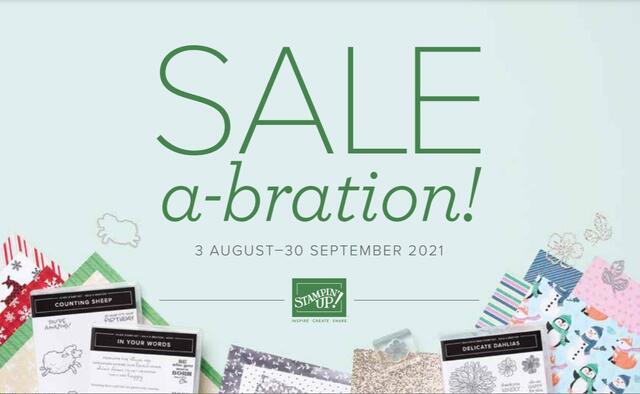
My first inclination was to color in between all the lines! But that might have taken a while so I pulled out different Stampin’ Blends and just drew ON the lines in between the lines! Sometimes I used the brush tip and sometimes the bullet tip, but I think the bullet tip is a little easier. I decided it did not have to be perfect. In fact, since the curves are irregular, your hand doesn’t get into a set pattern after coloring a few lines so each one is different. This paper is only available during Sale-A-Bration through September and coordinates with the Hand-Penned Designer Series Paper in the Stampin’ Up! Annual Catalog. You will find this Beautifully Penned 12″ x 12″ Designer Series Paper on page 7 of the Sale-A-Bration Brochure.
This paper with its black and white designs is perfect for coloring using various techniques! You can color with markers, Watercolor Pencils, Blender Pen and Ink, pastels, or Blending Brushes. Or just leave it as is and have a black and white card or add a splash of color by adding some colorful flowers or other designs. Just play!
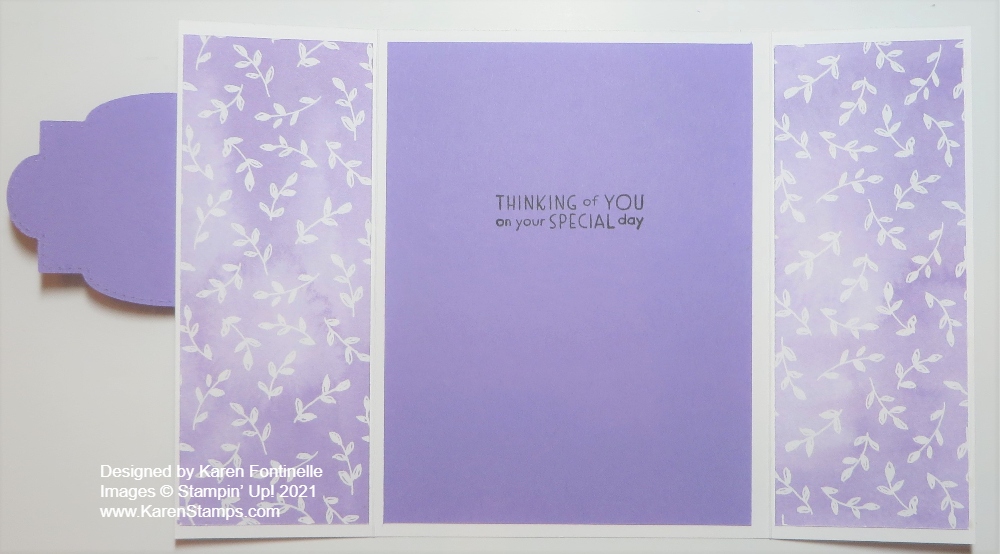
This card has a card base of Polished Pink. Black would have been interesting, too, or a layer of black on the pink under the designer paper. Or vice versa. The tag is die-cut from the Tailor Made Tags Dies. The flowers are stamped with the Color & Contour Stamp Set and cut out with the Scalloped Contours Dies. The leaves I stamped and cut out by hand. The flowers are two-step stamping but the stamps don’t line up perfectly so don’t knock yourself out trying! The tag is popped up on Stampin’ Dimensionals as is the pink flower. I had a third flower stamped and die cut but I thought the tag would be too crowded with it, so I added a Basic White layer inside the card and adhered the third flower to the inside of the card! It’s fun to decorate the inside of cards. We should really do it more often!
These are the colors I used in Stampin’ Blends markers and also the ink. These colors are in order starting from the top of the card: Poppy Parade, Daffodil Delight, Granny Apple Green, Polished Pink, Pool Party, and Flirty Flamingo.
The greeting is also in the Color & Contour Stamp Set, stamped in Polished Pink ink. And to finish the card, I added a bow tied with the Polished Pink 3/8″ Open Weave Ribbon. All of these new In Color ribbons are so pretty! I just love the style!
With every $50 you spend during Sale-A-Bration, you can choose a FREE product in the Sale-A-Bration Brochure. This Beautifully Penned Paper is available with a $50 purchase! What is better than free paper?!