Tag Archives: gatefold card

Hand-Penned Gatefold Birthday Card

Hand-Penned Gatefold Birthday Card

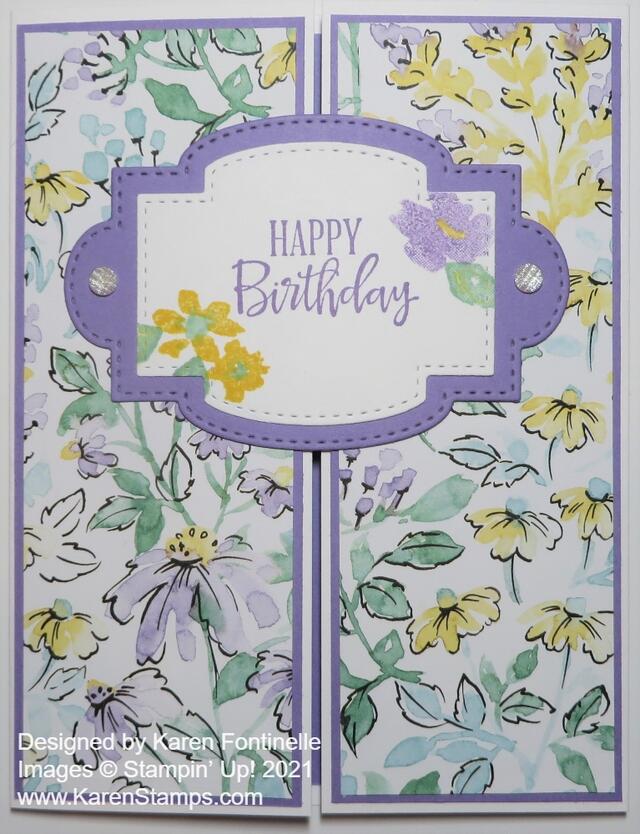
Bet you can’t make a card with this Hand-Penned Designer Series Paper, like this Hand-Penned Gatefold Birthday Card, without feeling happy afterward! It’s not about making the card, it’s that designer paper that just is so pleasing to me!

Just to make things a little more interesting, I made this into a gatefold card. Instead of folding the card the normal way, you fold in both sides. The center greeting is just glued on the left side so that it can be opened!

The card base is Basic White. Cut the cardstock in half like usual – 5 1/2″ x 8 1/2″. But don’t score and fold in the middle! Score each end at 2 1/8″. The math is that you want the center of the card to be 5 1/2″ x 4 1/4″. So you divide 4 1/4″ in half, so each side “gate” will fold in to cover the center of the card. That gives you 2 1/8″ on each end. Mine somehow didn’t quite meet in the middle. Maybe I should have folded the sides in from the opposite side. You can try both ways!

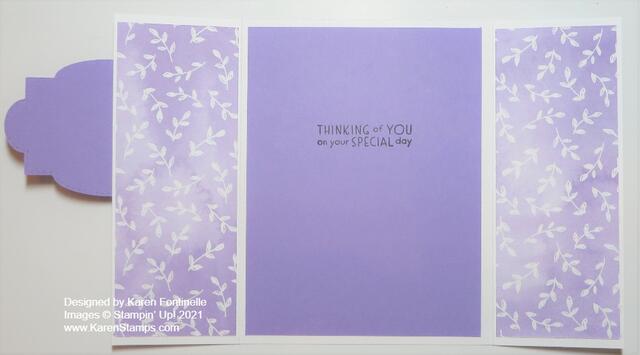
For this card, I cut a Highland Heather piece of cardstock to go on the inside of the card. I made it the usual layer size, 5 1/4″ x 4″. I stamped a greeting on the inside before I adhered it to the center of the card. This greeting is from the Inspired Thoughts Stamp Set.

On the front of the card, I cut a layer of Highland Heather to go behind the Hand-Penned Designer Series Paper. Since the gate-fold panel is already pretty narrow, you have to cut the other layers pretty narrow. The Highland Heather layer is 5 3/8″ x 2″ on each gatefold panel. The designer paper is 5 1/4″ x 1 7/8″.

Now as I was putting glue on the back of this pretty floral designer paper, I also liked the Highland Heather color print on the other side. So I added that side of the designer paper to the inside panels of the card!

Hand-Penned Gatefold Birthday Card Inside

For the greeting on the front of the card, you could use a variety of shapes – circles, rectangles, squares, ovals. Use whatever you like or fits the greeting. I used these two die cuts from the Stitched So Sweetly Dies. The Happy Birthday greeting is from the Peaceful Moments Stamp Set. I stamped that in Highland Heather Ink and also stamped a few flowers and leaves in the Hand-Penned Petals Stamp Set. Layer the Basic White stamped piece on top of the Highland Heather piece. Be sure to only apply adhesive to the left side of the greeting from the middle over to the left side. Check the inside to make sure no glue is showing on the inside or it will stick to the other side of the card. I added two Elegant Faceted Gems to each side of the Highland Heather die cut.

Here is a fairly recent card I made in the gatefold style using the Expressions In Ink Designer Series Paper.

This is an easy card but the gatefold gives it a little extra pizzazz. Try your hand at making something like this Hand-Penned Gatefold Birthday Card.

SHOP STAMPIN’ UP! ONLINE HERE!

Wrapped in Plaid Gatefold Christmas Card

Wrapped in Plaid Gatefold Christmas Card

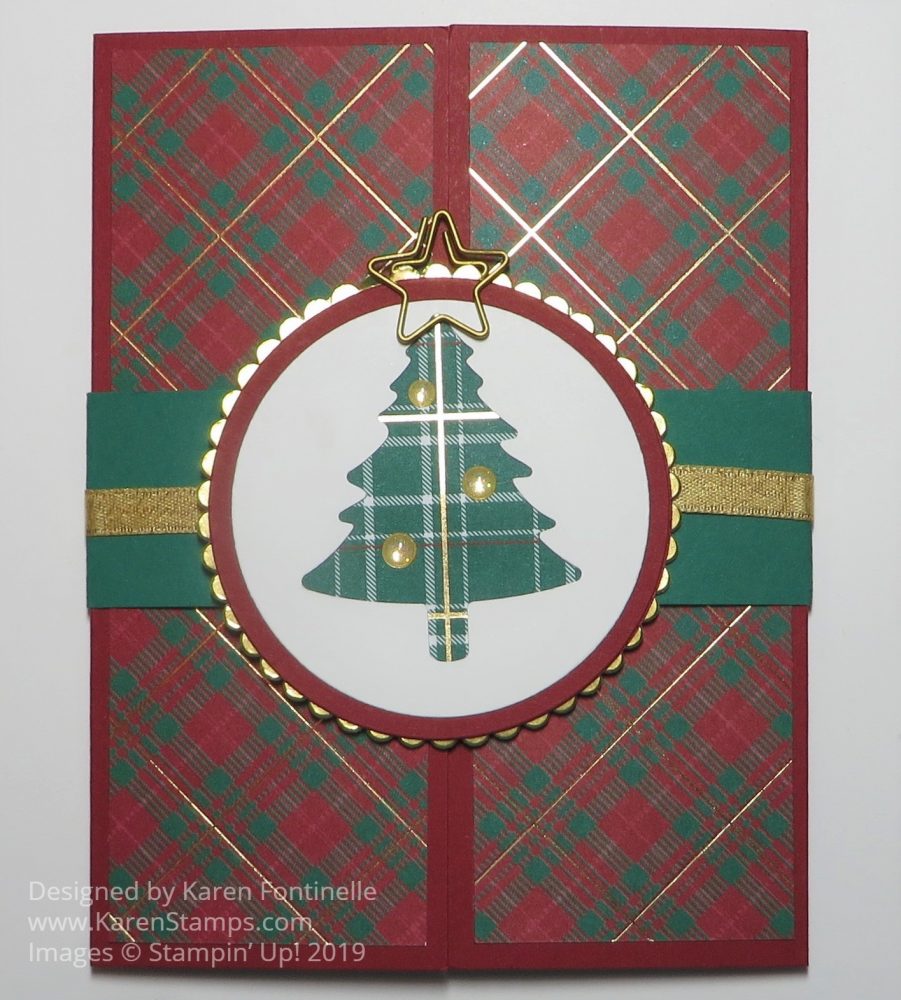
This Wrapped in Plaid Gatefold Christmas Card is fairly easy to make especially if you just copy my design! Gatefold cards are easy enough and yet look impressive to the recipient, especially knowing that you made it! It is still the size of a regular card and you can decorate the card base any way you like.

The card base is 8 1/2″ x 5 1/2″ as per usual. Instead of scoring and folding in half, score from each end to fold over the center of the card. Score at 2 1/8″ from each end of the Cherry Cobbler Cardstock. Crease and fold with the two ends meeting in the center.

If you want to use designer paper as I did with the Wrapped in Plaid 6″ x 6″ Specialty Designer Series Paper, cut two pieces at 1 7/8″ x 5 1/4″. Adhere these to the two front panels.

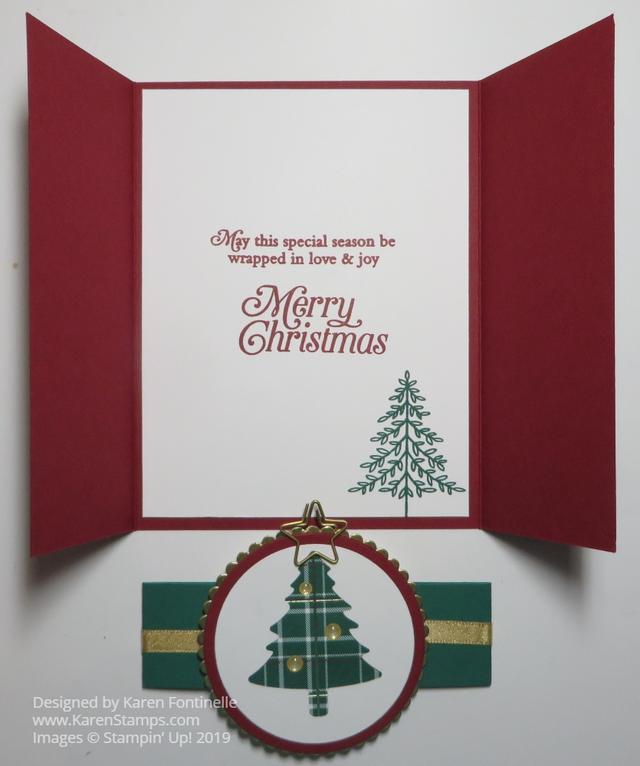
For the inside of the card, cut a piece of Whisper White and stamp whatever greetings you like. I added a tree from the Perfectly Plaid Stamp Set. You could also stamp right on the inside of the Cherry Cobbler Cardstock, but since it is a little dark, you might prefer the Whisper White layer for your personal greeting and signature.

Wrapped in Plaid Gatefold Christmas Card Inside

For the belly band cut a strip of Shaded Spruce 11″ x 1 1/4″ or whatever width you would like. Fold around the card, crease the folds, cut off the excess length and have the overlapping ends meet at the front center of the card. You might think you would want the belly band to meet at the back, but if it meets at the front, the tree piece that you add will cover up the ends. I added a piece of Gold Shimmer Ribbon around the belly band and held in place with Mini Glue Dots.

You can add whatever you like for the center of the belly band. I used the Pine Tree Punch to punch a tree out of a piece of Whisper White and then die cut this piece with the Layering Circles Die. Behind that, I die cut a slightly smaller piece of Wrapped in Plaid DSP that I wanted to show through and adhered to the back of the punched tree. This was layered on a Cherry Cobbler die-cut circle, which is then layered on a die-cut scalloped circle of Gold Foil.

As I was looking in my drawer for embellishments, I came up this clip-on star that had been on the Clearance Rack. Perhaps you already own these clip shapes. If not, just punch out a gold star from whatever you have. And for a little extra bling, besides the gold accents in the Wrapped in Plaid DSP, I adhered a few Gold Glitter Enamel Dots. These dots, along with the Gold Shimmer Ribbon are items that are in the Christmastime Is Here Suite.

SHOP STAMPIN’ UP! ONLINE HERE!