Have you seen this beautiful kit in the Stampin’ Up! Kits Collection called Garden of Thanks? The Stampin’ Up! Kits Collection is a selection of online-only kits that are pre-cut, all supplies included, and geared to the beginning crafter. The kit can be for anyone though, new or very experienced! Even if you are very creative on your own, sometimes it is nice to just open something ready to go with everything already designed to make. And you can always change it up however you like!
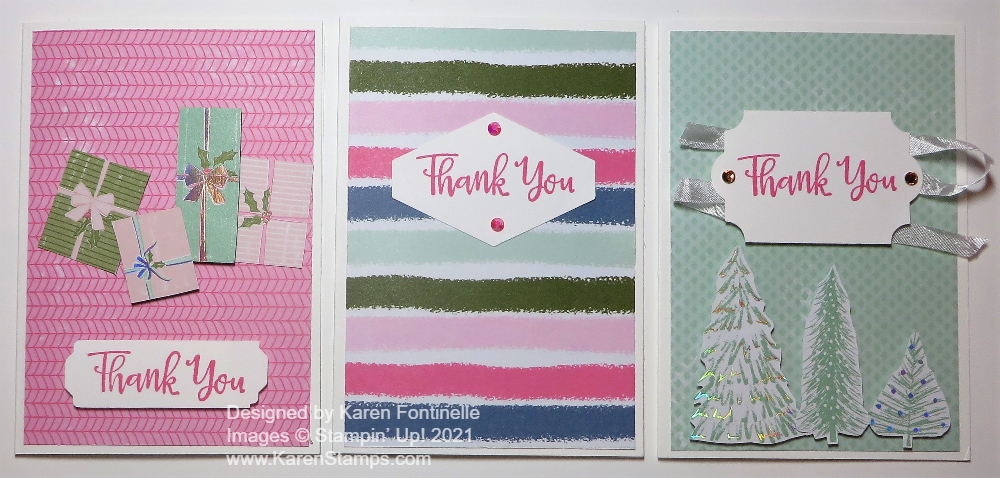
Make your gratitude gorgeous with the Garden of Thanks Kit! This DIY card-making kit is centered around saying thanks in the most beautiful way. You can create three thank you cards each in three purple watercolor floral designs. Whether you want to convey your sincere thanks or love purple and blue flower gardens, this card kit is for you! Available in French.
Kit includes:
* Garden of Thanks Photopolymer Stamp Set
* Clear Stamp Block
* Misty Moonlight Classic Stampin’ Spot
* Predesigned projects
* Step-by-step instructions
* Precut pieces (No prep work! Get right to crafting)
* Makes 9 cards: 3 each of 3 designs
* Folded card size: 5-1/2″ x 4-1/4″
* 9 preprinted envelopes
* Enough adhesive to complete projects
* Misty Moonlight Baker’s Twine
* Specialty gold foil
* Gold sequins
* A 9-7/8″ x 6-1/2″ x 2-3/4″ printed designer box for storage or crafting on the go
Product colors: Berry Burst, Boho Blue, Bubble Bath, Lemon Lime Twist, Misty Moonlight, Old Olive, Petunia Pop

These kits are not the same as Paper Pumpkin, which is a monthly subscription. These kits are sold in the Stampin’ Up! Online Store as long as supplies last. You can get extras to stamp with friends or give as gifts.
Remember Bonus Days going on for just five more days, until July 31. Spend $50 and receive an online coupon code of $5 to spend in August! Pick up several kits or a kit and some other Stampin’ Up! products!
Kits by Stampin’ Up! are perfect for new crafters, busy crafters, or crafters who want quick and easy projects. All-inclusive project kits have everything you need in one box! Give as a gift or try them yourself. Kits are while supplies last. Order today!