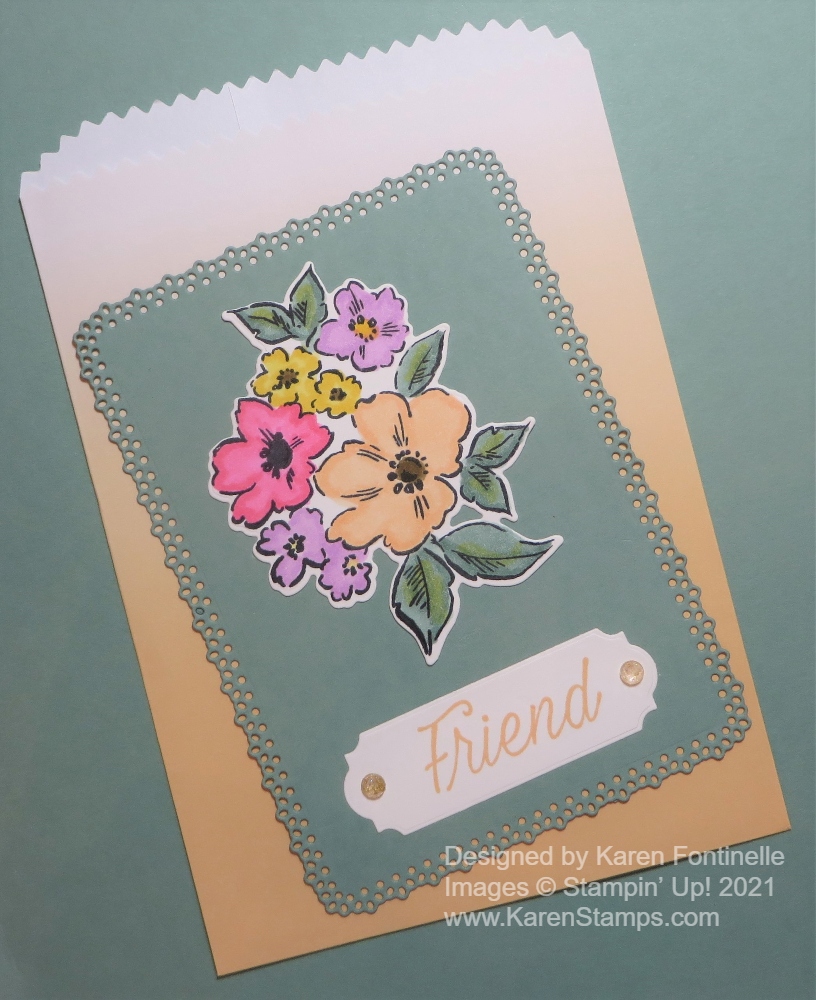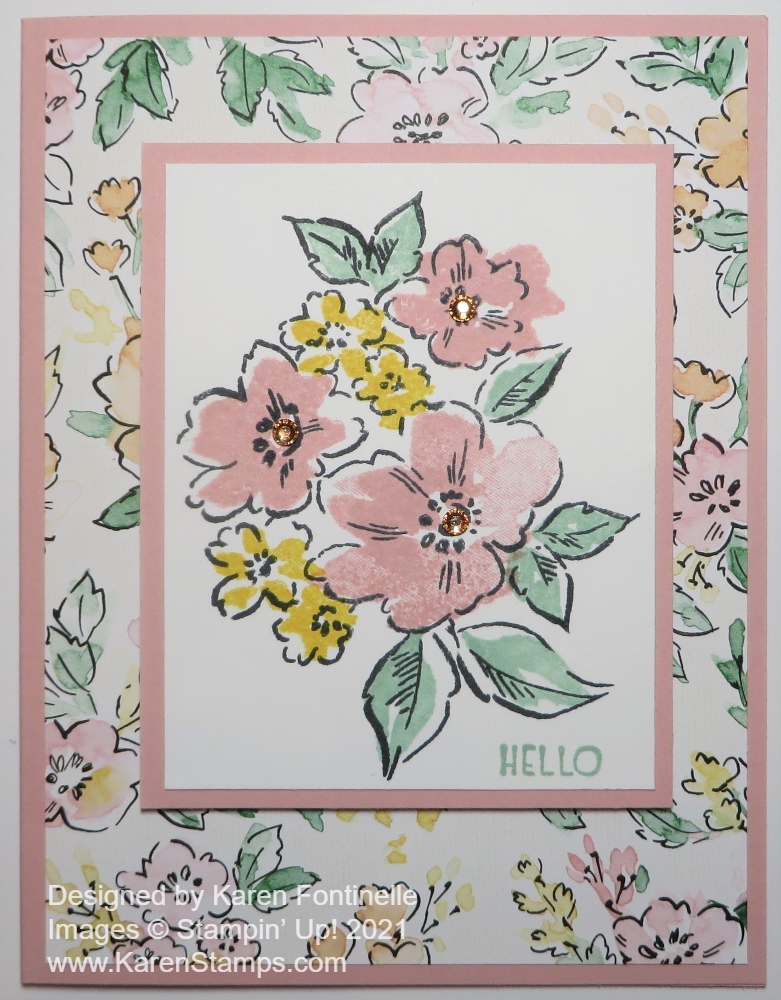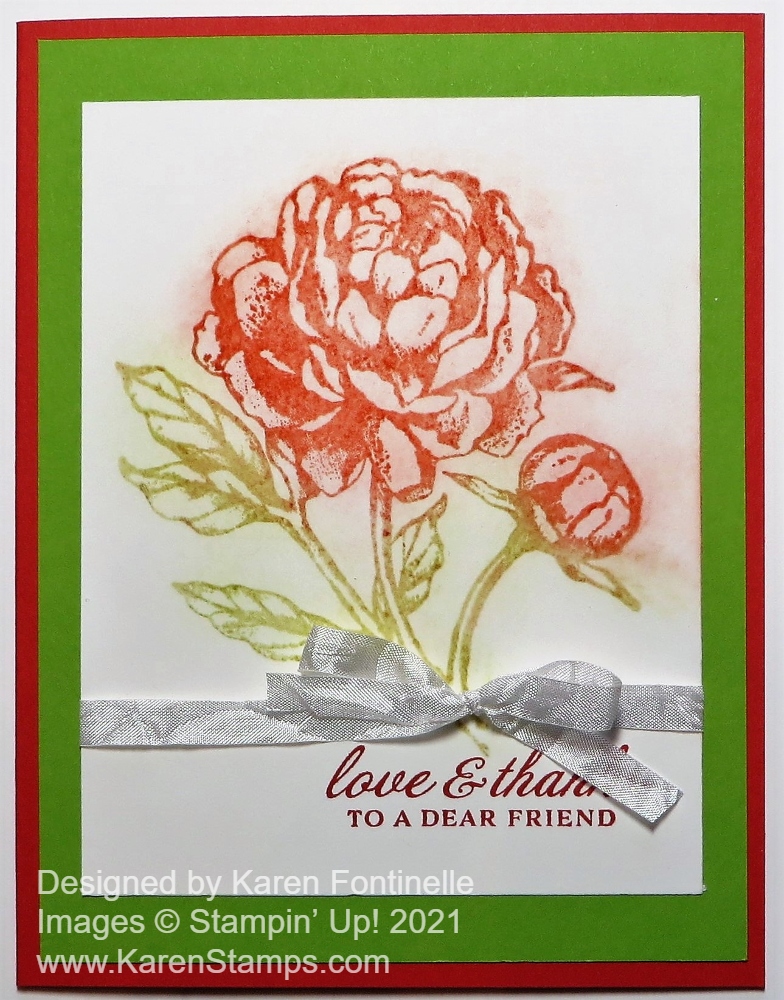
This Prized Peony Poppin Pastels Friend Card came from another opportunity of playing with the new Soft Pastels in the Stampin’ Up! Annual Catalog. I remembered an old technique that was quite popular around the time I joined Stampin’ Up! called Poppin’ Pastels! You can do a lot of different things with chalk pastels and this is just one technique.
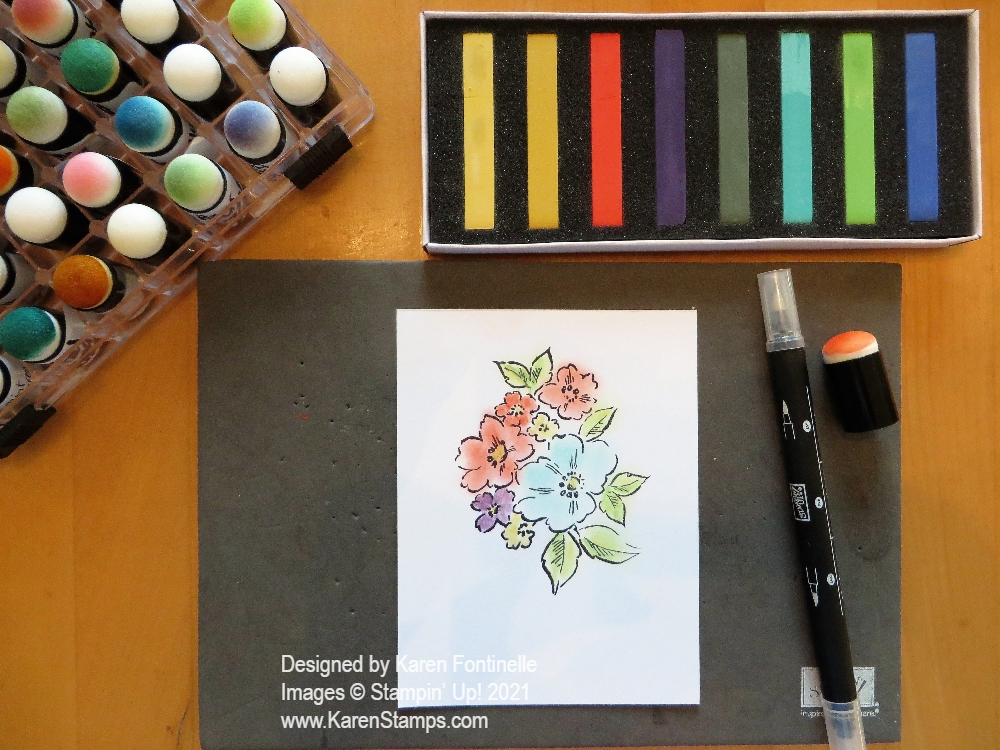
To do the Poppin’ Pastels technique, you need Versamark Ink (the clear, watermark ink) and chalks plus a Sponge Dauber or cotton ball. You will find these new Soft Pastels Assortment in the Stampin’ Up! Annual Catalog on page 126 at the bottom of the page. We have had chalk pastels before but in little squares, in a metal tin in all the Stampin’ Up! colors so these “sticks” are a little different. They are almost like crayons. So while you can “color” with the chalk piece, you can also scrape some chalk off the side of the stick or scribble on a scrap piece of paper to get chalk dust that you can pick up to use. You can use Paper Snips that are open, just scraping the blade of the scissors along the side of the chalk onto a piece of paper or an acrylic block or whatever you have.
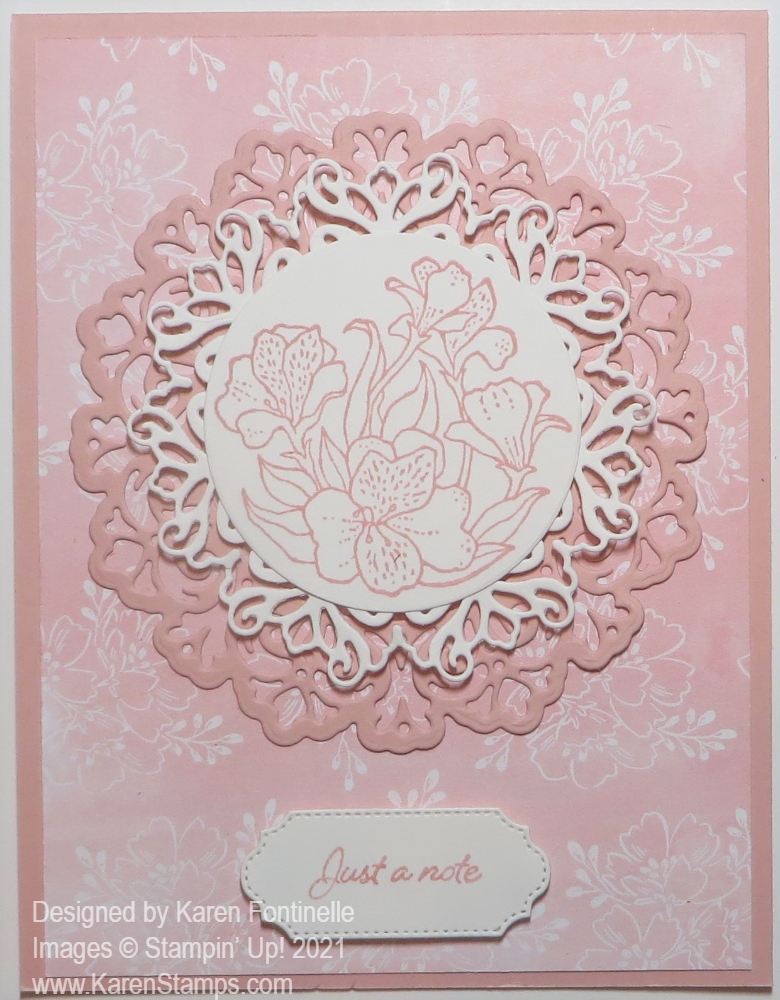
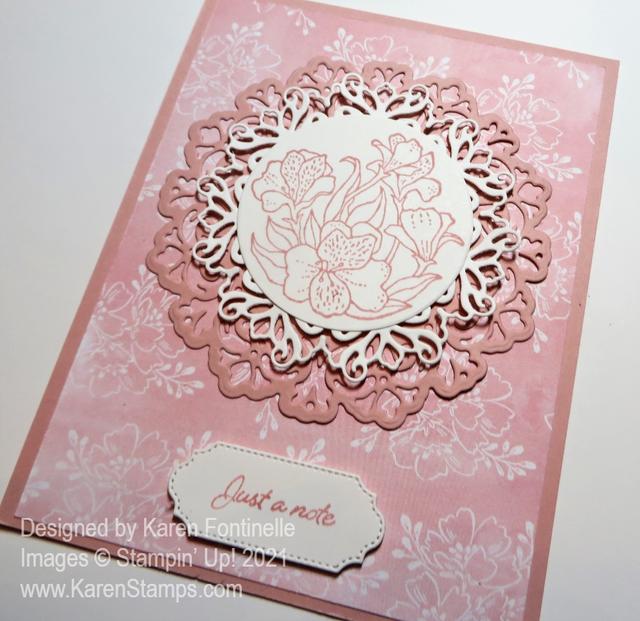
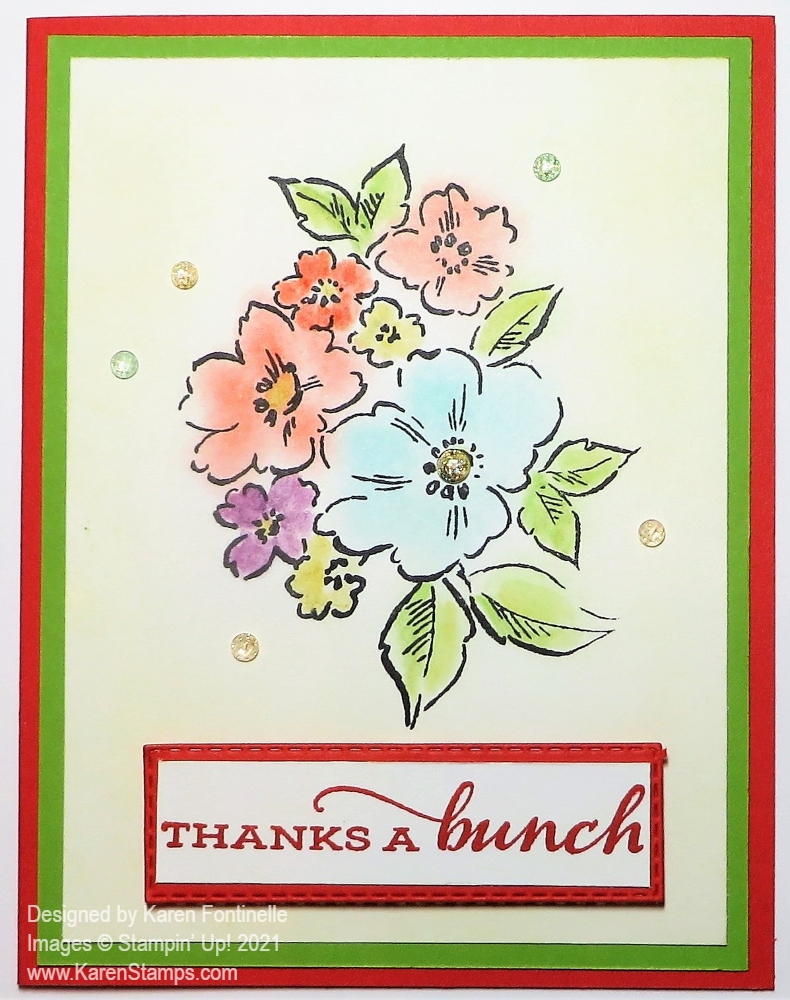
I stamped the Prized Peony Stamp with Versamark Ink on Basic White Cardstock. Give the ink a few minutes to dry, otherwise, you may smear the ink a bit. See the photo below on the left side of the flower!
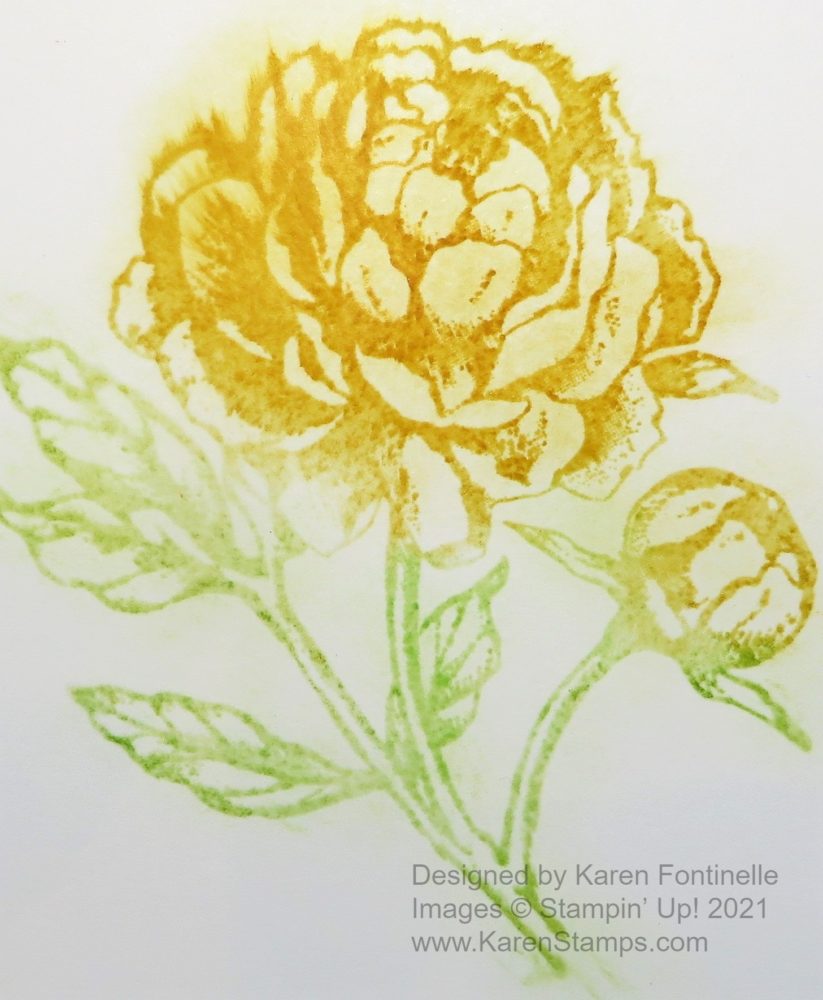
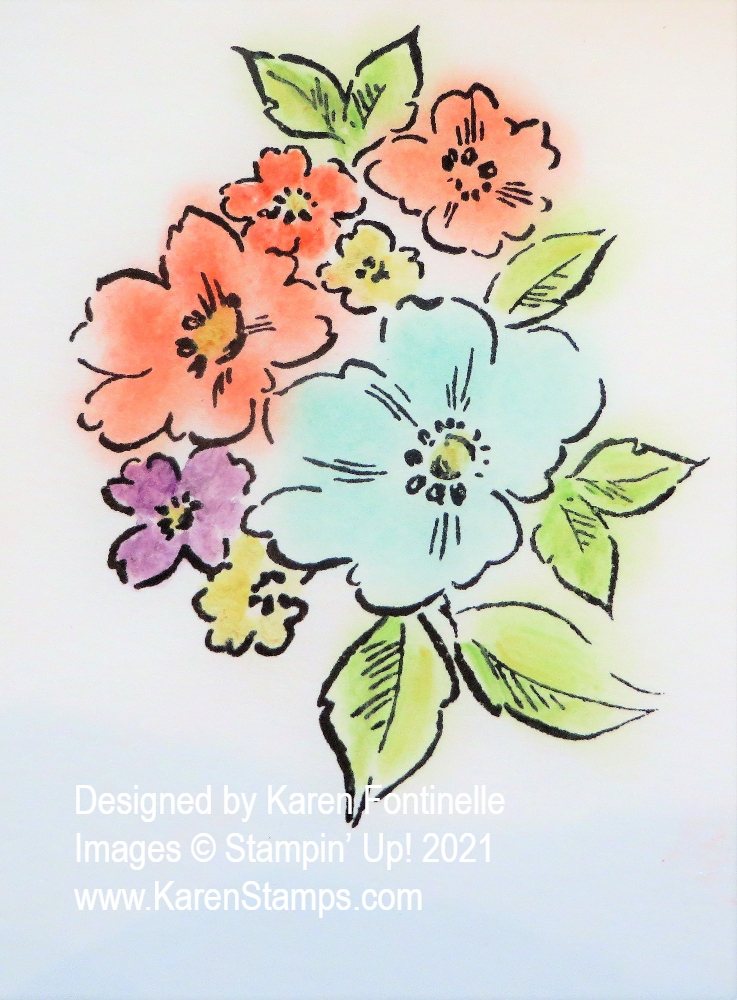
Pick up some of the chalk dust with the Sponge Dauber or a cotton ball and dab on the stamped image. I think it is better to dab it on rather than rub it on. Maybe that’s why my flower above got a little smeared because I was rubbing on the chalk. The fun thing about Poppin’ Pastels is that the stamped image is invisible, but as soon as you start dabbing on the chalk, it magically appears! It is really fun! You can’t be exact in your coloring with the Sponge Daubers but that’s what makes it interesting and gives a soft “halo” around the edge of the image. Sometimes colors overlap a bit which makes it colorful and interesting as well.
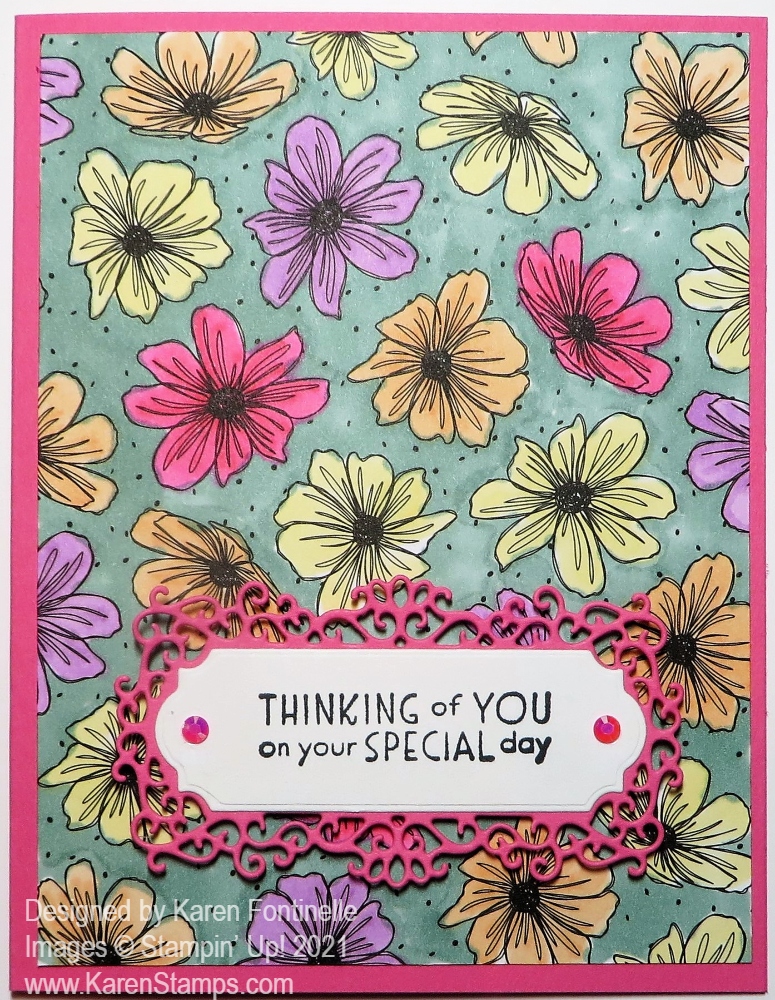
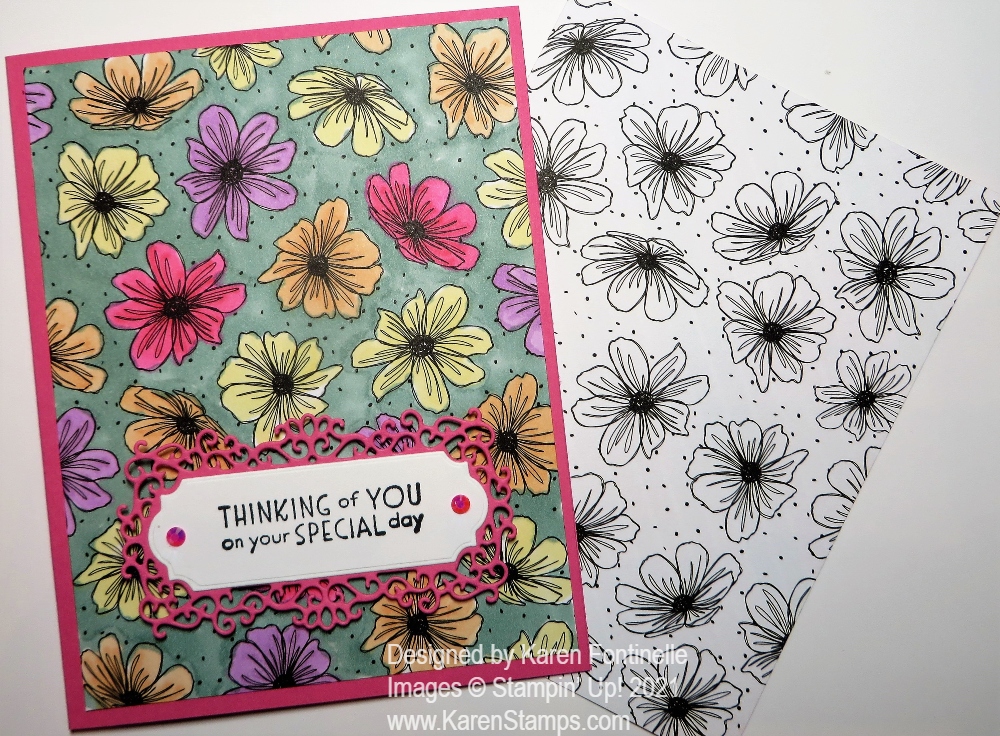
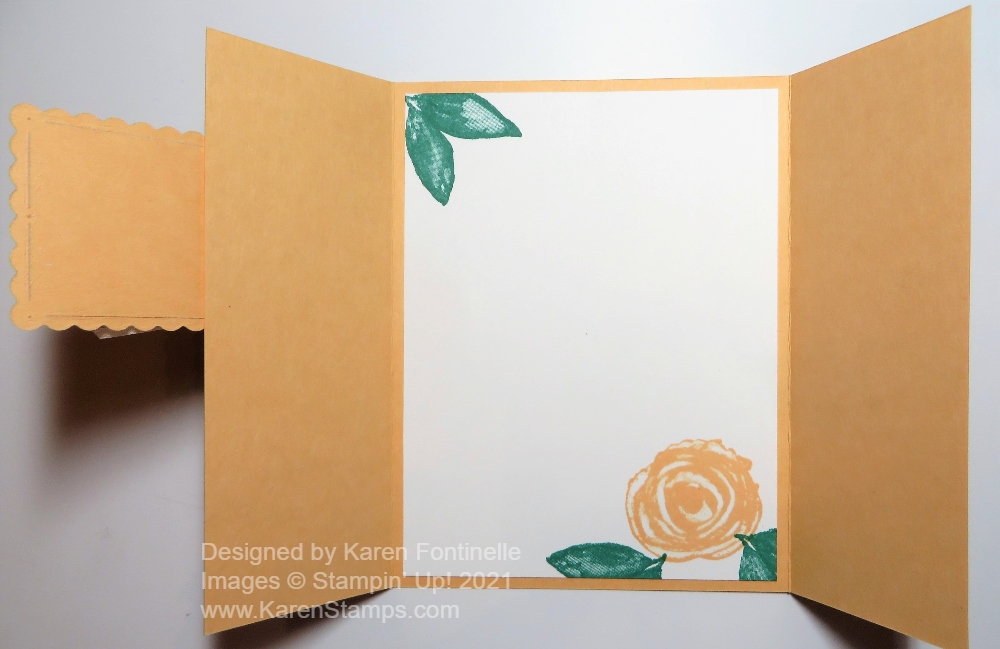
The chalk in the assortment that I used is Poppy Parade, so I stamped the greeting with Poppy Parade Ink. You can see the ink is a little darker than the pastels. The greeting is also in the Prized Peony Stamp Set. Before adhering the layers together, I adhered some of the Whisper White 1/4″ Crinkled Seam Binding Ribbon and tied a bow. The card base is Poppy Parade and the layer is Granny Apple Green to match the leaves.
Easy card to make and fun to do the Poppin’ Pastels Technique! You can use less chalk for a lighter look or more for a darker color. Just experiment and see what you come up with using the new Soft Pastels Assortment! On this card, I “colored in” the stamped image a little more precisely, so you can see the difference.
While you are looking for the Soft Pastels Assortment, also check out the Last Chance products from the January-June Mini Catalog that are retiring. Some have significant discounts, some less but discounted a little bit! Before you buy a Bundle, check if the individual products are on sale, which might make the price together less than the Bundle, ie. the Kangaroo & Company Bundle is $36.75, but if you buy the stamp set and the half-price dies, your cost would be only $28.50! What a deal for such a cute set, if you don’t already own it!