I had saved a magazine photo from YEARS ago with a card like this Colorful Lollipop Greeting Card. It has survived the purging of the file of torn out magazine pages, mostly scrapbook page ideas, several times so I finally decided to leave it out on my coffee table so maybe I would finally make it someday soon. Well, the day came and I made a card with this cute lollipop made out of circles!
There weren’t any super specific instructions on how to make this but I thought it would be easy enough to figure out. It’s a great way to use up some scraps of cardstock or even designer paper or mix the two.
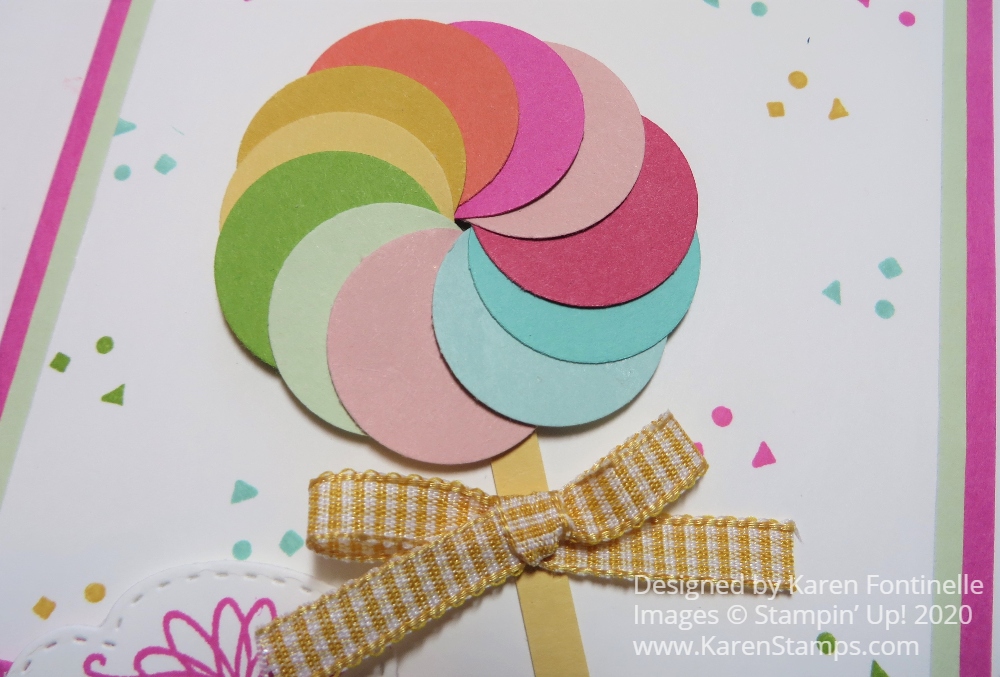
You can use various sizes of circles, whatever suits your fancy and fits on your card. I used a 1″ Circle Punch (retired) but you could use something larger or larger die cuts. I just chose a bunch of colors of cardstock that looked good together.
It may seem a little difficult to get the circles placed correctly in a circle to form the lollipop. It might help you to put a pencil dot on your card where you want the center of the lollipop to be and you can kind of arrange the circles around that. When you get to the last circle in the lollipop, tuck it under the beginning circle, otherwise the two pieces on either side of that first circle will overlap it. So you want the last circle to tuck under it.
Use the Multipurpose Liquid Glue to just dab in between the circles to adhere them together into the lollipop shape. That glue gives you a little “wiggle time” to get the circles shaped the way you want them. After you get the lollipop formed, you can either glue it down directly onto the card front or pop it up with Stampin’ Dimensionals® or cut down some Foam Adhesive Strips to fit.
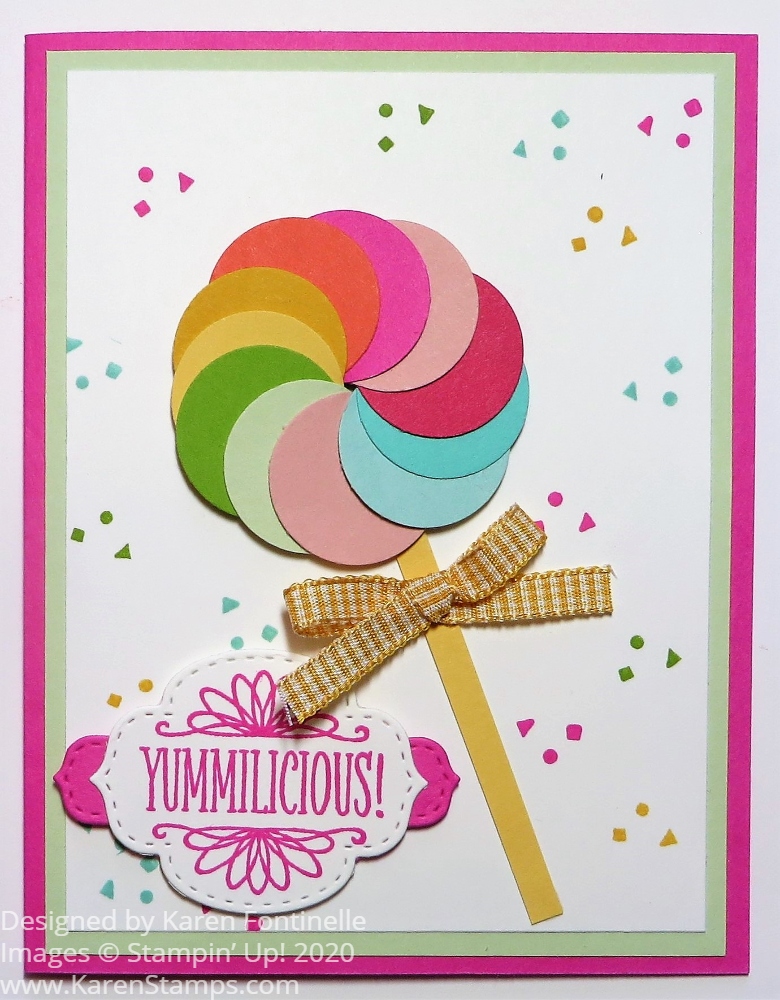
If you have a real lollipop stick, that would be fun to use or just cut a very thin strip of cardstock. I had a white one but of course it didn’t show up against this white cardstock so I just use a strip of Bumblebee Cardstock instead. Then I tied a bow of Bumblebee Gingham Trim and adhered it to the stick with a Mini Glue Dot.
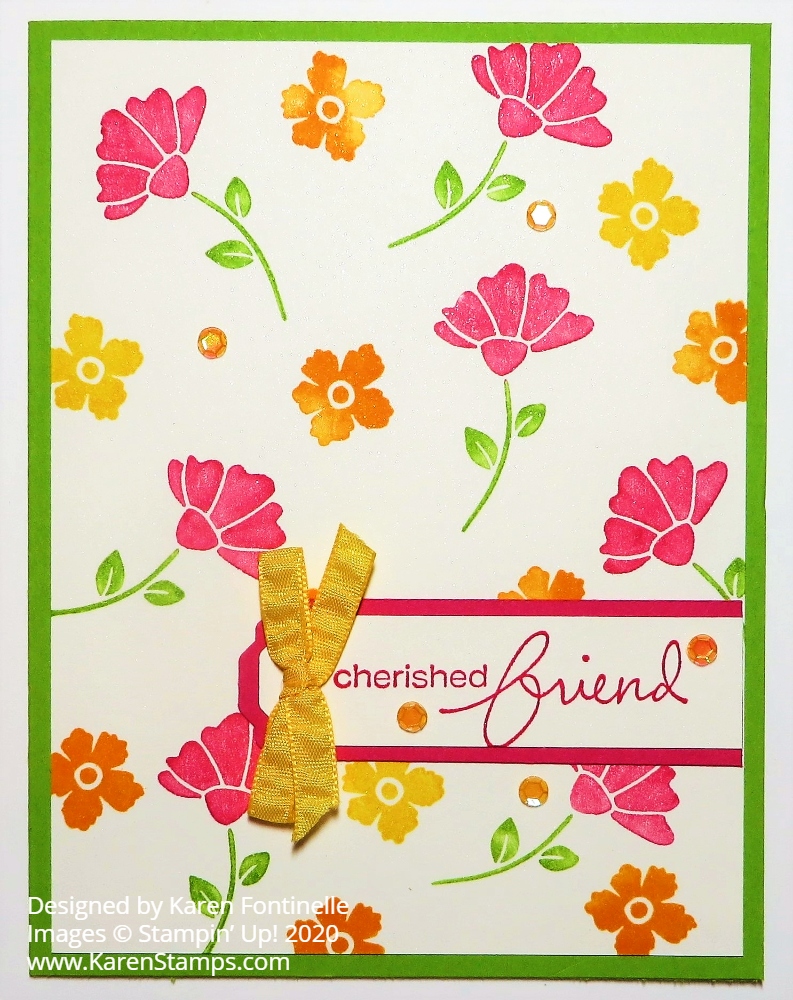
For the greeting, I thought this one in the So Sentimental Stamp Set was perfect! I stamped it in Magenta Madness Ink and die cut with a die in the Stitched So Sweetly Dies. Then I die-cut another piece out of Magenta Madness that was smaller and I just cut it in half so I could use each end under the greeting to help it stand out from the Whisper White card layer.
I also thought it would be fun to stamp the little confetti stamp around the card in different colors to fill in all the white space. I just used some of the lollipop colors. The card base is Magenta Madness with a layer of Soft Sea Foam cardstock.
This is certainly a fun card to make and something different. It would be fun to make a few and make them into birthday cards or just “Hello” cards to send to a friend to brighten their day! Who wouldn’t be happy to receive this special Colorful Lollipop Greeting Card card?!