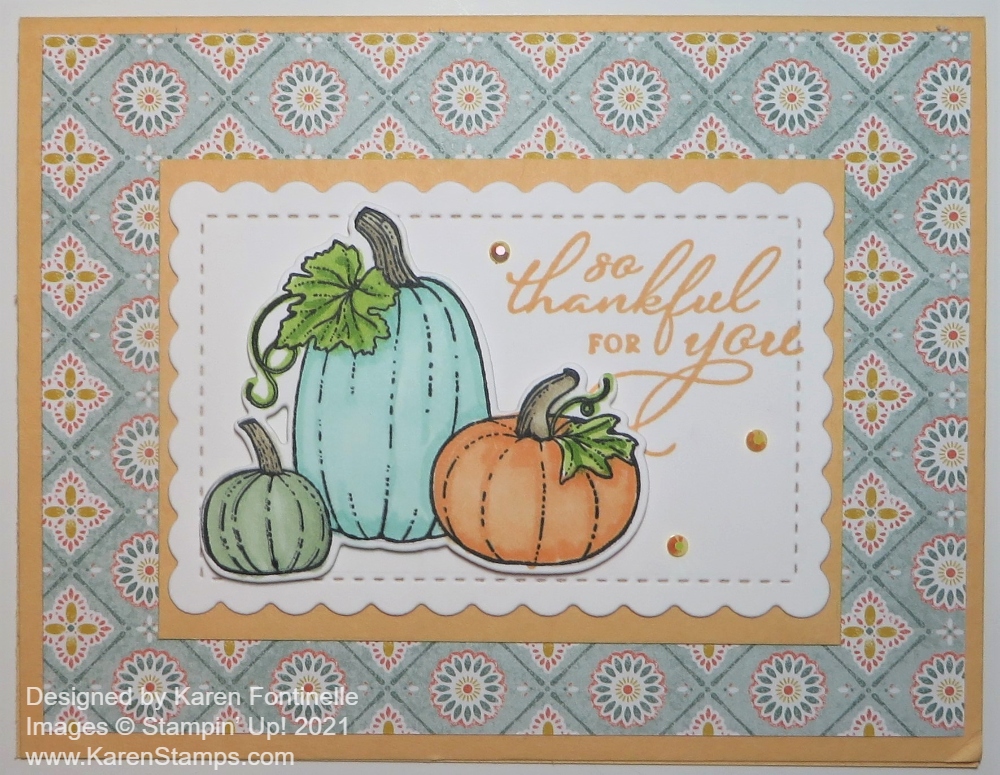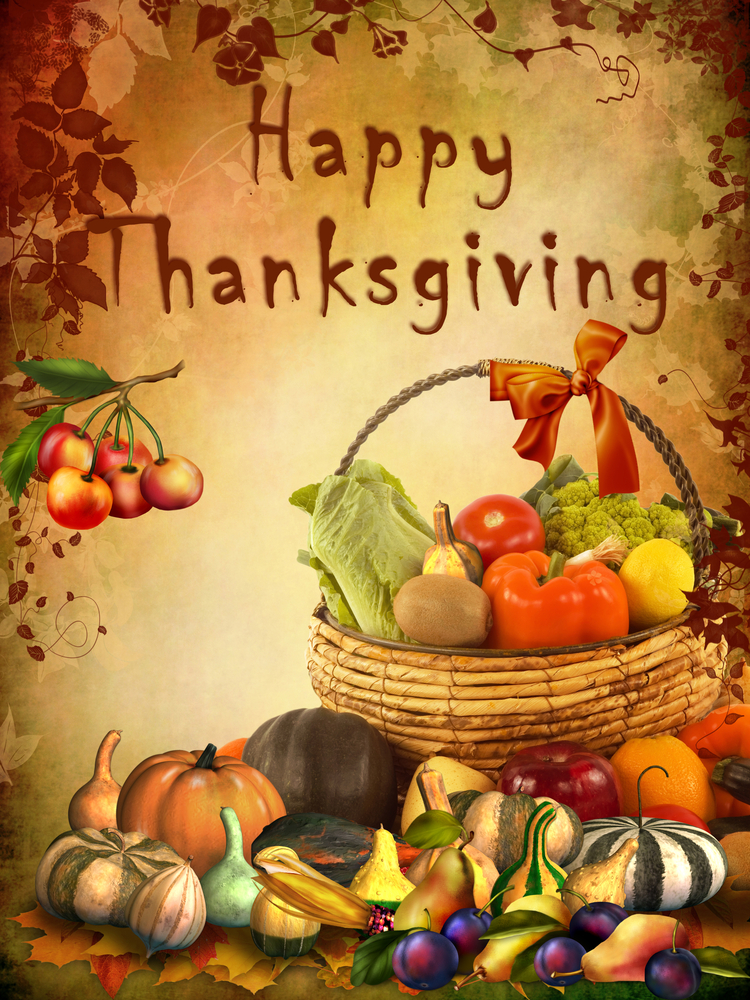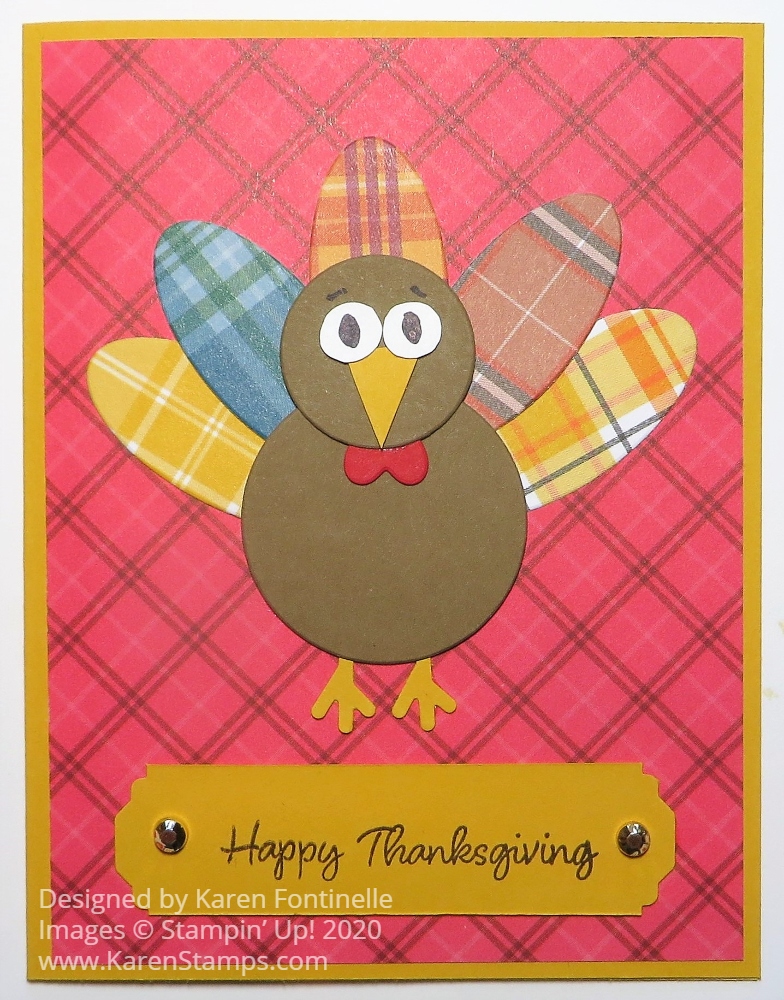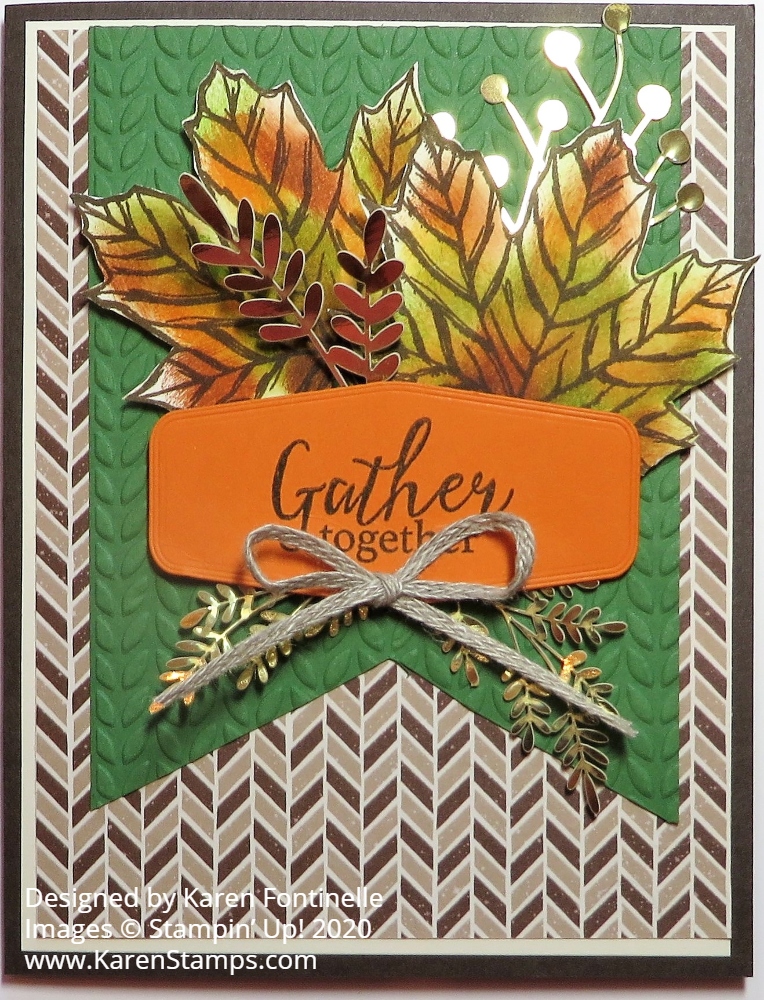
Can anyone believe it is November already? It’s time to put away the Halloween decorations, eat all the candy, and start thinking about Thanksgiving, so here is a Blackberry Beauty Thanksgiving Card to get you inspired!
This Blackberry Beauty Specialty Designer Series Paper is so beautiful that it has been hard to keep in stock. Every time Stampin’ Up! gets more in, it sells out again. Right now as I write this, this paper is not orderable but hopefully, they will get more in stock in about two weeks. I hope you already own this paper in the Holiday Mini Catalog so you can use it for fall and Thanksgiving projects!
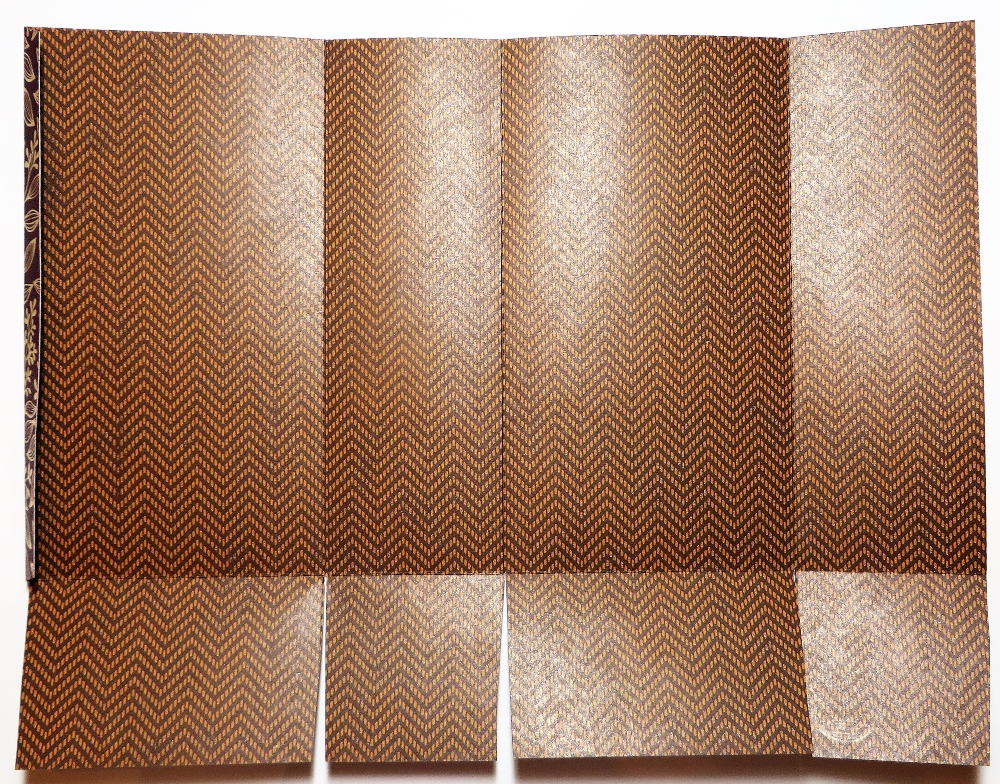
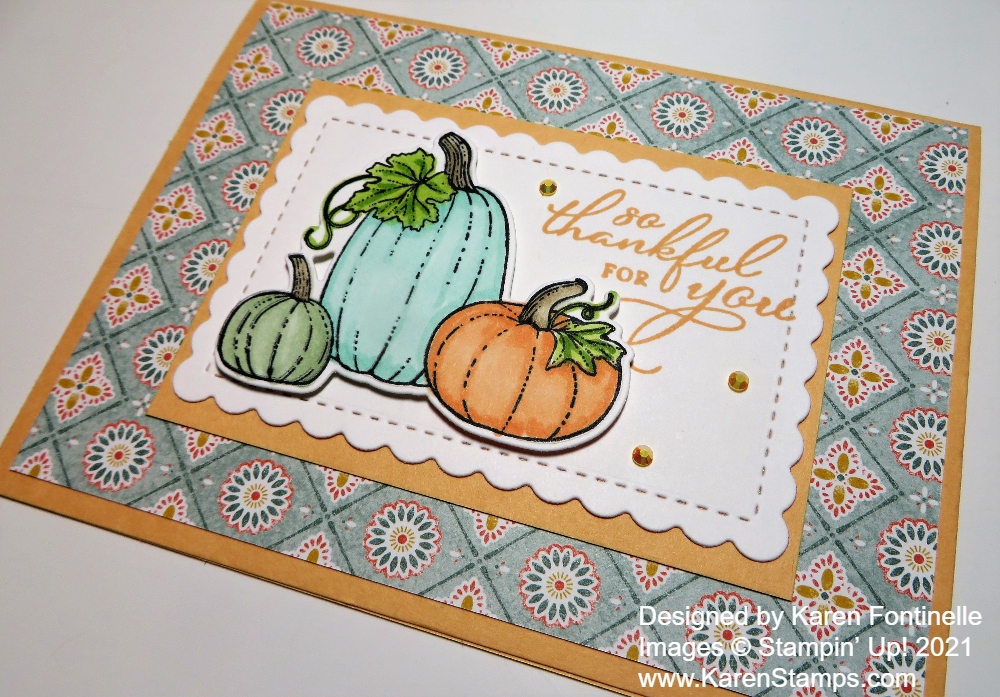
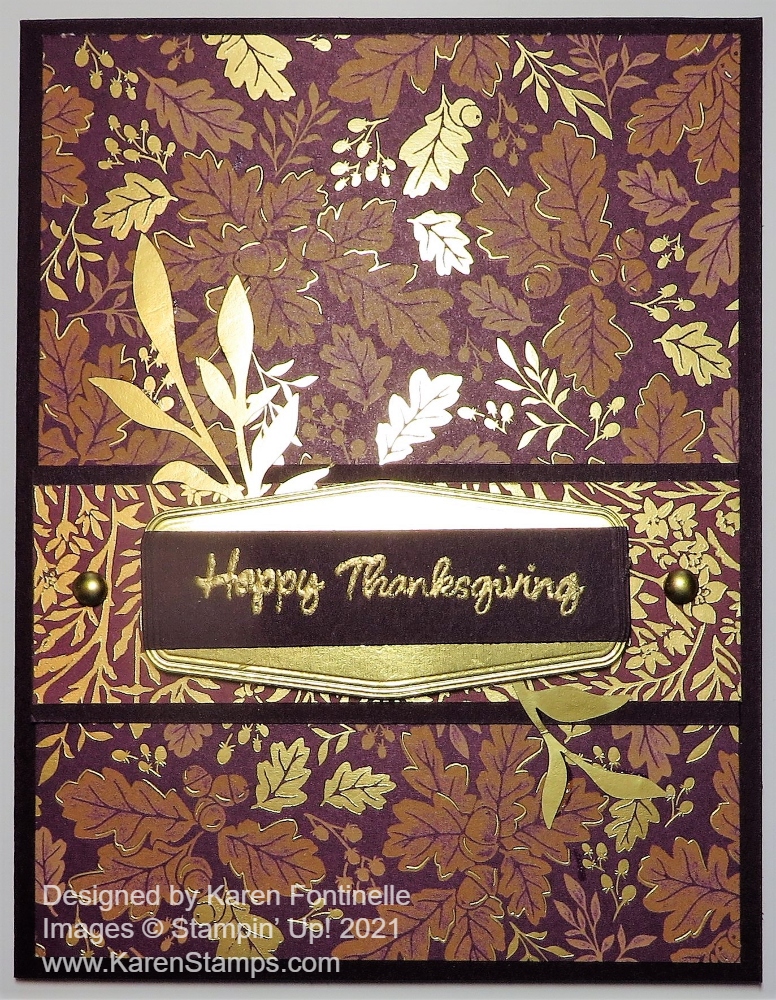
It is very difficult to photograph this paper on a card. It has beautiful gold foil accents and the background is rather dark so the reflection for any lighting is terrible! The card base is actually Blackberry Bliss although in the photo it looks like black! The card layer is a full 4″ x 5 1/4″ piece of that leafy pattern.
Next, I cut a strip of a different pattern of the paper, a smaller foliage pattern in gold. It measures 4″ x 1 1/4″ and it is layered on a strip of Blackberry Bliss that measures 4″ x 1 1/2″. That is just adhered across the card, although from the photo it almost looks like the designer paper layers are separated with some Blackberry Bliss showing in between! That would also be a good way to make this card!!
The greeting, in the Banner Year Stamp Set, is embossed in Gold in the Metallics Embossing Powders on a strip of Blackberry Bliss. After deciding to use a Gold Foil layer from the Tasteful Labels Dies underneath the greeting, I ran the narrow embossed strip through the die just to make the ends match the Gold Foil. This greeting is popped up on Stampin’ Dimensionals®. I also added two of my new Brushed Metallic Adhesive Backed Dots to each end of that strip of designer paper.
For a final touch, I adhered some gold foil foliage from the Blackberry Beauty Ephemera Pack. This pack has really pretty pieces of all kinds in it, not just gold foil pieces. I hope you already have this, too, because I see it is back-ordered until mid-December. I wonder which ship lined up at the port it is on! Don’t you think about Stampin’ Up! products being delayed every time you see one of those news reports about the container ships at sea?!
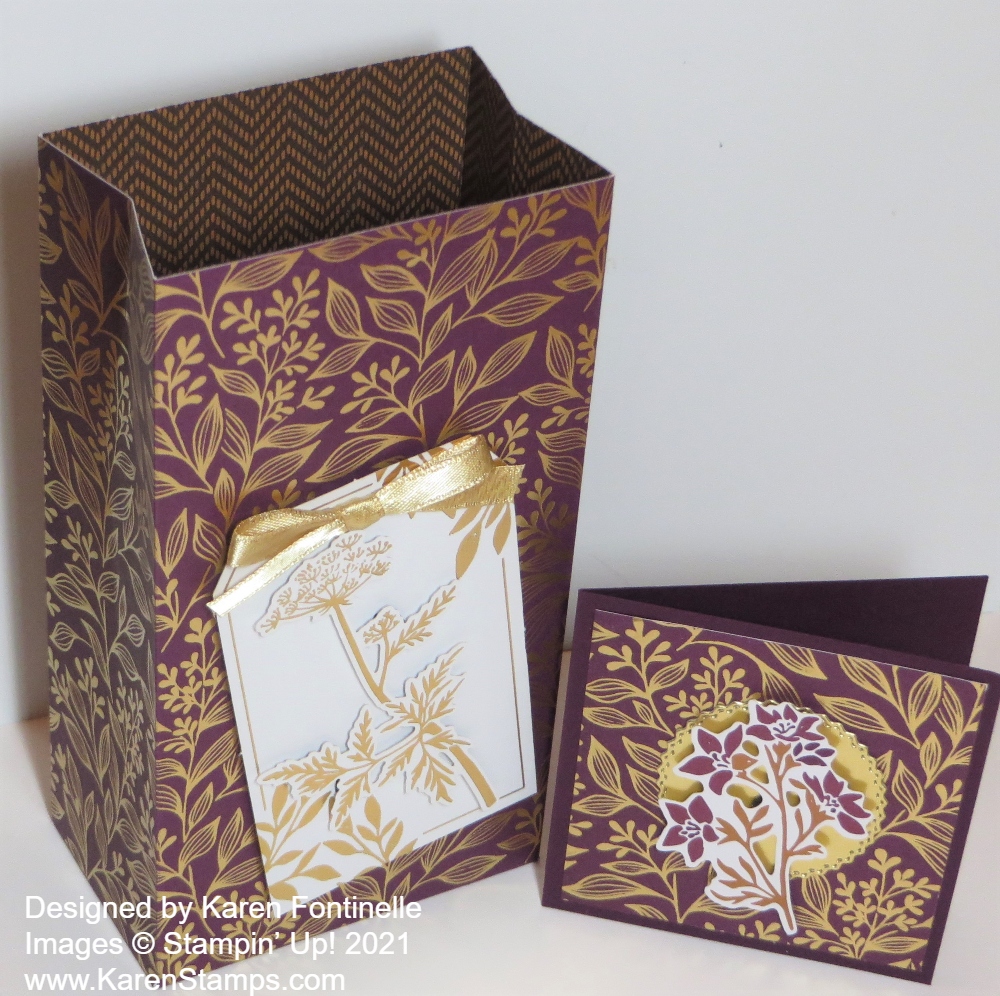
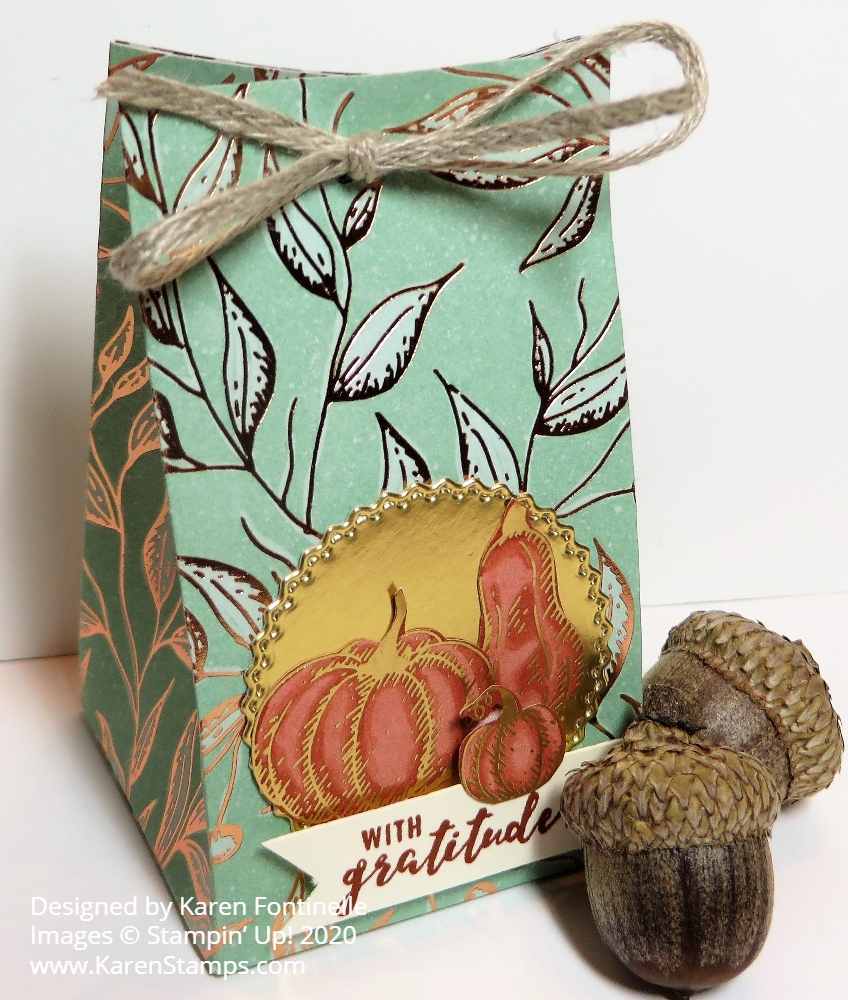
I hope this Thanksgiving card, which could be used for other occasions as well, even something like a fall wedding, inspires you to make and send some more cards! Wouldn’t this designer paper be pretty and different for a wedding in the fall? Here is another small gift card and gift bag I made earlier using this pretty paper.
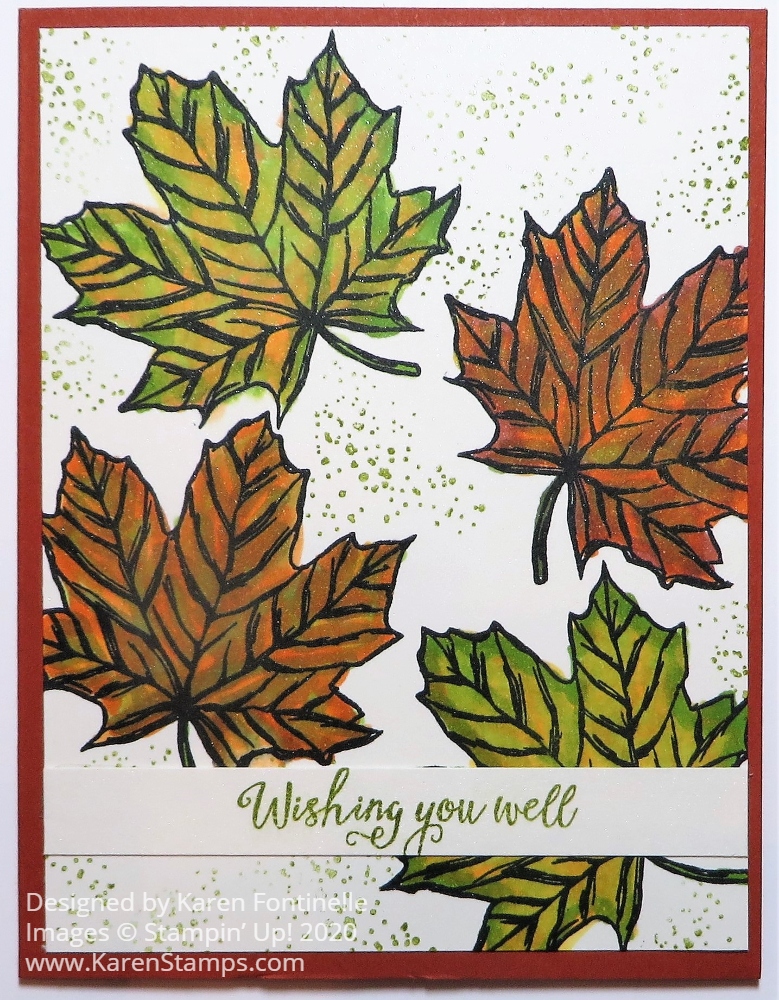
It’s early yet, but time to start thinking about your Thanksgiving plans and any cards you want to make to send to friends and loved ones. The holidays are upon us!