Tag Archives: Feels Like Frost Designer Paper

Freezin’ Fun Christmas Wishes

Freezin' Fun Christmas Wishes

Here’s a cool and icy looking Christmas Card, perfect for the skiing bunny, called Freezin’ Fun Christmas Wishes. The little guys in this stamp set are so cute you can’t help but love them! This little bunny is having fun skiing down a pretty steep slope amid the snowflakes! If you are making several designs of Christmas cards, you might like this one for a fun, whimsical card to send someone special.

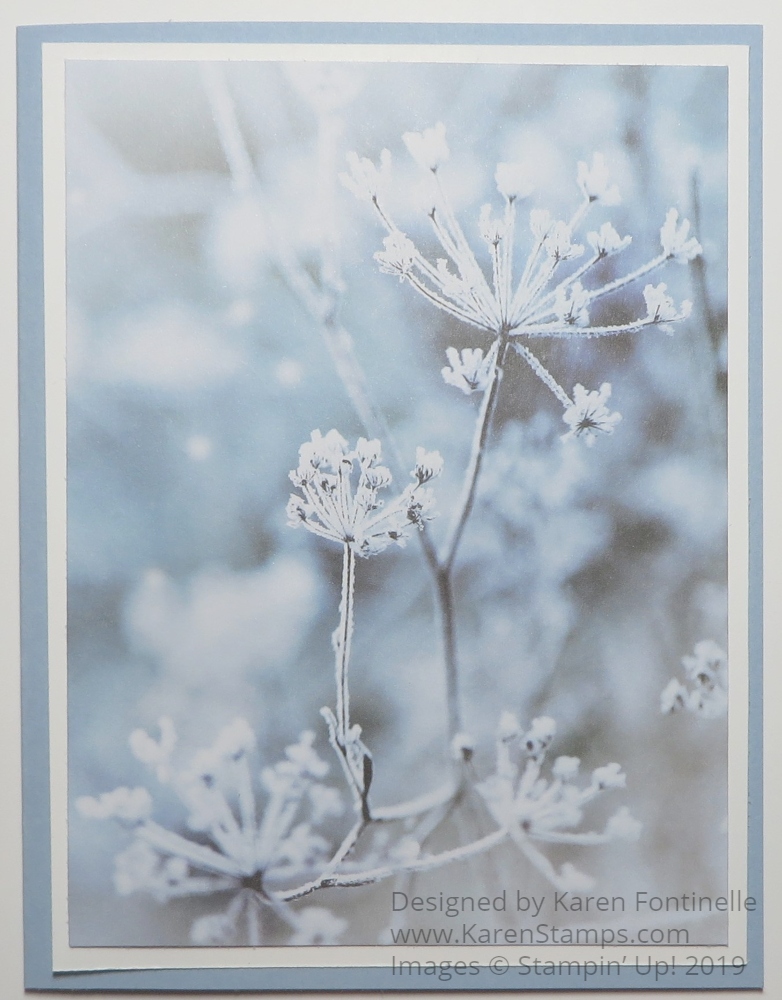
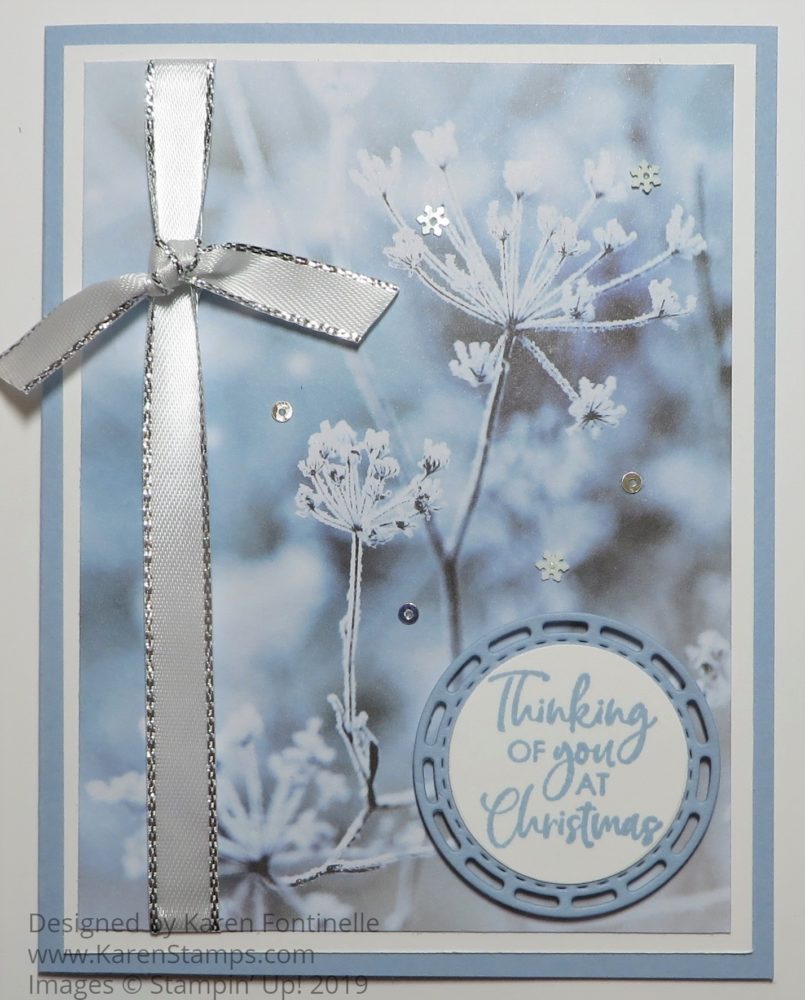
I had planned to use the Feels Like Frost 6″ x 6″ Specialty Designer Series Paper. It was brought back from last year. I guess all the snowy, wintery photographic scenes on the paper were hits! As pretty as those scenic papers are, the other side with silver foil designs is also pretty and fun. It’s hard to use one side and miss out on the opposite side! For this card, the foil side won out, even though I had planned on the wintery scenes! You never know when you start creating!!

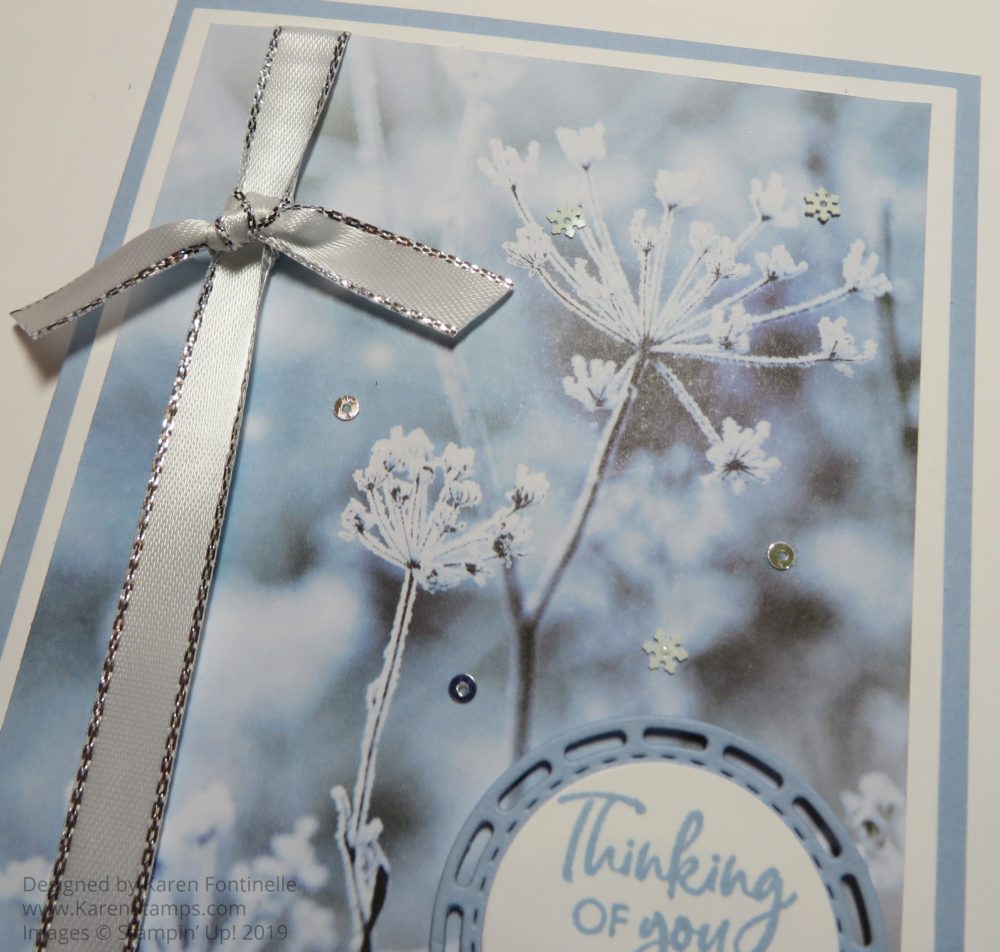
The card base is Balmy Blue with a layer of Whisper White to help the Feels Like Frost paper stand out a little. Cards with foil are always hard to photograph because of glare, but this paper is silver foil with white dots that look like snow.

I stamped the bunny from the Freezin’ Fun Stamp Set and cut him out easily with the Freezin’ Friends Dies. You can buy both the stamp set and the dies together in the Freezin’ Fun Bundle and save 10%.

The Balmy Blue oval is die cut with the Stitched Shapes Dies. In the Freezin’ Friends Dies is just a long curvy die with which I made the snowy slope. I die cut the slope just out of a scrap of Whisper White, then adhered it to the oval and trimmed off the excess with Paper Snips.

The bunny is popped up on Stampin’ Dimensionals skiing down the slope! Of course, I colored him with Stampin’ Blends first, which I love to do! After adhering the layers together to make the card and adhering the oval to the front, I added some Adhesive-Backed Snowflakes. Those were sure fun to stick on! You could also glue on Snowflake Sequins with teeny tiny drops of Multipurpose Liquid Glue. Be sure to grab your Take Your Pick tool when you are handling these tiny pieces! It makes it a lot easier!

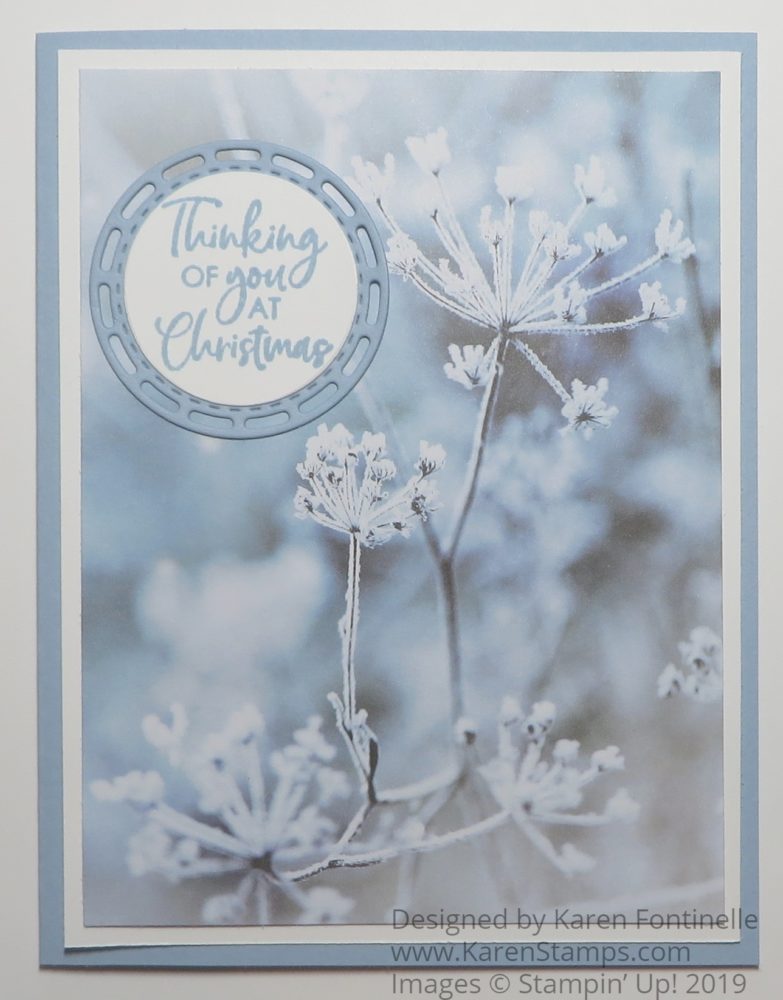
The greeting is stamped in Balmy Blue Ink from the Banner Year Stamp Set. I simply stamped it on a long scrap and then punched the ends with the Lovely Labels Pick a Punch. Not being able to leave something plain alone, I had to add a couple of Rhinestones to the ends!

Even with the die-cutting, this card is pretty easy to make, simple design! Check your stash and see if you bought this designer paper last year and if so, get it out and start making some cards with it. It doesn’t even have to be just for winter or Christmas with the foil designs! If you don’t own it, you can purchase it, but wait until October 1st! There’s a designer paper sale coming!!

SHOP STAMPIN’ UP! ONLINE!

Feels Like Frost Santa’s Sleigh Card

Feels Like Frost Santa's Sleigh Card

As I paged through the papers of the Feels Like Frost 6″ x 6″ Designer Series Paper, I saw this wintry scene jumped out at me. It looked like a scene out in the middle of nowhere and I just pictured Santa traveling all over the world, delivering gifts to children everywhere, no matter how remote, distant, or wintry! I thought the die-cut sleigh with Santa would be perfect up in the sky over this scene.

As I began working on this blog post, I found out that the Feels Like Frost DSP is sold out! At first, I thought I should scrap this post since I didn’t want to advertise something you couldn’t order if you wanted it. But then I realized that if you loved this paper when you saw it in the Holiday Catalog, you probably already ordered it and maybe would like to see another idea for using it. Obviously there is not enough time for Stampin’ Up! to order more paper for the holidays at this late date.

I wanted this card to look like very late at night, out in the distant woods, wherever it is, so I used a card base of Night of Navy Cardstock. Since this cardstock is so dark, you will have to put a layer of Whisper White or a light color inside the card so you can stamp a greeting or write a personal note. Or you can use heat embossing with white or metallic embossing powder on the dark cardstock.

The designer paper is just adhered to the Night of Navy Cardstock. Santa and his sleigh are a die-cut from the Jolly Season Dies in the Holiday Catalog. I used Basic Black Cardstock but you could also use Night of Navy I think. The dies are part of the Night Before Christmas Suite, which is one I absolutely love!

I tried various greetings and finally settled on this one from the Itty Bitty Christmas Stamp Set. I die-cut it with the Stitched Rectangle Dies and also die-cut a Silver Foil rectangle to layer under the greeting. However, in the end, I liked just the greeting by itself.

For a little bit of bling, I added some Snowflake Sequins to the background and also two on the greeting. A really handy thing to have when you are working with sequins is the Take Your Pick tool. You can use the putty end to pick up the sequins and place them and you can use the pointy end for transferring things like rhinestones and jewels from the package to the project.

Overall, this is a very simple Christmas card so if you already own the Feels Like Frost Designer Paper and the Jolly Season Dies with the sleigh. If you don’t have the paper, you could stamp your own background with a night sky and trees below. Mainly I like the story of Santa’s sleigh going everywhere all over the world!

SHOP STAMPIN’ UP! ONLINE HERE!

How To Take a Feels Like Frost Plain Christmas Card To an Embellished Card

Feels Like Frost Plain Christmas Card

While I thought I could do without this beautiful wintery designer paper, I found that I could not and started working on a card. Just layering the designer paper I chose on the card base I thought looked simple and beautiful enough, especially if you were just sending a personal note. Since the card was so pretty as is, I thought about taking it step by step from a plain Christmas card to an embellished Christmas card and showing you the steps.

As you can see, the first card was just a card base of Seaside Spray Cardstock with a layer of Whisper White under the Feels Like Frost Specialty 6″ x 6″ Designer Series Paper. I think the white helps the designer paper stand out even better. I just thought the card looked so elegant enough with just the designer paper that it barely needed anything else! I could see this paper being used to make a series of note cards or regular size cards for Christmas cards, holiday cards, or just cards for winter. Often when we have someone of a different religion who is not celebrating Christmas, we like to have a more generic card to send them during our holiday.

Feels Like Frost Christmas Card With Greeting

To step up the first card, I added a holiday greeting to this plain card. Since there was kind of an open area on the designer paper, I put the greeting in the upper corner. The greeting is in the Itty Bitty Christmas Stamp Set and is stamped with Seaside Spray Ink, one of the newest In Colors. I die cut it with one of the small circle dies in the Layering Circles Dies. I looked through my dies a little bit and decided to use this cute circle layer in the Stitched Labels Dies.

Feels Like Frost Embellished Christmas Card

Next, to step up the card, even more, I added the Silver 3/8″ Metallic-Edge Ribbon. I moved the greeting down to the lower corner of the card And for a little bling, I added the teeny tiny Snowflake Sequins to the card, three of the tiny silver ones and three of the snowflake ones. I just used the tiniest dot of Multipurpose Liquid Glue to adhere the sequins with the help (and I do mean HELP) of the Take Your Pick Tool. This is a great tool, no matter which end of the tool you use. I have used the pokey end and also the spatula for scooping up jewels off the sheet and applying to the project and today the sticky end for picking up and placing the sequins. Otherwise, you would go crazy without it, so put one on your next order!

Feels Like Frost Embellished Card Closeup

Check out this beautiful paper in the Stampin’ Up! Holiday Catalog and in the Online Store. Even though the photographic wintery images are beautiful, wait until you flip the paper over to the other side with the silver foil images! (As I write this, I see this paper and matching ribbon are backordered. The Feels Like Frost will be back in stock next week and the ribbon at the end of October.) (I must have gotten the last ones!)

If you are unsure about making a card, just start with something very simple like I did with just the designer paper. Then see what greeting you might want to add. Next see if you have some ribbon or jewels you want to add or a layer for the greeting, whatever it is. Sometimes it is good to stop before you overdo it! And sometimes it is good to jazz it up a bit! Anyway, check out the steps I took to take this plain Christmas card to an embellished Christmas card.