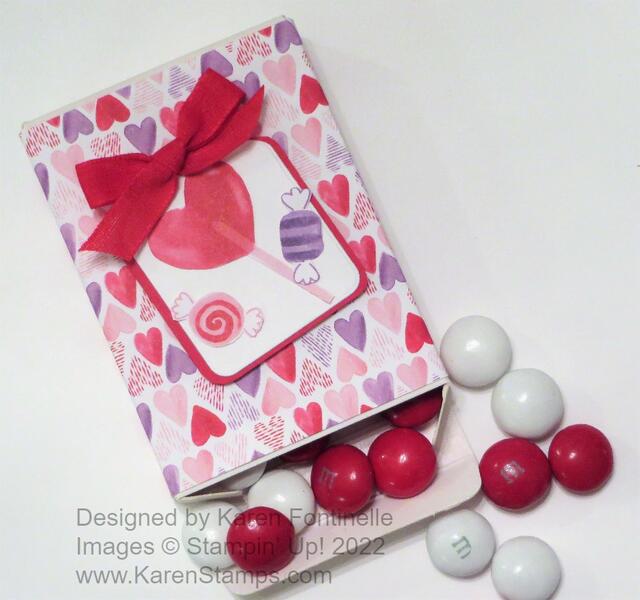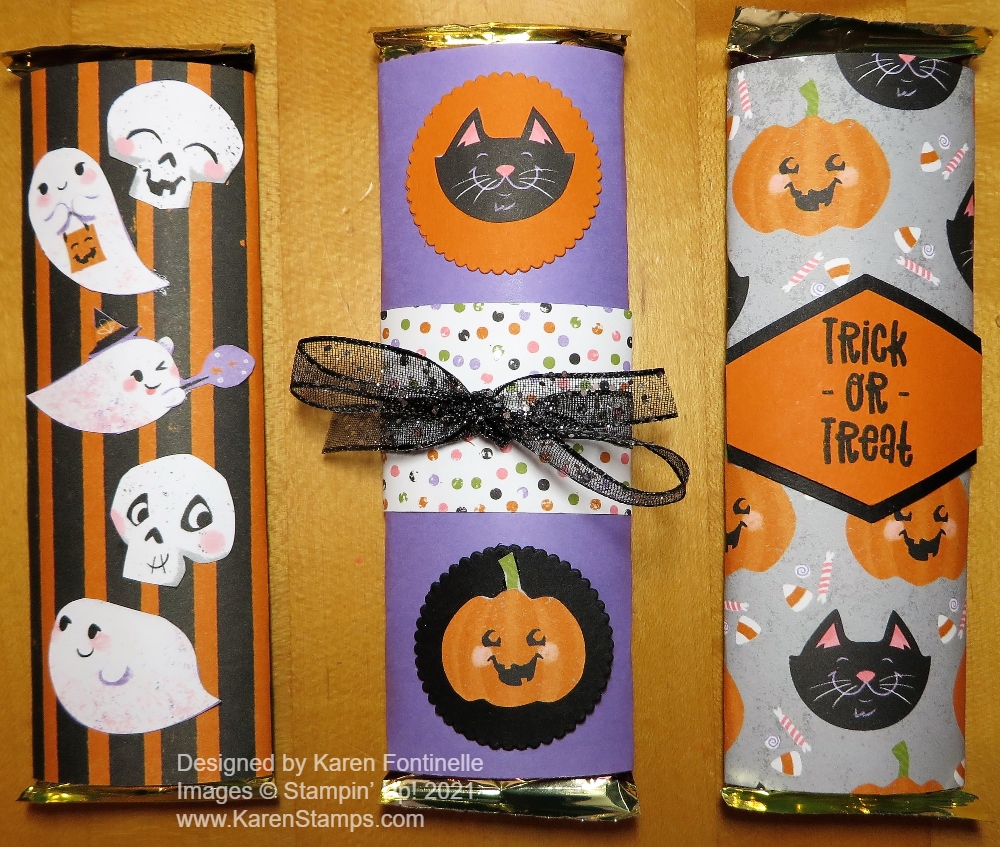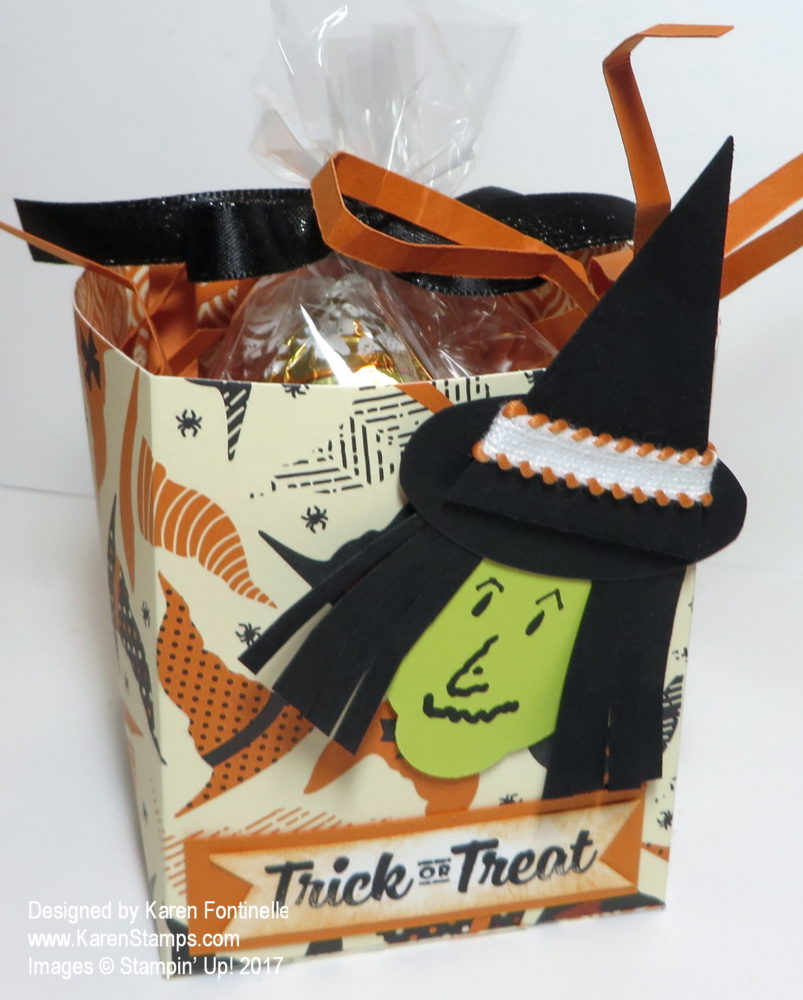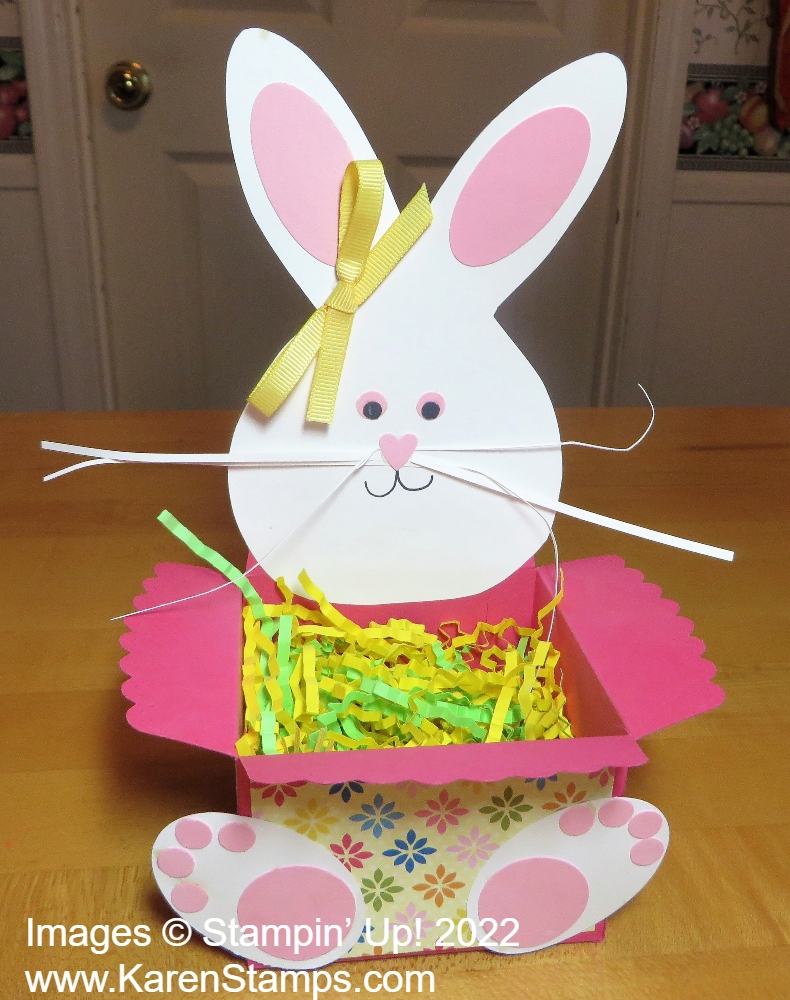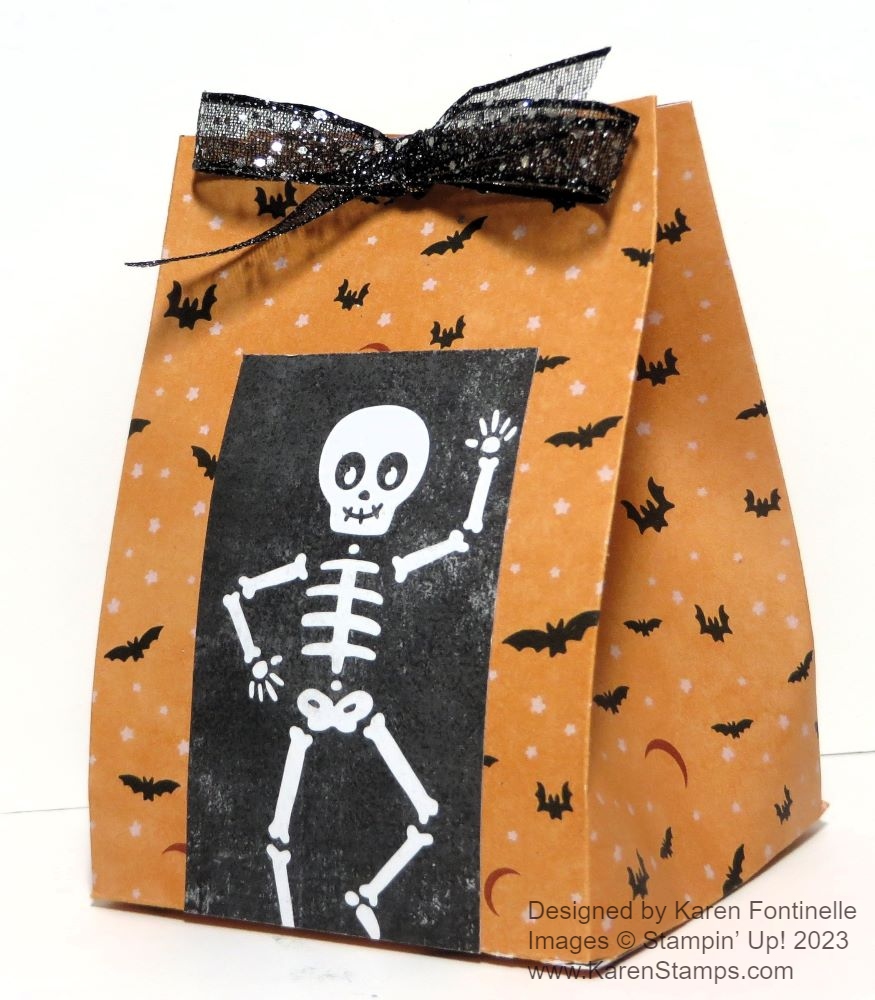
Here is a quick and easy candy or treat holder you can make! It’s the Them Bones Halloween Treat Bag and you can copy this exactly or make it and decorate it however you like! It only took a few minutes to make!
Start with a piece of cardstock or designer paper that is 12″ x 6″. Keep in mind that 2″ of that will be the bottom flaps, so if you want your treat bag taller, you need to add more height so maybe you would want to cut the paper 12″ x 8″. I used the batty pattern in the Them Bones Designer Series Paper in the Stampin’ Up! Holiday Catalog.
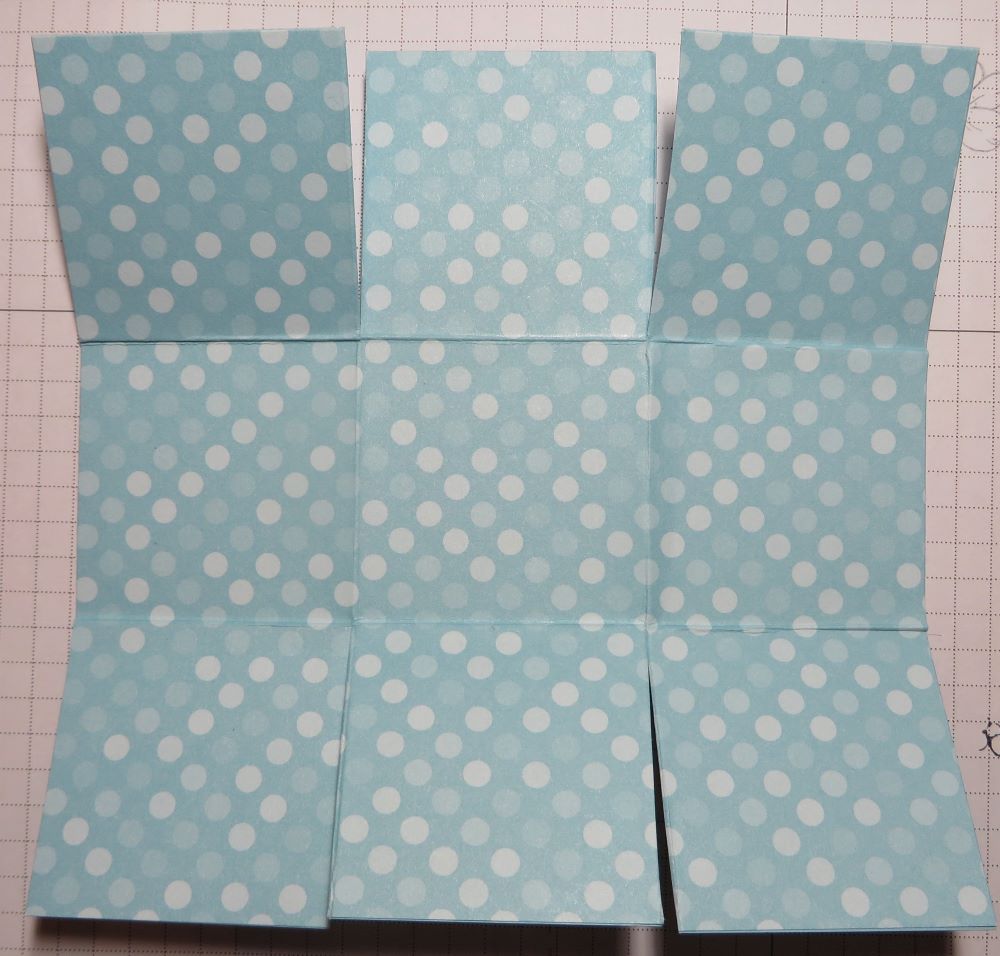
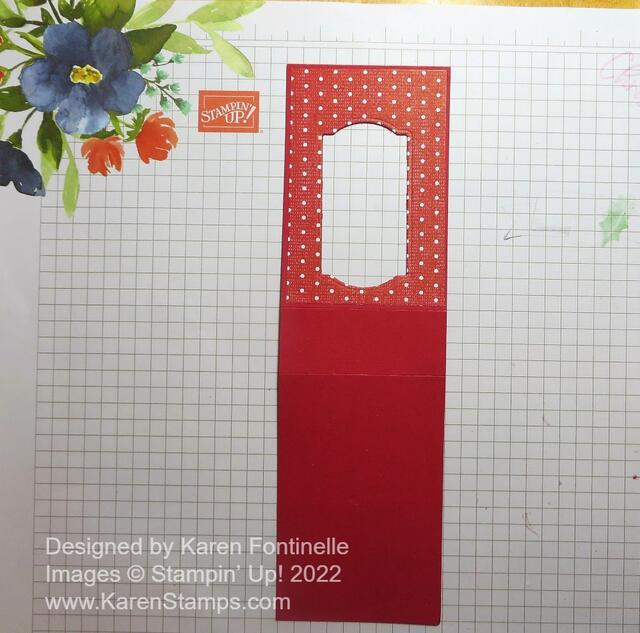
Using the Paper Trimmer or Scoring Tool you will score the paper so it can be folded into the bag shape. Pay attention if your paper has a pattern so you don’t end up with it upside down! Place the paper vertically so you can score the bottom flaps at 2″. Then turn the paper so the 12″ length goes across the top, horizontally. Score at 1″ 3 3/4″, 6 1/2″, and 9 1/4″.

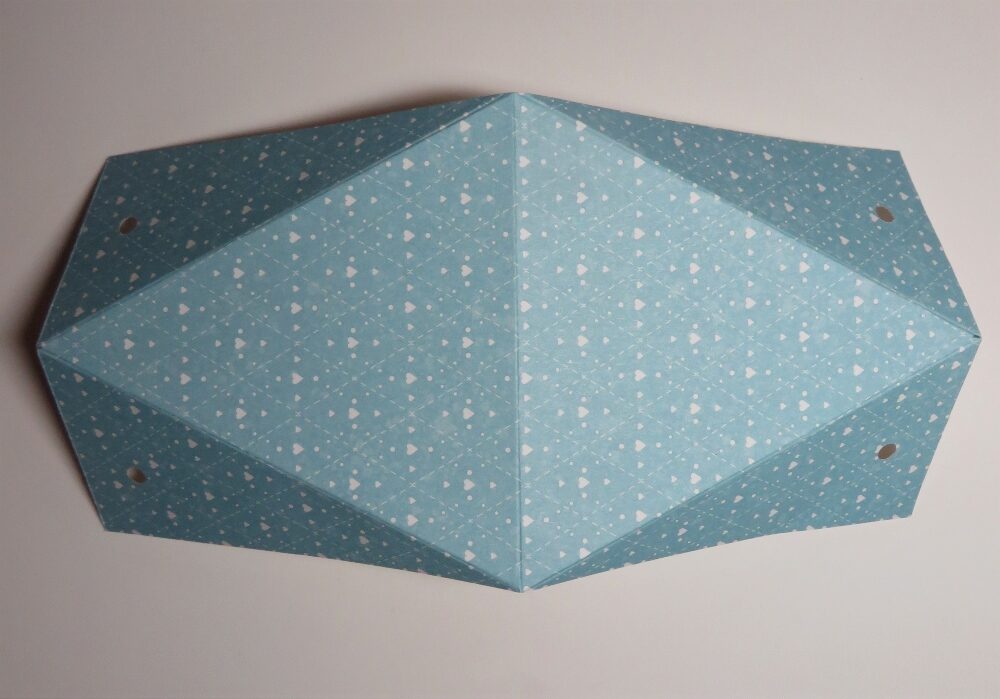
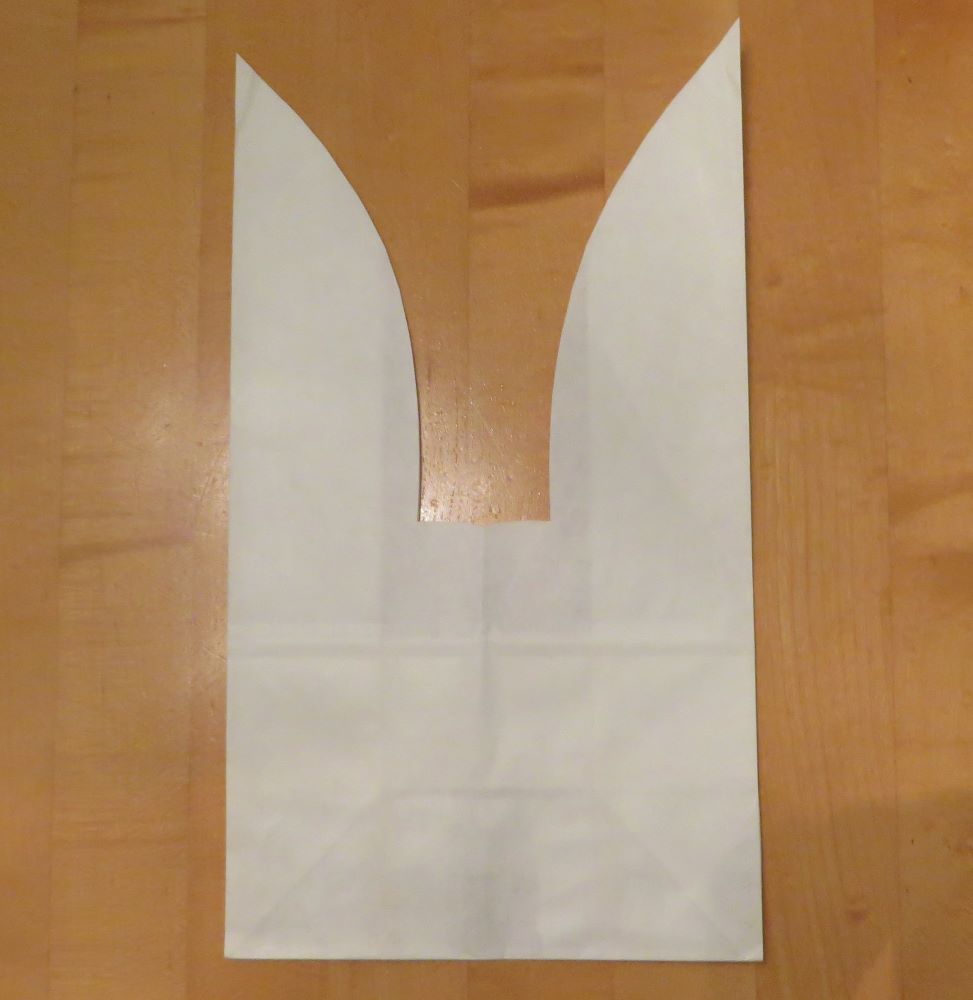
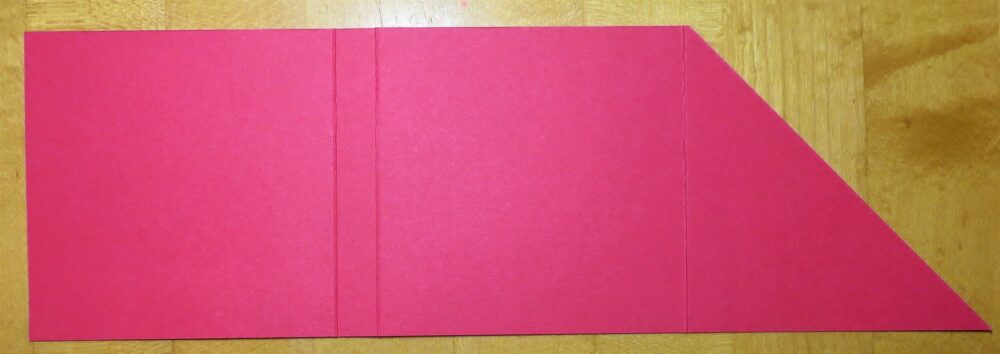
Crease and fold all the score lines and use a Bone Folder to get a sharp crease. Cut out the small section at the bottom as you see in the diagram above (the light blue area). Cut up on all the bottom score lines for the flaps just up to the 2″ score line.
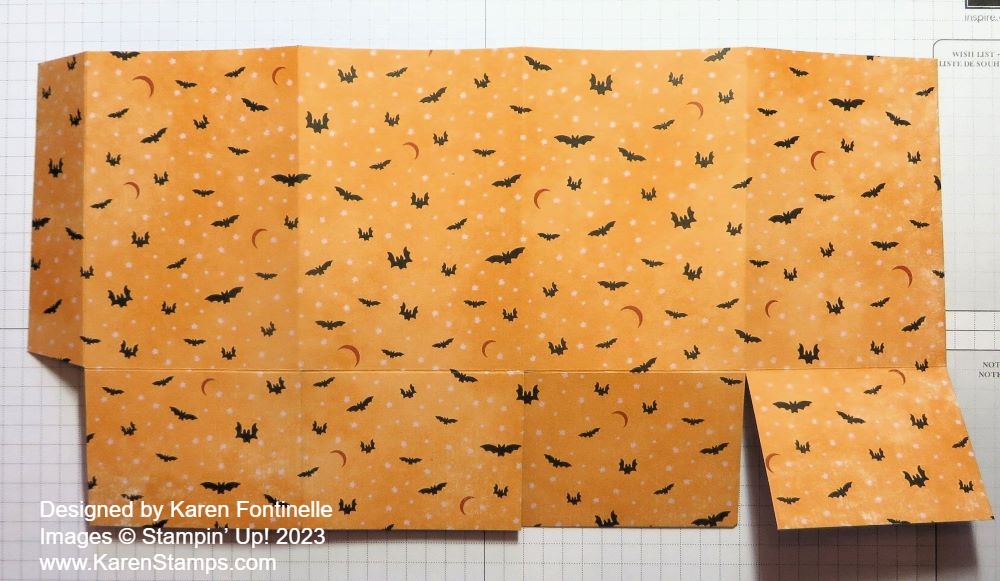
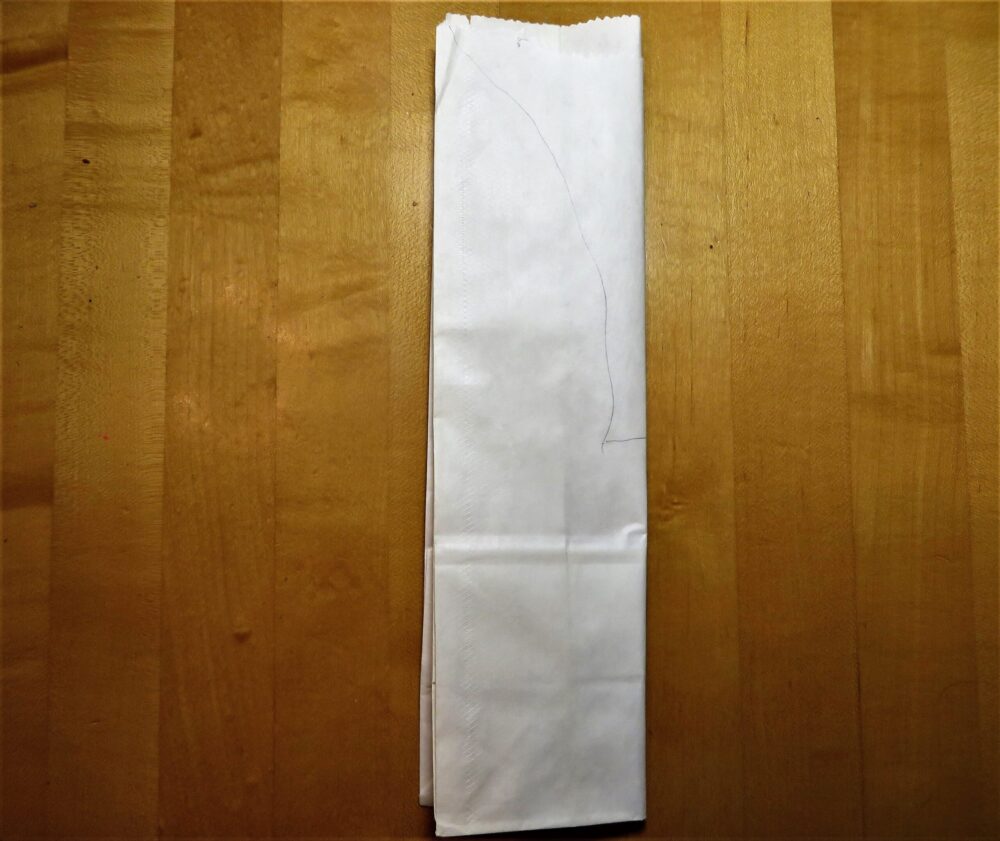
You can pretty well see from my paper above how it is scored, creased, and the bottom flaps cut apart. If you flipped the designer paper over, you would put adhesive on that narrow strip on one side and it adheres to the straight side on the other end of the paper.
Fold everything to form into the treat bag. Make sure you see how it all goes together before you start glueing! Add some strong Seal+ or Tear n Tape on that narrow section above the cut off piece. Then just fold the other end over flat on the table so it all lines up. This is easier than trying to hold it in your hands! Next, glue the bottom flaps together. Push your Bone Folder or something down inside the bag so you can push those bottom flaps together after they have been adhered to get a strong bond.
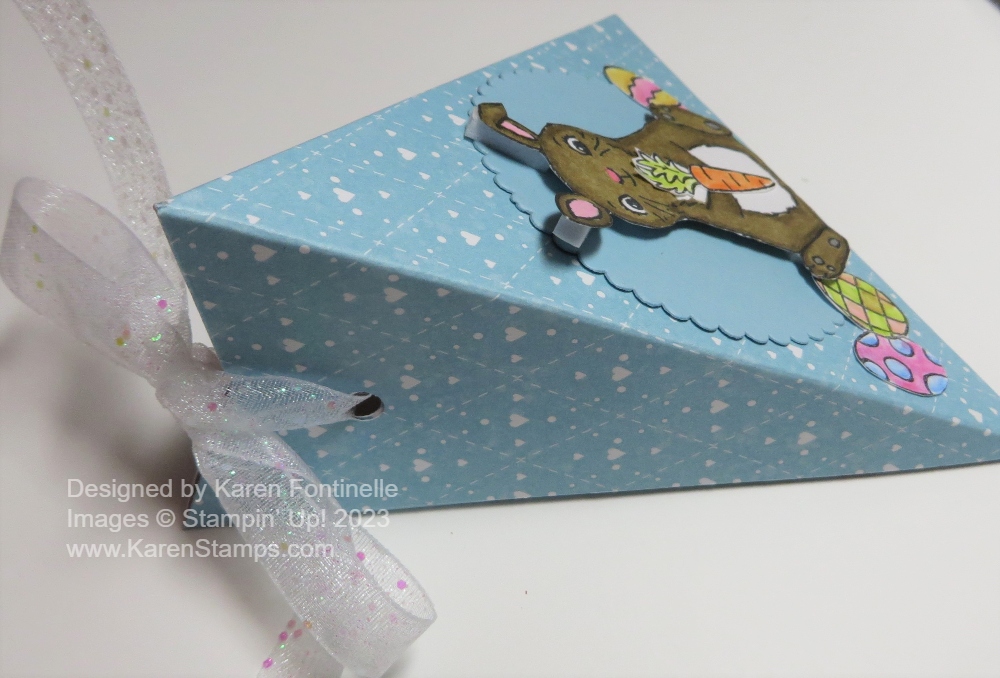
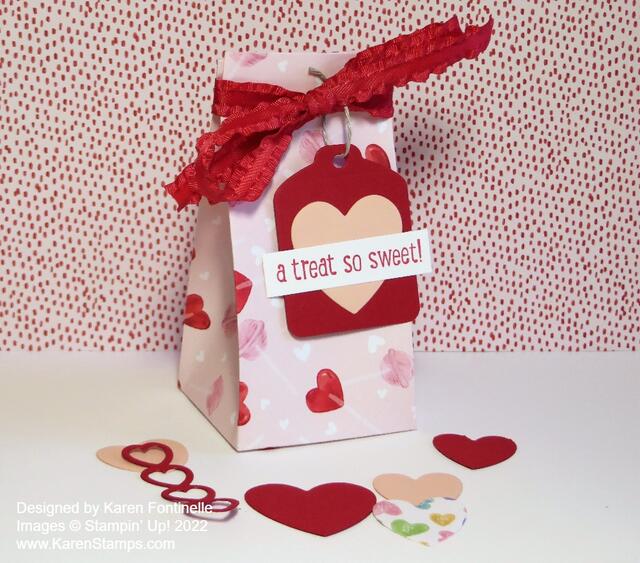
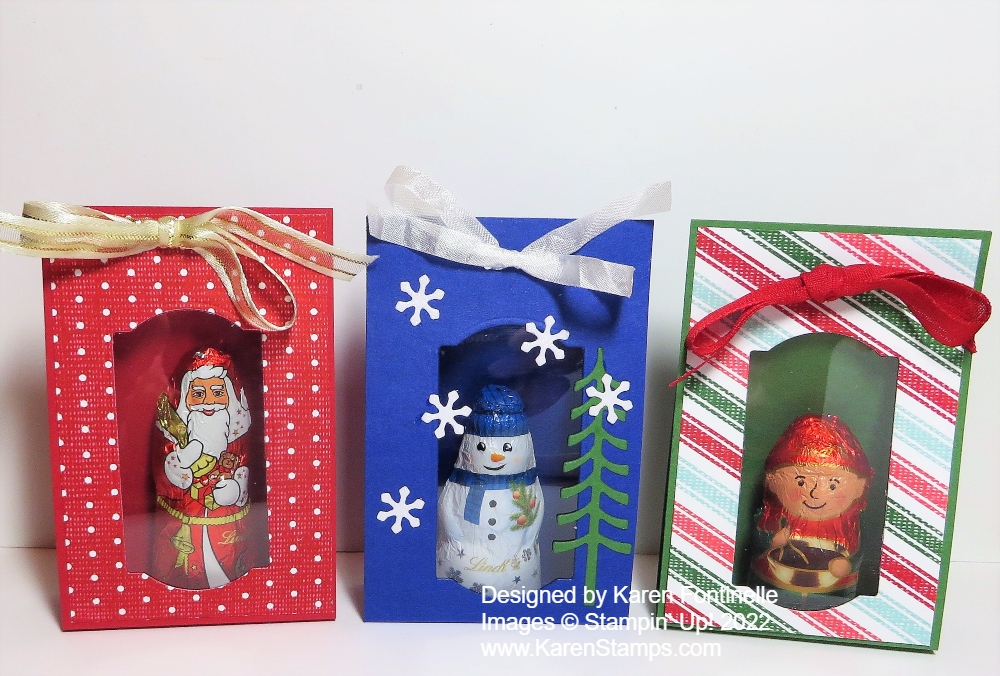
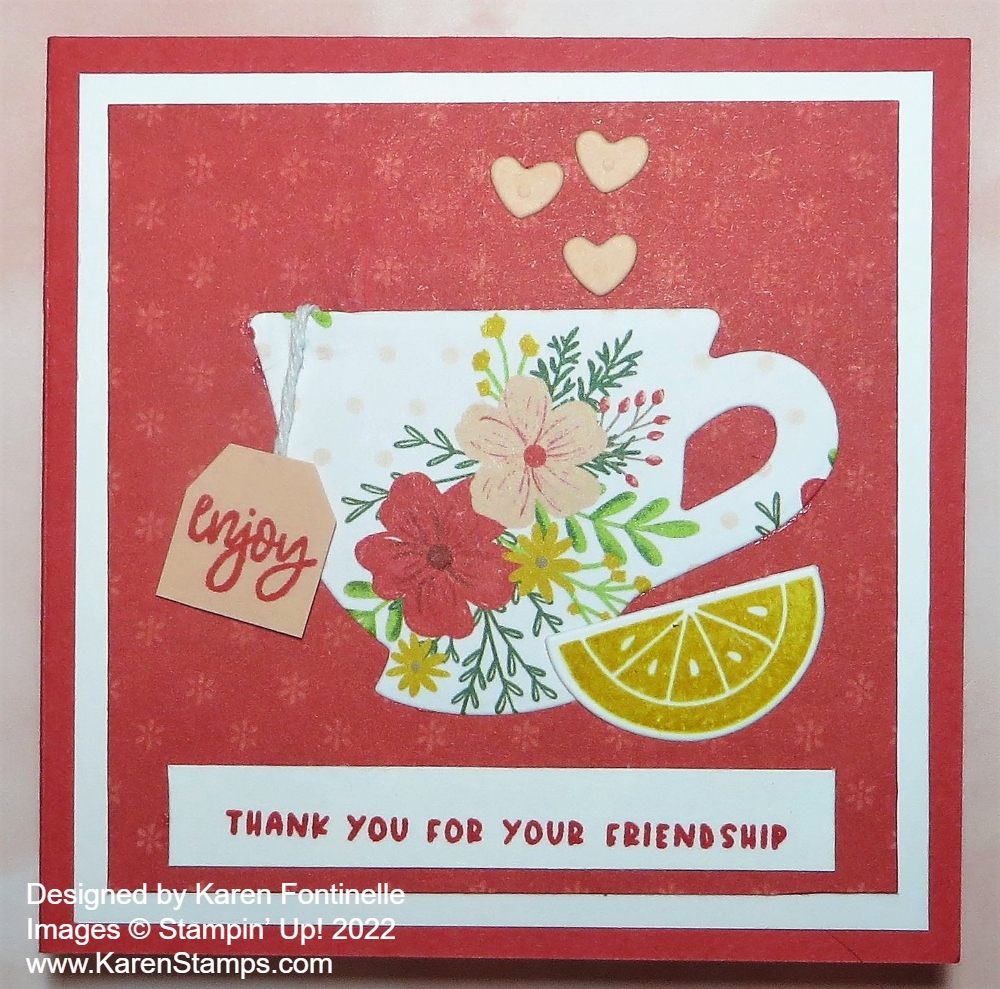
Before you decorate the bag, look and see where the paper is adhered together to form the bag shape so that you can put that in the back so it’s not so visible. Then decorate the front of the bag however you like. I cut out a rectangle with a skeleton on it that fit perfectly on the front of the bag. You could add a greeting or some jewels. I decided I liked it as is.
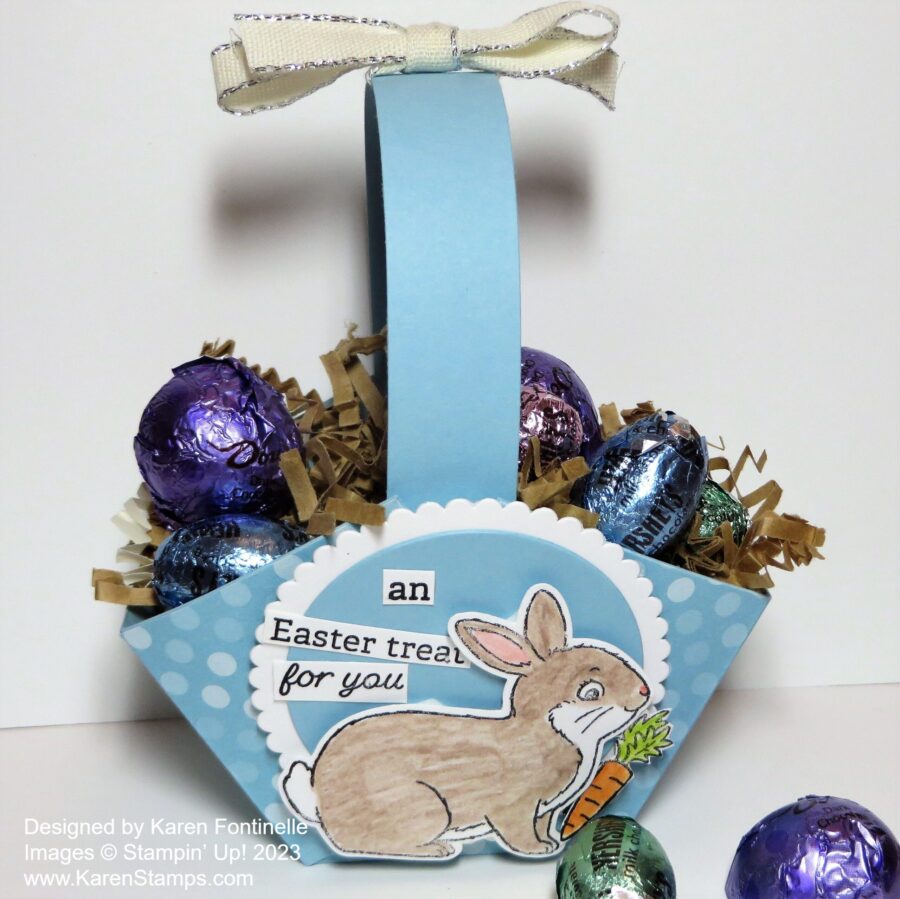
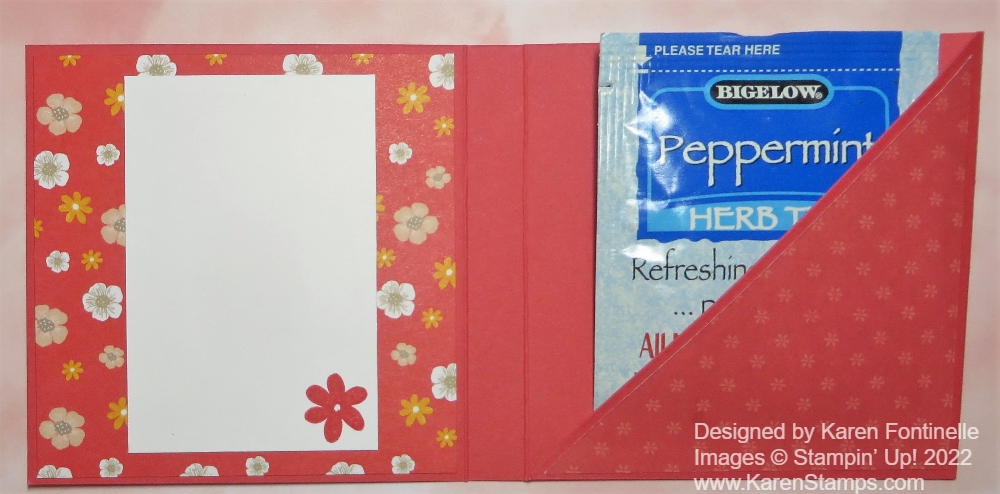
With this pattern, you can leave the top of the bag open if you like. Before adhering anything, you could even fold the top edge of the bag down if you wanted to show the inside design of the paper. I didn’t want my bag to be much shorter than it is so I didn’t do that. But if you want to put your treat inside and then close it up, you can add some kind of clip or punch two holes in the top with a punch and put a ribbon through. I used this Black Glittered Organdy Ribbon (retired) but the gingham ribbons we sell now would be cute also. To close the top of this bag, just push in the sides and work with it until you get the top edges even and the sides and bottom how you want them.
As I said before, you could use any paper and decorations to make these little bags for any occasions to hold treats or a small gift! Once you get the hang of making these little bags and boxes with your stamping supplies, you will open up another way to be creative!