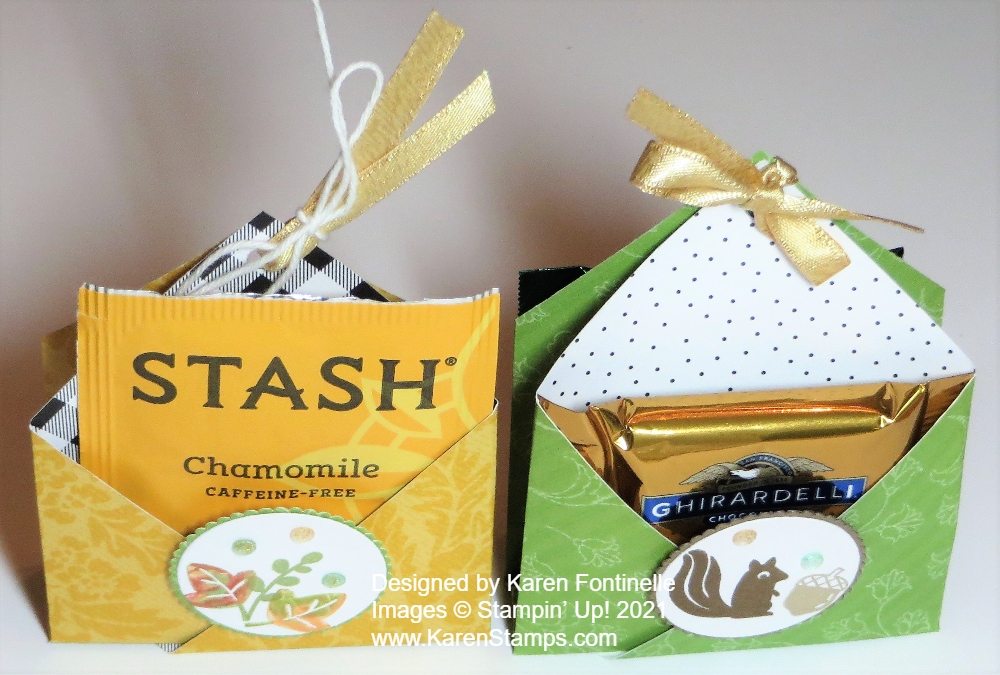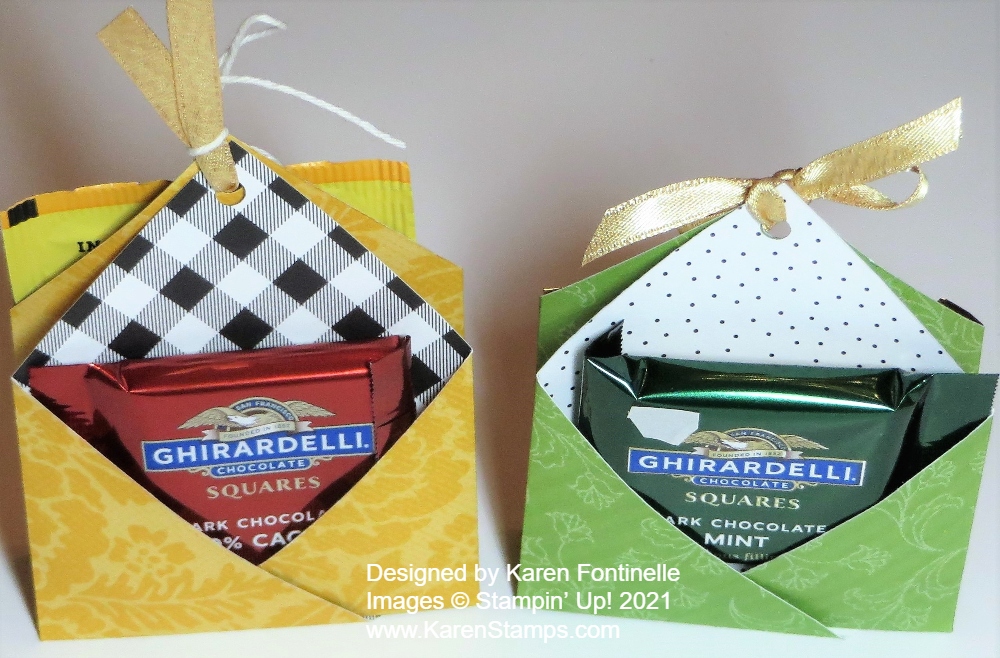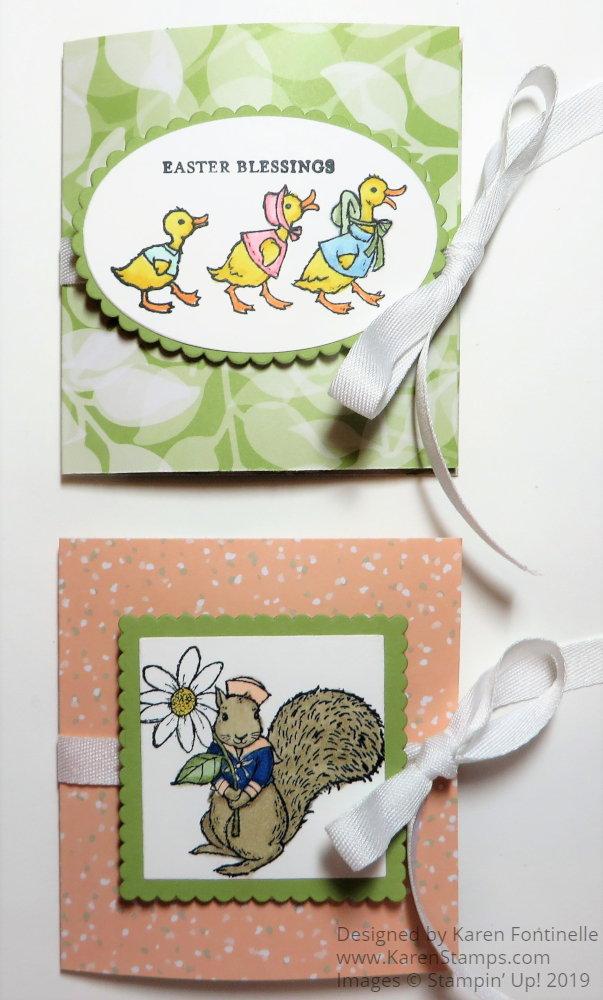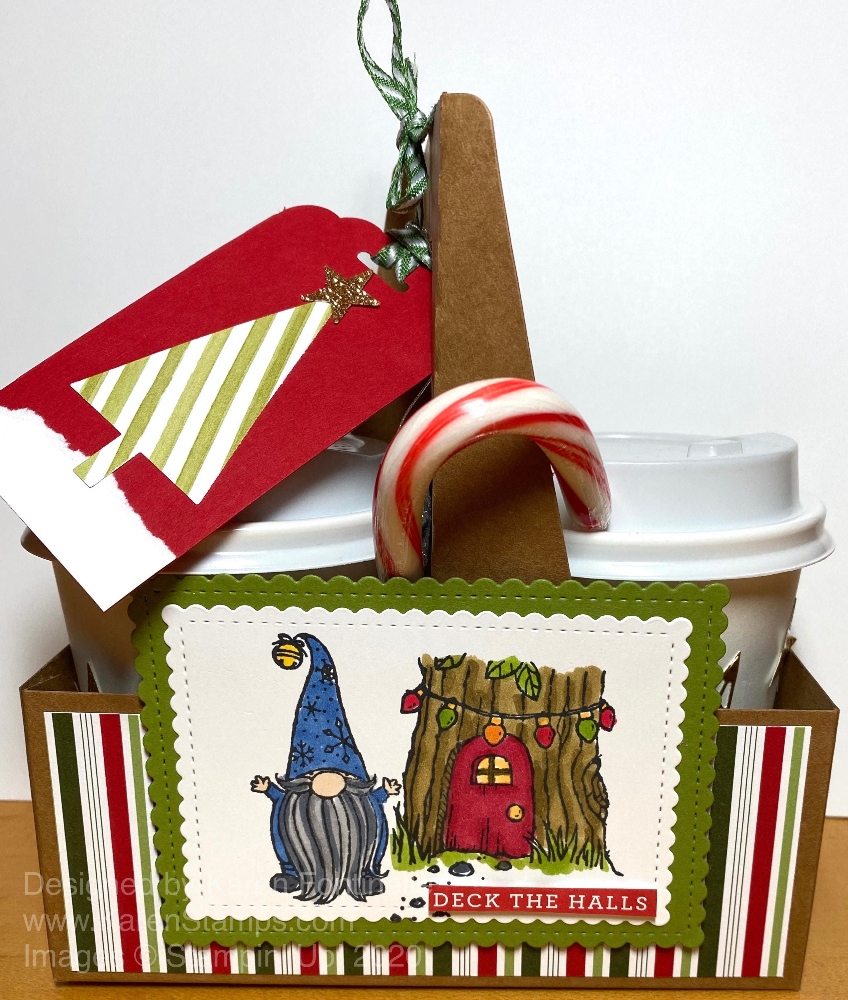
Easter will be here soon, less than a month now, so you might be thinking about making some little Easter decorations such as these Expressions in Ink Easter Baskets. These little baskets are super easy, you have probably made them before. After you make them with designer paper or cardstock, just decorate and embellish however you like.
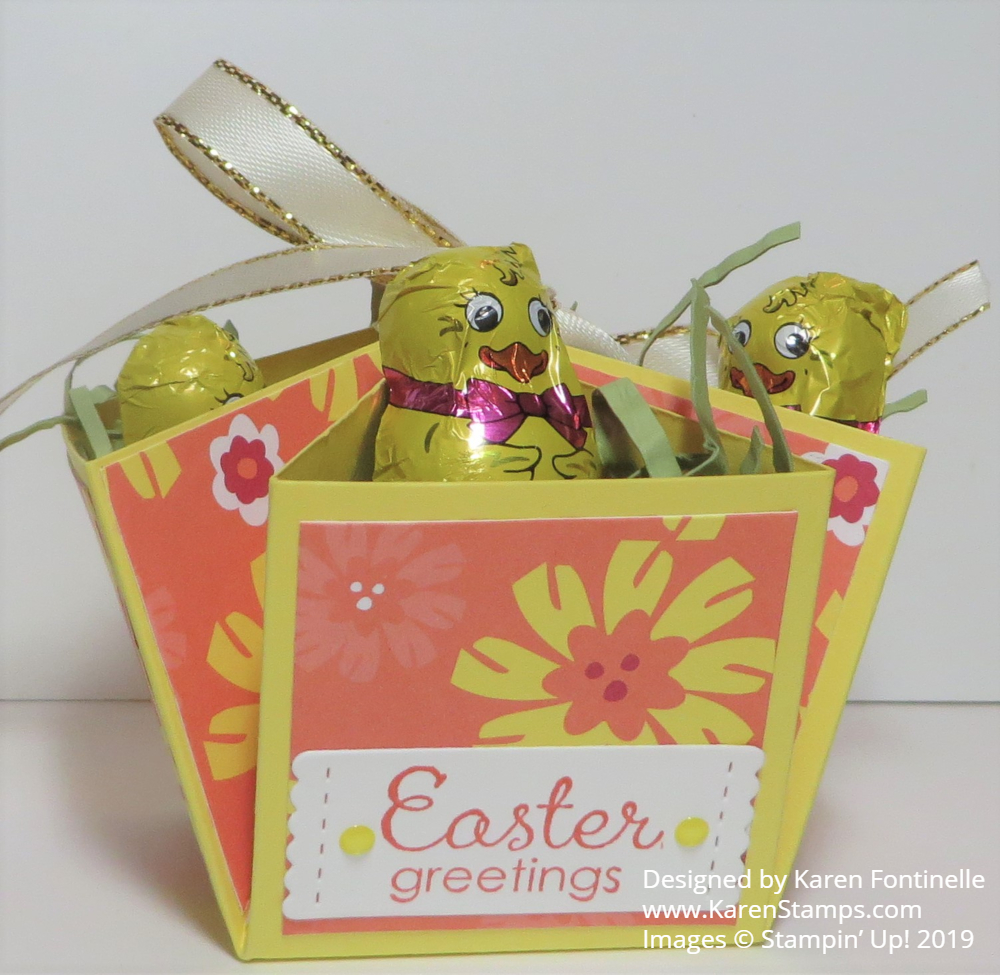
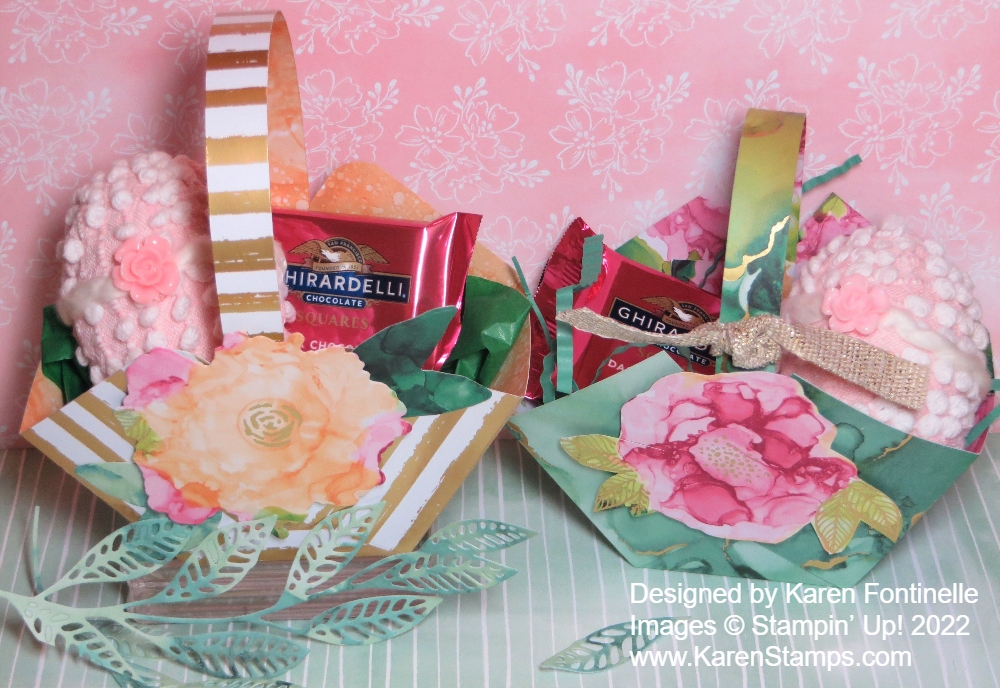
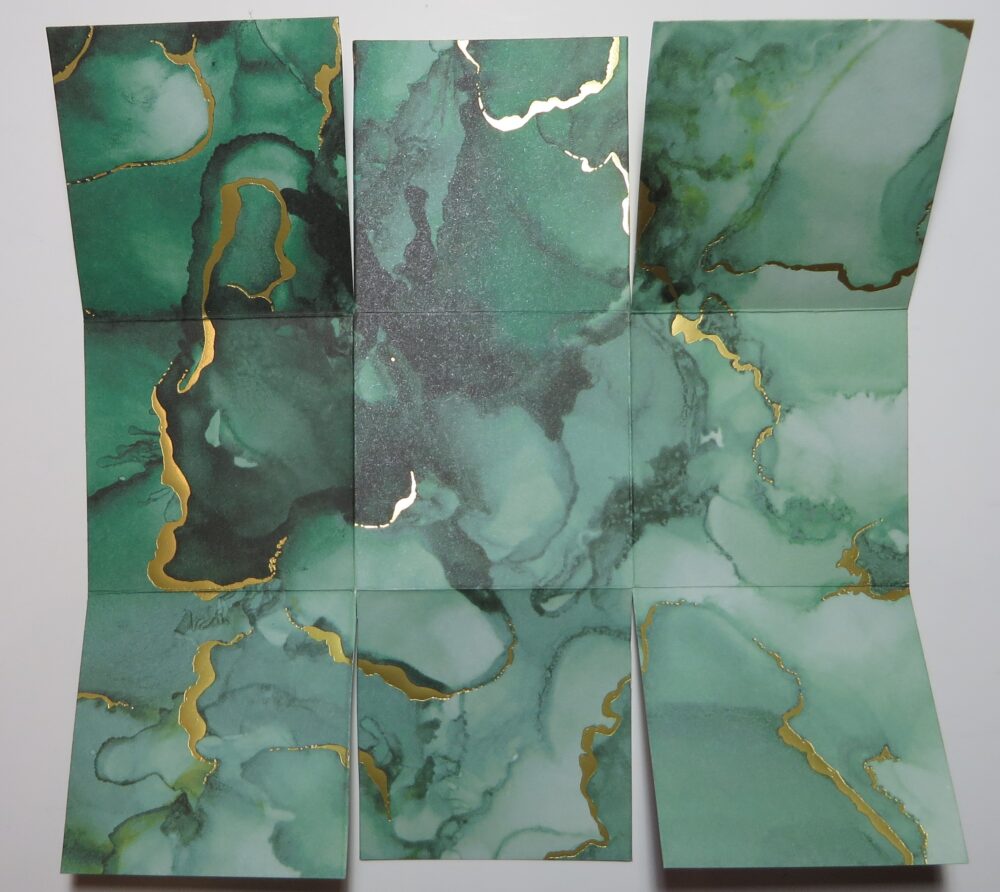
I had the idea to make these Easter baskets a little “fancy” by using the Expressions in Ink Specialty Designer Series Paper. I love the watercolored look of all the designs on the paper plus the gold foil accents on some of the papers. It is incredibly beautiful paper! If you want a sturdier basket I would suggest making the basket with cardstock, maybe even the Basic White Thick Cardstock, and then adhering designer paper on the cardstock to decorate. My baskets are just made with designer paper and then the inside is also gorgeous!
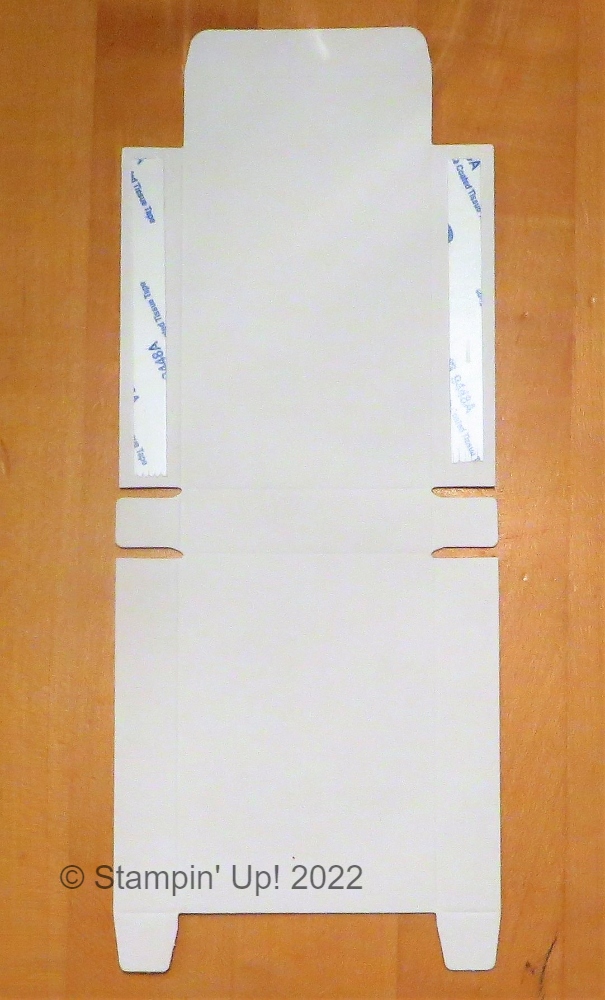
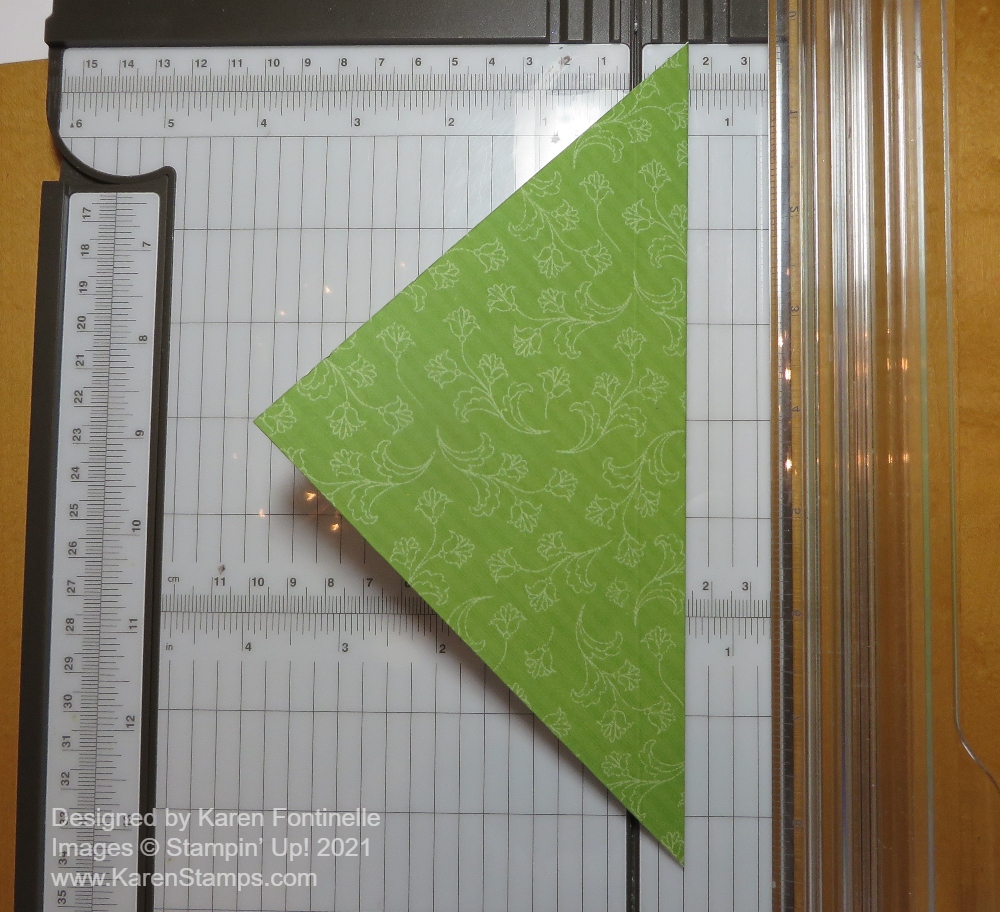
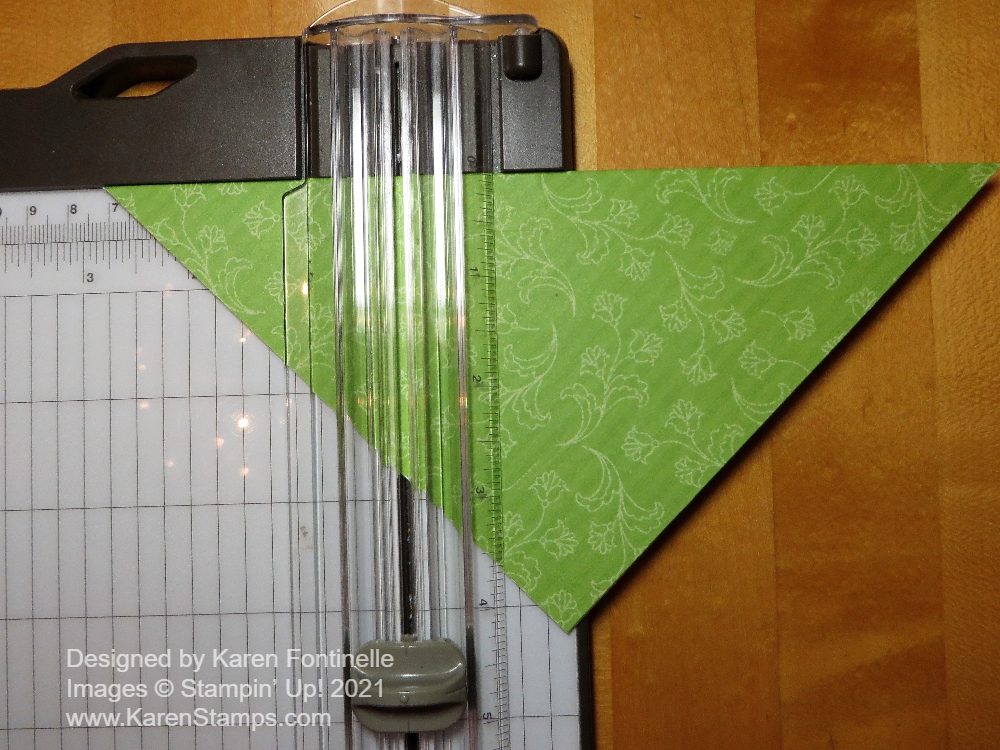
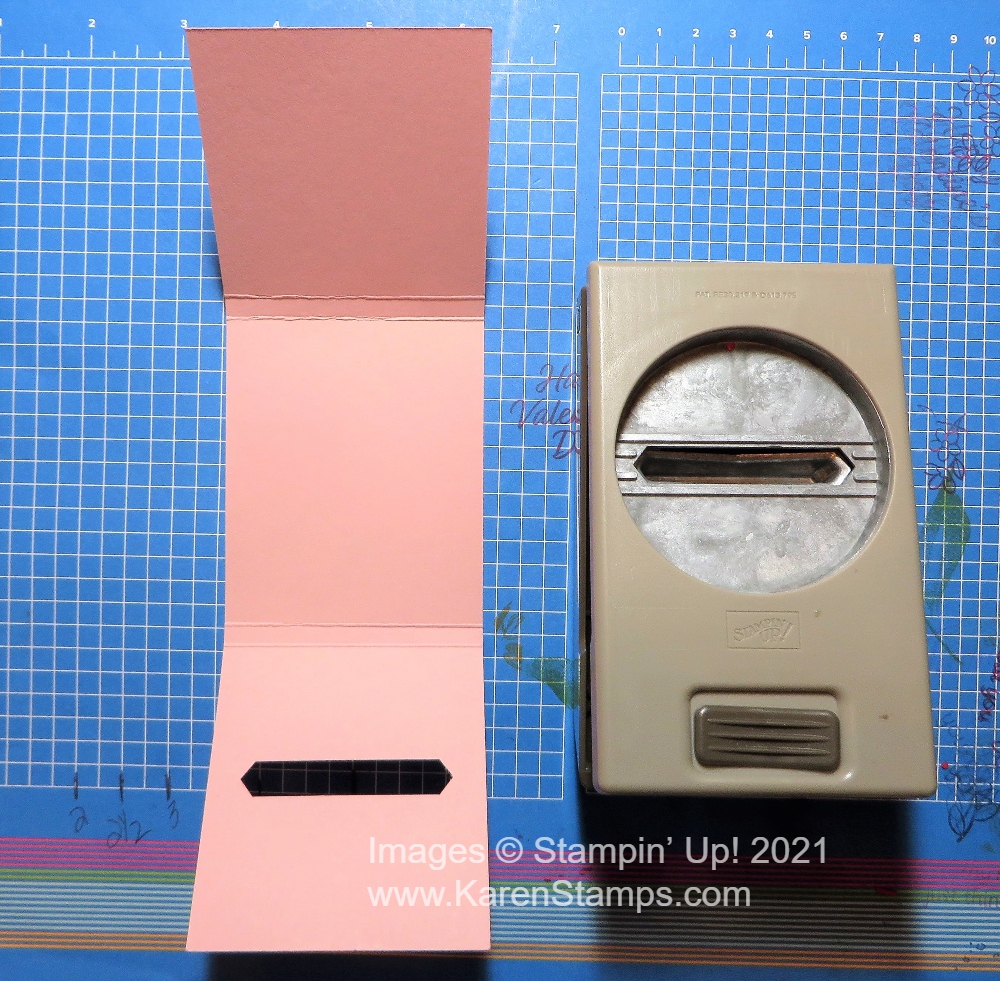
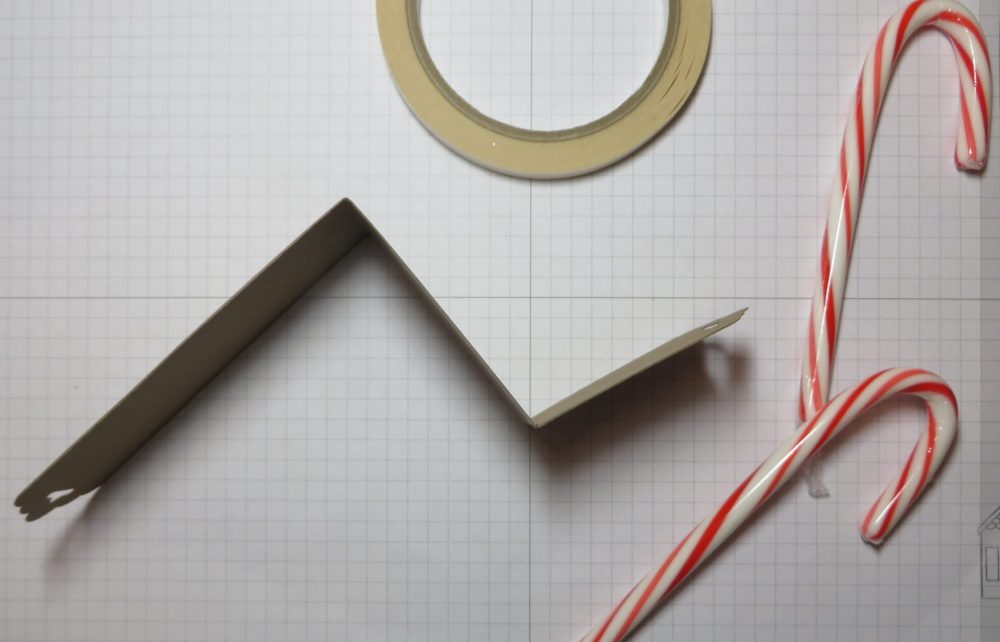
To make the basket, cut a piece of paper at 6″ x 6″ and score like a tic-tac-toe board. Score at 2″ and 4″, then turn the paper and score again at 2″ and 4″. Cut up on the two vertical score lines up to the horizontal score line. Do the same on the opposite side. See the photo below. Cut a handle of about 8 1/2″ x 1/2″.
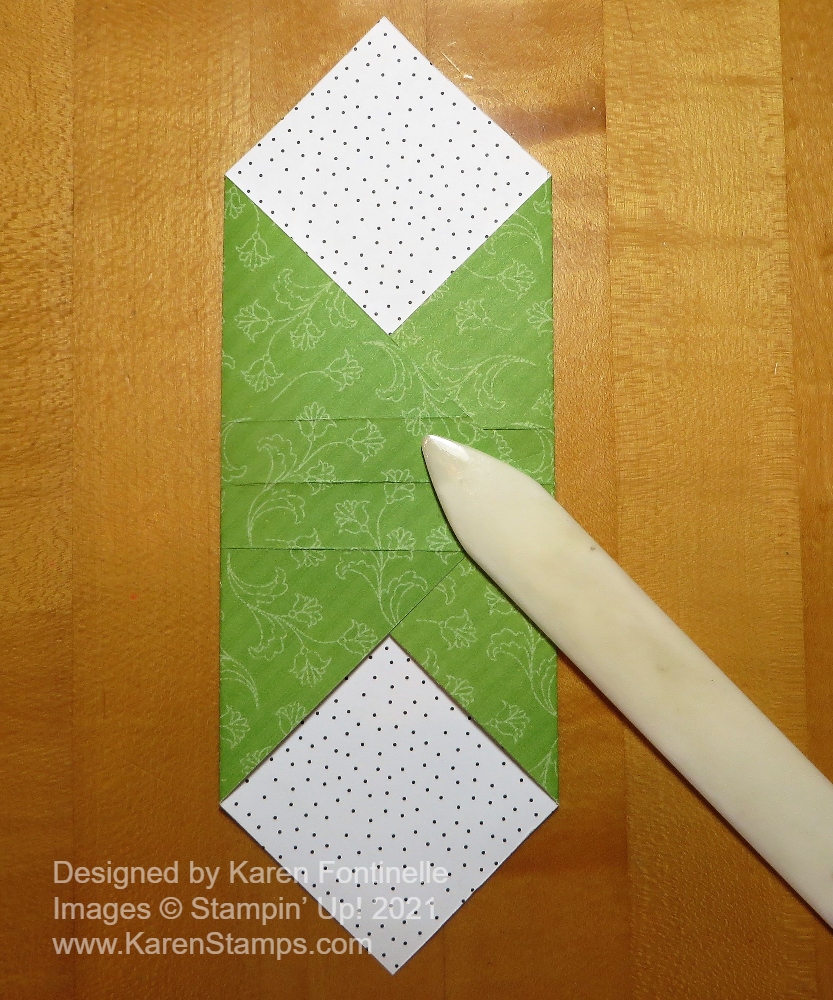
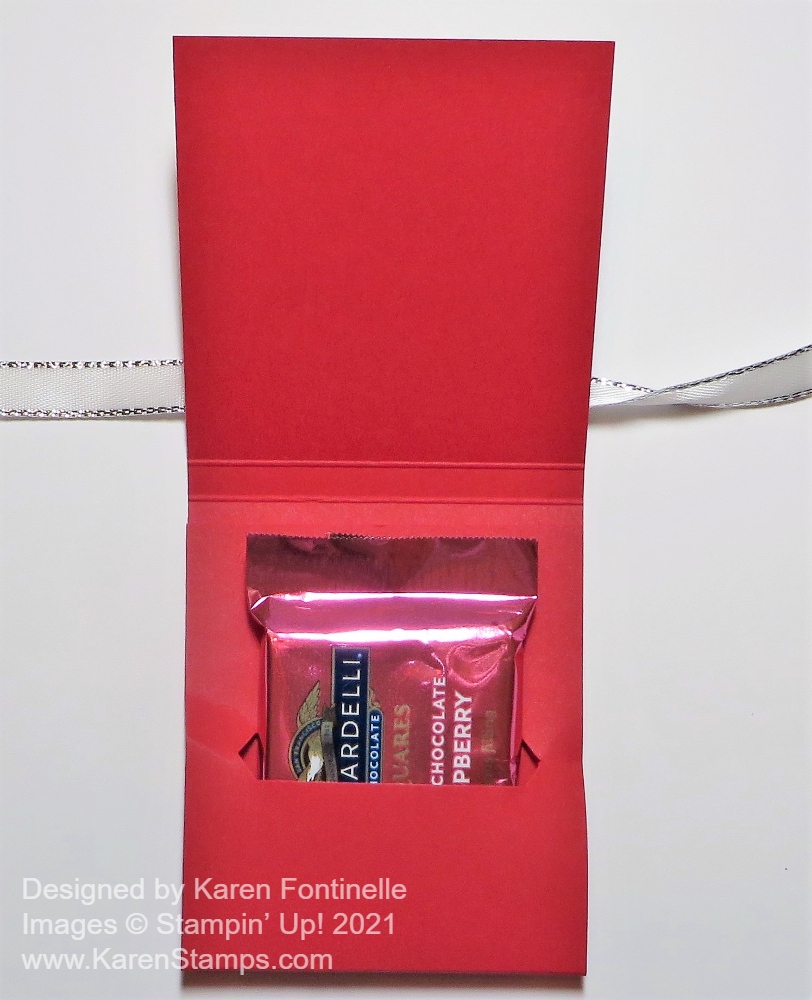
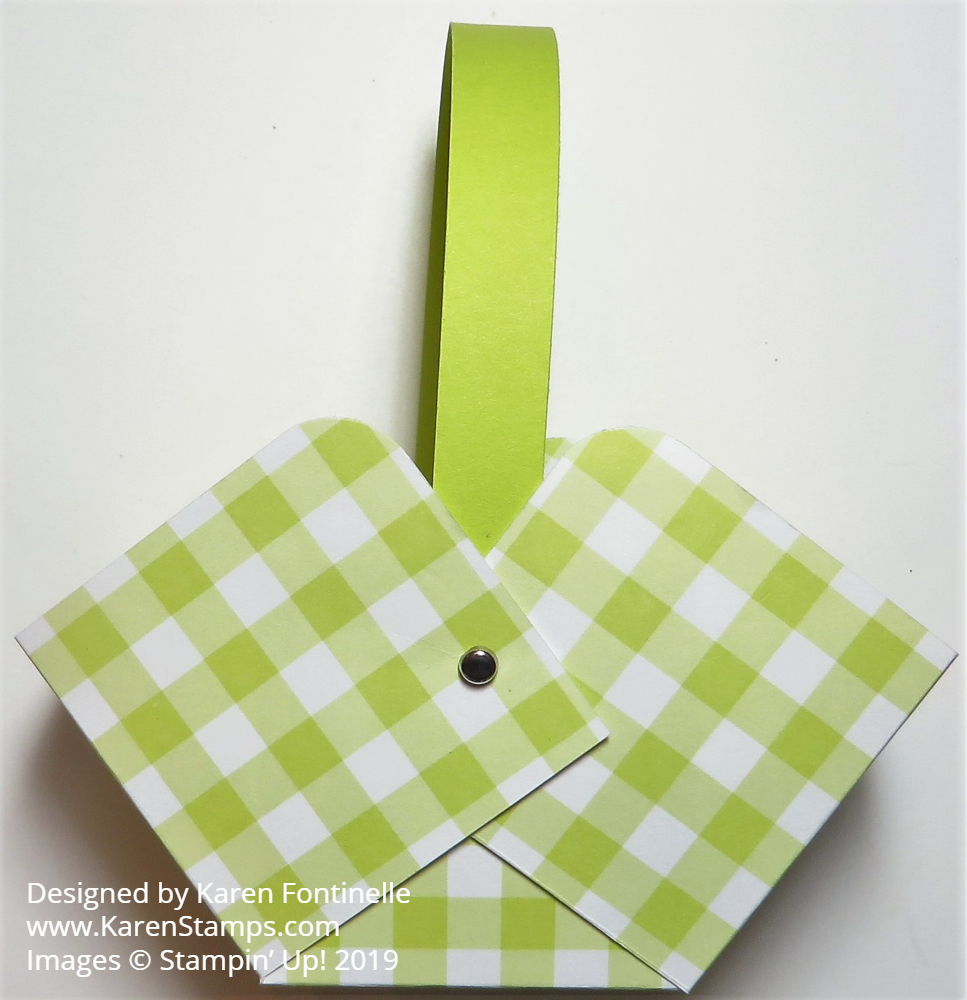
Here’s how to fold the sides in and how to overlap them. If you want to round the corners, you can do that with and corner rounder punch you have or the current Detailed Trio Punch. The photo below from a couple of years ago shows how I folded the sides. You can mostly eyeball where they go or make a pencil mark on the inside of the basket at the 1″ mark since each section is 2″ wide and you can use that mark as a guide to see how far in the sides should go to be even. Use a brad on each side or just some decent glue to hold the basket together.
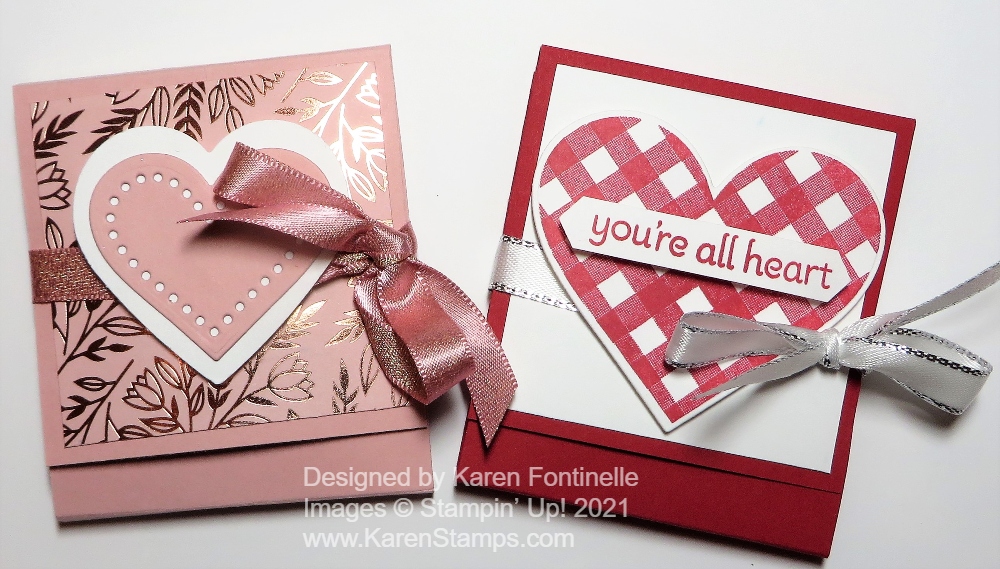
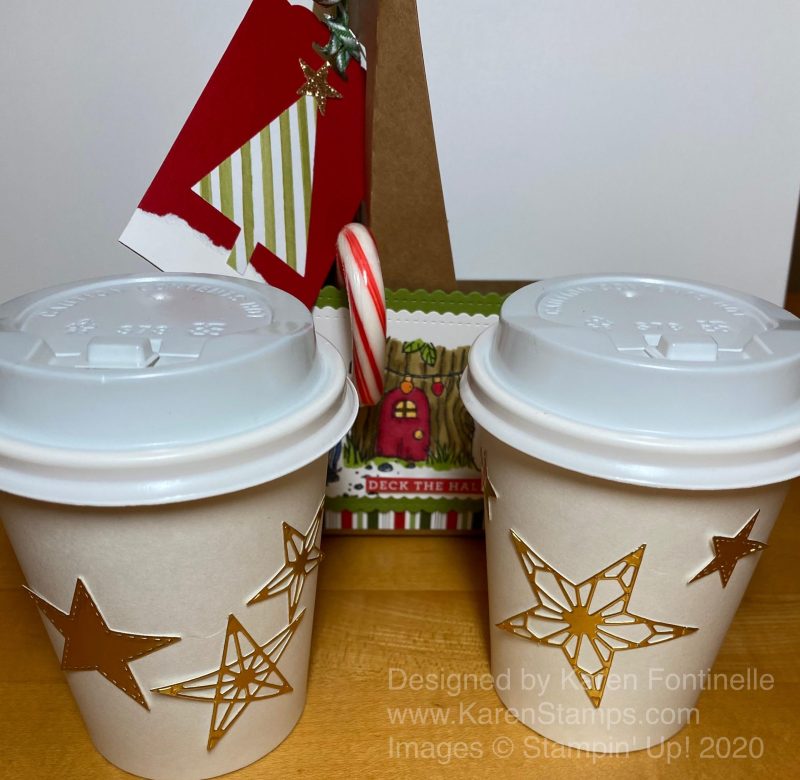
On the basket I made on the left side with gold stripes, I die cut the flower out of a piece of the designer paper using the Artistic Dies. It didn’t match exactly but it was pretty close and looked fine. Then I also cut out some leaves with the greenish portions of the designer paper.
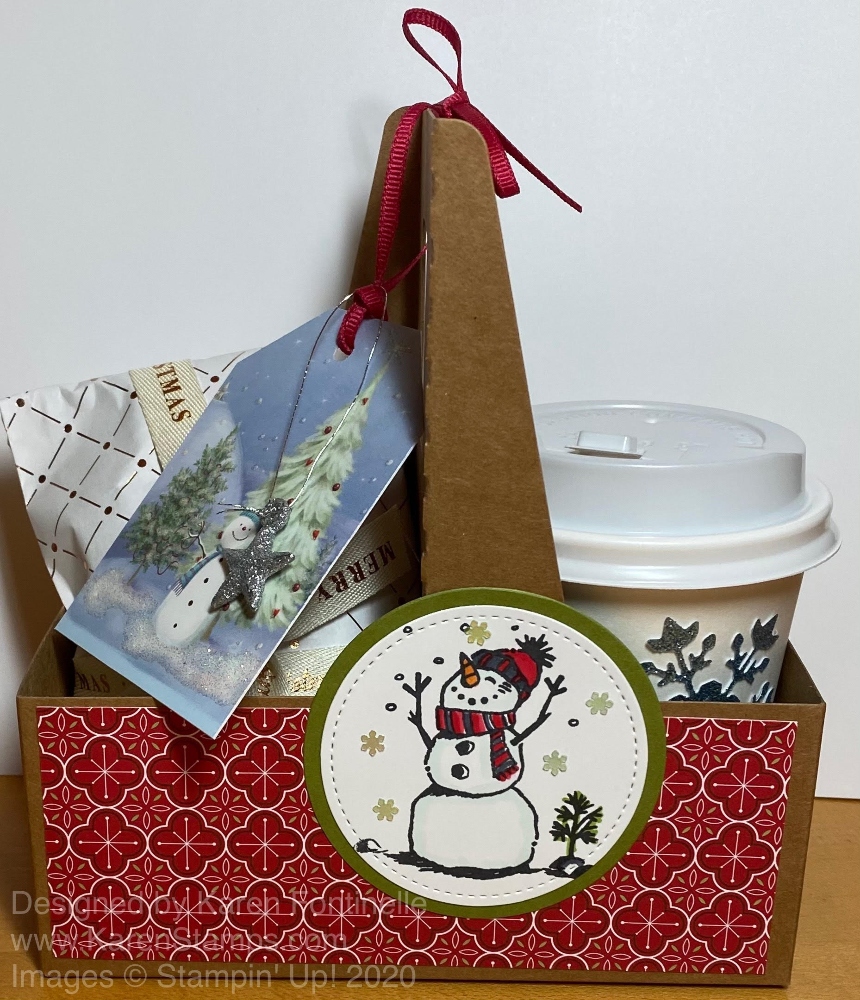
On the green basket, I simply cut out the flower and leaves by hand. It doesn’t have to be exact because the flowers are so “flowy” anyway, there isn’t an exact image line. On both baskets, I popped the flowers up with Stampin’ Dimensionals.
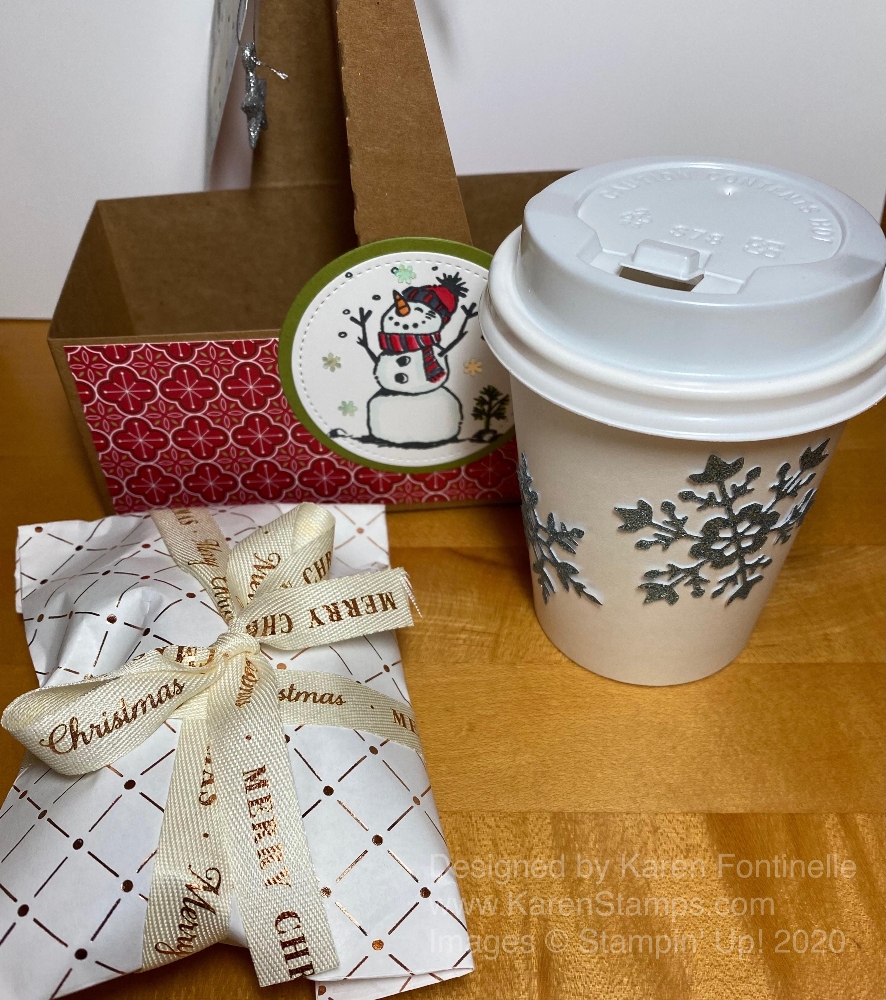
If you don’t have “Easter grass”, you can make some but cutting narrow strips of green cardstock and then running it through a Paper Crimper if you have one (mine is from long ago when I first started stamping) or just crush and crumble it in your own hands and that will work too! In the other basket, I found a piece of green tissue paper and just wadded that up in the bottom of the basket.
The fabric-covered egg in each basket is handmade from @sewafineseam on Instagram that I purchased last year!
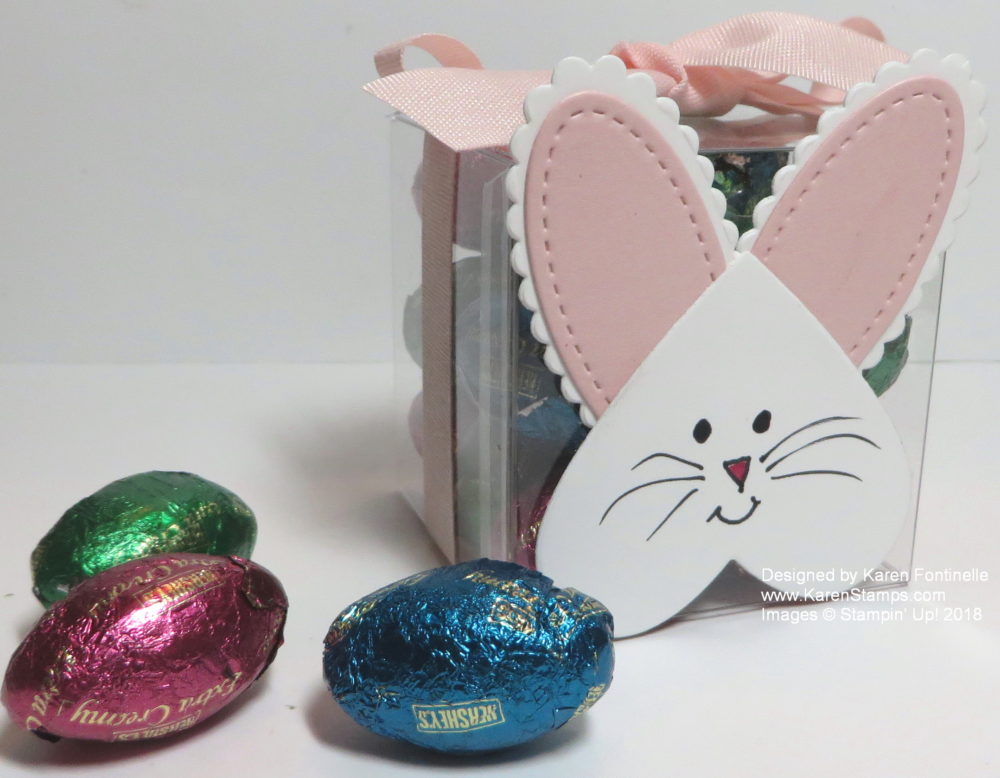
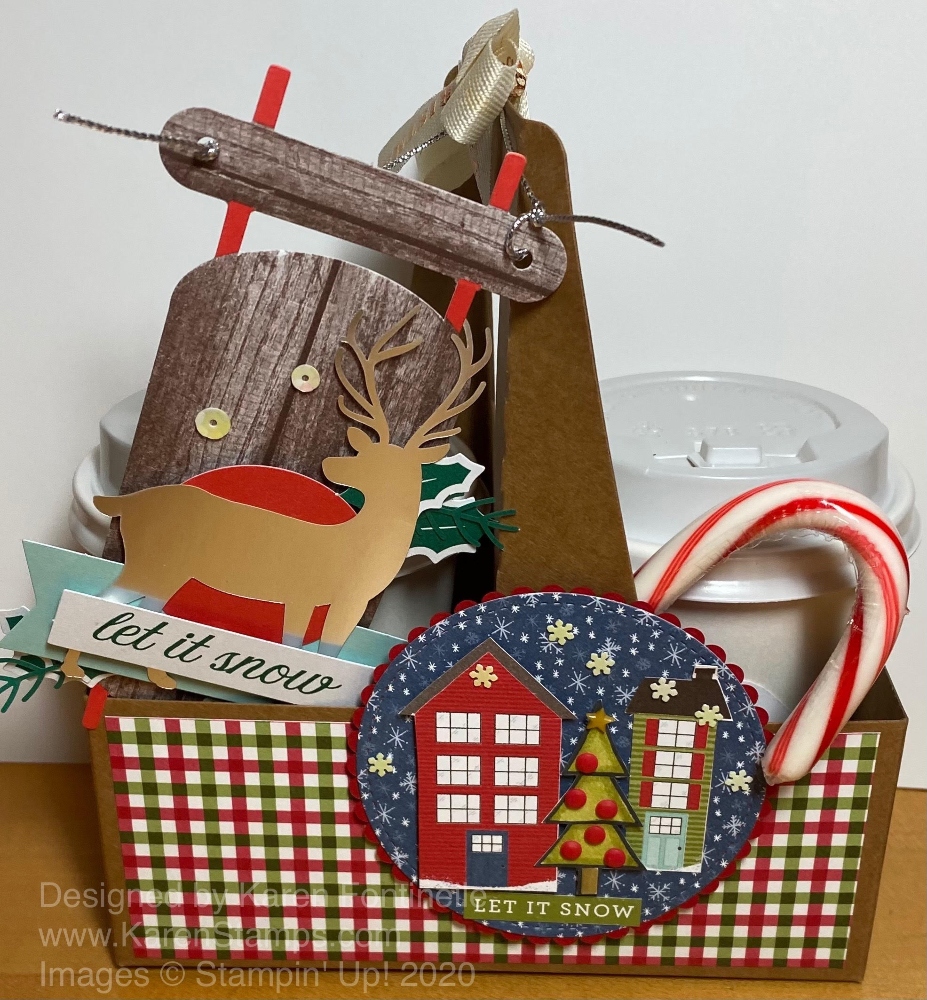
Here are some other Easter baskets made three years ago if you need more ideas!
It’s time to start making Easter cards, treats, decorations, and these little Easter baskets would serve as a treat or a decoration for your home or your Easter dinner table. Have fun making some! Bet you can’t make just one!