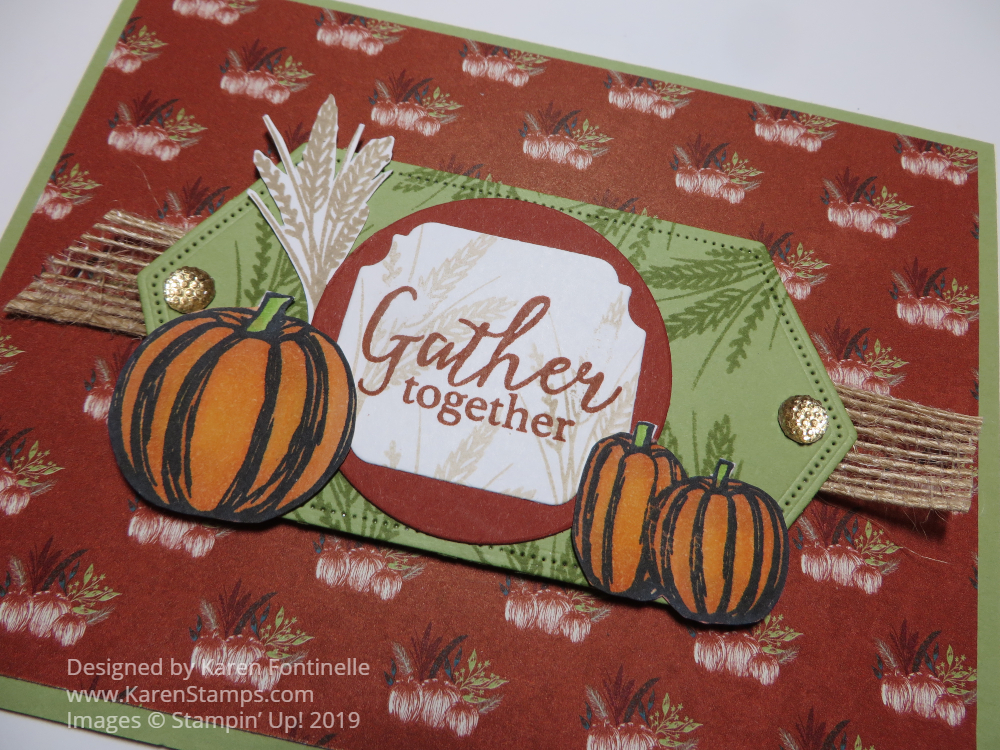
We can do so many things with all our Stampin’ Up! products and supplies and papercrafting skills, like making a piece of home decor such as this Gather Together Fall Votive Holder. I think the colors and items of fall just inspire us so much, like pumpkins, leaves, gourds, mums, scarecrows, and more. That’s what makes it so fun, especially getting relief from the heat of summer!
You can easily make something like this, probably with something you already have in your house, or you can make it for a gift for someone. All you have to do is add a candle inside or one of the flameless ones to be extra safe. If you are using a real candle, make sure the paper is nowhere near the top of the votive holder.
It’s funny how I can start a project with one idea in mind and then come up with something totally unplanned. I almost don’t need to tell you how to make this exactly because I’m sure you have something very similar in your stash and can use what you have.
I started with a checked strip of the Come To Gather Designer Series Paper. When you are using glass, it would be nice if you can to use something that also looks good on the inside since it will be able to be seen. Although unplanned, this strip happens to have the same pumpkins on the opposite side which you can see through the inside of the glass that I used on the decoration.
I started out thinking I was just going to do something with colored leaves but it’s hard to resist the siren call of the beautiful Come To Gather Designer Series Paper. I cut out some of the pumpkins from the paper and I also found some stamped pumpkins from the Gather Together Stamp Set in my stash that I had already colored with Stampin’ Blends. I thought they still fit in with the other pumpkins even though they are more colorful. Next, I stuck in some stamped and die-cut or punched leaves I had just done or already had in my stash. The larger leaves are from the Rooted In Nature Stamp Set.
Once I decided my pumpkins and leaves needed a little background, I die cut a piece from the Ornate Frames Dies. You should really check out these dies because they are pictured in the Halloween section but they CERTAINLY can be used for other things. There is nothing “Halloween” about them. I think they will be very useful well past Halloween. I die cut a large one out of Pretty Peacock Cardstock, even though it is barely visible.
Play around with your elements before adhering and see what layout you like the best. Some of the pumpkins are popped up with Stampin’ Dimensionals® and some are flat. Then I stuck in the leaves and sprigs of greenery wherever I thought they would look good.
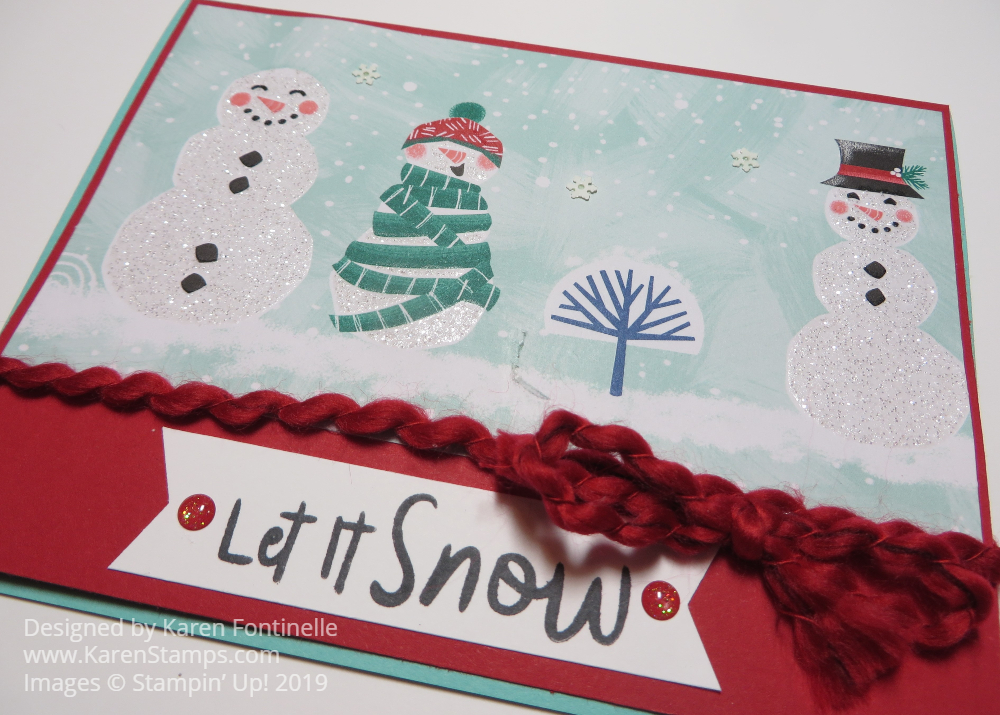
Votive holders like this one are fun to decorate for any holiday or occasion so stock up a few at the dollar store or wherever you find them! Here is a Christmas one I made a few years ago. You could also decorate all the way around the holder. So many possibilities!
Shop Stampin’ Up! Online For the Best in Papercrafting Products!