
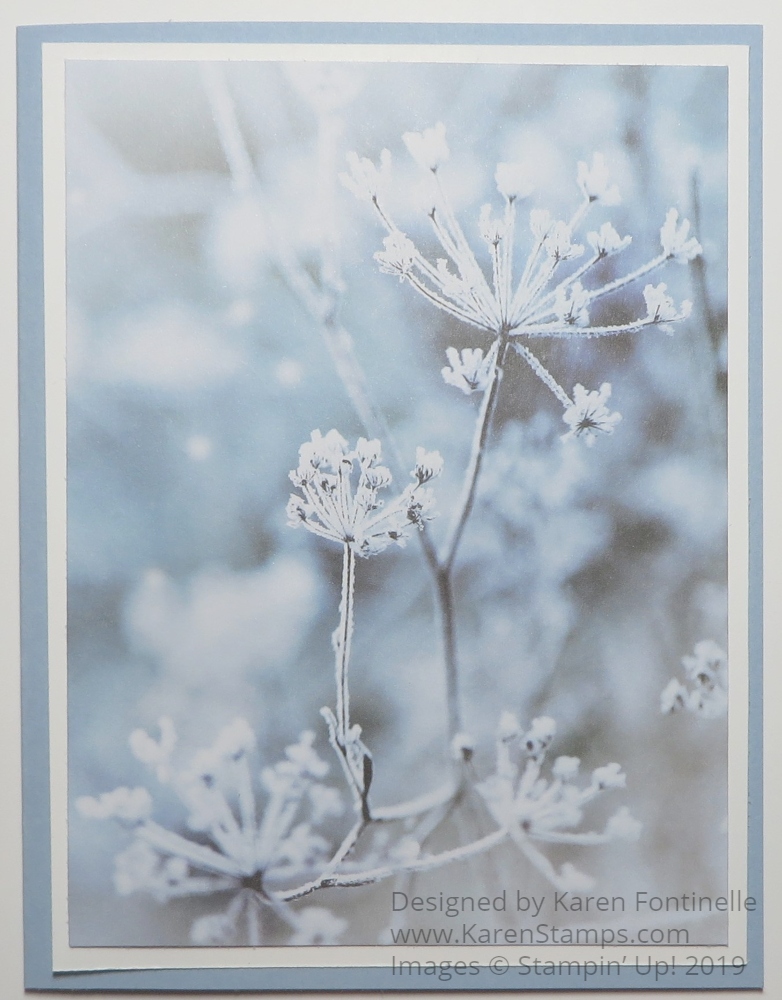
While I thought I could do without this beautiful wintery designer paper, I found that I could not and started working on a card. Just layering the designer paper I chose on the card base I thought looked simple and beautiful enough, especially if you were just sending a personal note. Since the card was so pretty as is, I thought about taking it step by step from a plain Christmas card to an embellished Christmas card and showing you the steps.
As you can see, the first card was just a card base of Seaside Spray Cardstock with a layer of Whisper White under the Feels Like Frost Specialty 6″ x 6″ Designer Series Paper. I think the white helps the designer paper stand out even better. I just thought the card looked so elegant enough with just the designer paper that it barely needed anything else! I could see this paper being used to make a series of note cards or regular size cards for Christmas cards, holiday cards, or just cards for winter. Often when we have someone of a different religion who is not celebrating Christmas, we like to have a more generic card to send them during our holiday.
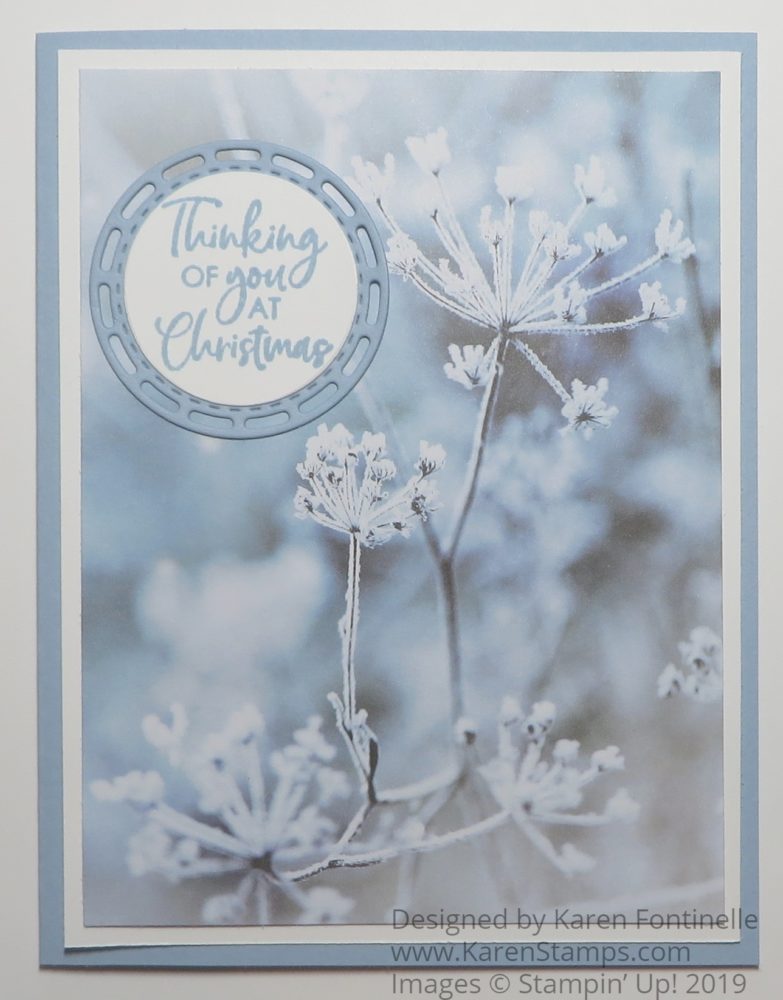
To step up the first card, I added a holiday greeting to this plain card. Since there was kind of an open area on the designer paper, I put the greeting in the upper corner. The greeting is in the Itty Bitty Christmas Stamp Set and is stamped with Seaside Spray Ink, one of the newest In Colors. I die cut it with one of the small circle dies in the Layering Circles Dies. I looked through my dies a little bit and decided to use this cute circle layer in the Stitched Labels Dies.
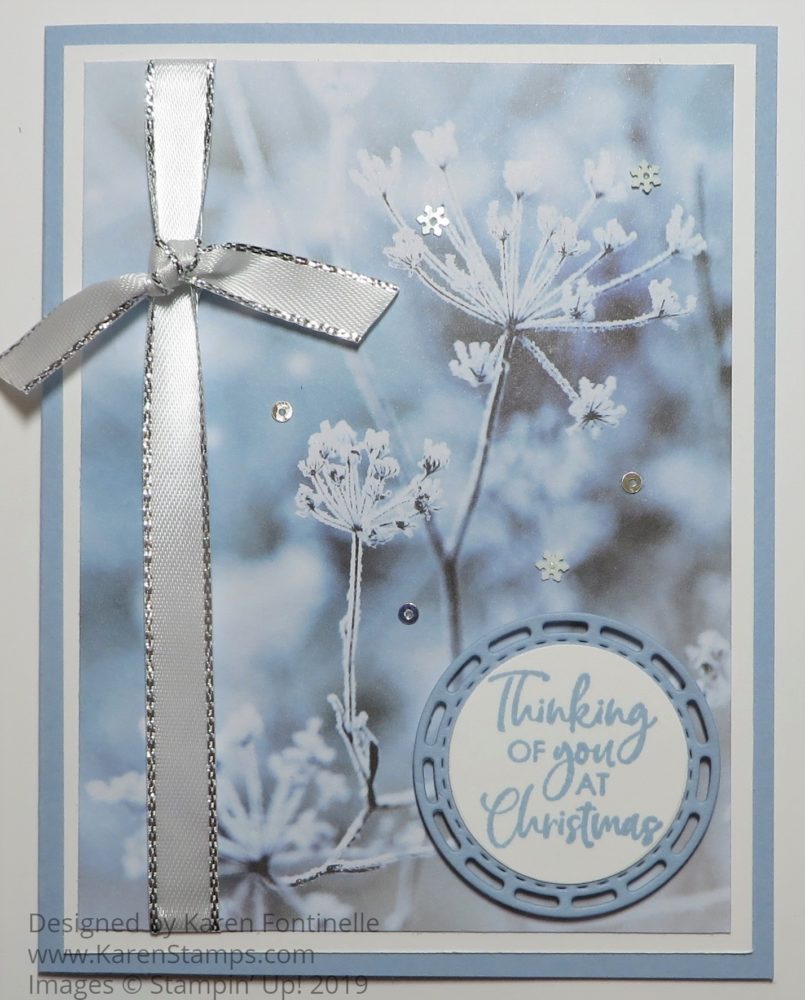
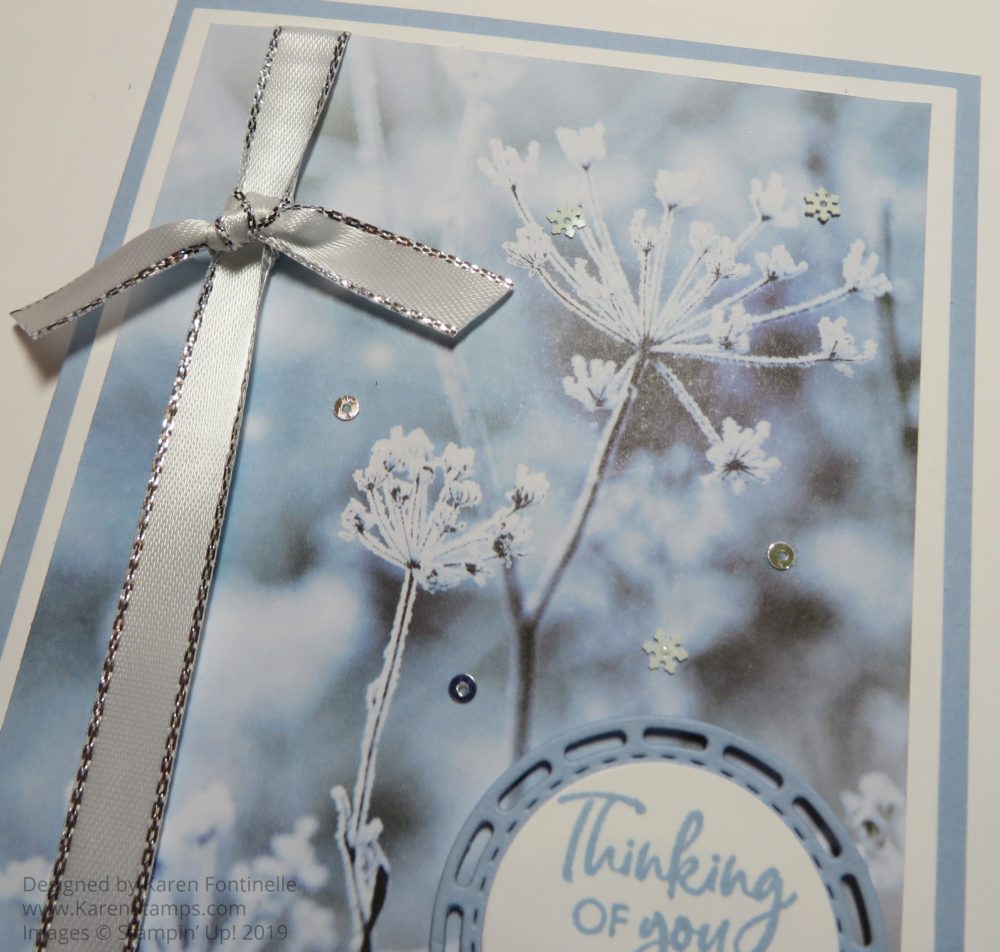
Next, to step up the card, even more, I added the Silver 3/8″ Metallic-Edge Ribbon. I moved the greeting down to the lower corner of the card And for a little bling, I added the teeny tiny Snowflake Sequins to the card, three of the tiny silver ones and three of the snowflake ones. I just used the tiniest dot of Multipurpose Liquid Glue to adhere the sequins with the help (and I do mean HELP) of the Take Your Pick Tool. This is a great tool, no matter which end of the tool you use. I have used the pokey end and also the spatula for scooping up jewels off the sheet and applying to the project and today the sticky end for picking up and placing the sequins. Otherwise, you would go crazy without it, so put one on your next order!
Check out this beautiful paper in the Stampin’ Up! Holiday Catalog and in the Online Store. Even though the photographic wintery images are beautiful, wait until you flip the paper over to the other side with the silver foil images! (As I write this, I see this paper and matching ribbon are backordered. The Feels Like Frost will be back in stock next week and the ribbon at the end of October.) (I must have gotten the last ones!)
If you are unsure about making a card, just start with something very simple like I did with just the designer paper. Then see what greeting you might want to add. Next see if you have some ribbon or jewels you want to add or a layer for the greeting, whatever it is. Sometimes it is good to stop before you overdo it! And sometimes it is good to jazz it up a bit! Anyway, check out the steps I took to take this plain Christmas card to an embellished Christmas card.