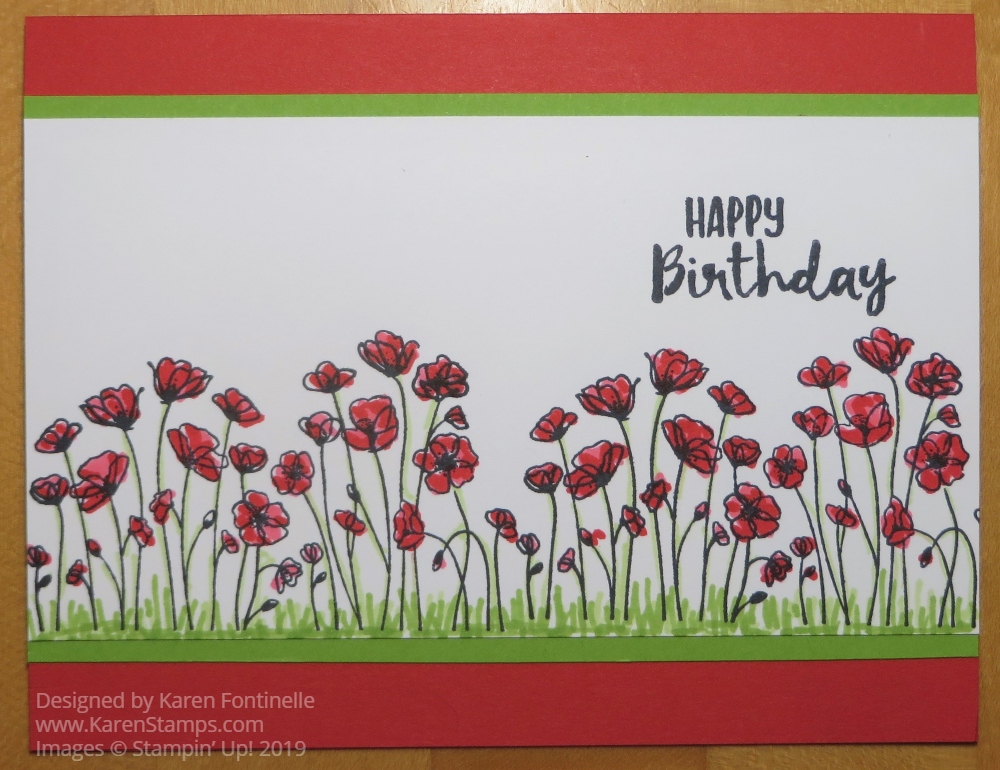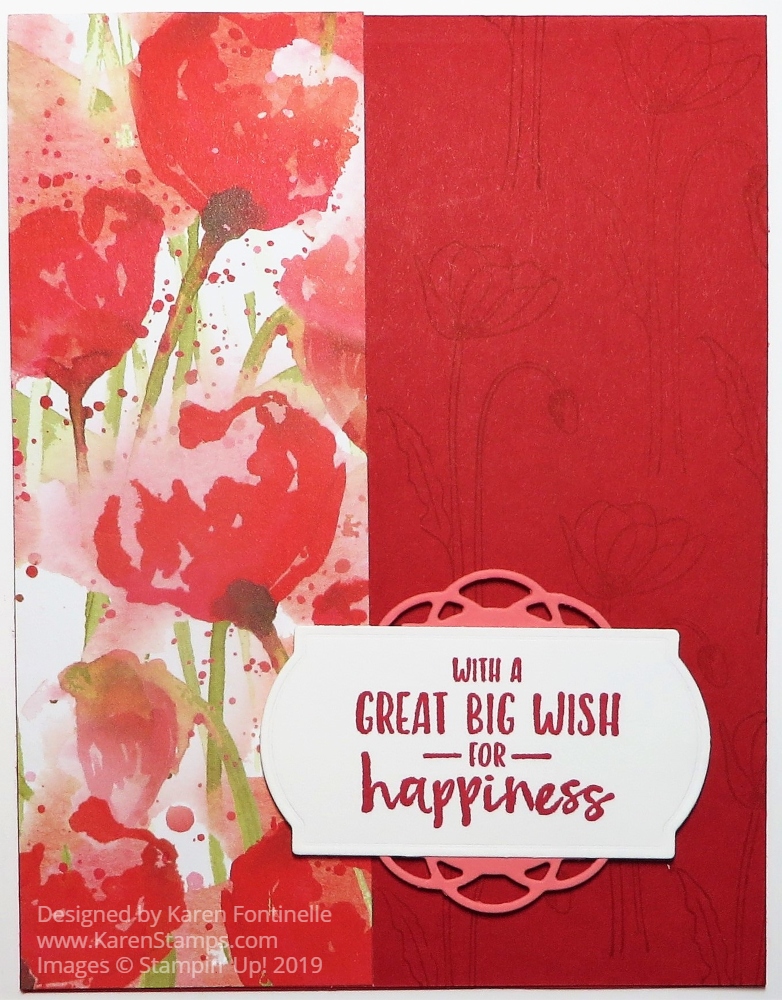
This Peaceful Poppies Happiness Card is another fairly simple card to make! This card opens at the top instead of the side just for something different. It uses a strip of the beautiful Peaceful Poppies Designer Series Paper. Just wait until you get your hands on this beautiful designer paper!
To make this card, the card base is 11 1/2″ x 4 1/2″, folded in half with the fold at the top. I chose Real Red Cardstockalthough I don’t think that’s actually a coordinating color with the designer paper, but I think it looks fine together.
For a little extra interest, I stamped a poppy and stem from the Painted Poppies Stamp Set on the Real Red cardstock that isn’t covered by the designer paper. I inked it up and stamped off before stamping on the card. I could also have used Versamark Ink for that watermark look. If you had ribbon, you could wrap some ribbon around the designer paper before adhering it to the front of the card.
The greeting is from the Sending You Thoughts Stamp Set, one you can get FREE during Sale-A-Bration with a $50 purchase. I stamped it on Whisper White with Real Red ink and then die cut it with a label die in the Painted Labels Dies. Then I used Flirty Flamingo Cardstock and die cut another label in the same set, cut it in half and used it under the top and bottom of the greeting. It just adds a little something although just the greeting die cut with that label die with a little embossed border around the edge was just fine by itself.
You will probably want to get the Painted Poppies Stamp Set and the Painted Labels Dies together in the Painted Poppies Bundle and save 10%!
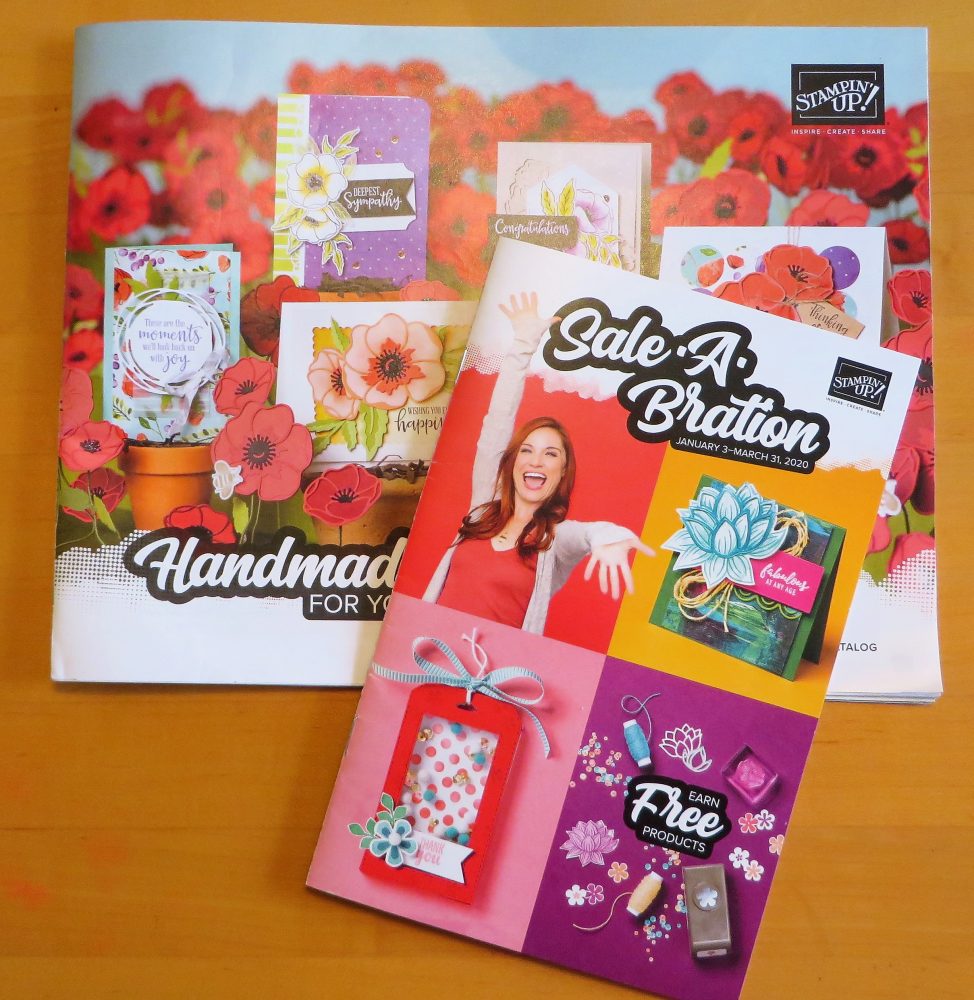
Check out the whole Peaceful Poppies Suite and see what you’ve GOT to put on your next Stampin’ Up! order! Remember about Sale-A-Bration and getting a free SAB item with every $50 you spend!