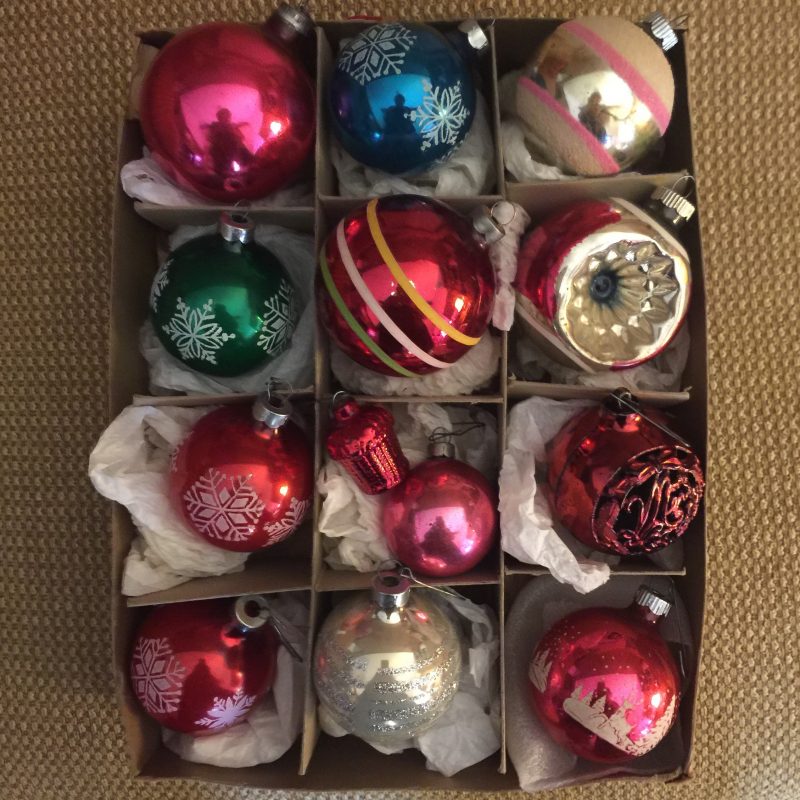
You might be surprised to hear I have not completely finished my holiday decorating, but finally yesterday I came across my Shiny Brite box of ornaments. While I can’t vouch that they are all Shiny Brite ornaments, I do know they are “vintage” (which means from my childhood!).
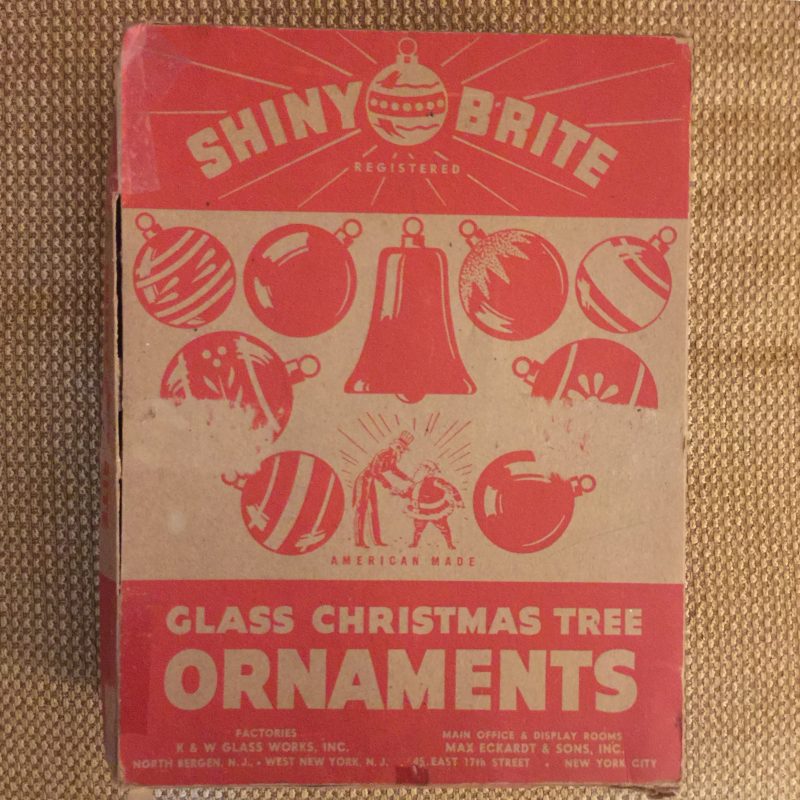
The other day I came across an article about Shiny Brite ornaments and their history that I found quite interesting. I was pretty sure that I had an old box that said Shiny Brite. I even see a written “10 cents” on the side of the box! I know these ornaments hung on our family’s Christmas tree every year. Now I put them all in a glass bowl as a decoration rather than hanging them on a tree.
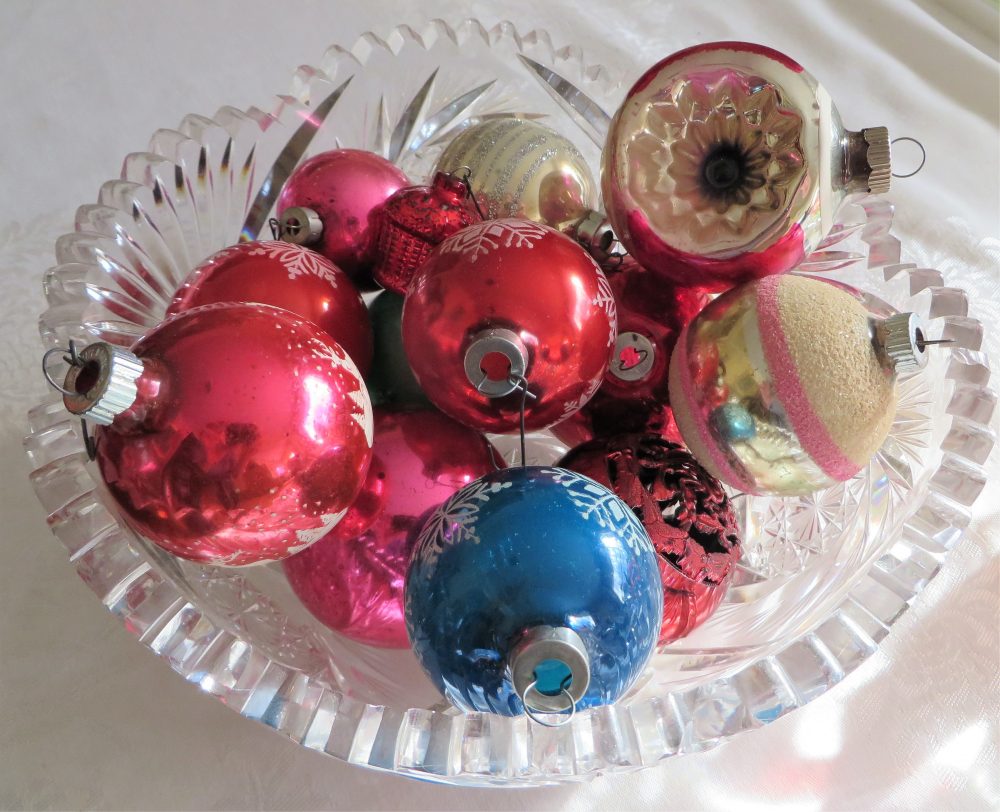
The ornaments are even in a vintage crystal bowl! Maybe I should add some greenery too. Besides my big tree in the family room, full of ornaments, I have my dad’s small tree that he started putting up when it was too much work to put up his big tree, but I have certain small ornaments on it and these are a little large. So I think a bowl, where they won’t fall off a tree limb, is maybe a safer place and makes a nice table decoration.
Here’s the box. Like I said, I can’t say for sure all these ornaments came in this box, but some ornaments must have!
If you are interested in these old ornaments and perhaps have some yourself, please read this article I came across on Facebook. (I don’t know how to embed part of the article like I used to know how to do so I’m just putting this link!)
Happy Christmas Decorating!