Get those heart stamps out again and let’s stamp a St. Patrick’s Day Shamrock Card! Heart stamps are good for lots of things besides Valentine’s Day and now you see how you can use them for St. Patrick’s Day. You can use any heart stamps you have for different looking shamrocks.
For this shamrock card, I started with a base of Call Me Clover Cardstock. This cardstock is one of the current In Colors that will be retiring in May before the new In Colors come in. These In Colors have had their two-year run. If you need any of them, refills, ribbons, anything with these In Colors, it would be smart to order them now before people rush to get them at retirement time. And if you order in March, you can take advantage of Sale-A-Bration.
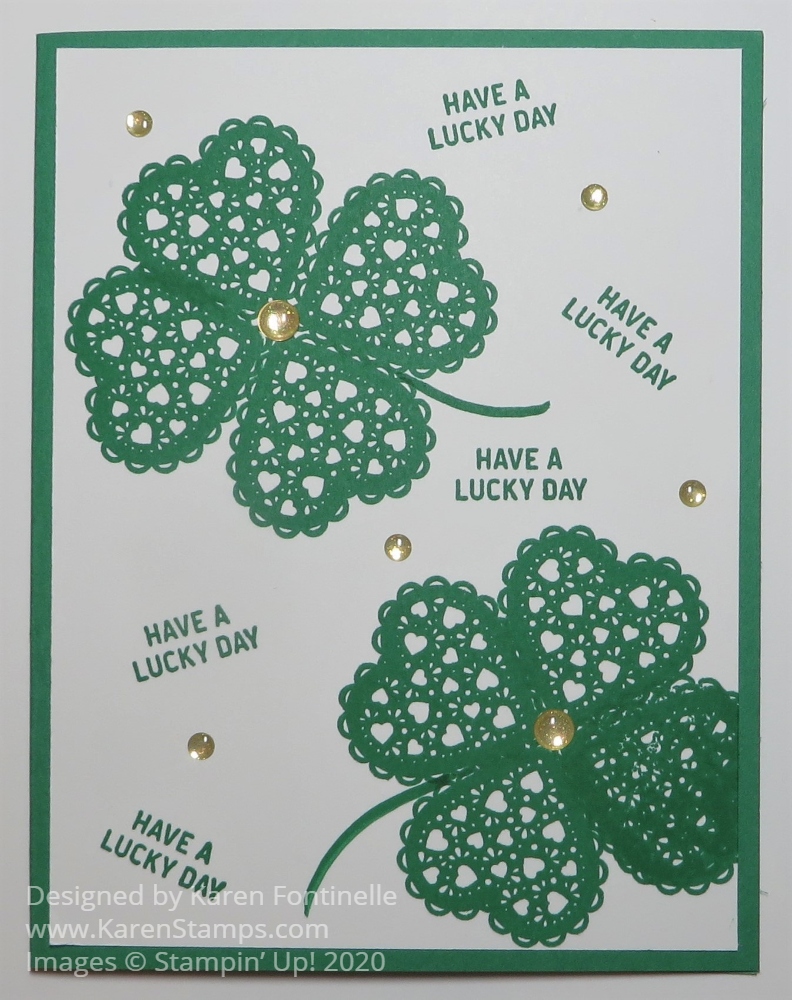
It was fun to basically “just stamp” on this card! I used the Heartfelt Stamp Set in the Occasions Mini Catalog. Just stamp four of the hearts to make a shamrock, or I have seen just 3 heart leaves to make a shamrock also. It’s easier than it used to be now that we have photopolymer stamps that you can see through. For the stem, I simply used a Blender Pen and picked up some of the Call Me Clover ink in the lid of the ink pad and drew on the stem. You could use a marker or just cut a thin stem.
Instead of just stamping a greeting on some kind of layer, I decided to just stamp the sentiment randomly in between the shamrocks on the card front. The “Have a Lucky Day” phrase is from the Itty Bitty Greetings Stamp Set. That’s such a great set to own because you can almost always find a good sentiment to use for your card.
Of course, I wanted to have a little gold on my card for St. Patrick’s Day so I chose the Gold Glitter Enamel Dots. You will find these in the Stampin’ Up! Annual Catalog back in the Embellishments section. First I just put small dots around randomly on the card, but then I also thought the center of each shamrock could use a larger gold one. You could also color a dot with a marker to match the shamrock, but I liked the gold in this case.
This card was very simple to make, quick and easy. Plus a good way to use our heart stamps! Don’t think of your heart stamp sets for just Valentine’s Day, keep them handy for other occasions like this St. Patrick’s Day Shamrock Card with St. Patrick’s Day coming up on March 17th!