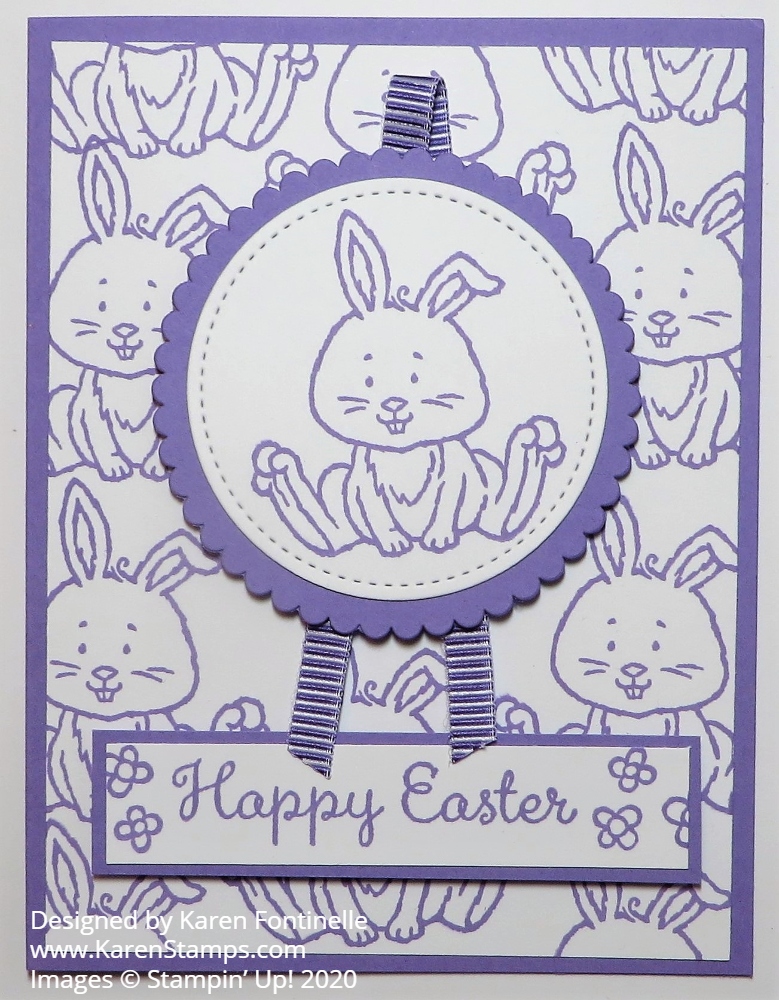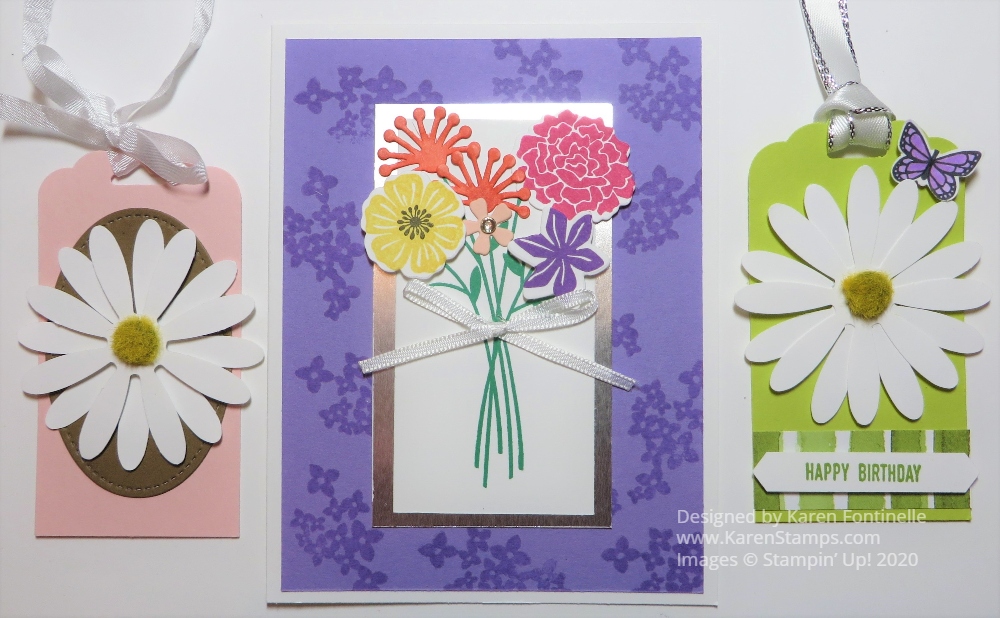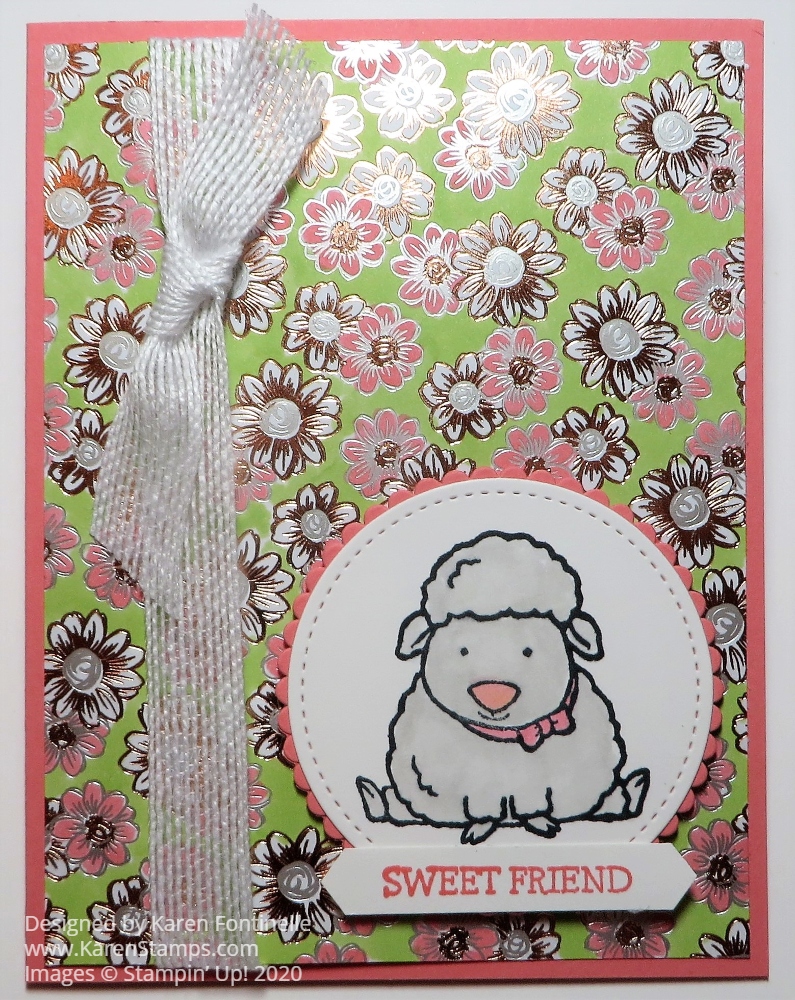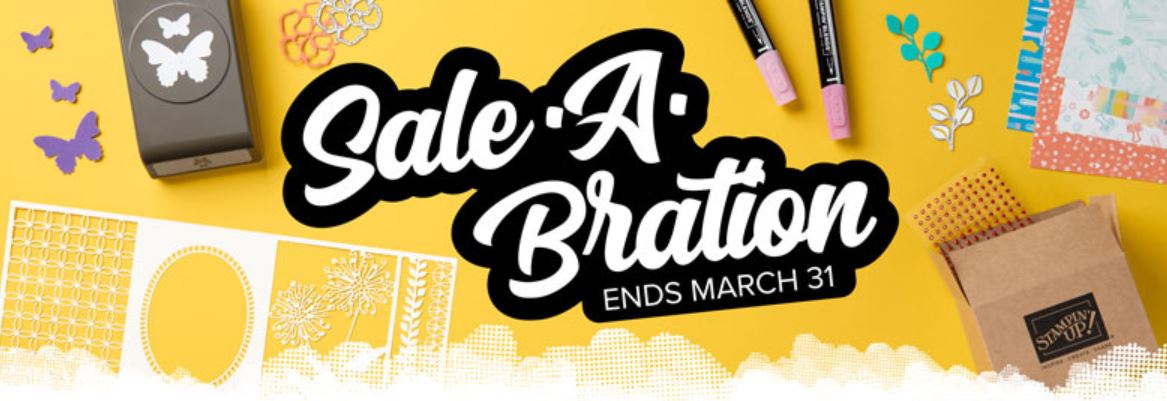
Isn’t it unbelievable to think that Sale-A-Bration is coming to an end? We look forward to it every year after the holidays and have fun earning free Stampin’ Up! products. What is better than FREE Stampin’ Up! products?! About halfway through we got some new choices to earn and last week we got some Annual Catalog choices. But time is dwindling now!
We are getting close to the end of Sale-A-Bration, March 31, but beginning today we have some new choices of products to choose with each qualifying order! Just click on the photo above or HERE to see the PDF of Stampin’ Up! CATALOG products that you can choose!
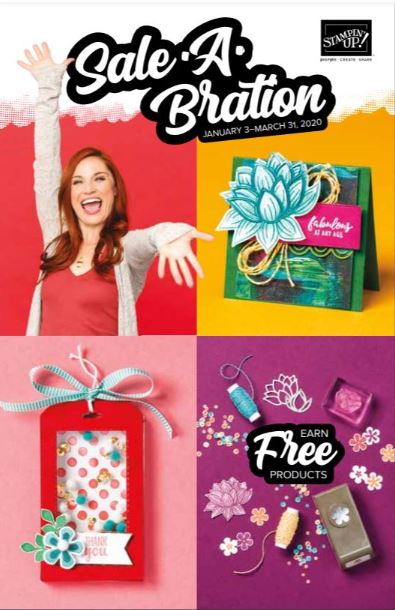
This was the Second Release during Sale-A-Bration! View the catalog below.

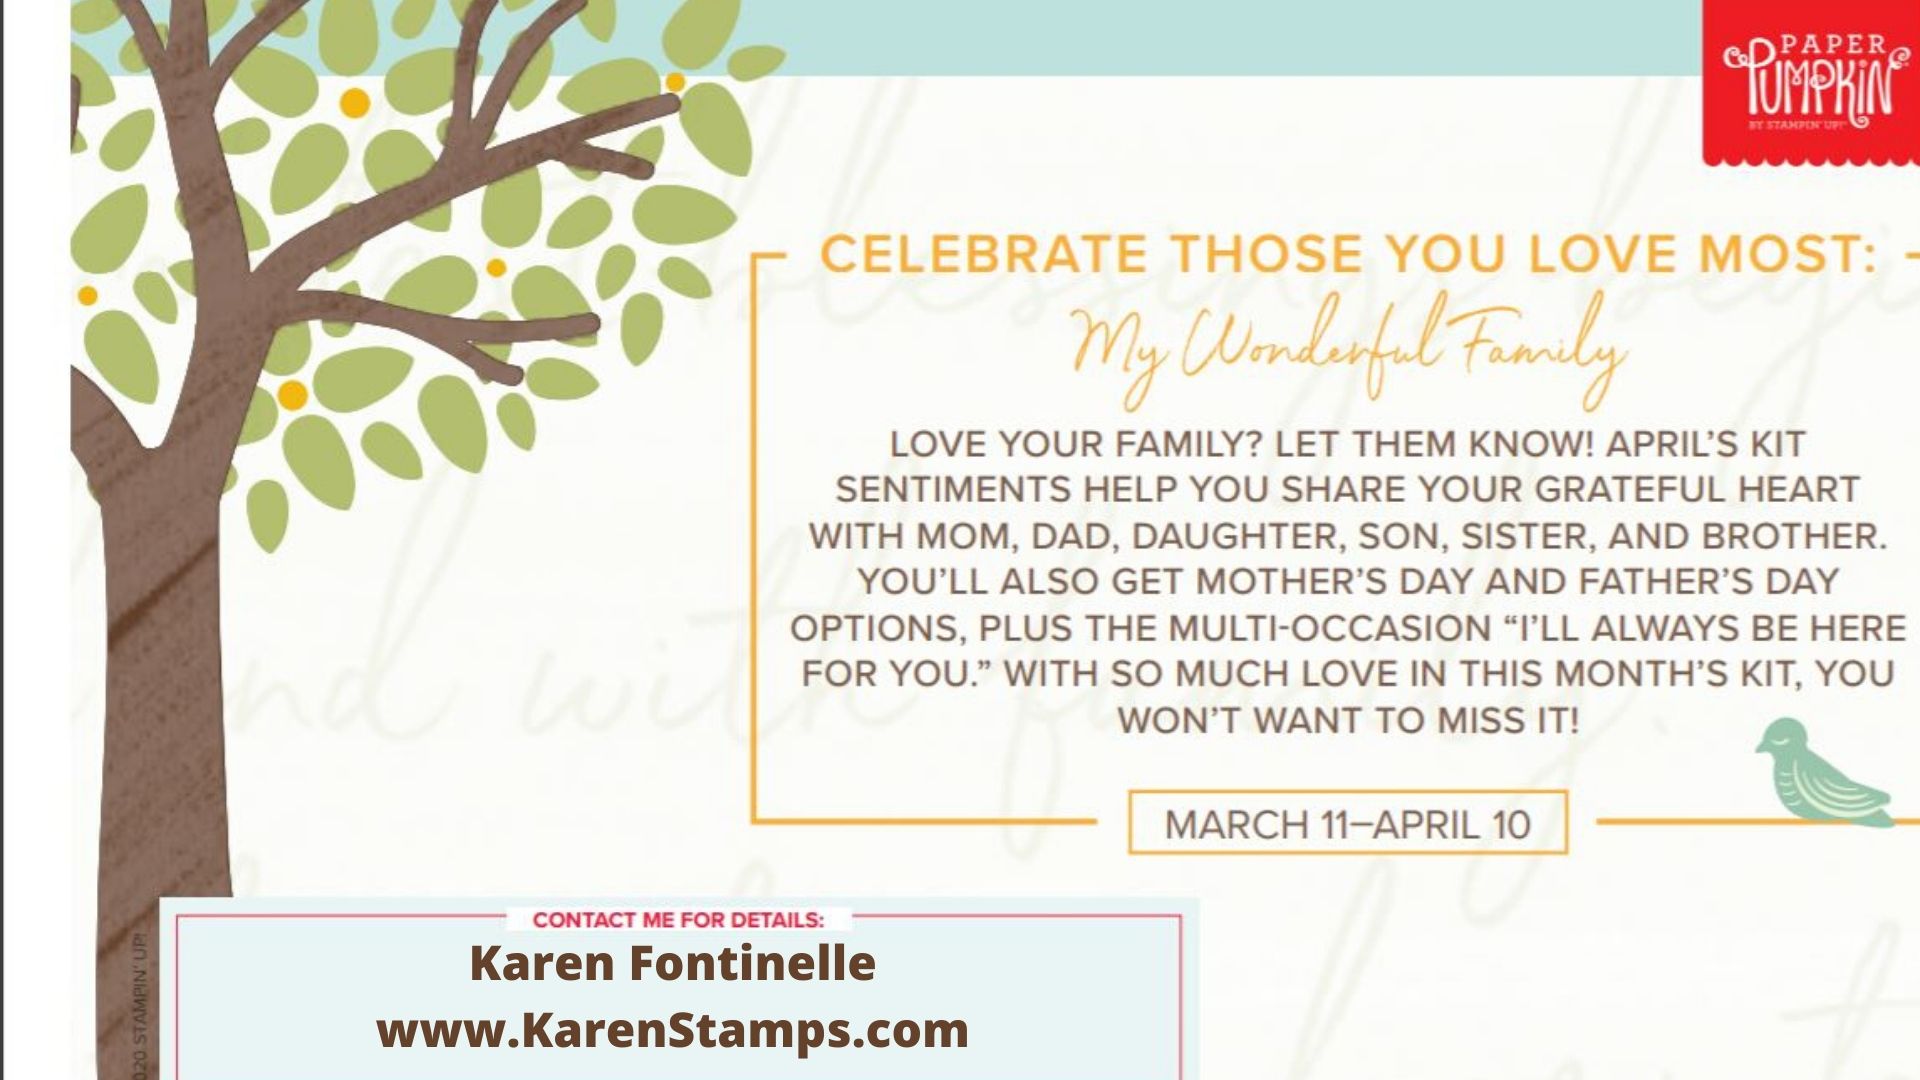
And last week the 3rd Release of Sale-A-Bration choices from the Stampin’ Up! Annual Catalog this time.
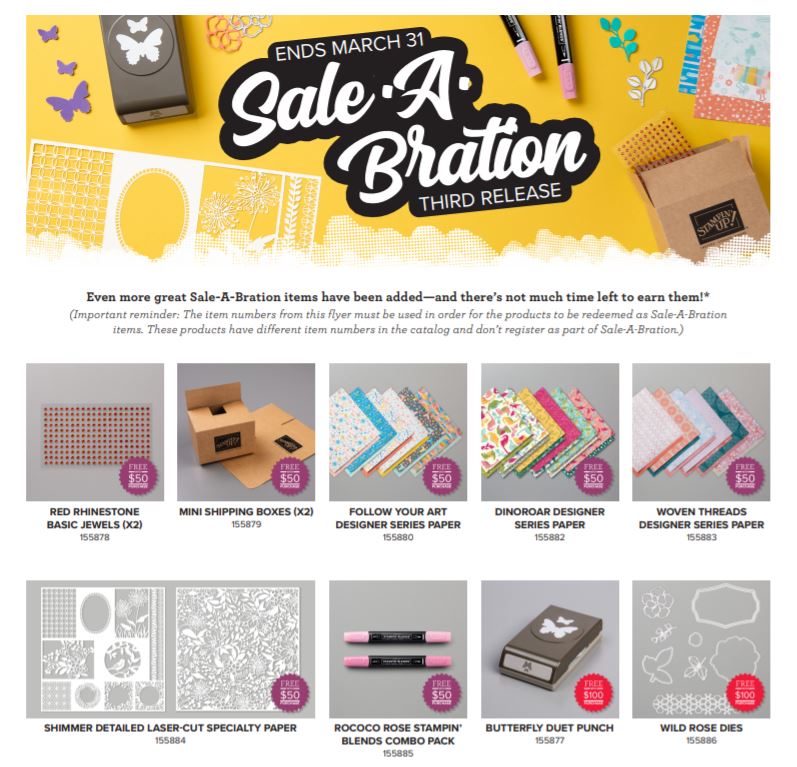
New Sale-A-Bration Choices! You may choose these catalog products with a $50 purchase:


You can choose these catalog products with a $100 purchase:


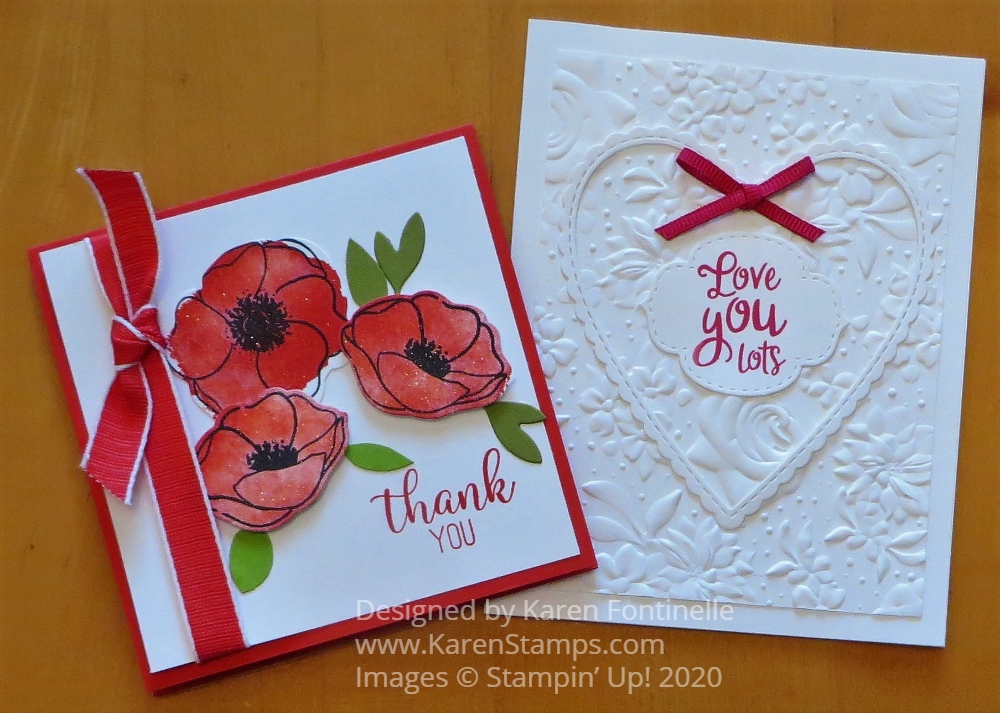
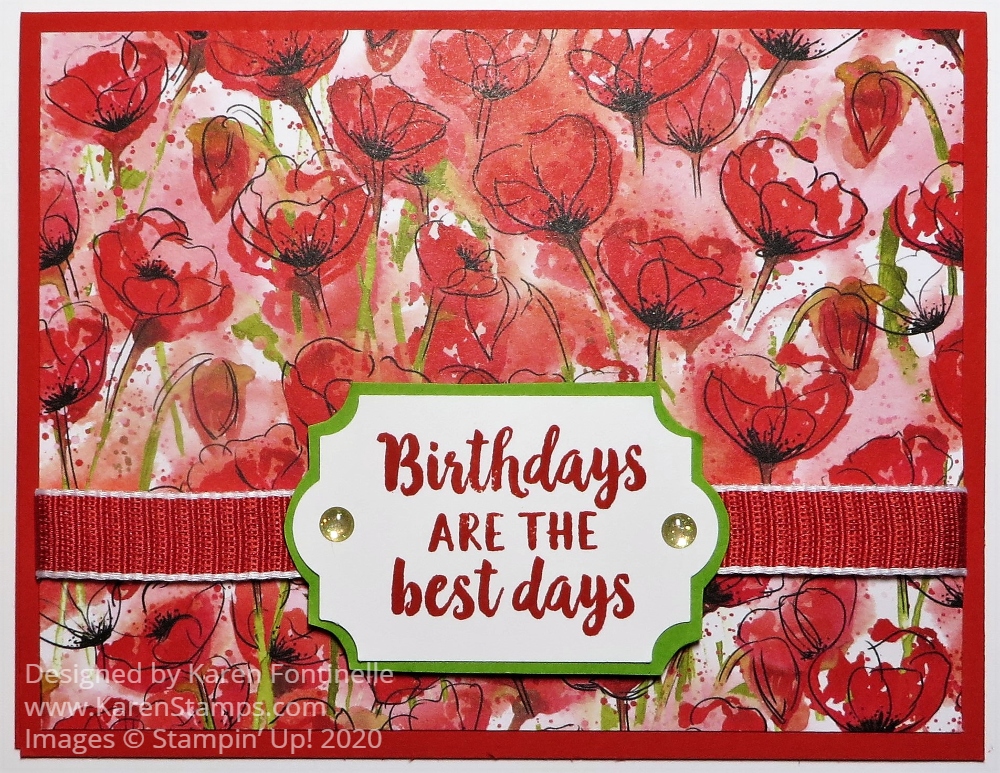
You can choose from any of the other previously released Sale-A-Bration products that are still available (remember, while supplies last!).
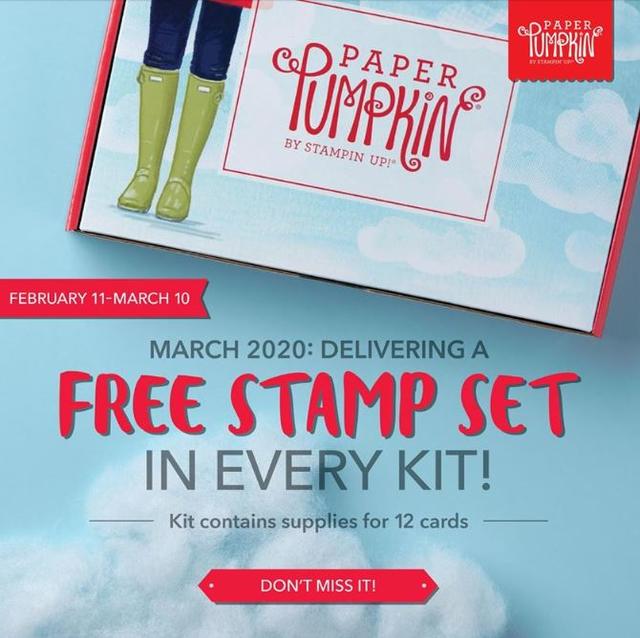
Another good choice during Sale-A-Bration is to purchase Prepaid Paper Pumpkin Subscriptions or add them to your regular Stampin’ Up! order. Even if you are getting a monthly subscription, you can purchase a Prepaid Subscription. You will get an email from Stampin’ Up! with a special code to add to your account. Then the prepaid subscription will be the one used and then it will automatically revert back to your monthly subscription. That way, with a total order of $50 or $100 or more, you will earn Sale-A-Bration products. With a total order of $150 or more, you will earn Sale-A-Bration PLUS Stampin’ Rewards. Click this LINK to go to the Paper Pumpkin page in the Online Store and you can read about Prepaid Subscriptions and you can choose which one suits you best! And once you are a subscriber, you can purchase any past kits or refills that are available any time.