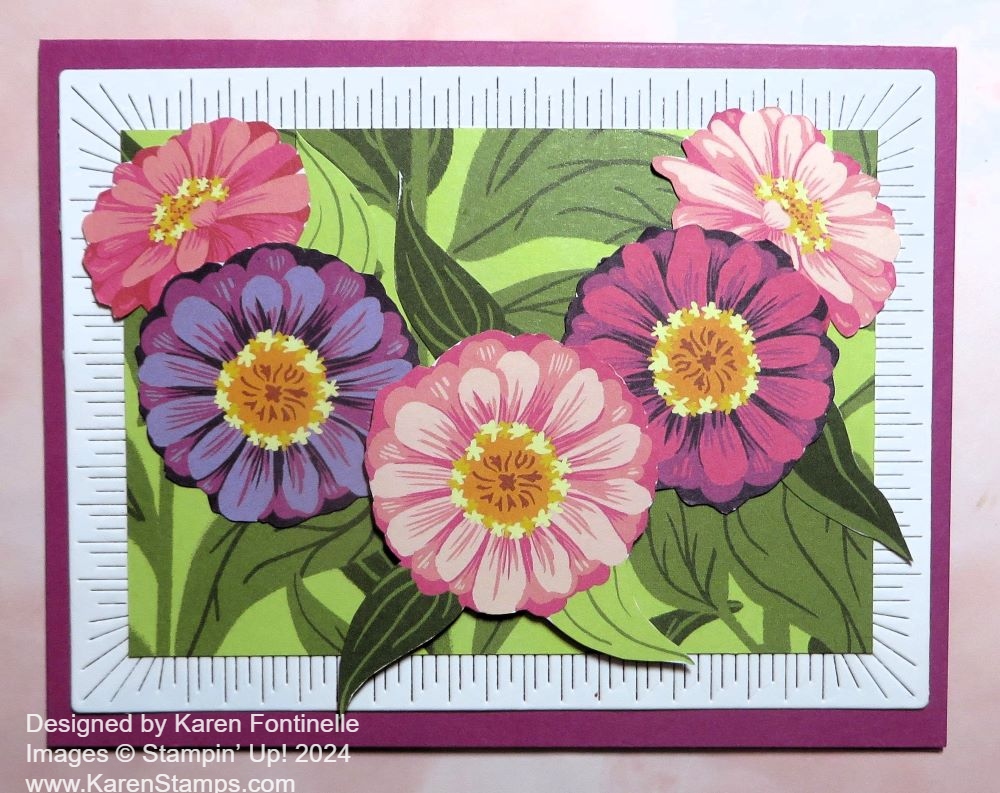
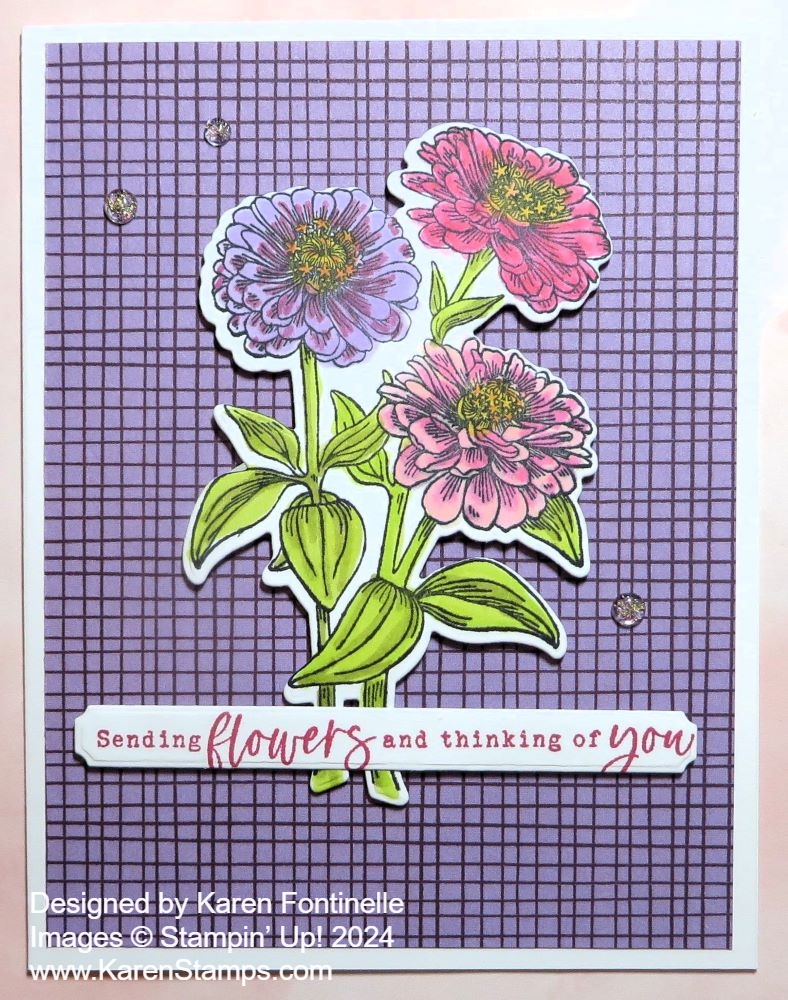
It’s hard to pass up a chance to stamp and color these pretty zinnias so here is the Real Red Simply Zinnia Card! This time I went for some bold zinnias colored in with Real Red to stand out a little bit from the Melon Mambo designer paper in the background.
I stamped the zinnia bunch from the Simply Zinnia Stamp Set in Memento Ink. I reinked the ink pad, but it didn’t need it because I had a lot of extra ink on my stamp until I finally dabbed off the excess ink from the ink pad with a paper towel! After stamping I colored in the flowers and stems with Stampin’ Blends Alcohol Markers. You can use other means of coloring but using the Stampin’ Blends is my favorite way. I used the Real Red Combo for the flowers with some Daffodil Delight in the center. The stems and leaves are a little bit of Old Olive, some Lemon Lime Twist, and a little bit of yellow.
The flowers are diecut with the Simply Zinnia Dies. (As I write this, the dies are not available but should be back in stock in two weeks. Check back earlier and keep your fingers crossed!) If you are interested in the Bundle, the stamp set and dies, you can save an extra 10% during the Stampin’ Up! Bundle Sale during June.
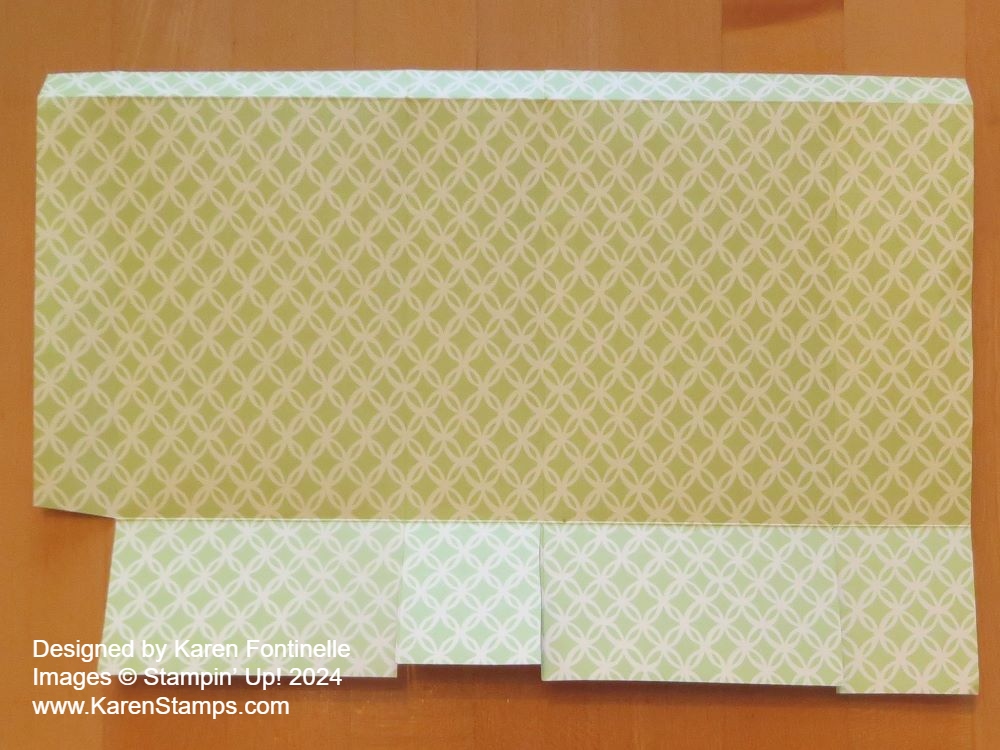
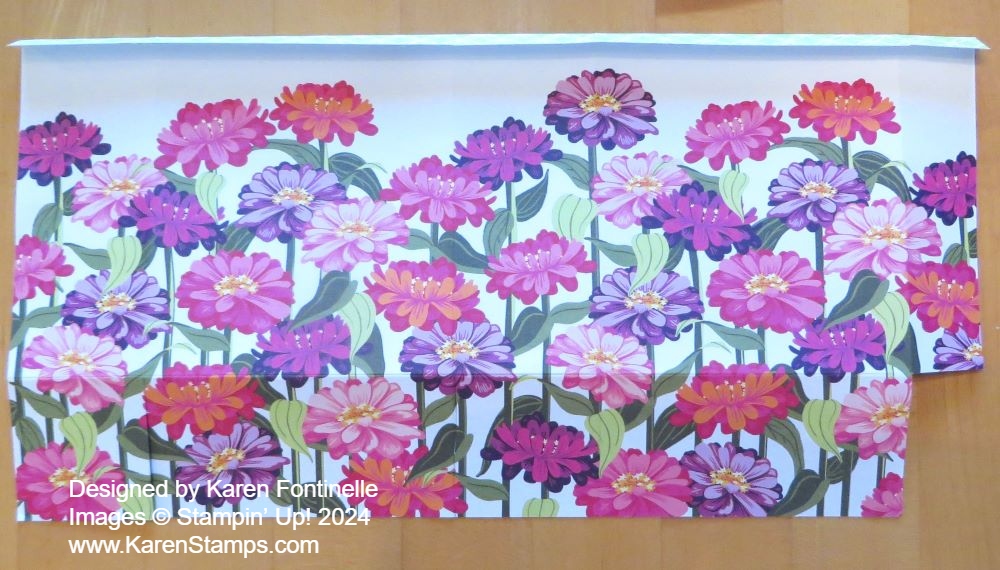
The card base is Old Olive cardstock. I wanted to use the Melon Mambo background paper from the Flowering Zinnias Designer Series Paper. To help it stand out a little better and with the white background from the Simply Zinnia diecut, I added a layer of Basic White with just a narrow margin. I also got the idea to add a piece of Old Olive diagonally striped pattern in the DSP at the bottom. It helps to ground the flowers and just makes the background a little more interesting. The flowers are popped up on Stampin’ Dimensionals.
The greeting is from the Simply Zinnia Stamp Set. I just stamped it on a thin scrap strip of Basic White cardstock which just fit across the width of the card. I like the sentiment. It is stamped in Melon Mambo ink. Since the flowers are popped up on Dimensionals I added Dimensionals to each end of the greeting to go over the flower stems. I also added three Iridescent Foil Gems on the card front.
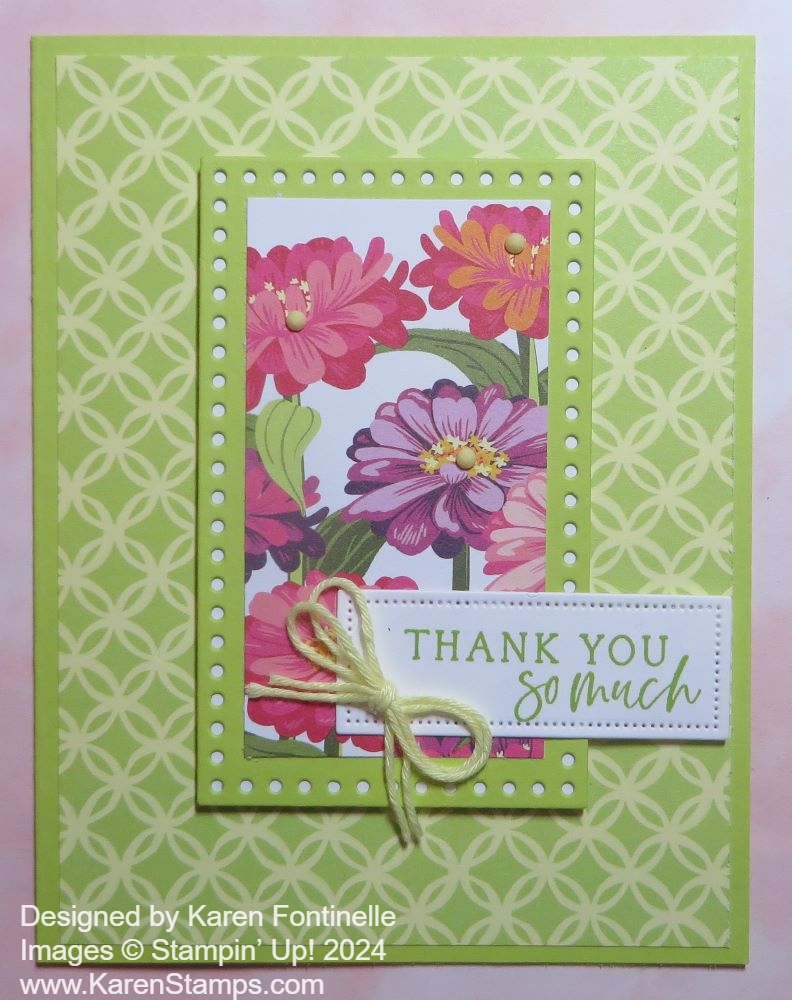
Here is another card I made with the Simply Zinnia Stamp Set and the unusual Dotted Circles 3D Embossing Folder.